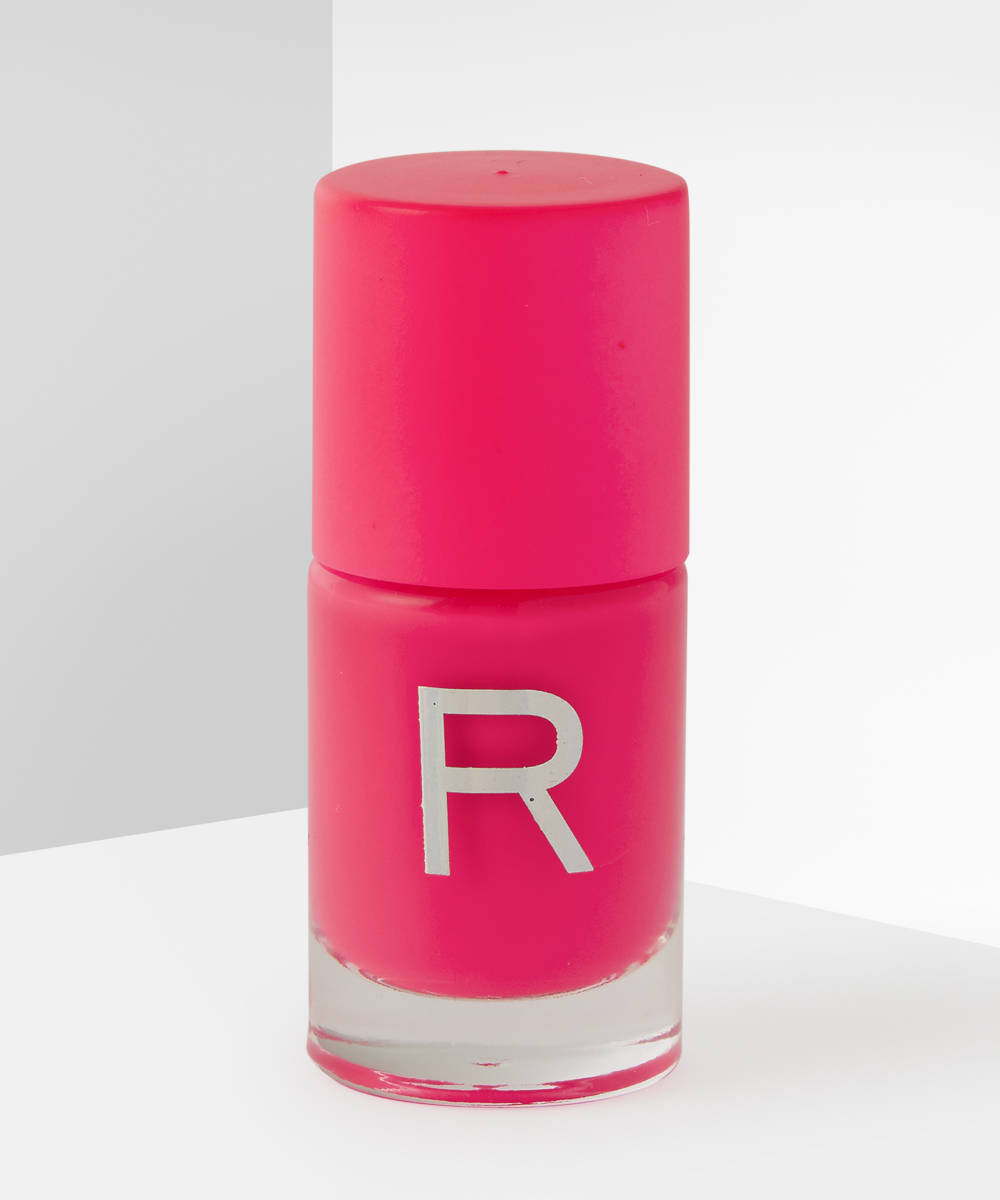
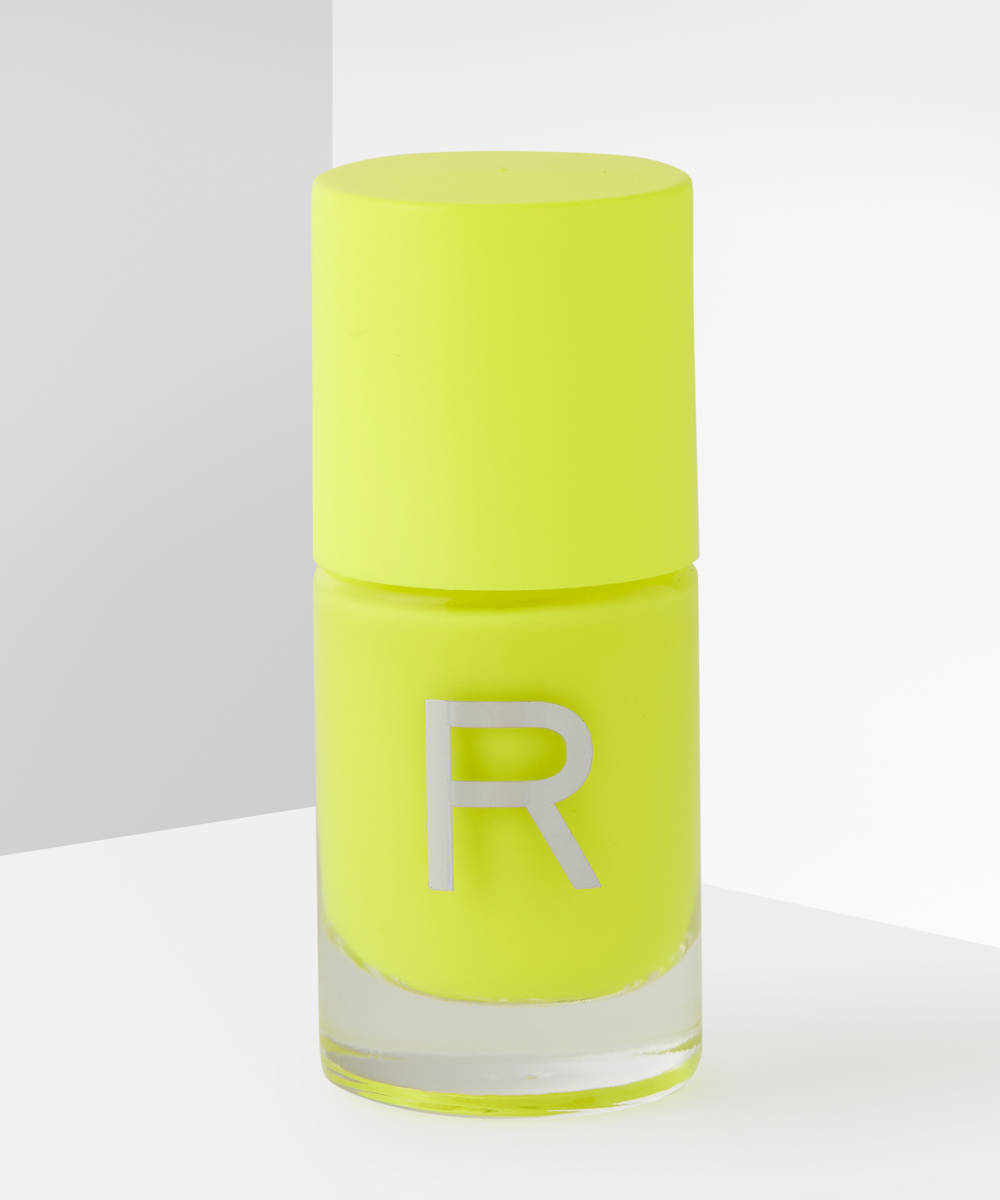
Love it or happy to leave it, Valentines Day is just around the corner. Whether you’re all loved up this year or living your best single life, there’s one thing we can all do- and that’s show a little lovin’ on our nails.
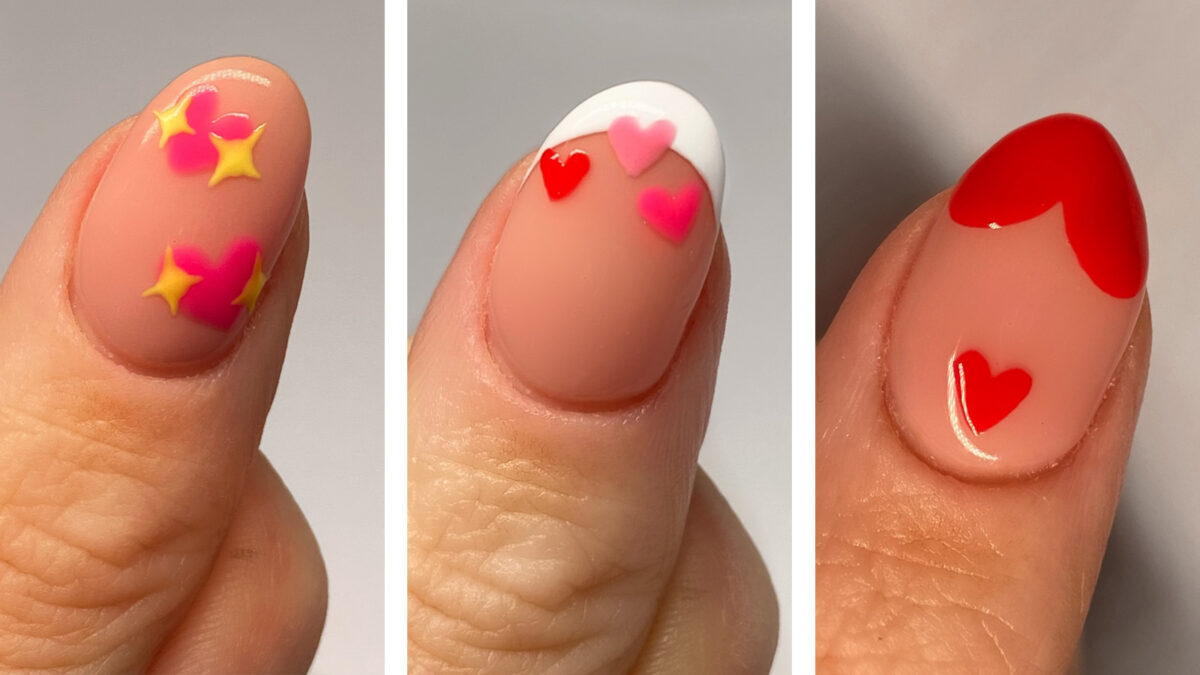
Scroll to find out how to create three different cute and easy Valentines nail designs, that we know you’re gonna love…
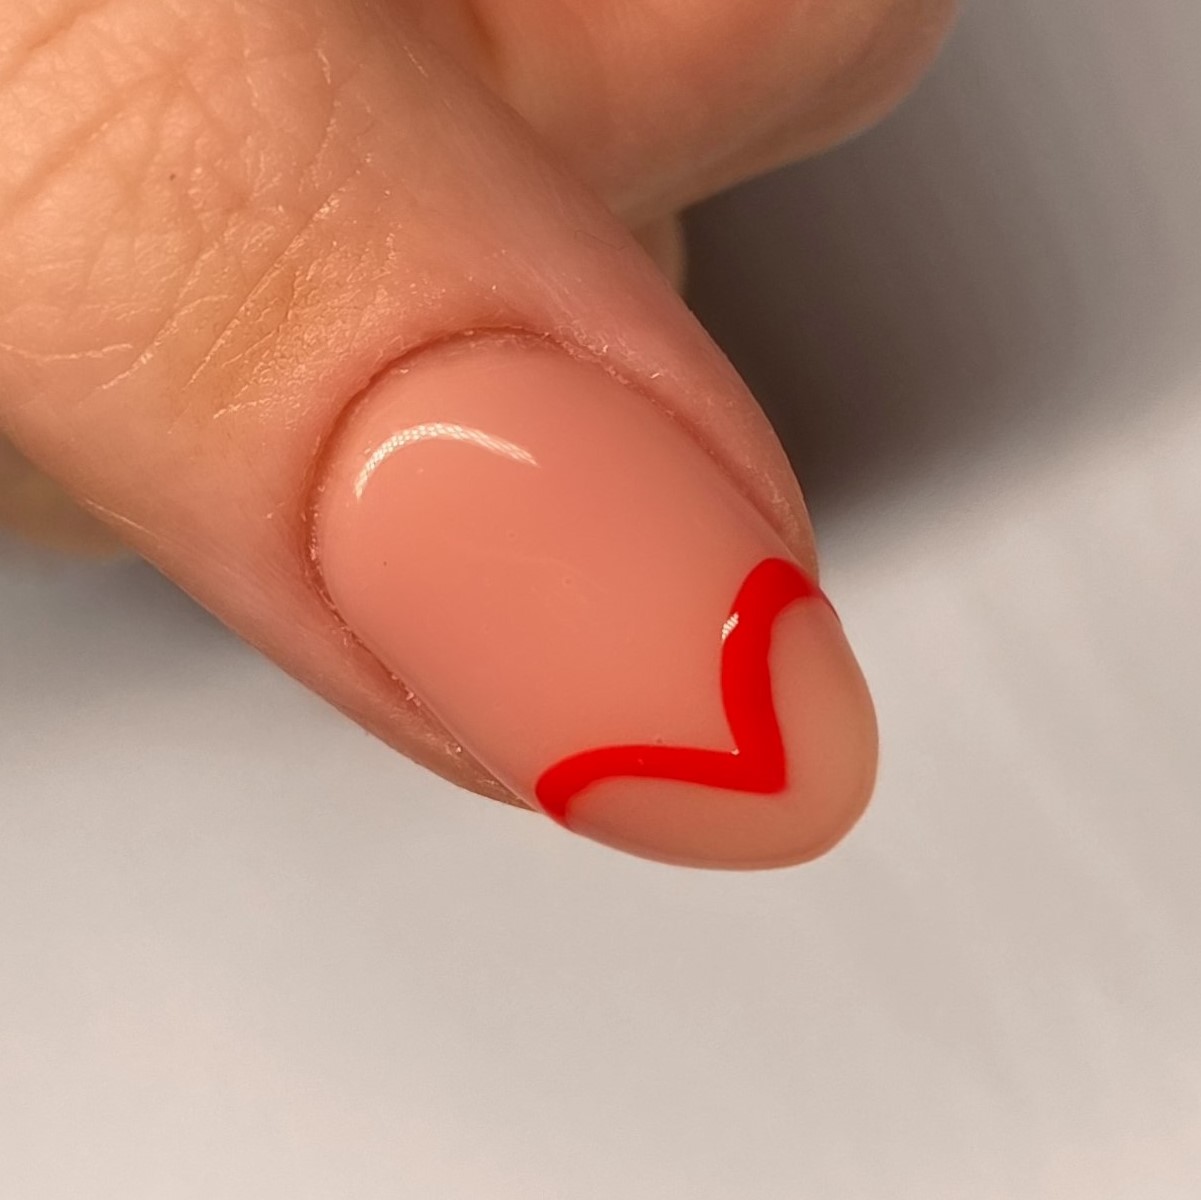
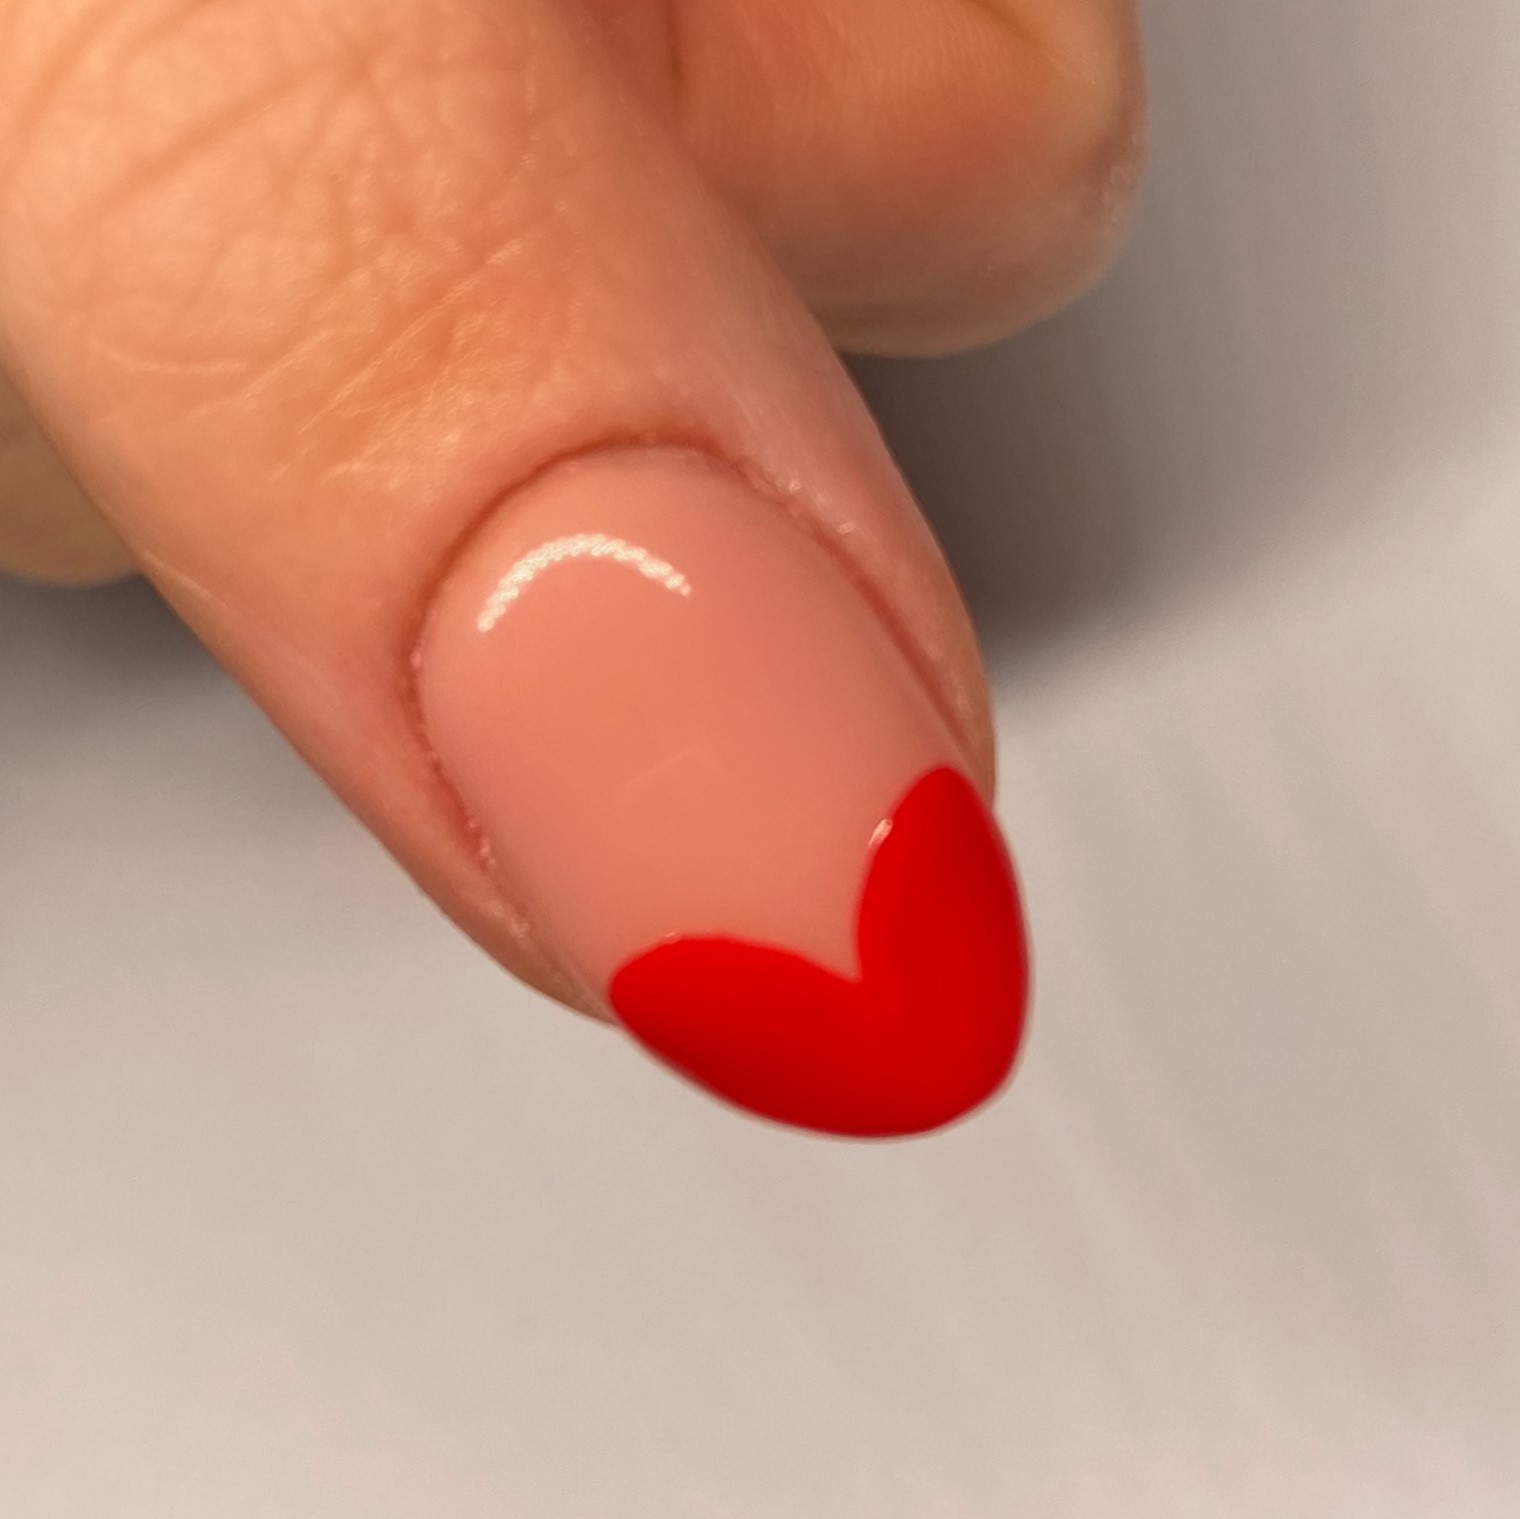
❤️ Heart Tips ❤️
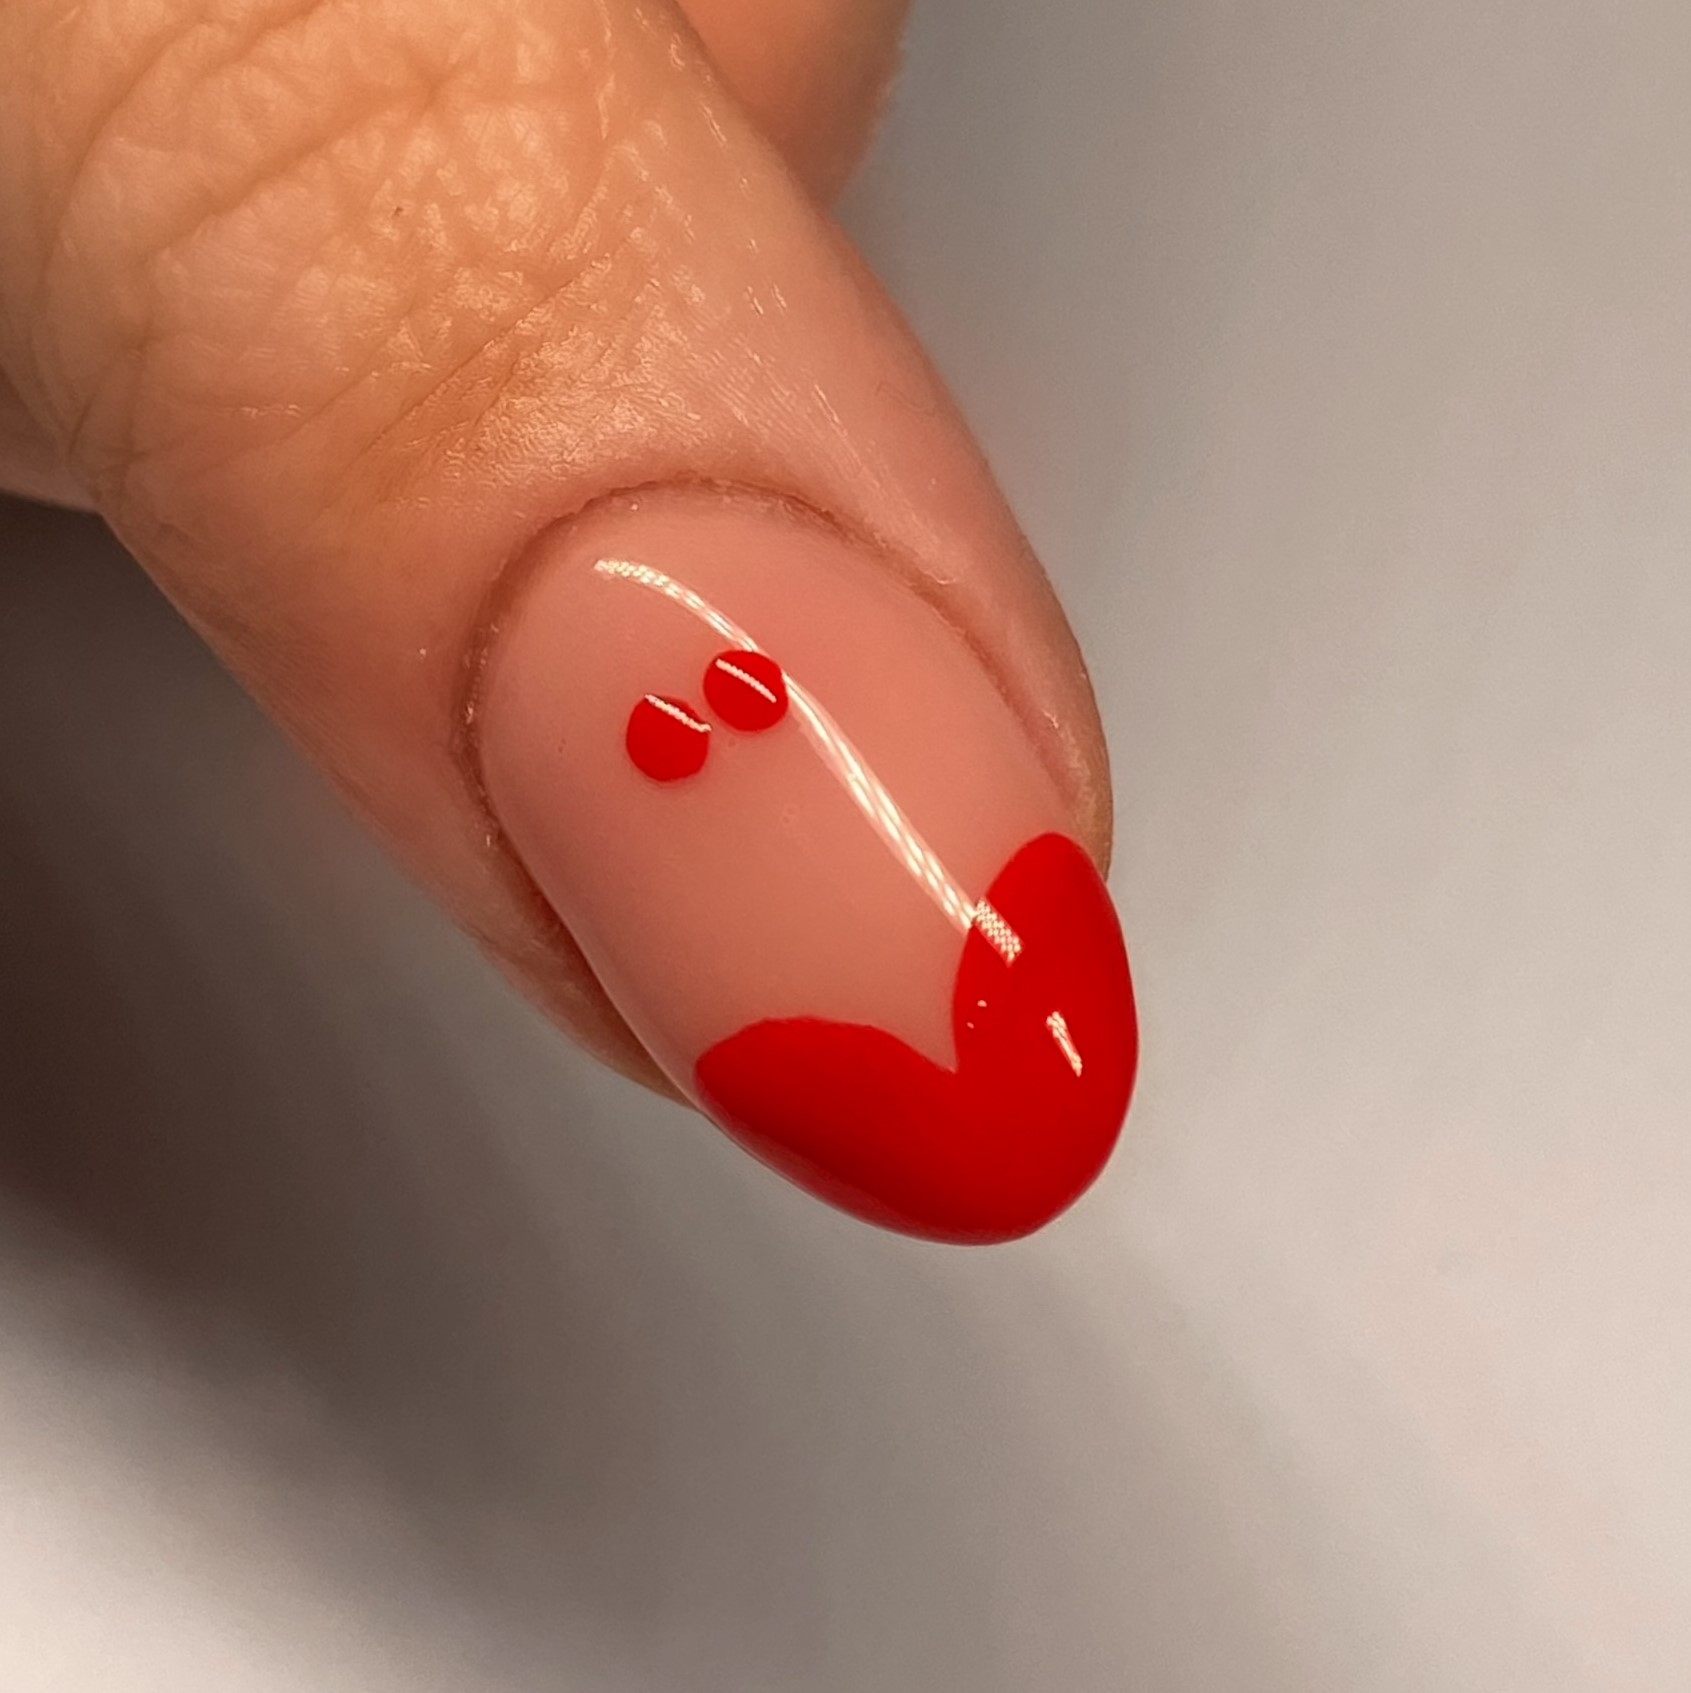
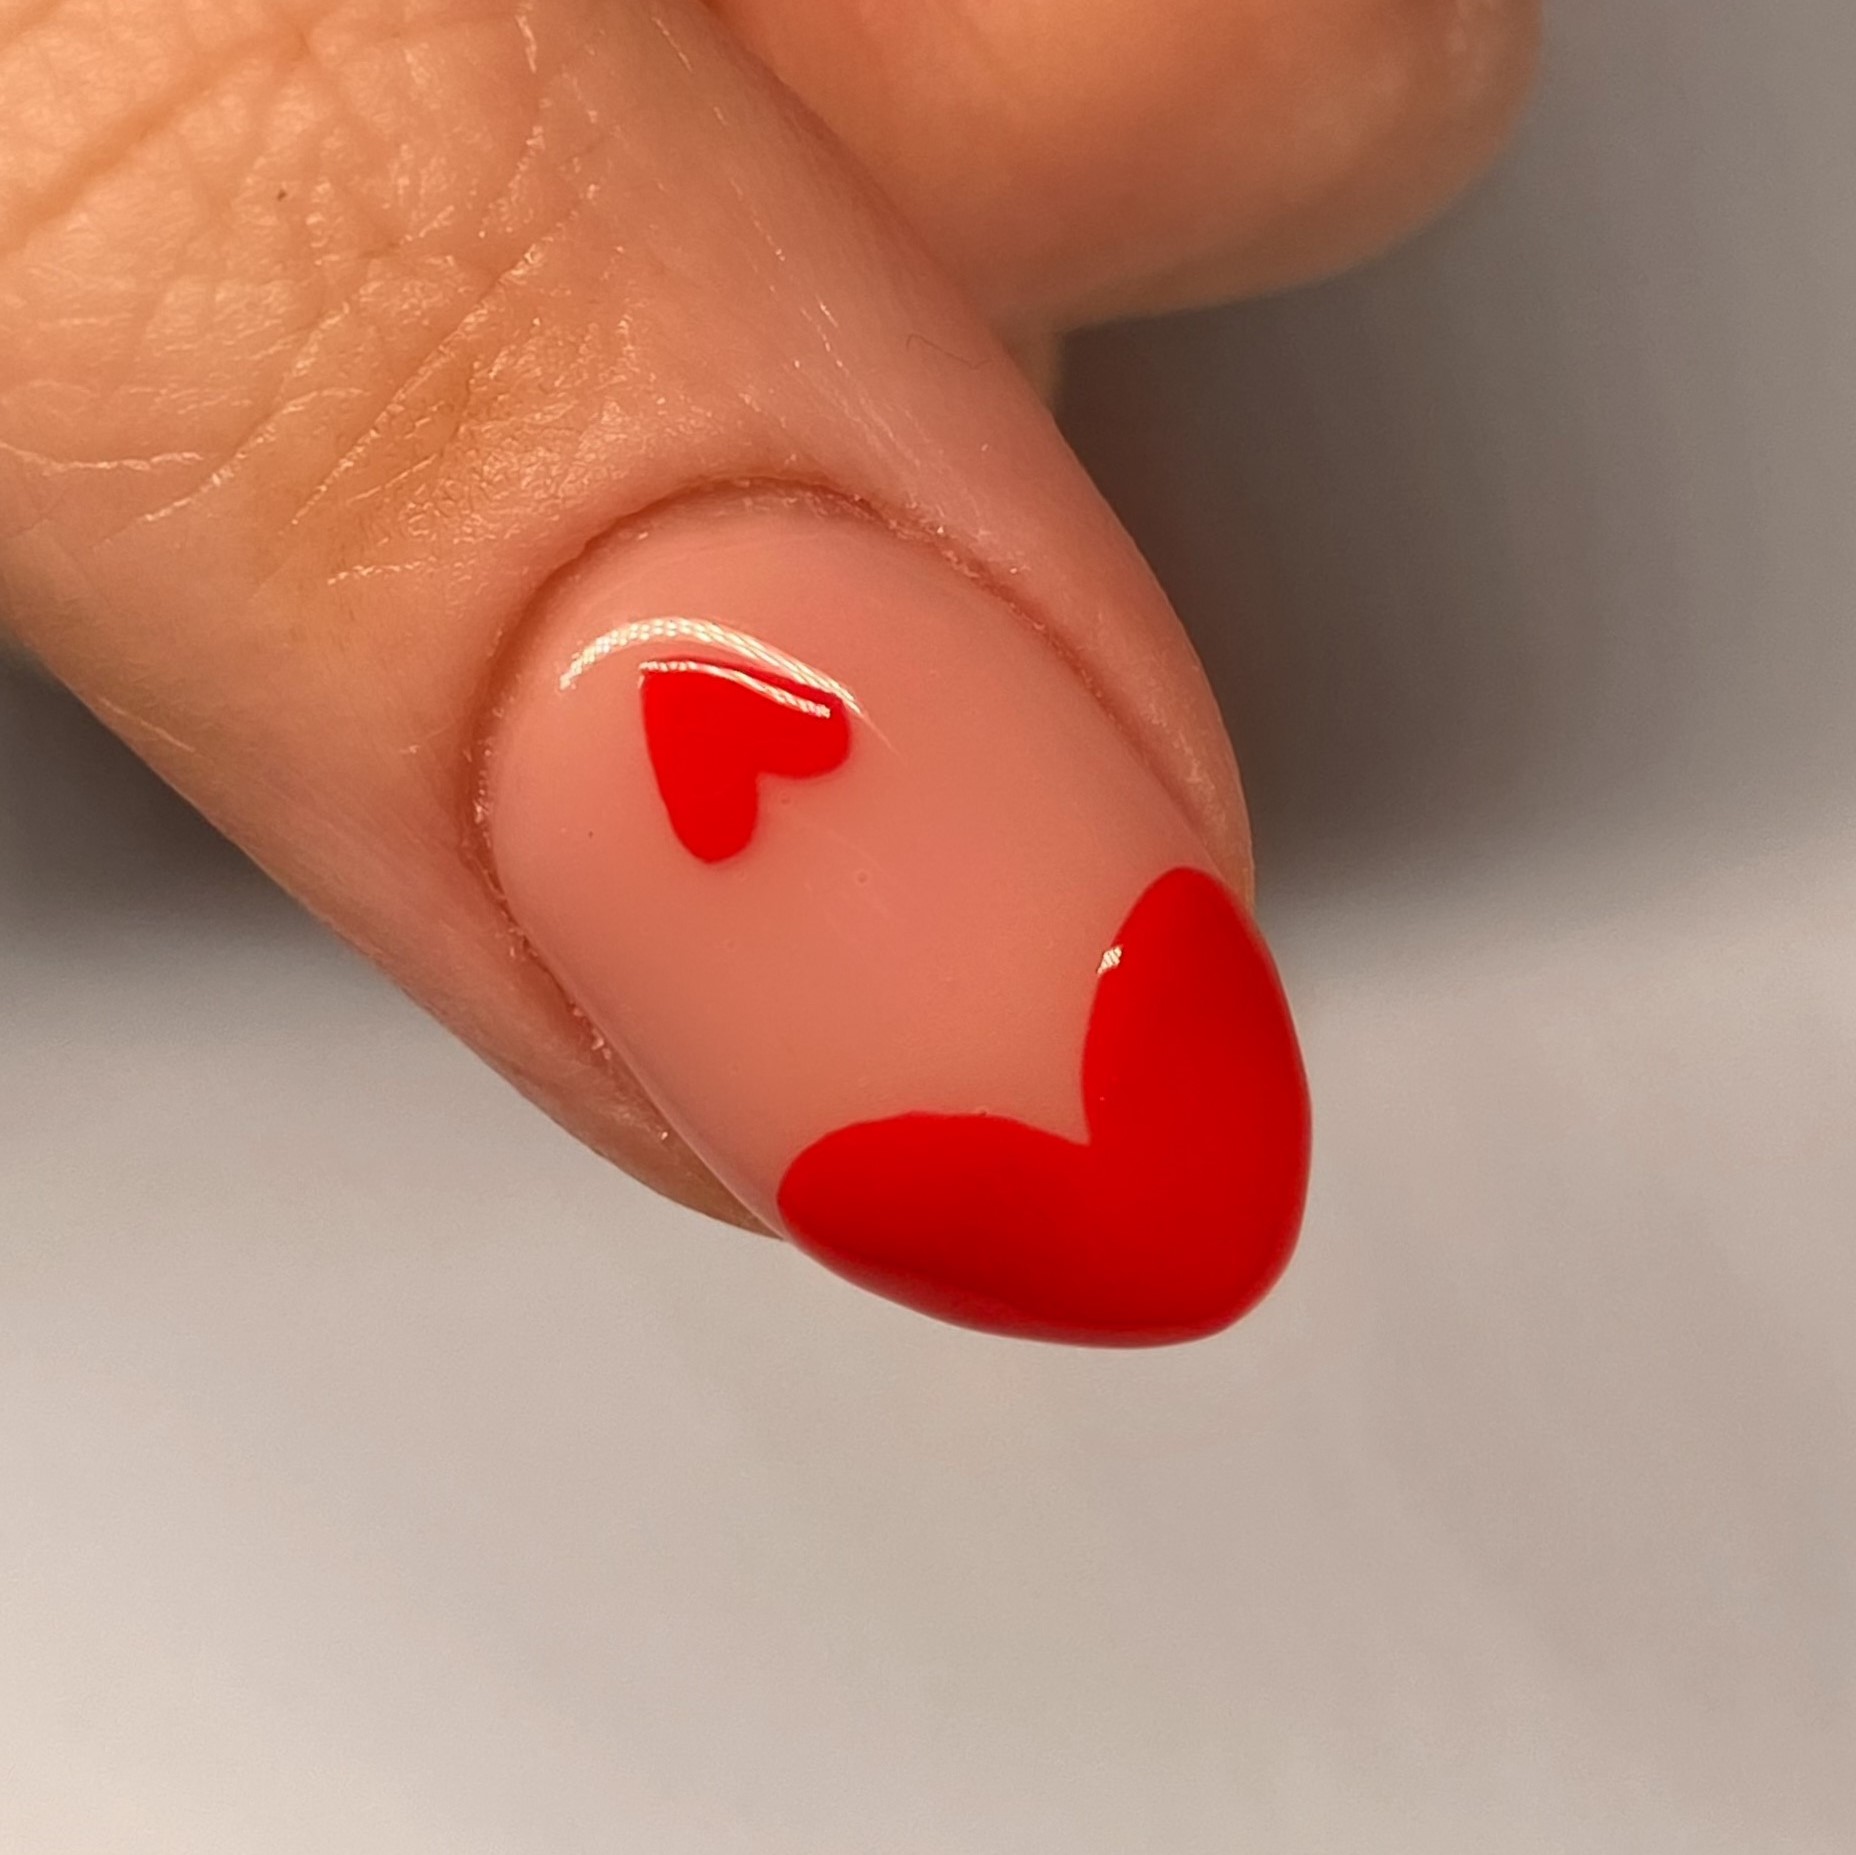
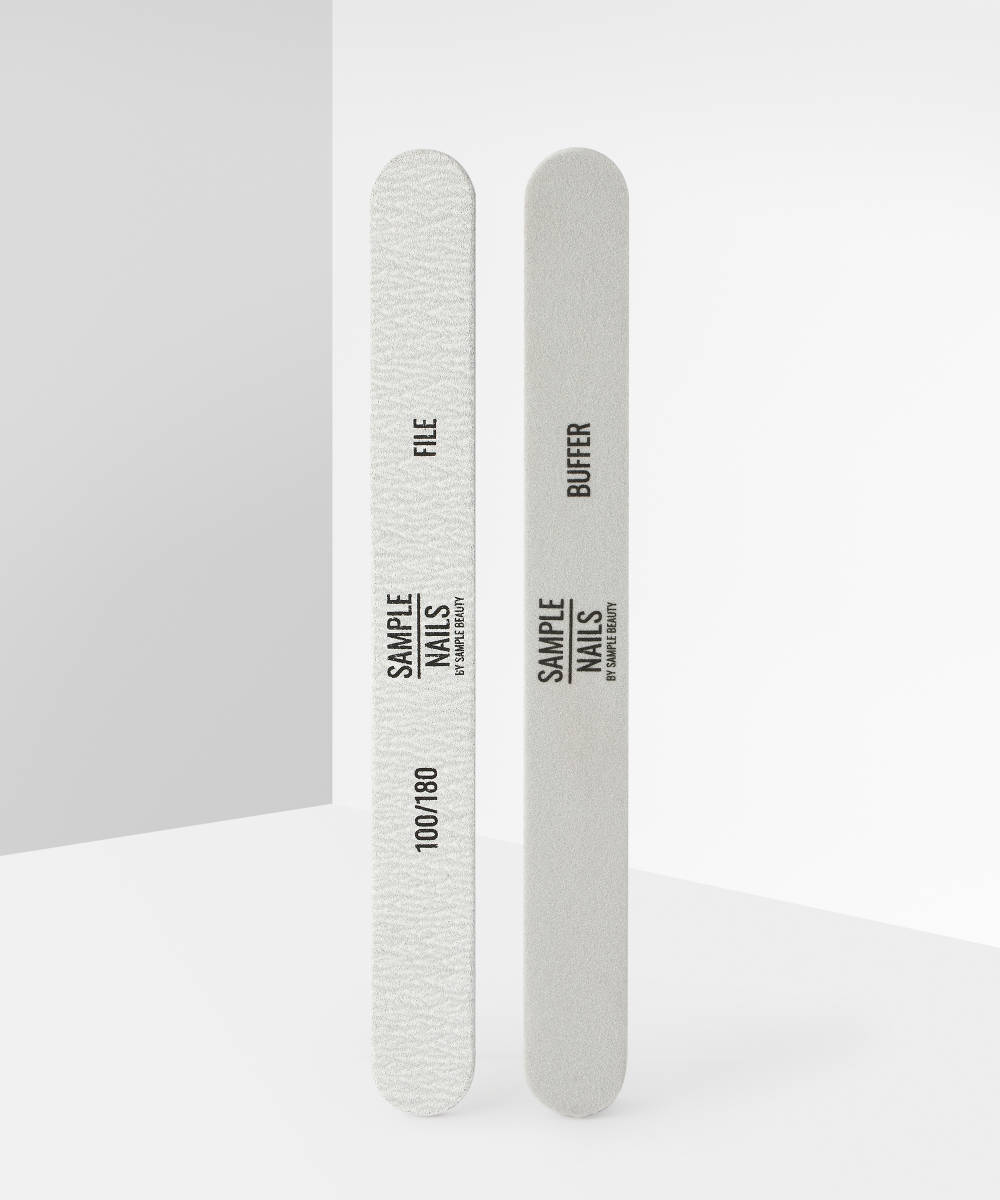
1. Start out by prepping and filing your nails into shape with a nail file. We prefer a rounded edge for this design.
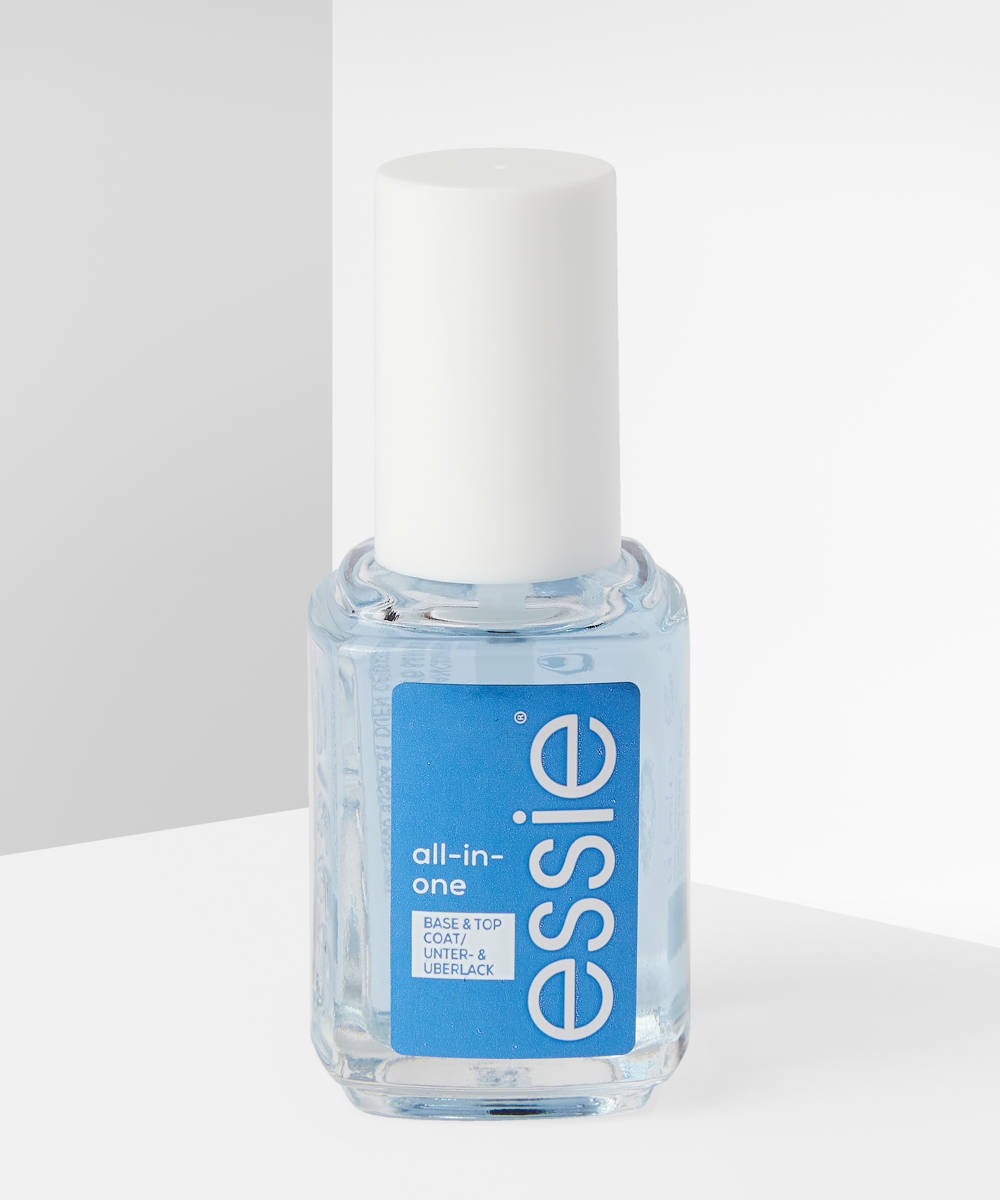
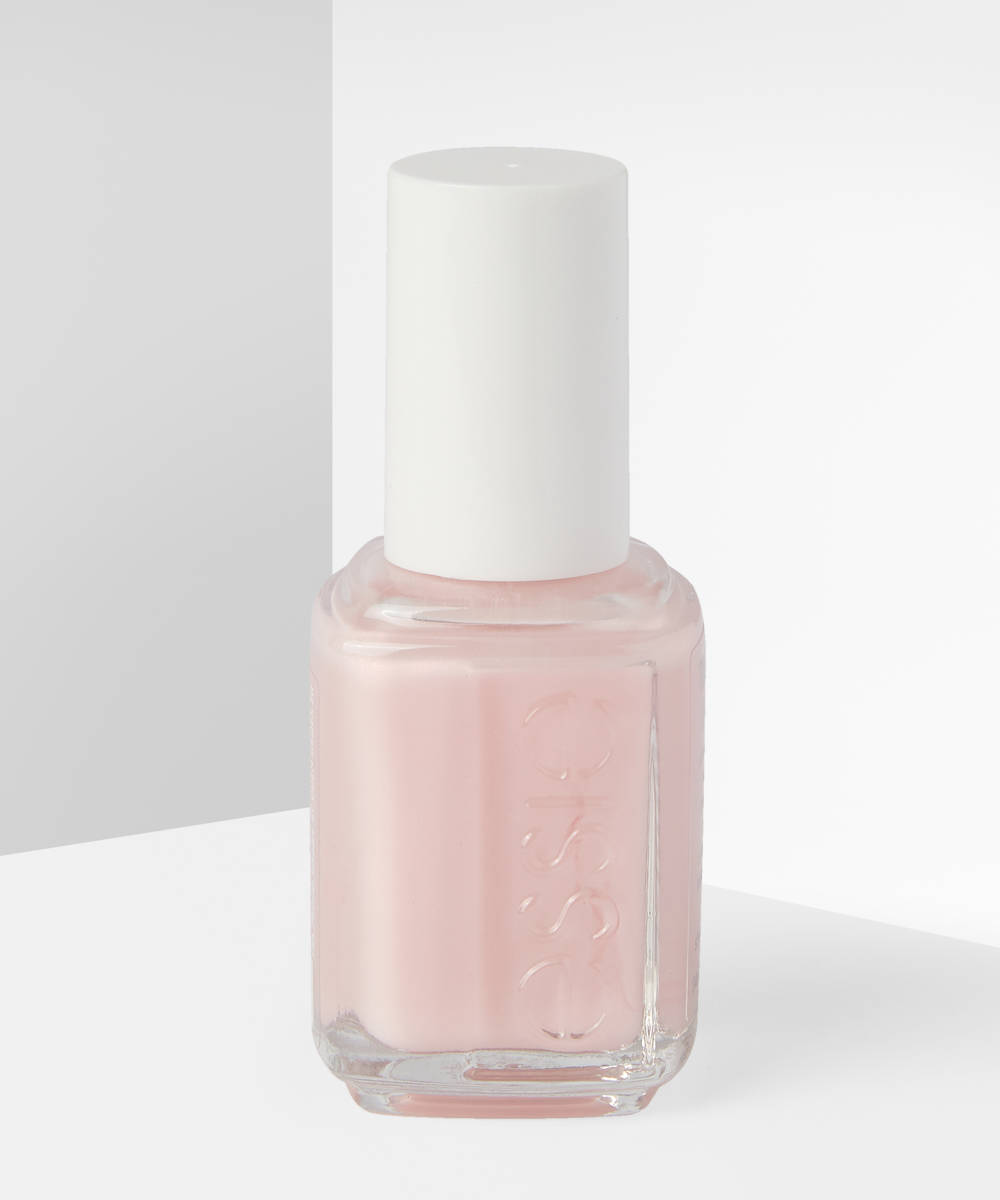
2. Apply a base coat and nude polish for the perfect base.
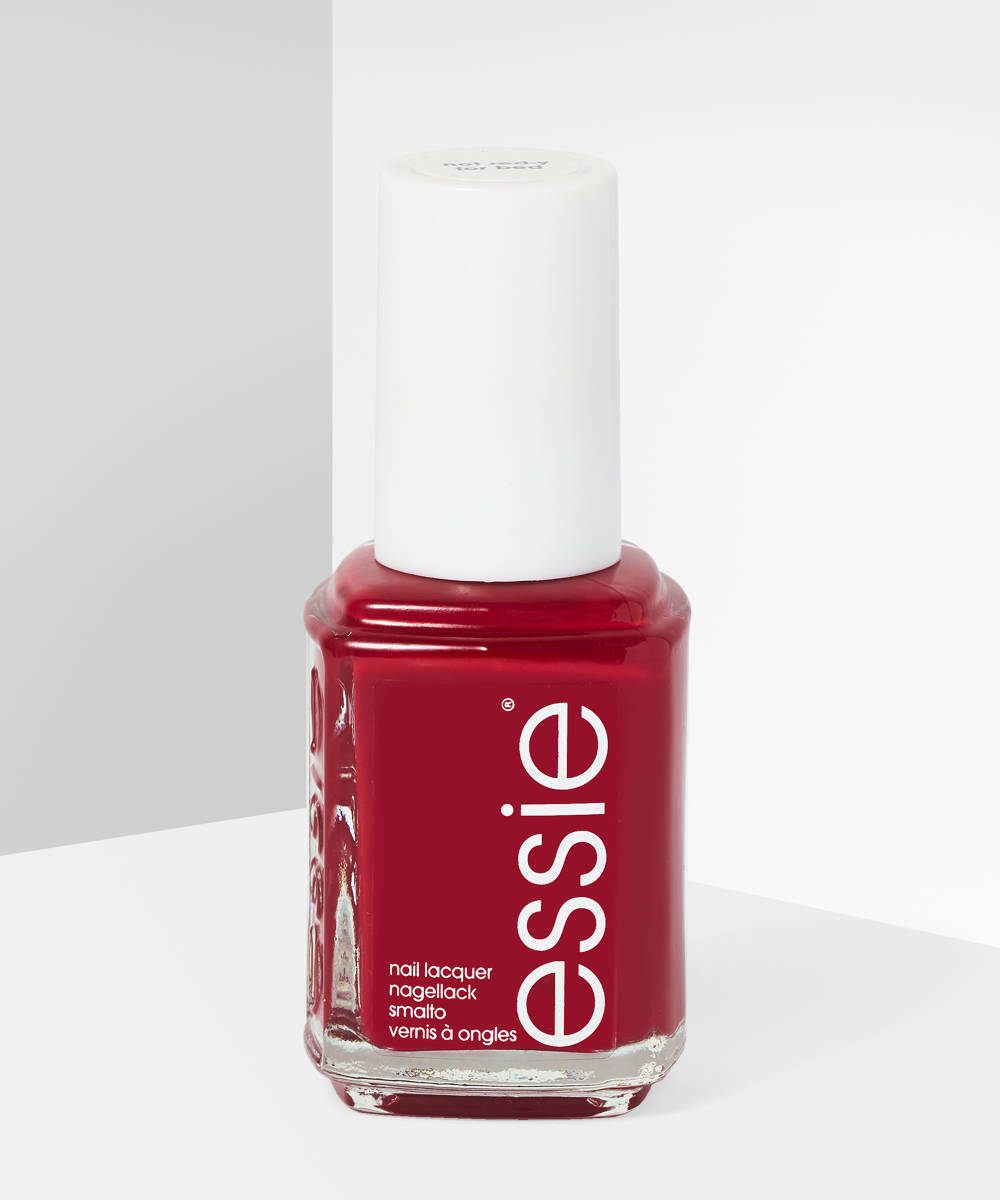
3. Using a red polish and small detailer brush, start by painting on the outline of a heart, then fill it in. Use thin layers and build up the colour until it’s opaque.
4. Then, using a dotting tool (a bobby pin also works for this step) create two small dots near the cuticle. While the polish is still wet, using a small detailer brush, connect the dots to form a heart.
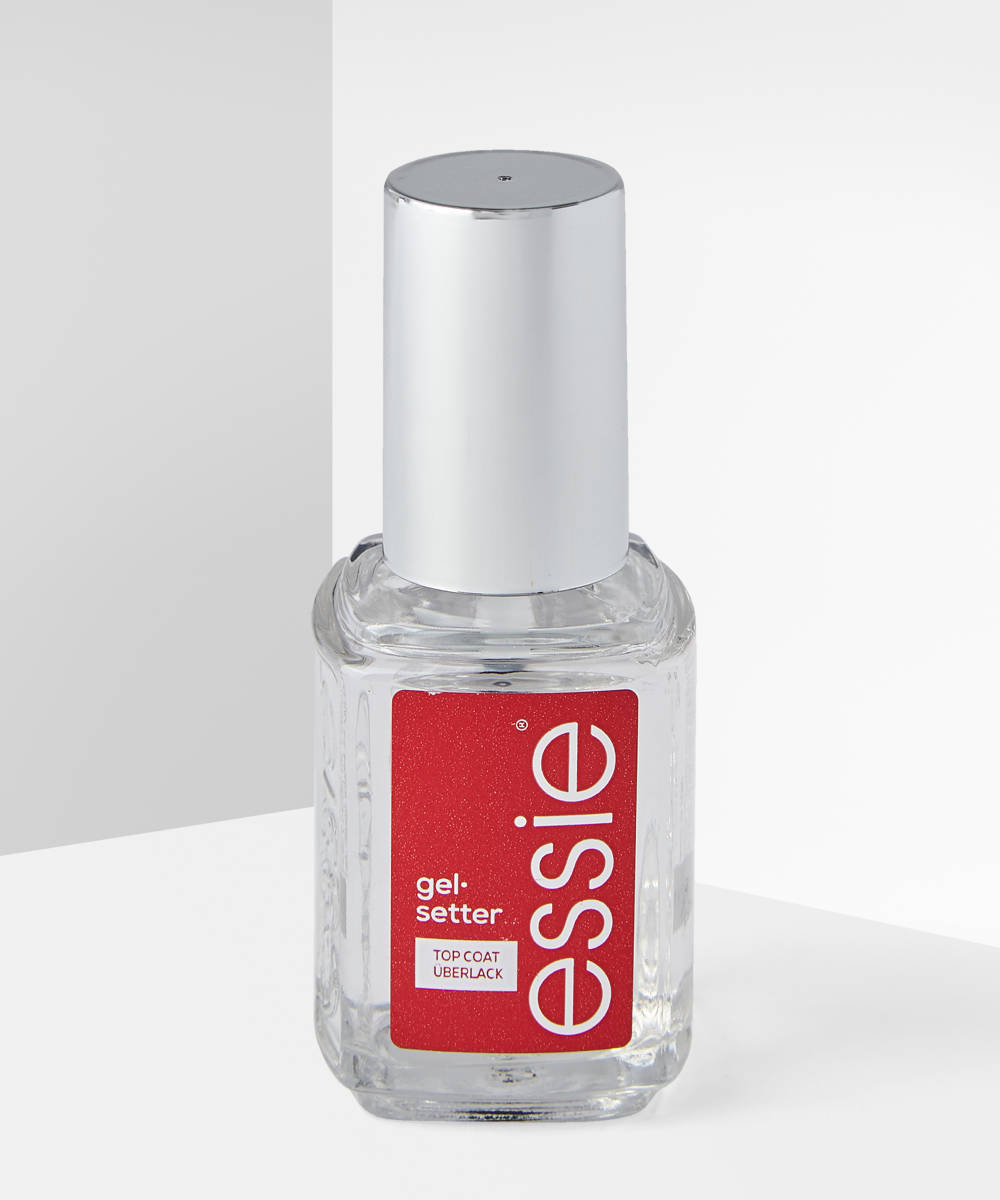
5. Once your red polish is dry, apply a top coat to lock your design in and prevent chipping.
6. Once your top coat is completely dry, apply cuticle oil to the cuticles to keep your nails healthy and strong.
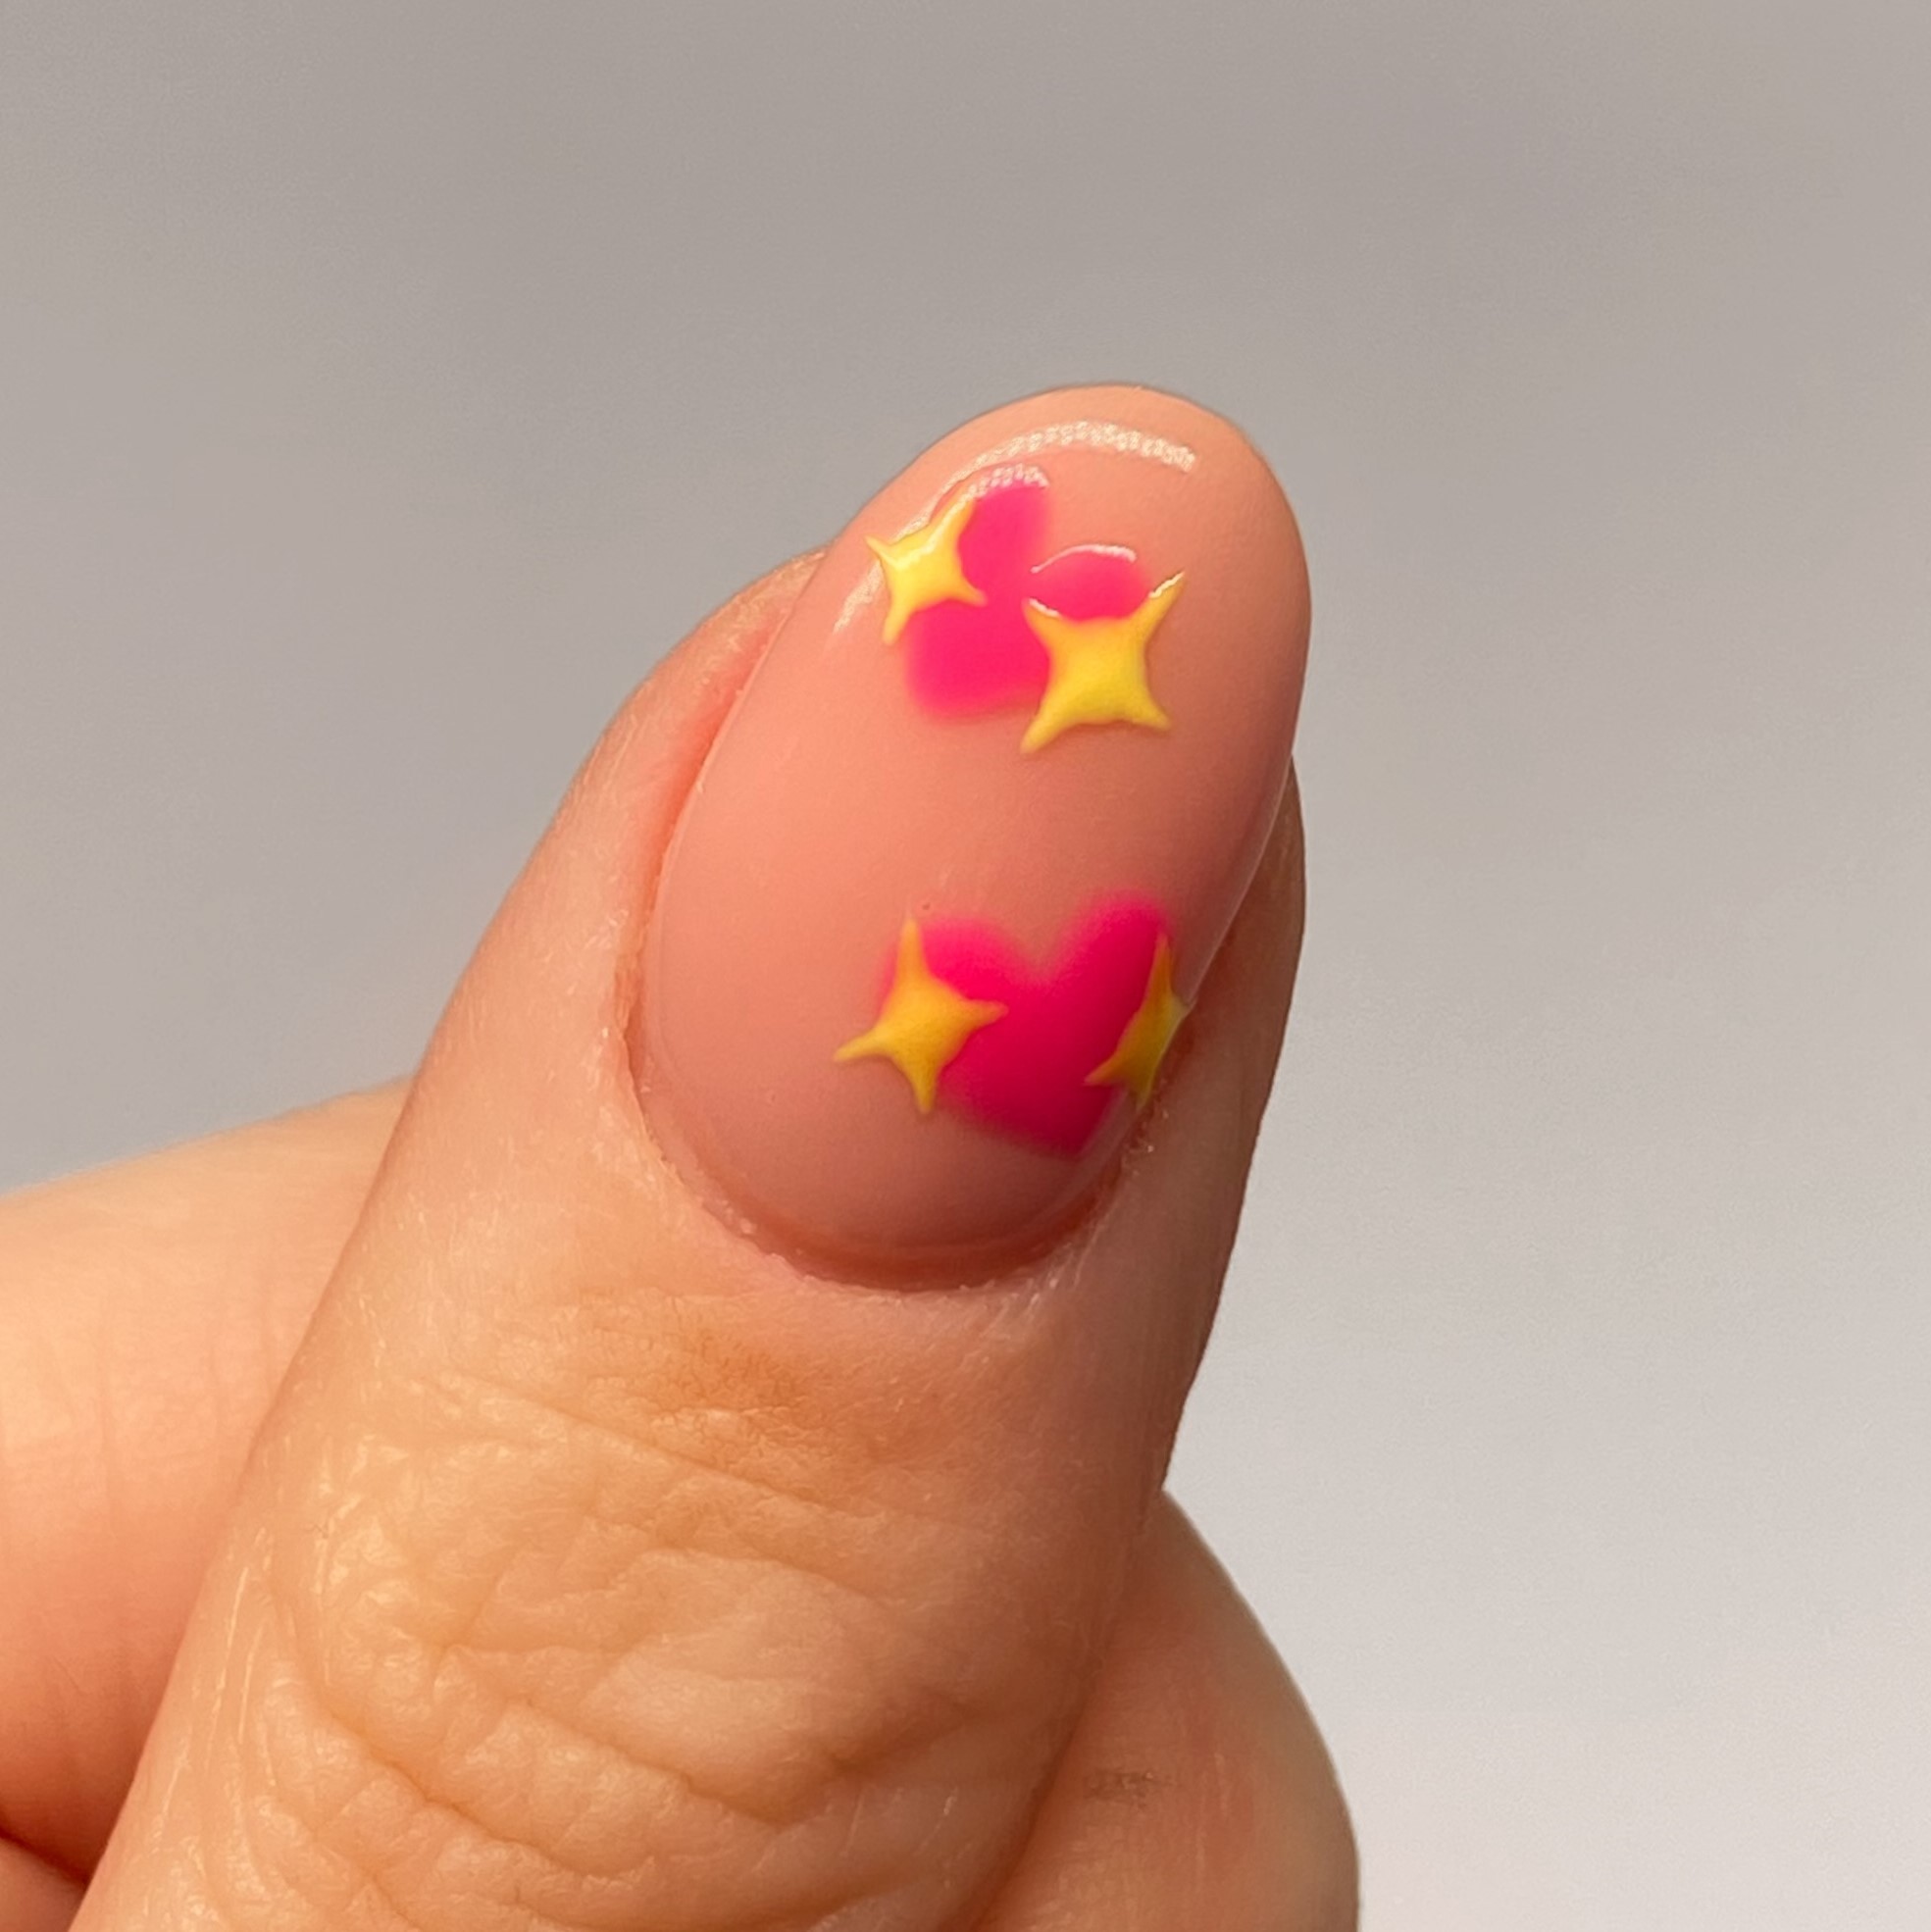
💖 Sparkle Hearts 💖
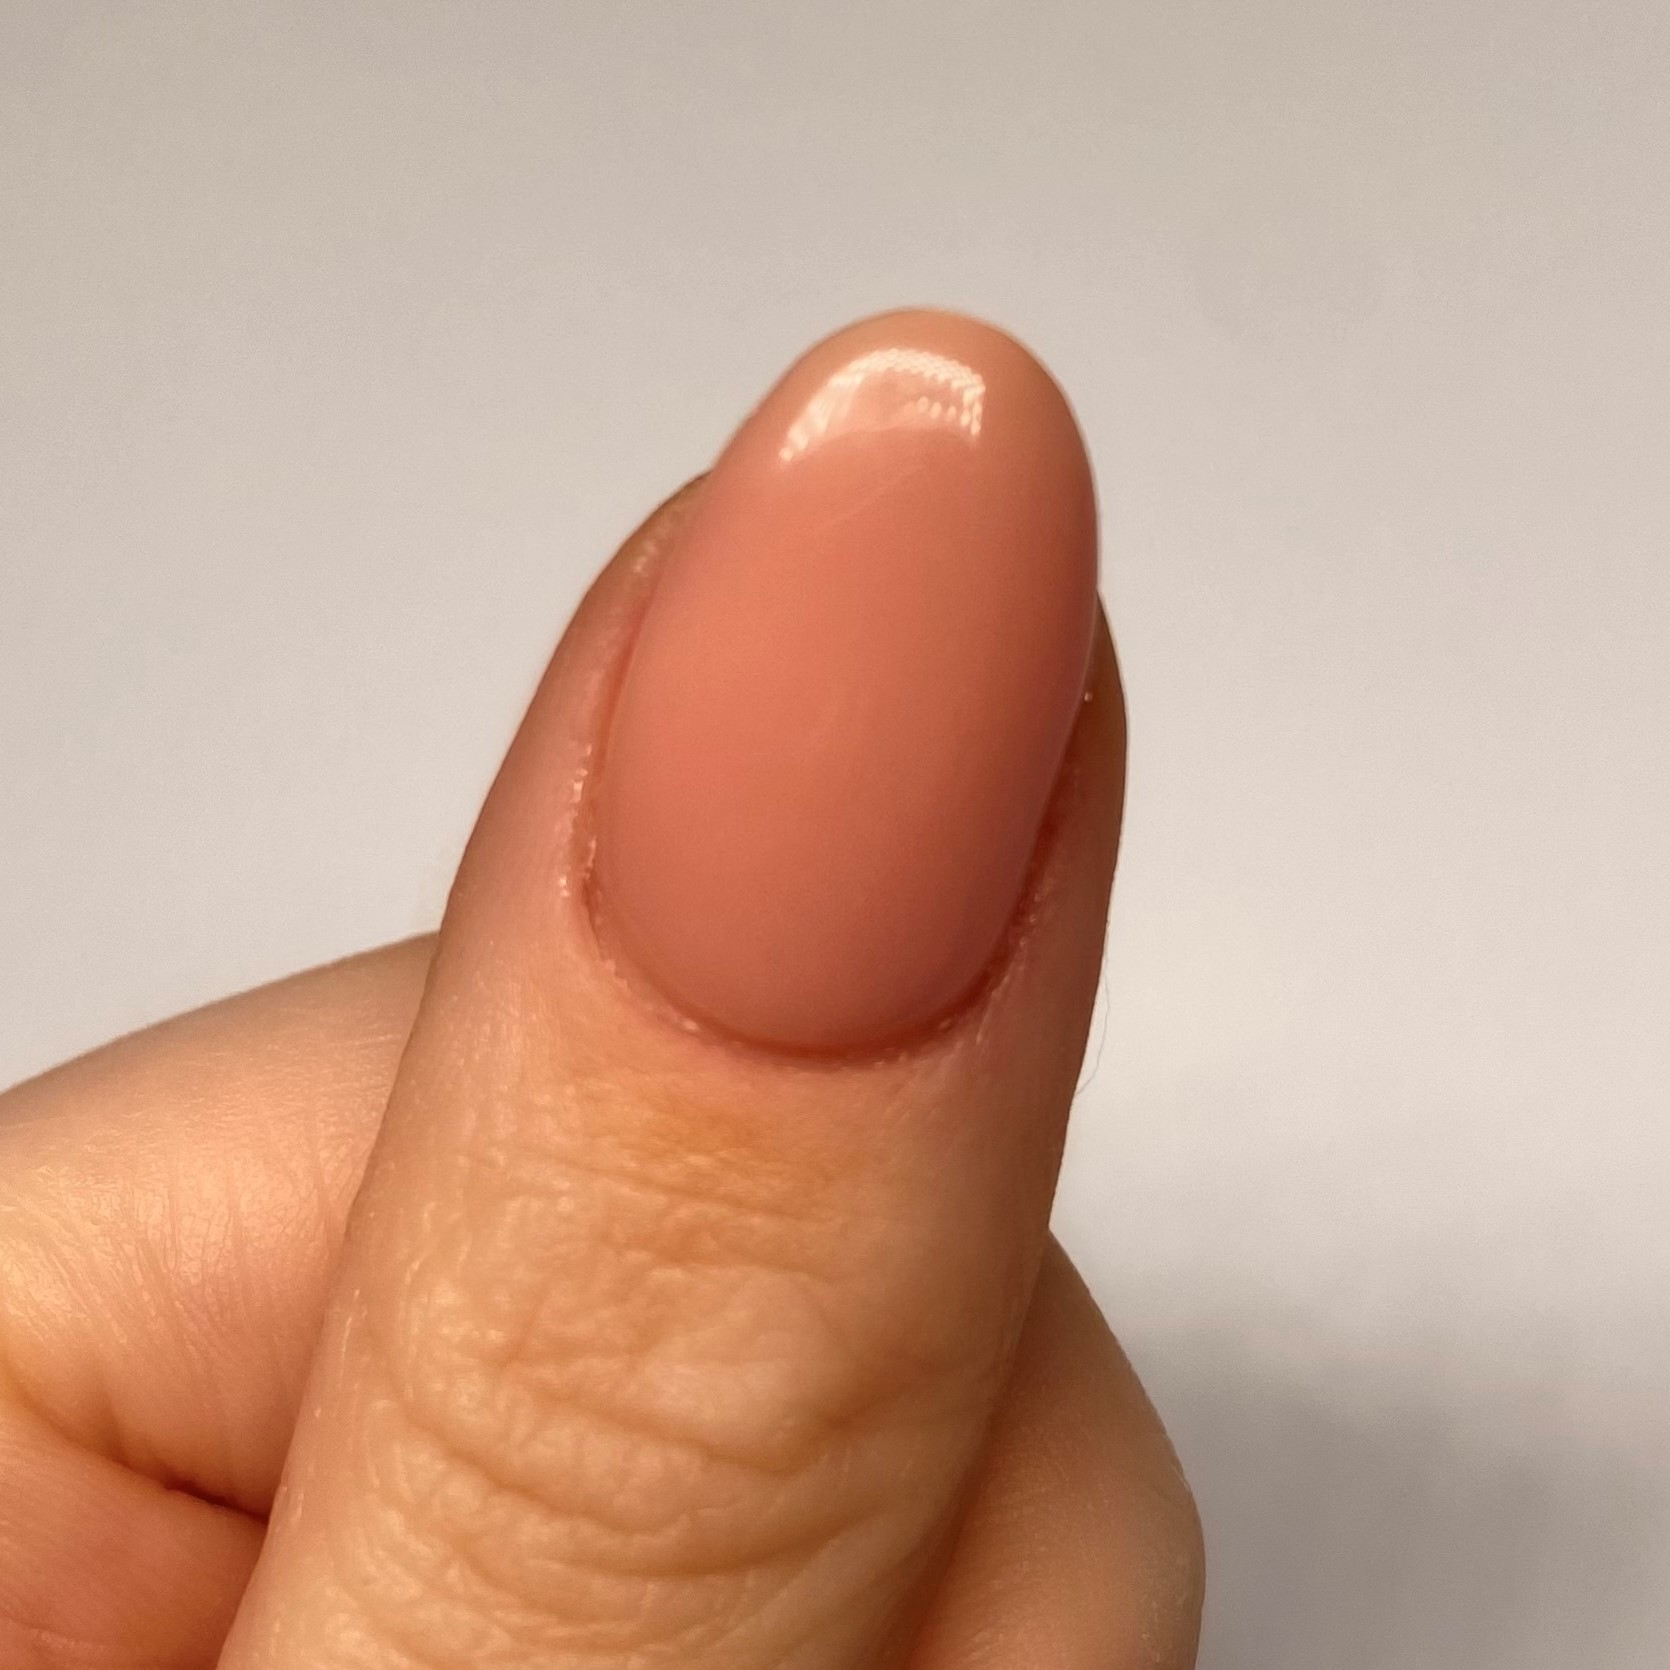
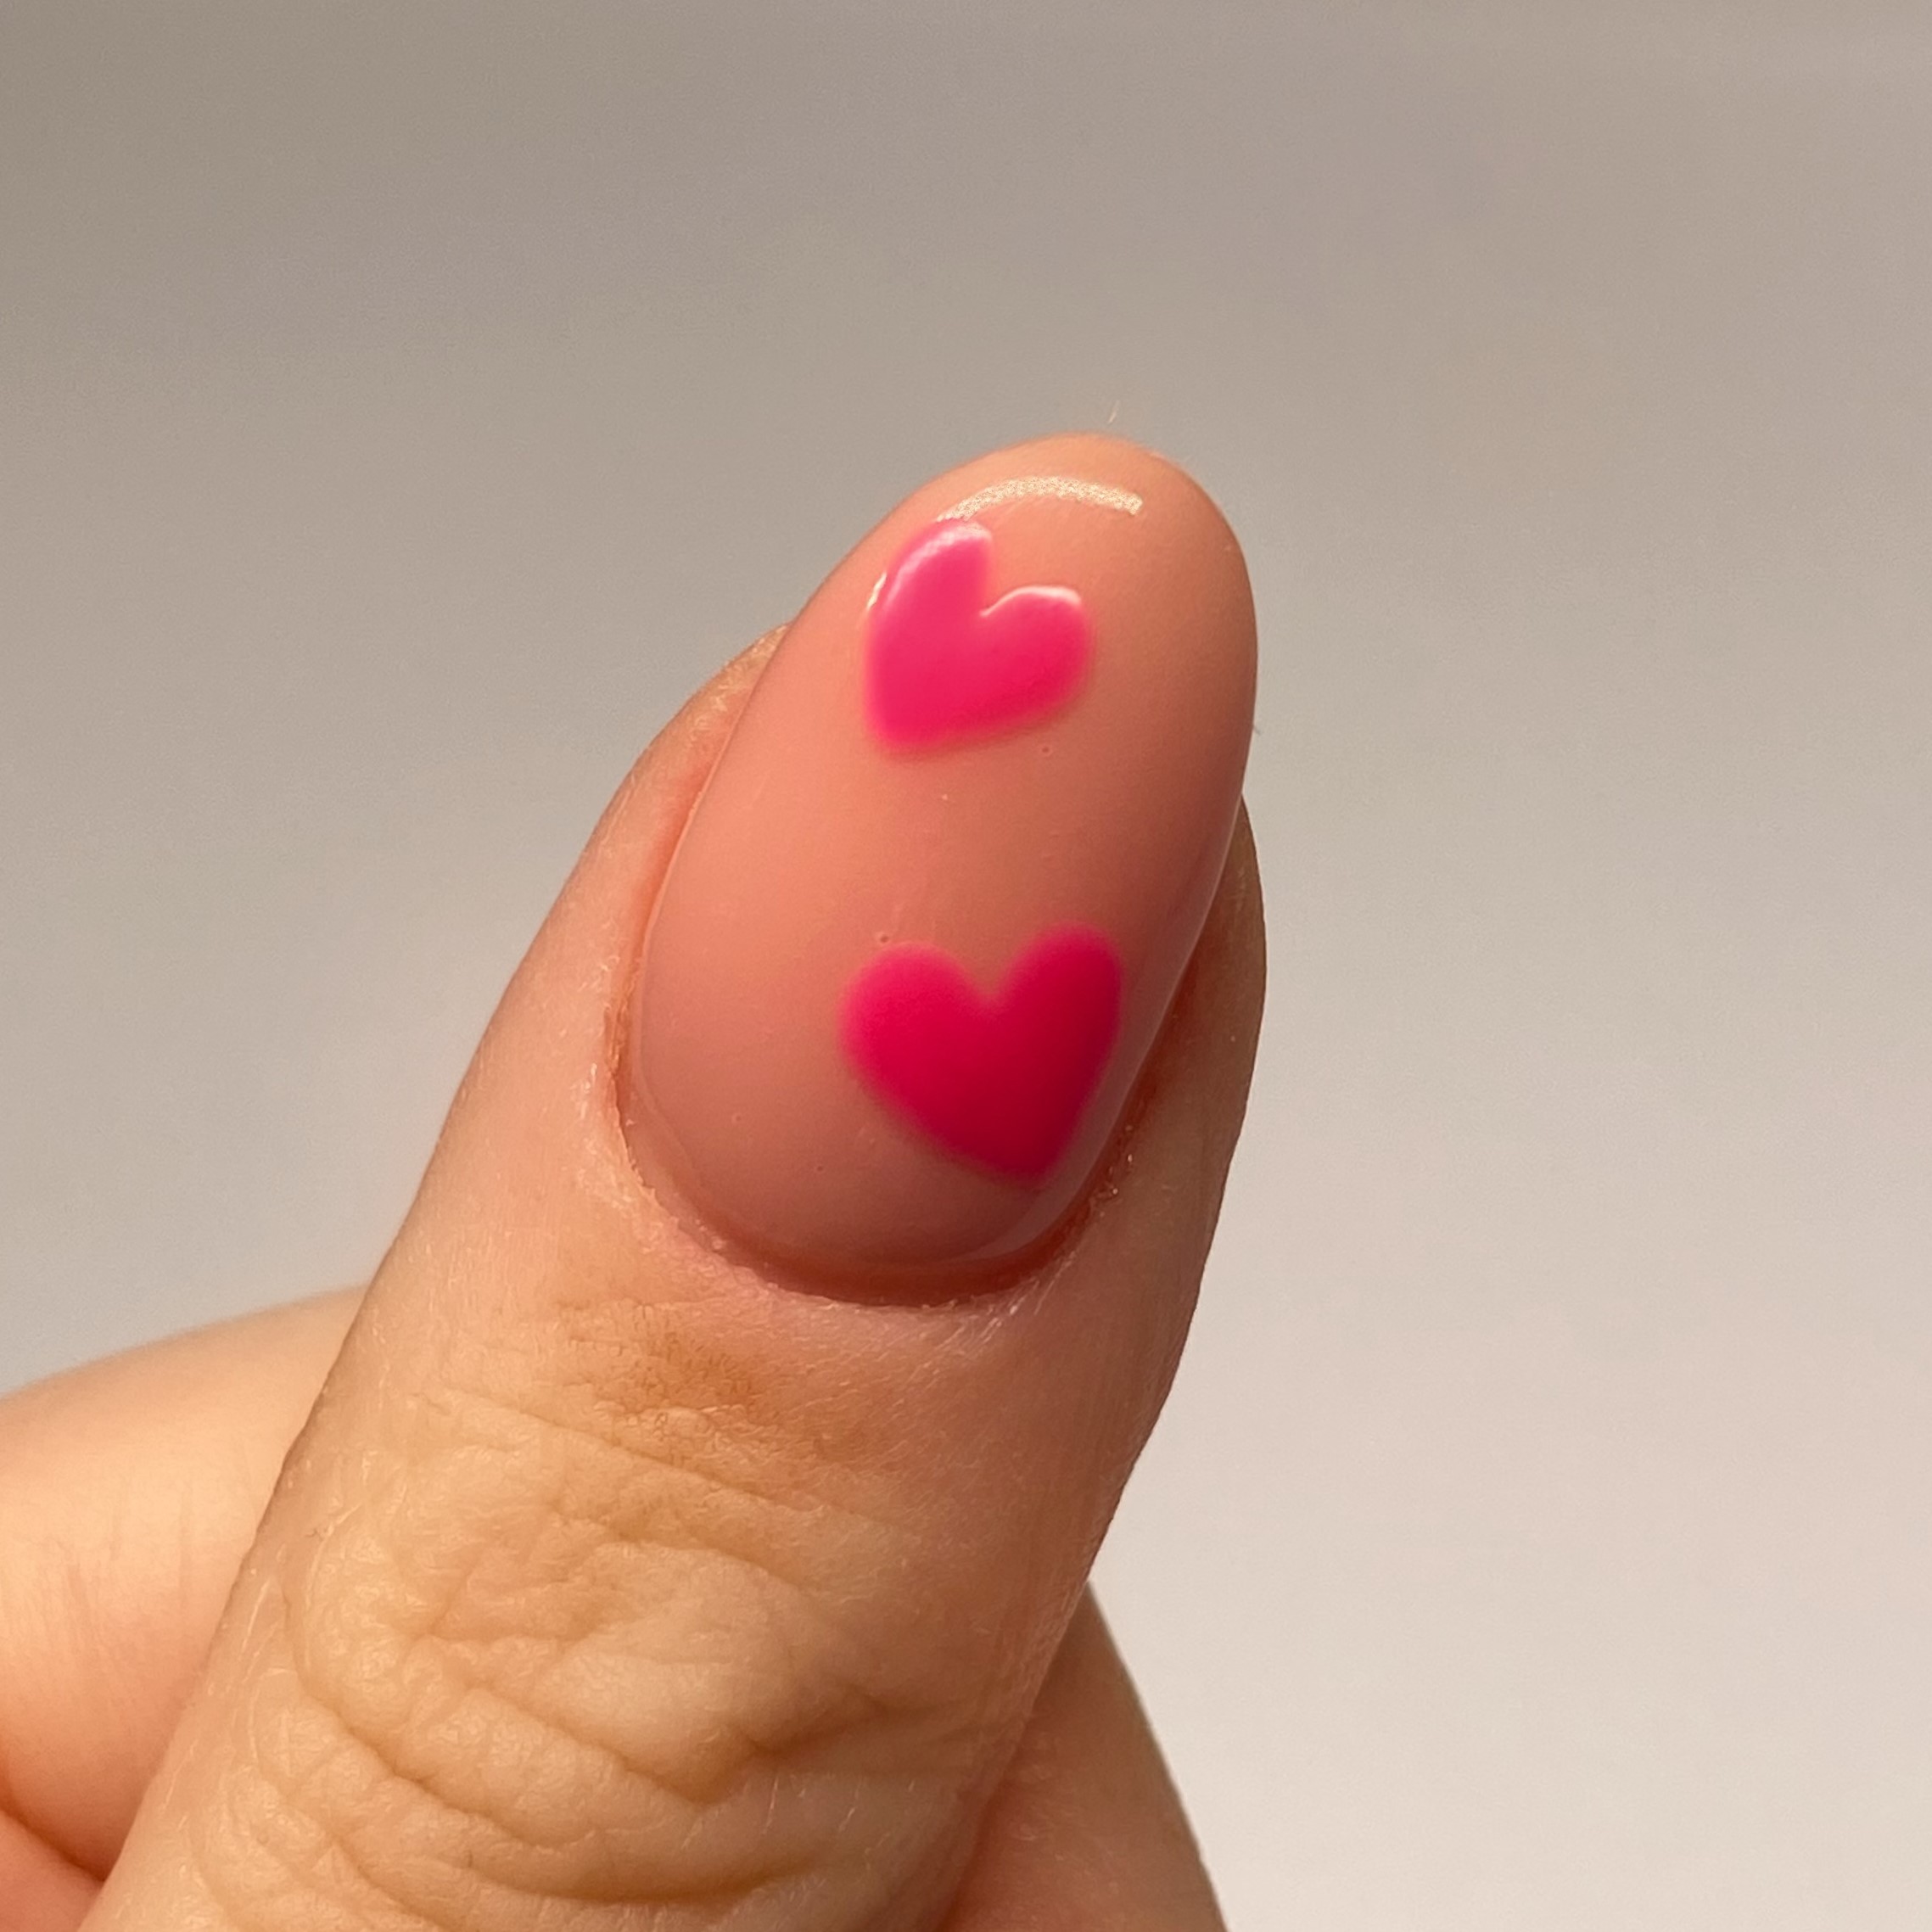

1. Start out by prepping and filing your nails into shape with a nail file.
2. Apply a base coat and nude polish for the perfect base.
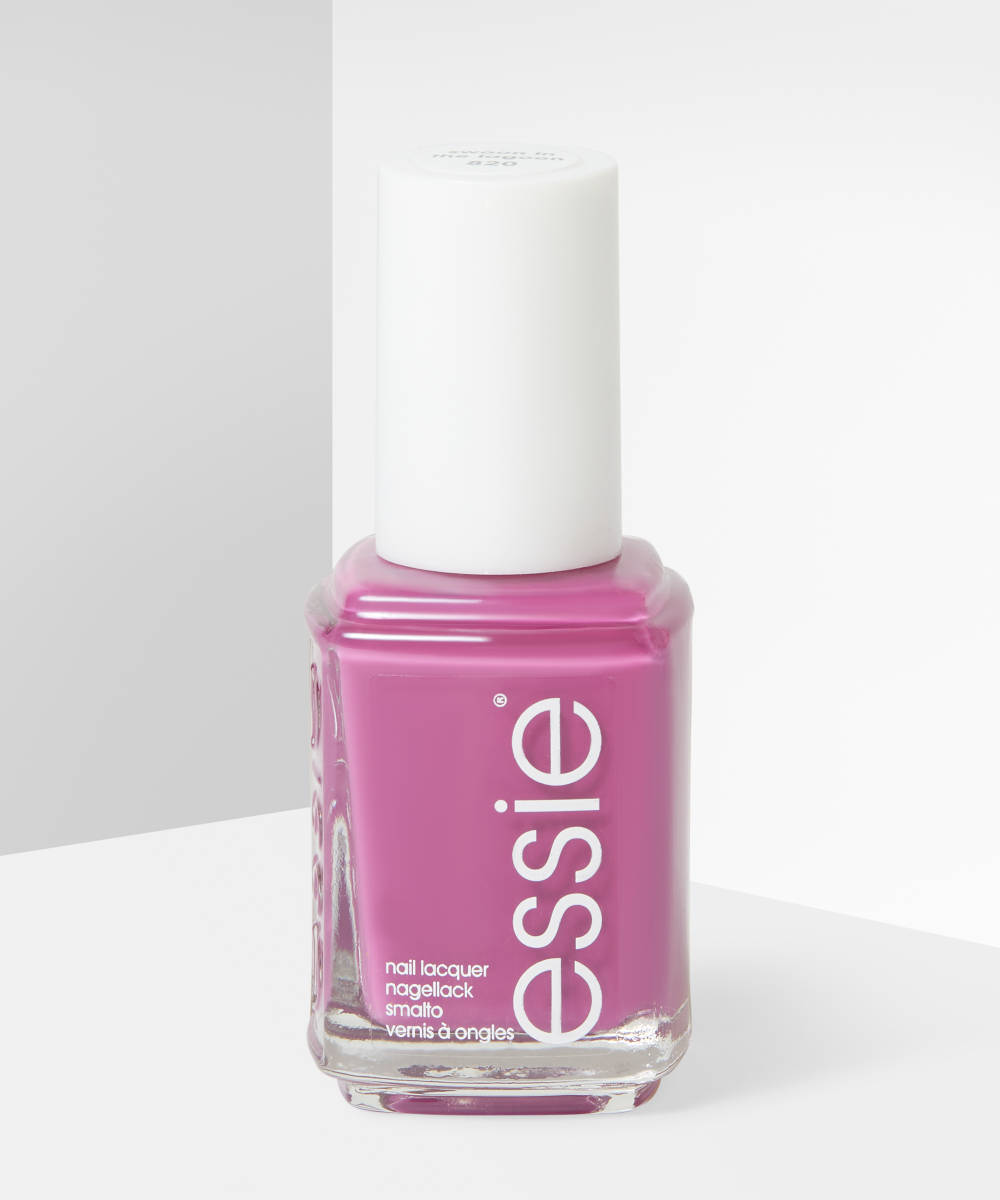
3. Using a pink polish and small detailer brush, start by painting on the outline of a heart, then fill it in. Use thin layers and build up the colour until it’s opaque.
4. Then, using a dotting tool (a bobby pin also works for this step) create two small yellow circles near the cuticle. While the polish is still wet, using a small detailer brush, connect the dots to form a heart.
5. Once your red polish is dry, apply a top coat to lock your design in and prevent chipping.
6. Once your top coat is completely dry, apply cuticle oil to the cuticles to keep your nails healthy and strong.
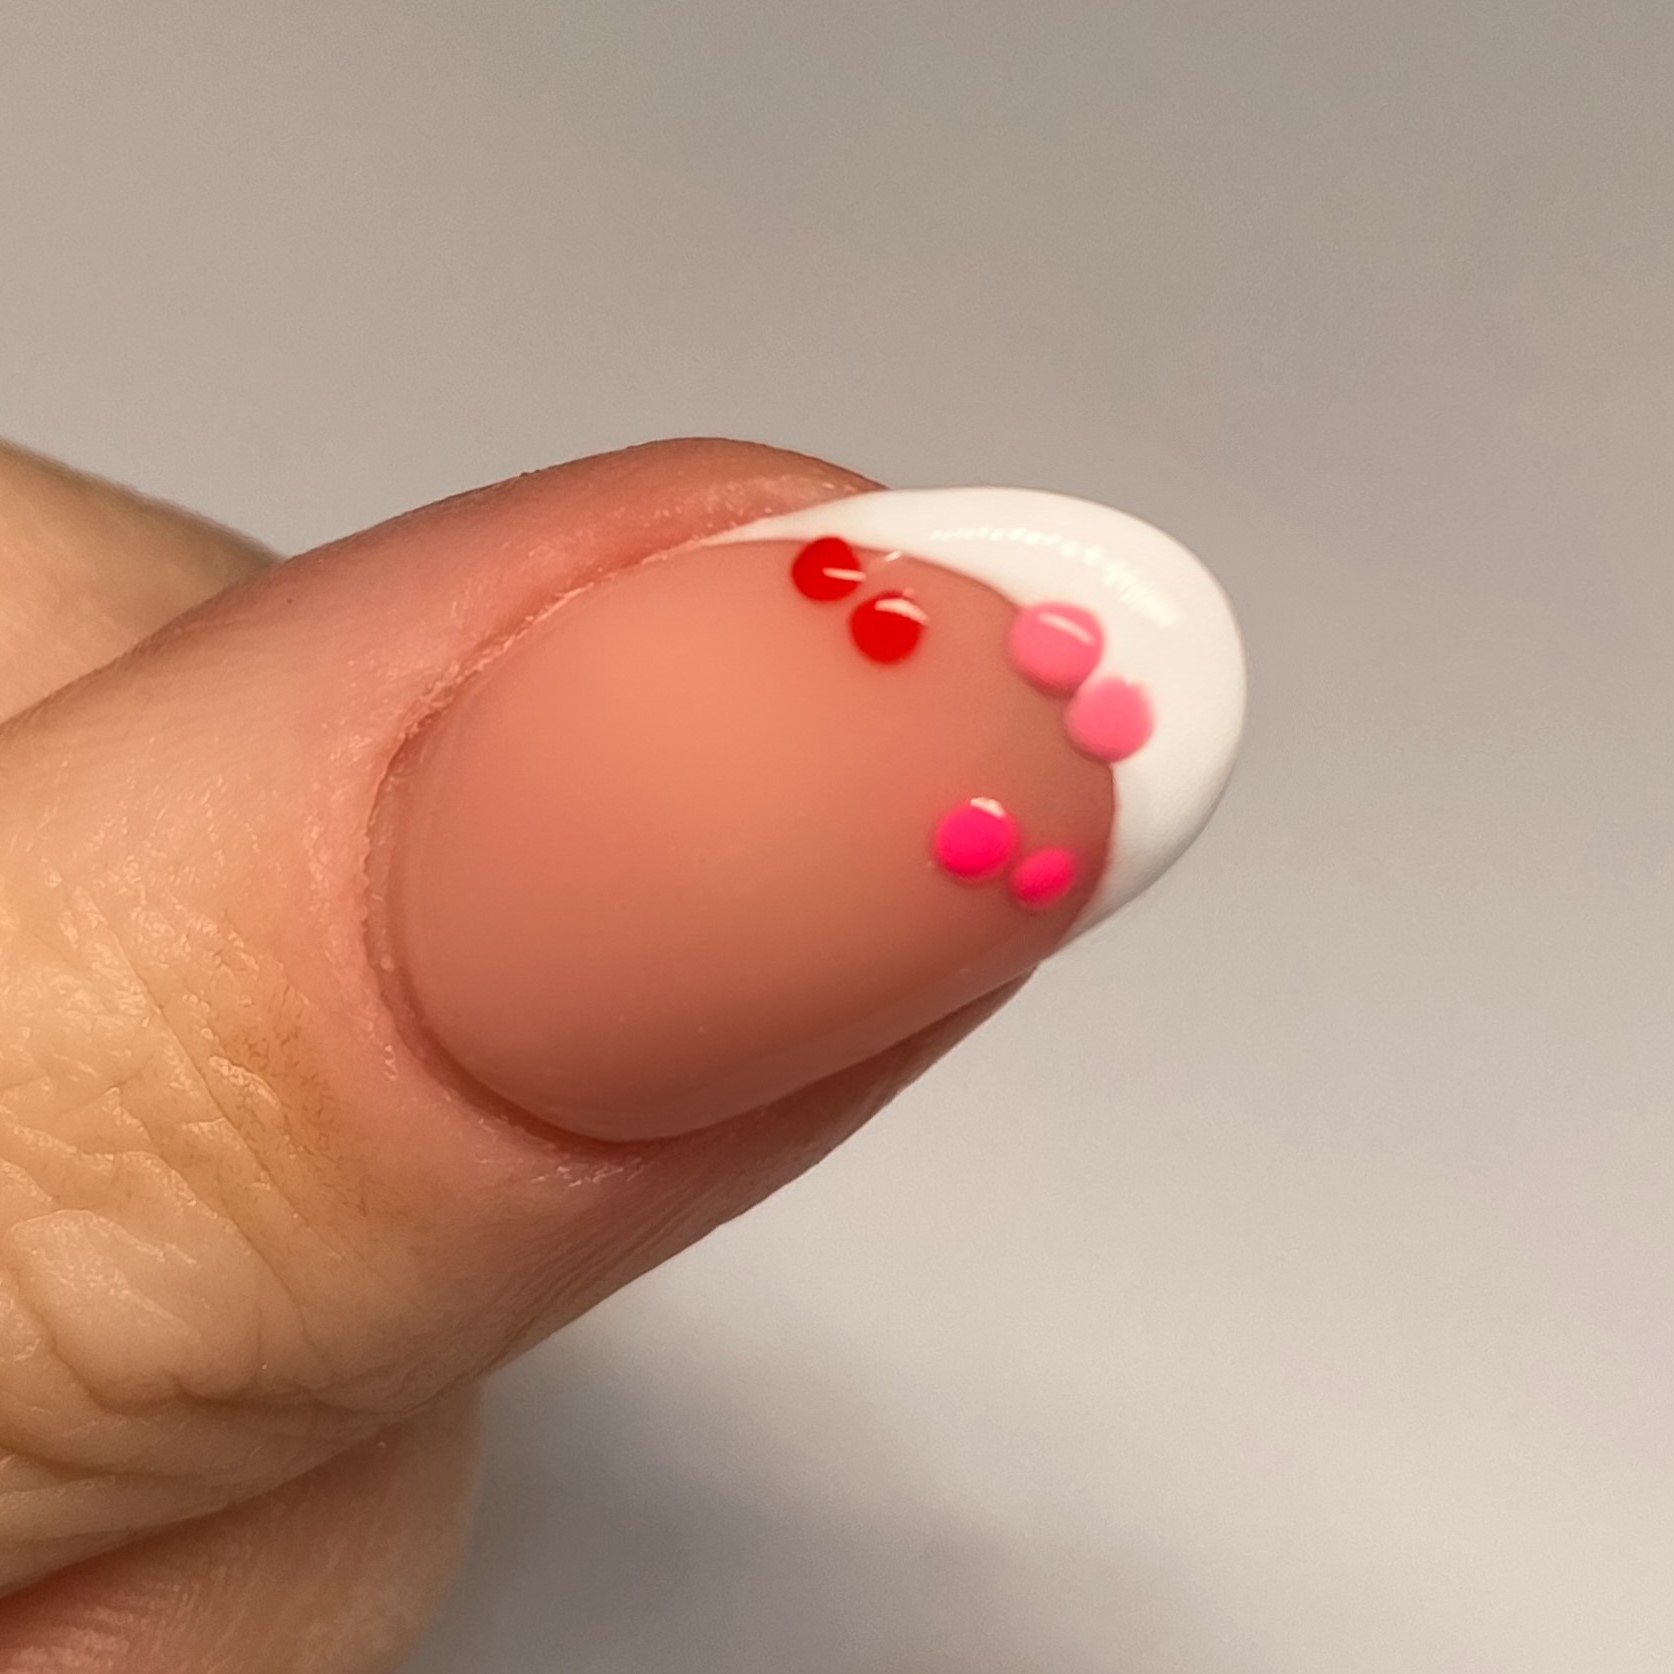
🤍 Multi-coloured Hearts 🤍
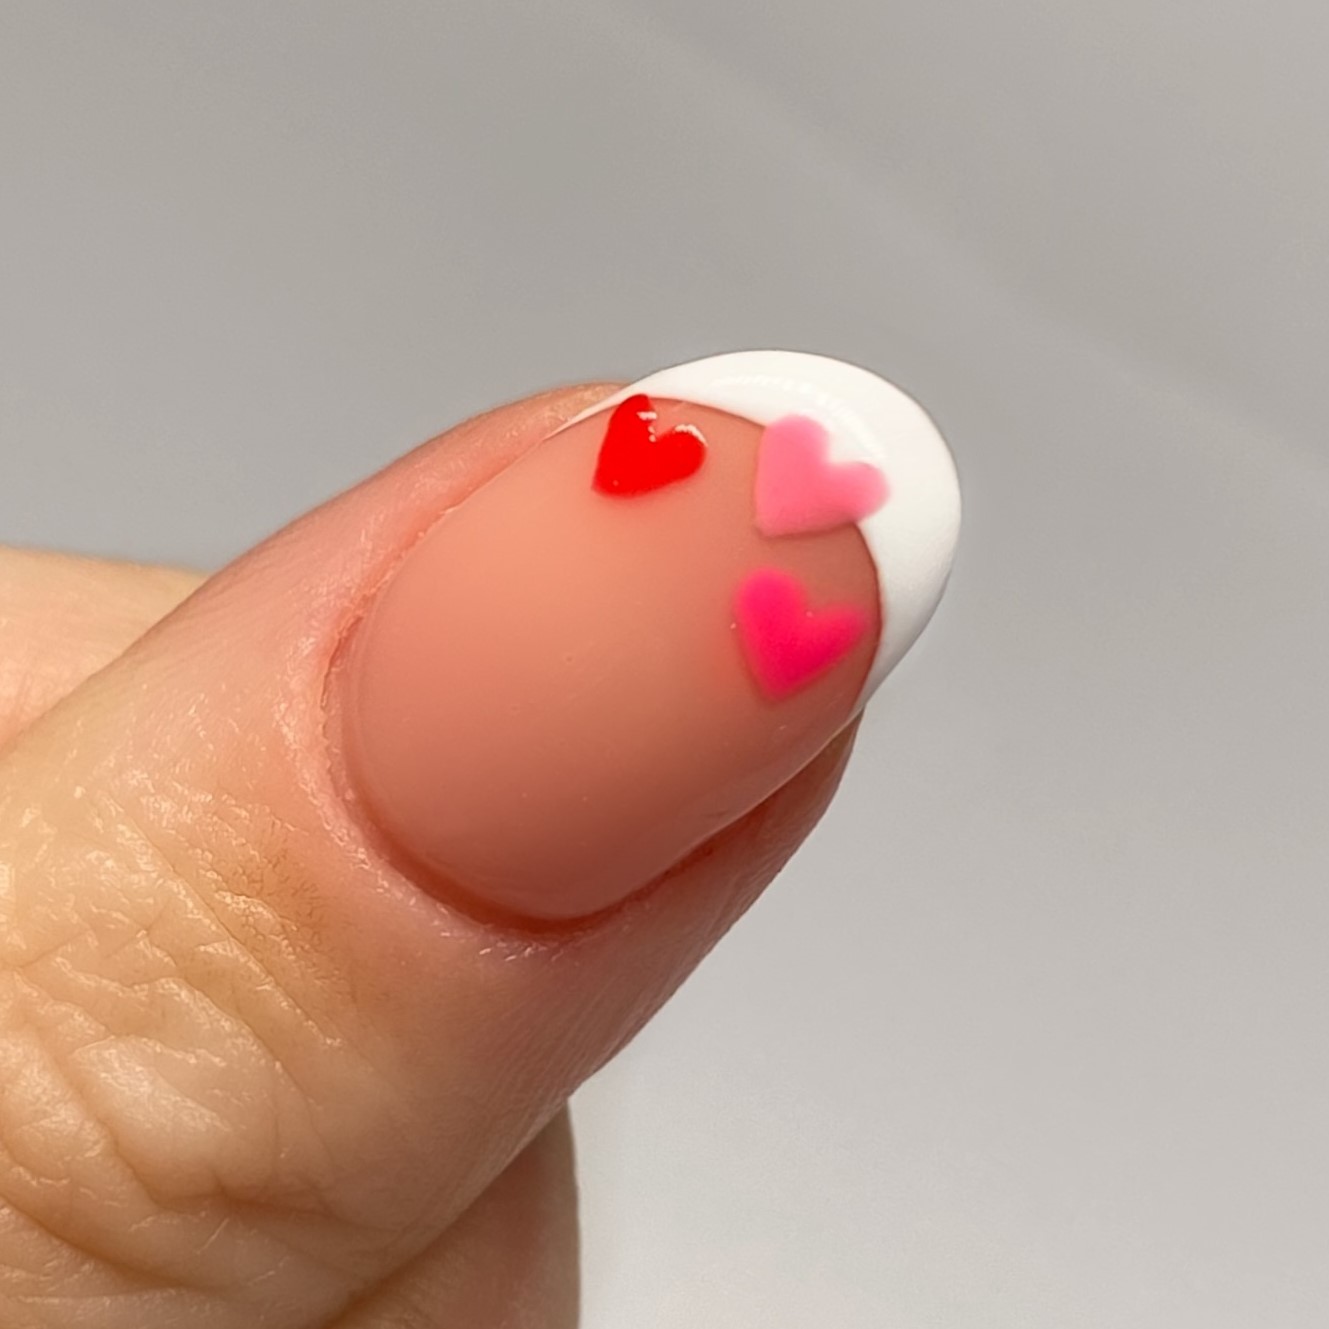
1. Start out by prepping and filing your nails into shape with a nail file.
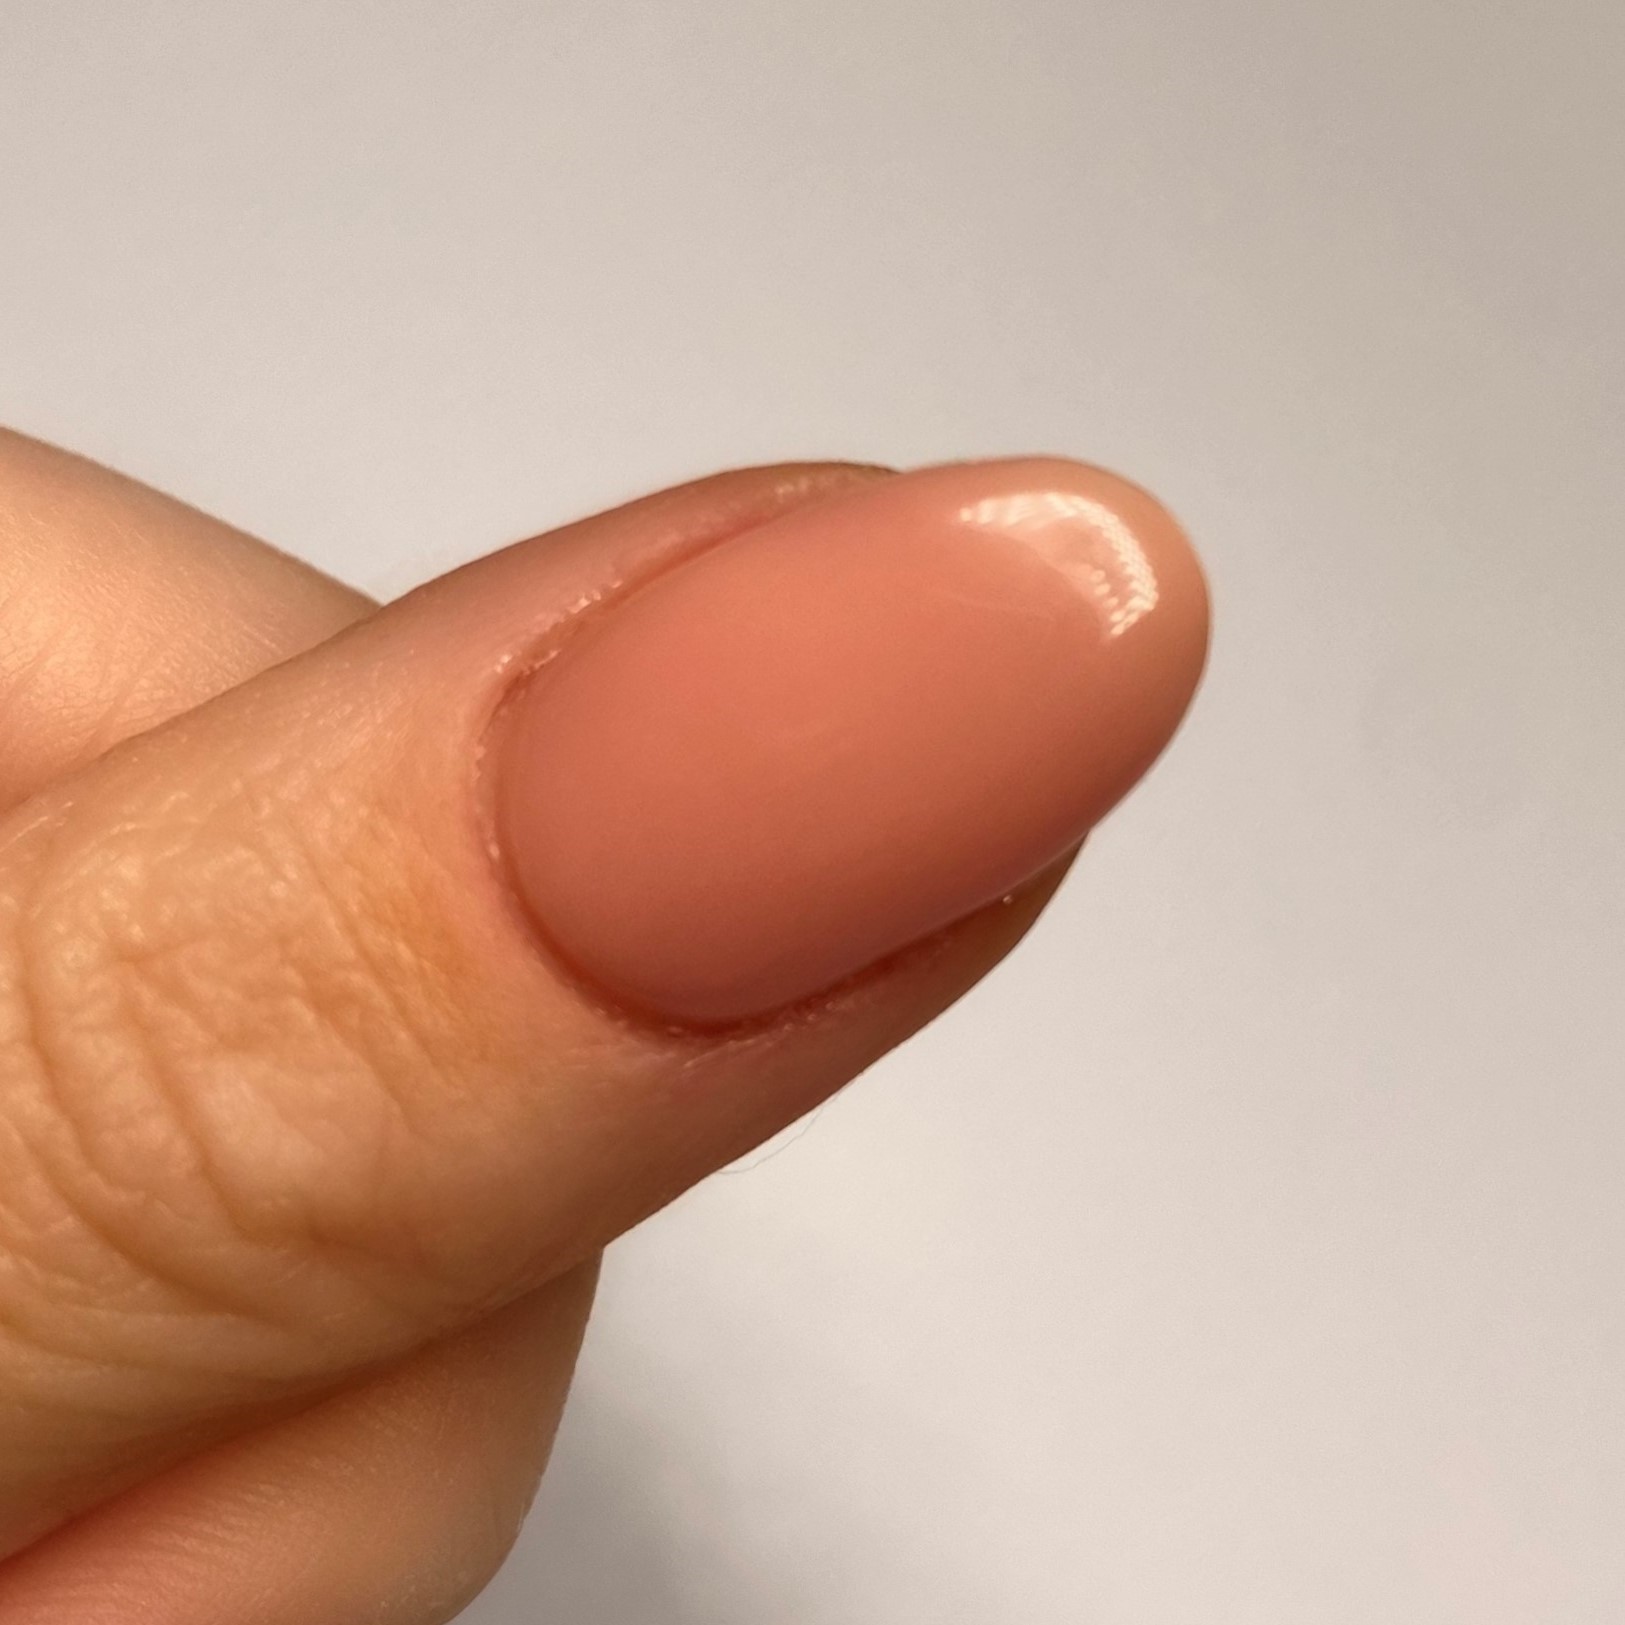
2. Apply a base coat and nude polish for the perfect base.
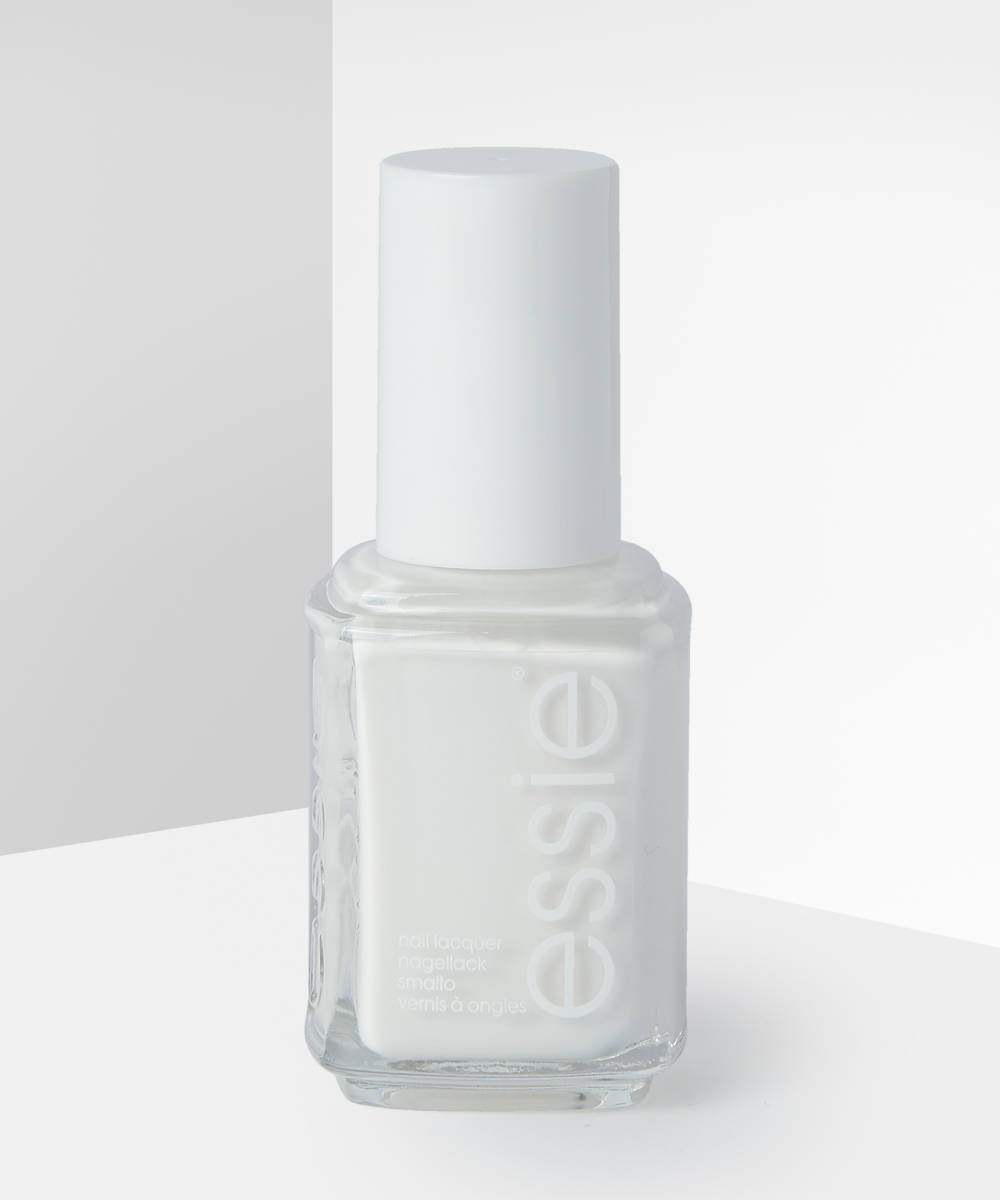
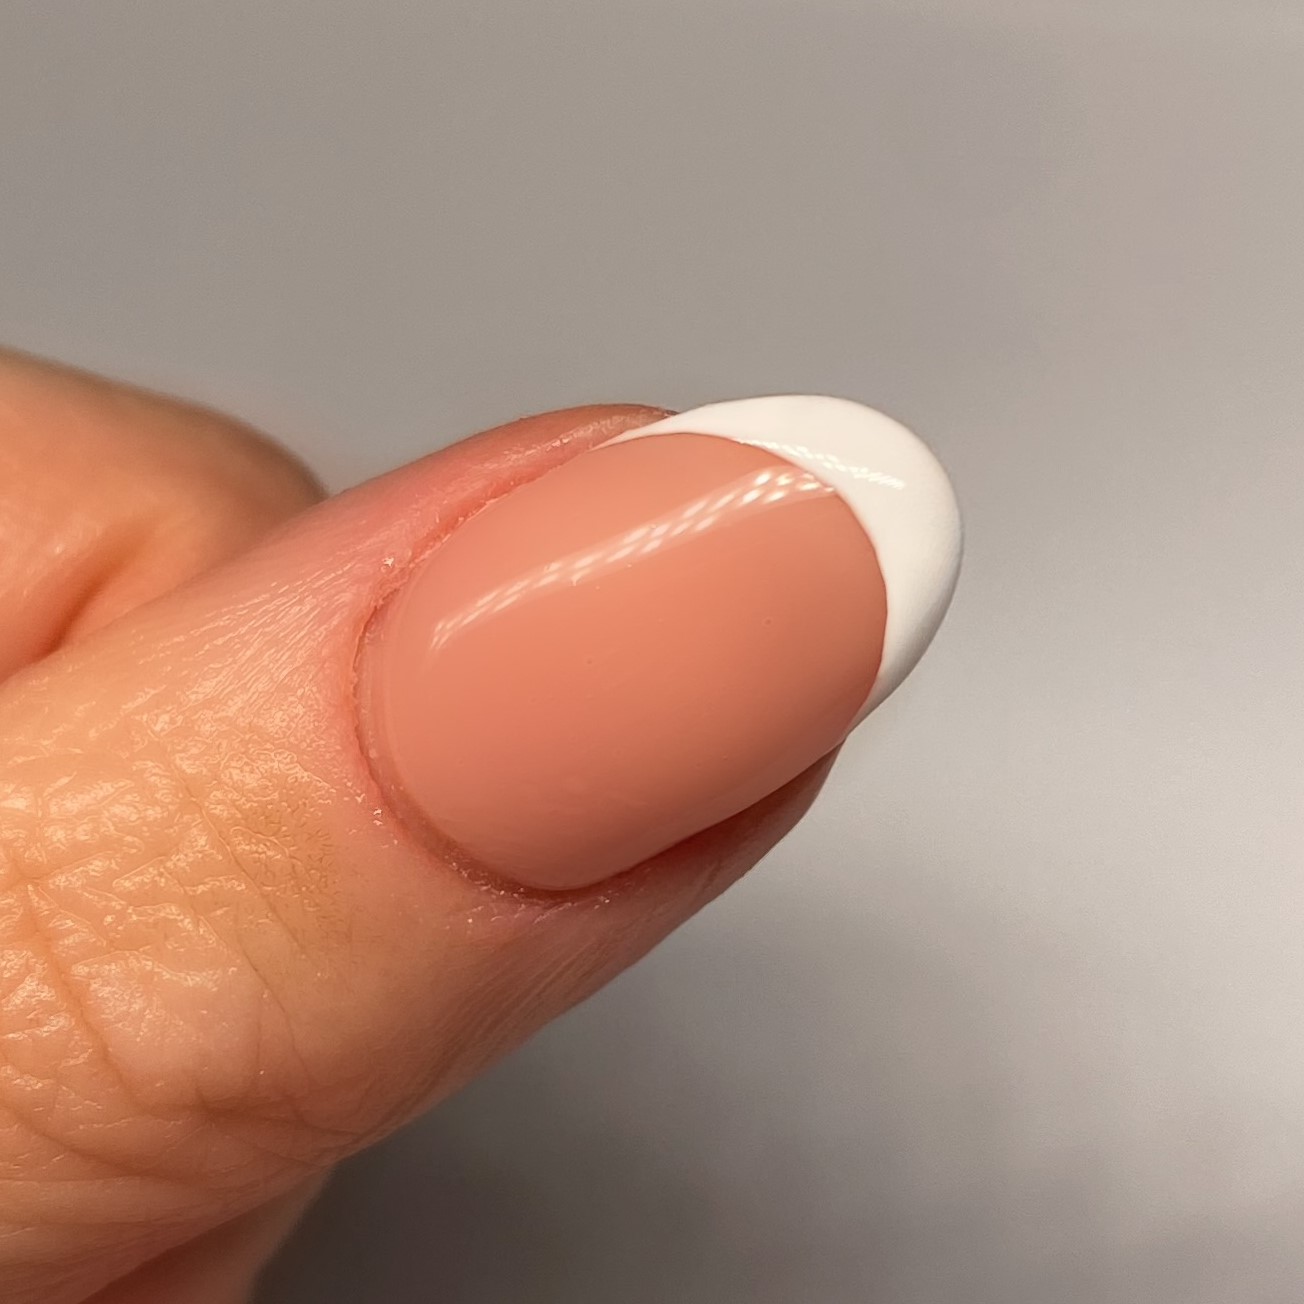
3. Using a white polish and small detailer brush, start by creating a French tip design. Use thin layers and build up the colour until it’s opaque and completely dry.
4. Then, using a dotting tool (a bobby pin also works for this step) create three sets of two small dots on the edge of your white polish. Feel free to use which ever colours you’d like, we’ve gone for pink and red. While the polish is still wet, using a small detailer brush, connect the dots to form a heart.
5. Once your red polish is dry, apply a top coat to lock your design in and prevent chipping.
6. Once your top coat is completely dry, apply cuticle oil to the cuticles to keep your nails healthy and strong.
