Have you ever loved an eyeshadow so much that you wished you could apply it everywhere? Eyes, skin, lips and even nails? Well now you can. Creating your own nail polish from your favourite shadows might sound a little messy, hard to do and not worth the time, but we’re here to bust these myths.
Creating your own customised nail polish from your favourite eyeshadows is actually one of the easiest DIY tasks you can do, and you can literally use any shadow, and we’re talking everything from your matte neons to super metallic glitters.
Ready to match your nails to your eyes? Scroll to find out how to turn any eyeshadow into nail polish.
Step One:
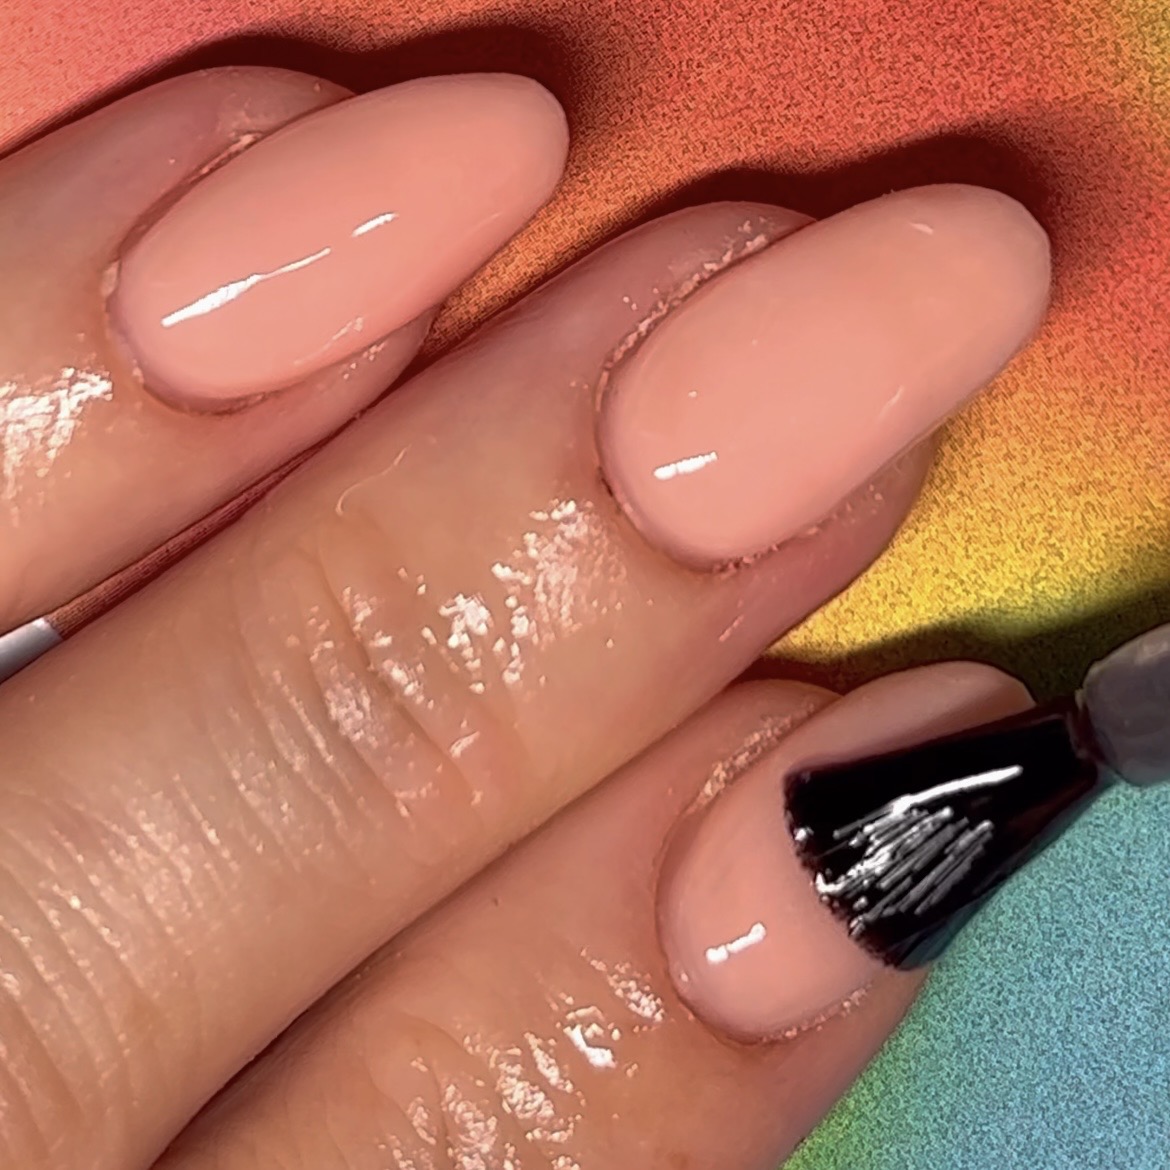
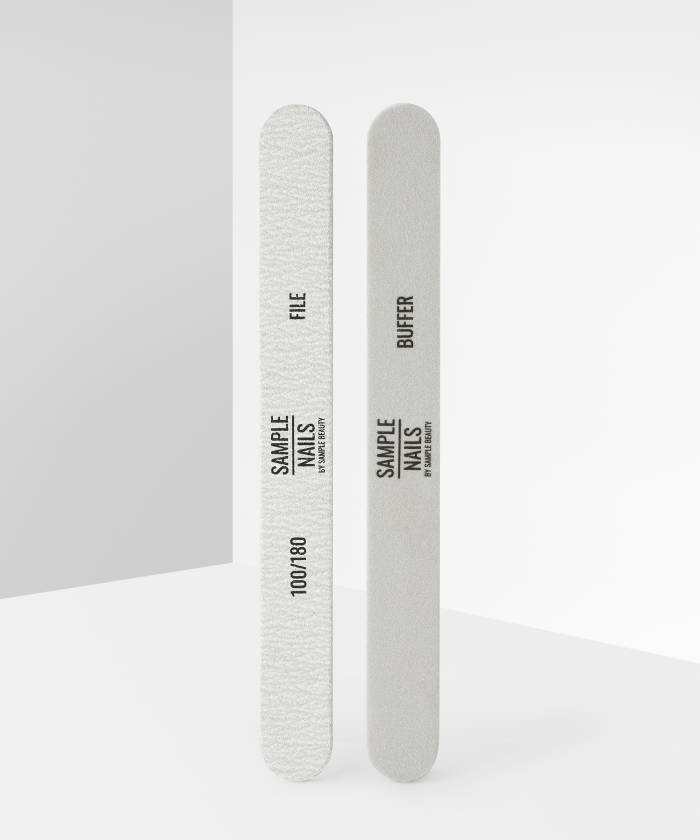
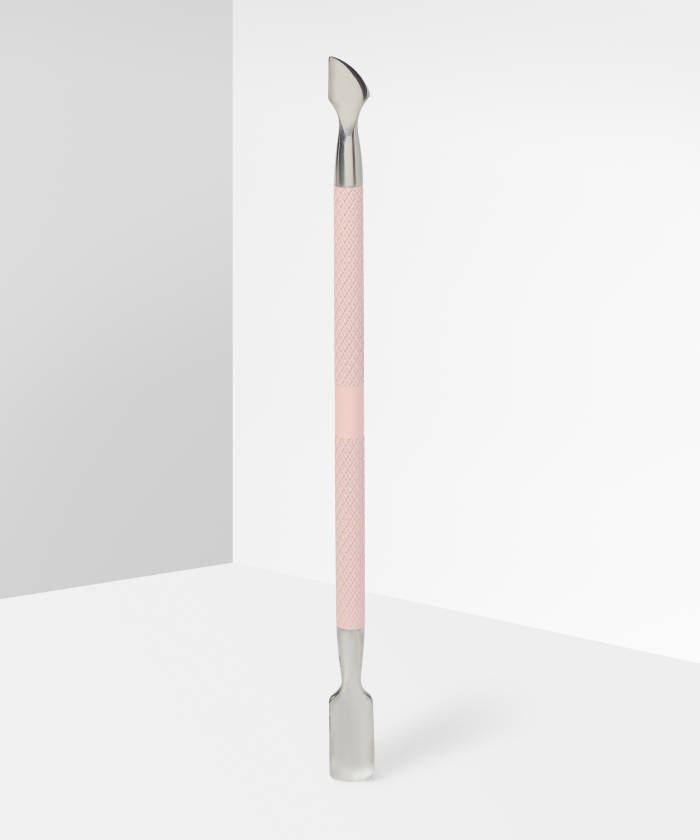
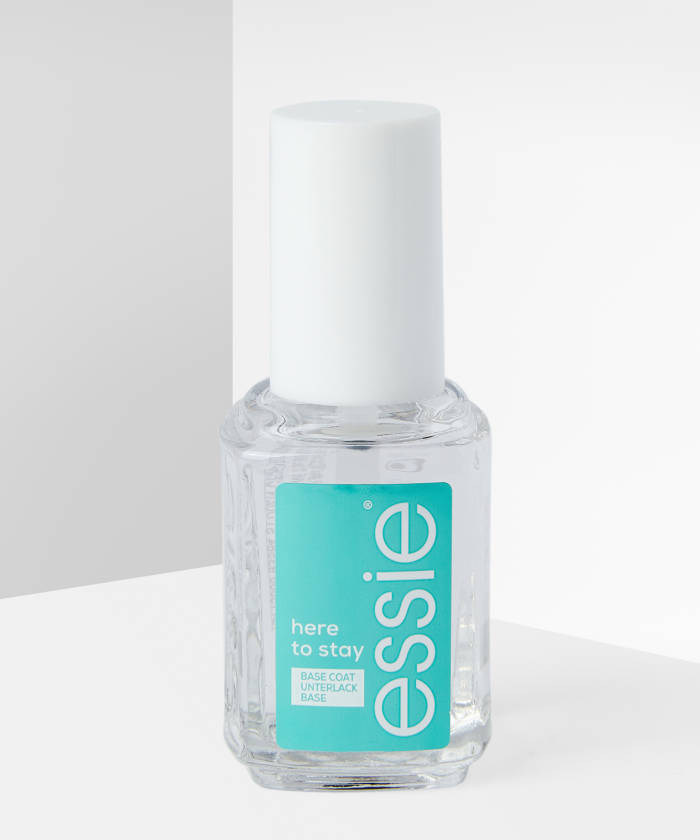
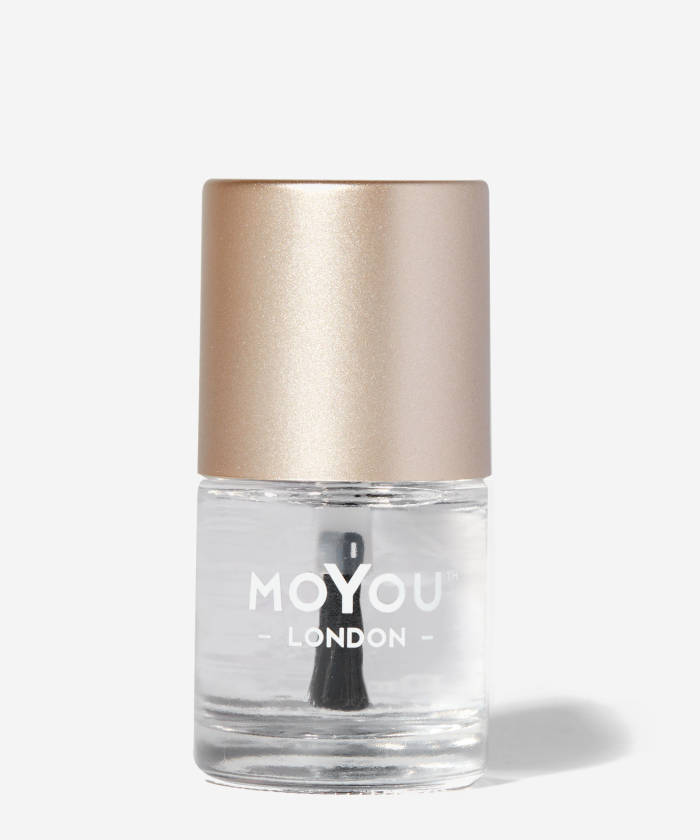
As always, start out by prepping and filing your nails into shape with a nail file and cuticle pusher. We’ve opted for a rounded edge, but feel free to go for a square tip if you wish. Then apply a base coat.
Step Two:
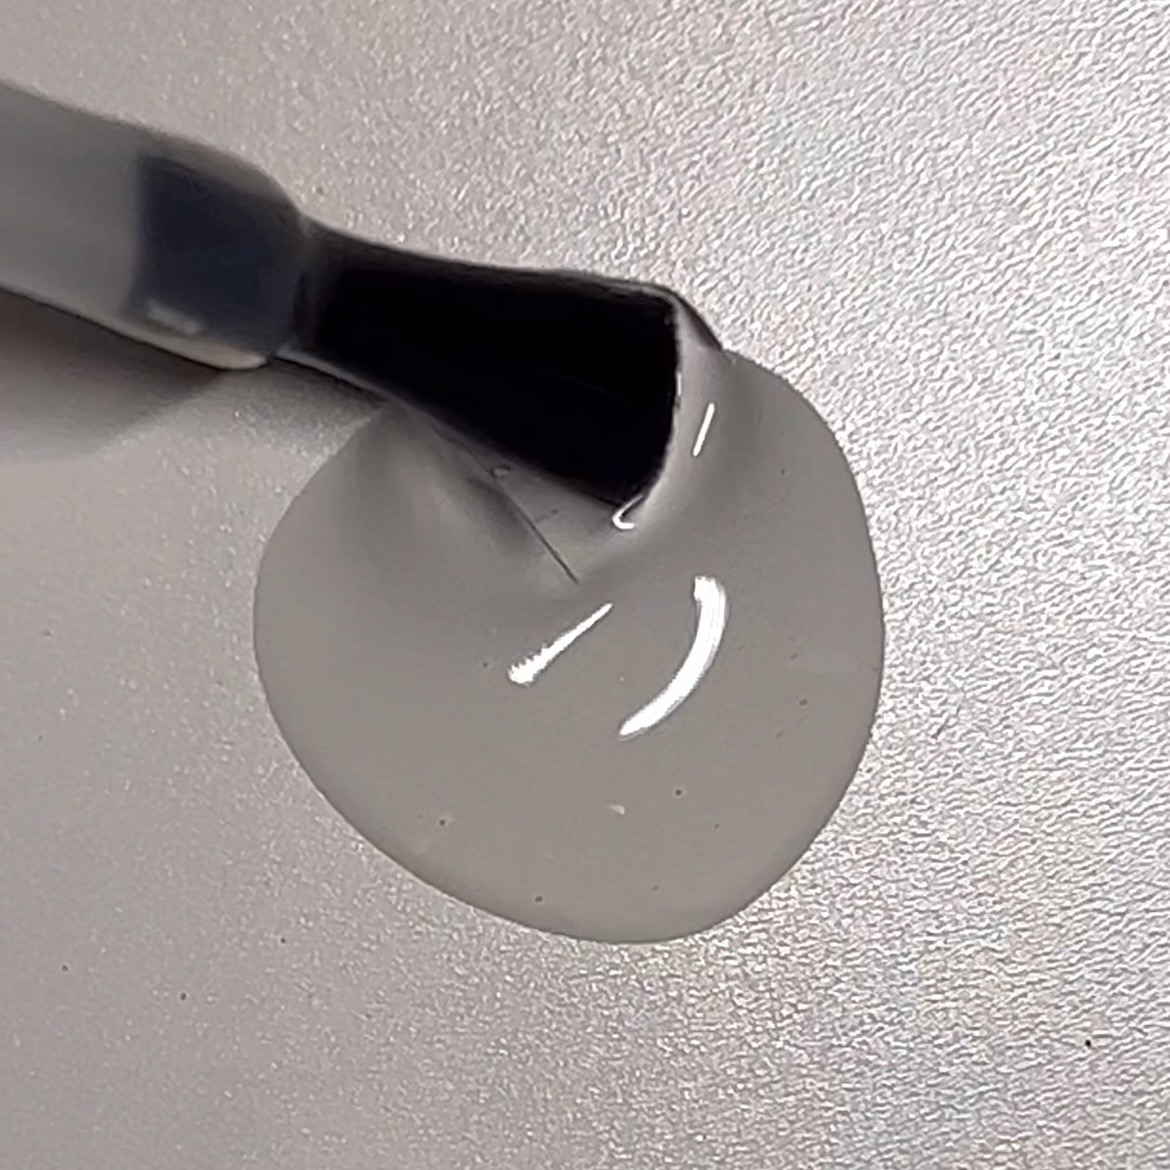
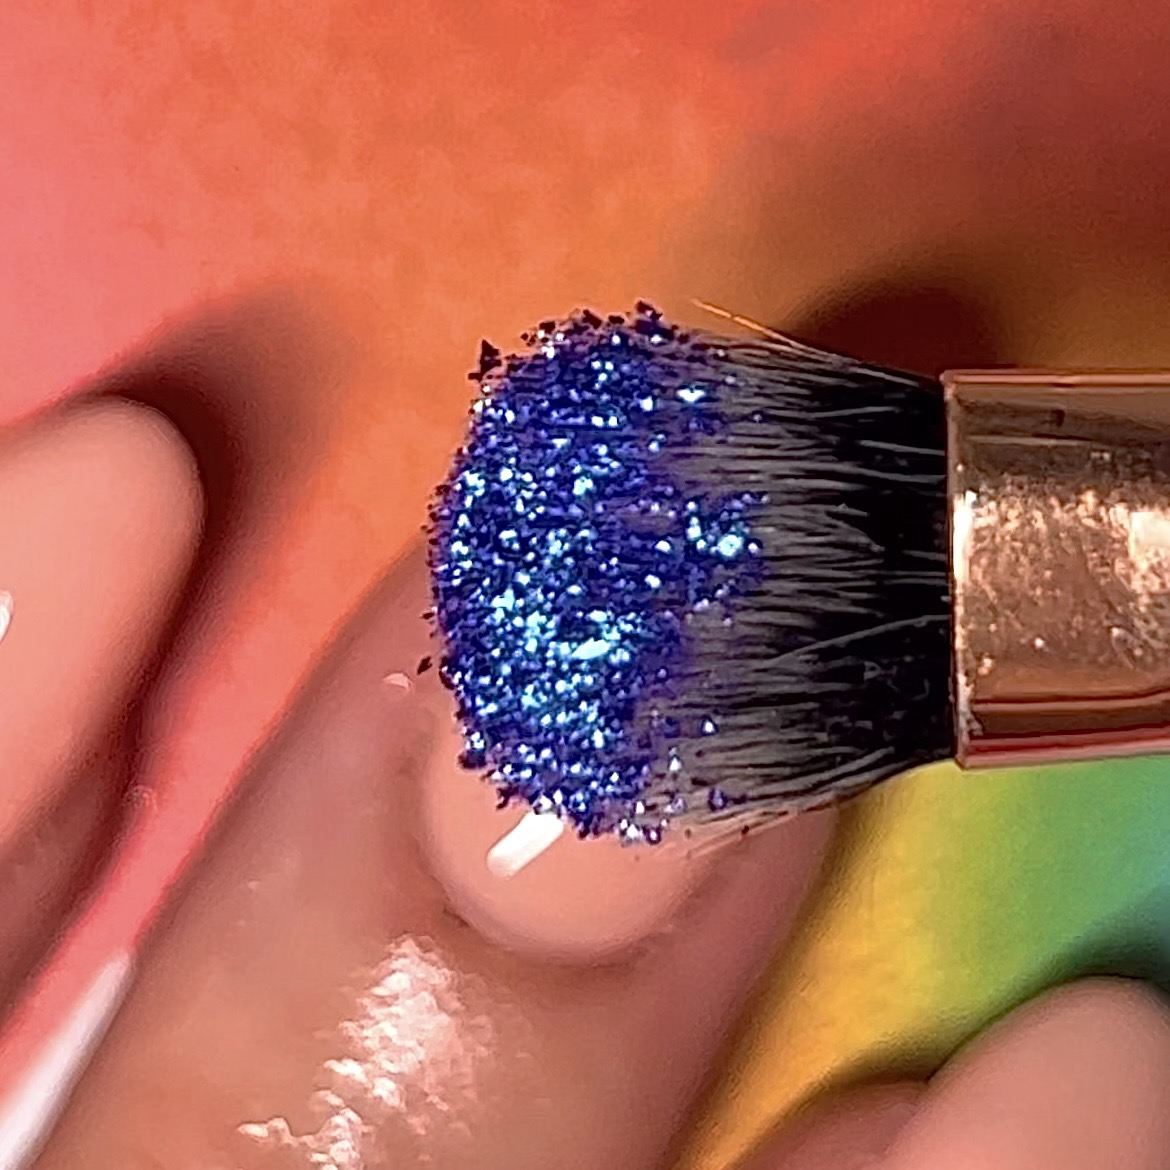
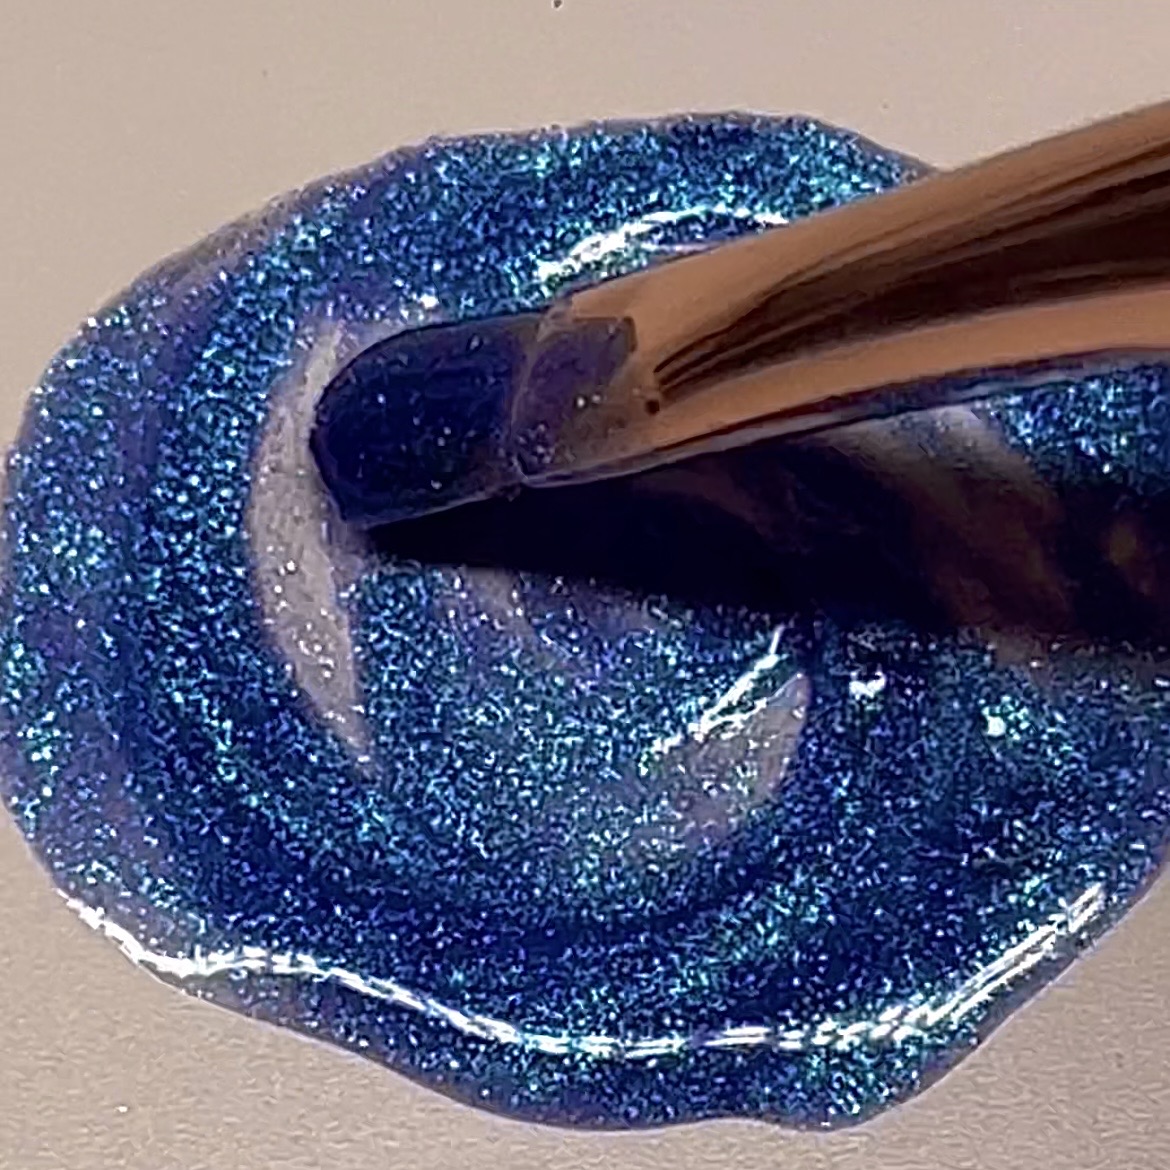
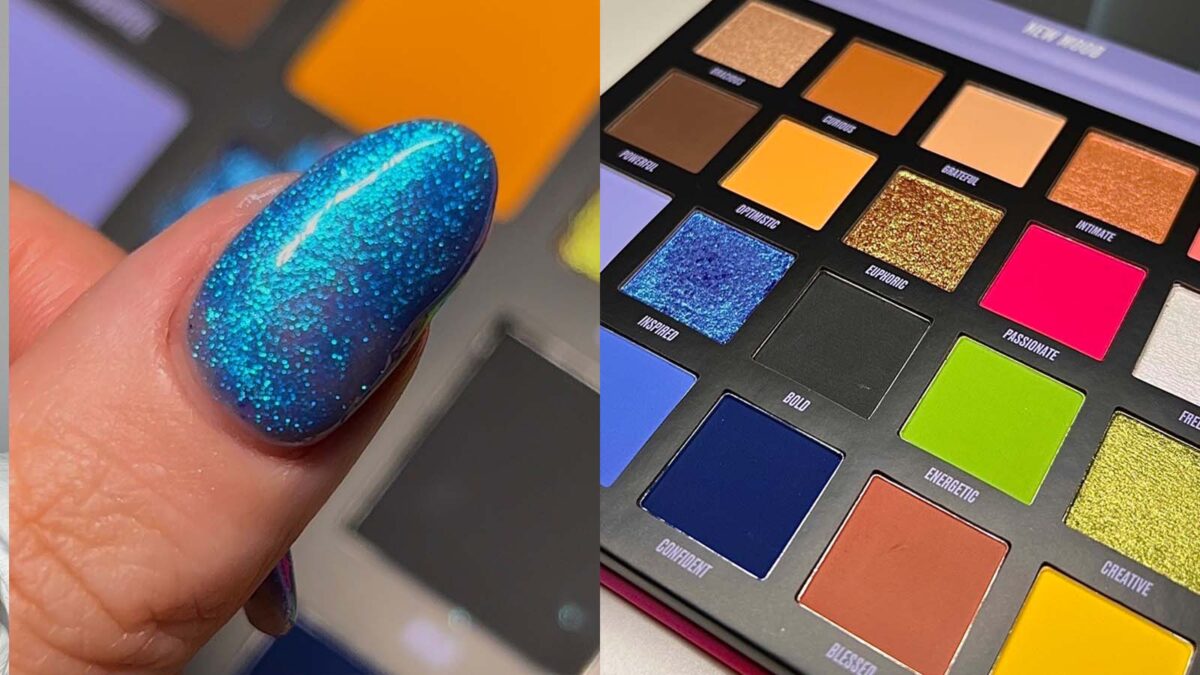
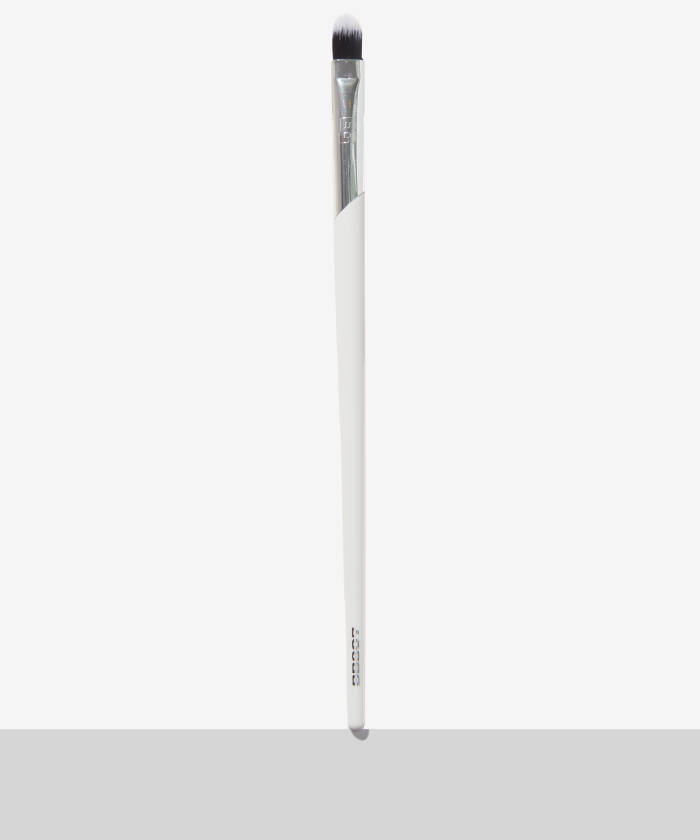
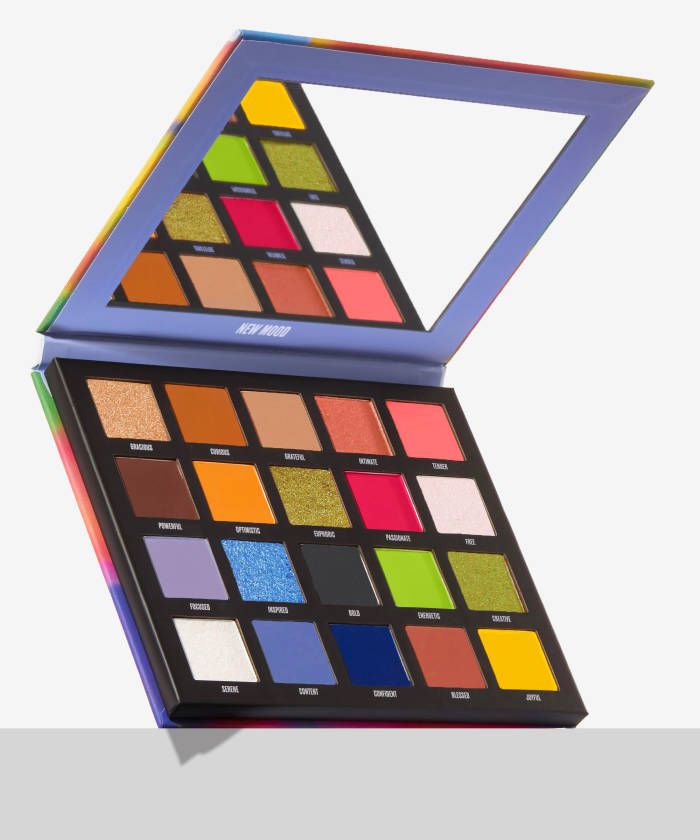
Now it’s time to pick your eyeshadow. We’ve opted for our By BEAUTY BAY New Mood Palette (obvs), using the shade Inspired and it hasn’t disappointed. Start by applying some of your base coat on a clean and dry surface, then pick up some of your eyeshadow pigment on a nail brush (or flat eyeshadow brush) and mix them together. Keep mixing until the consistency is smooth and evenly distributed.
Step Three:
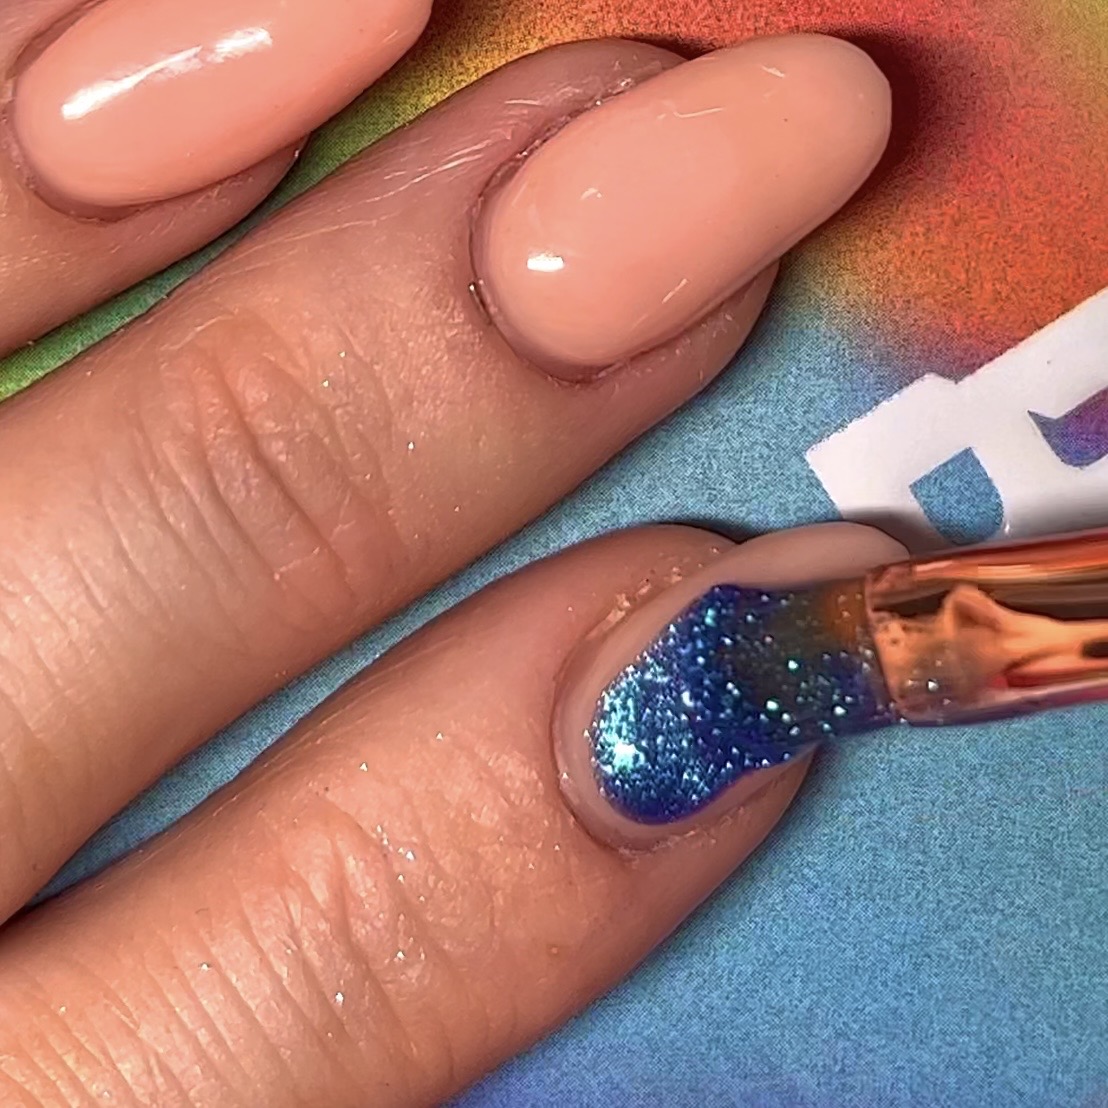
Apply your new polish to the nail like you would a normal polish. Using thin coats and letting them dry in between.
Step Four:
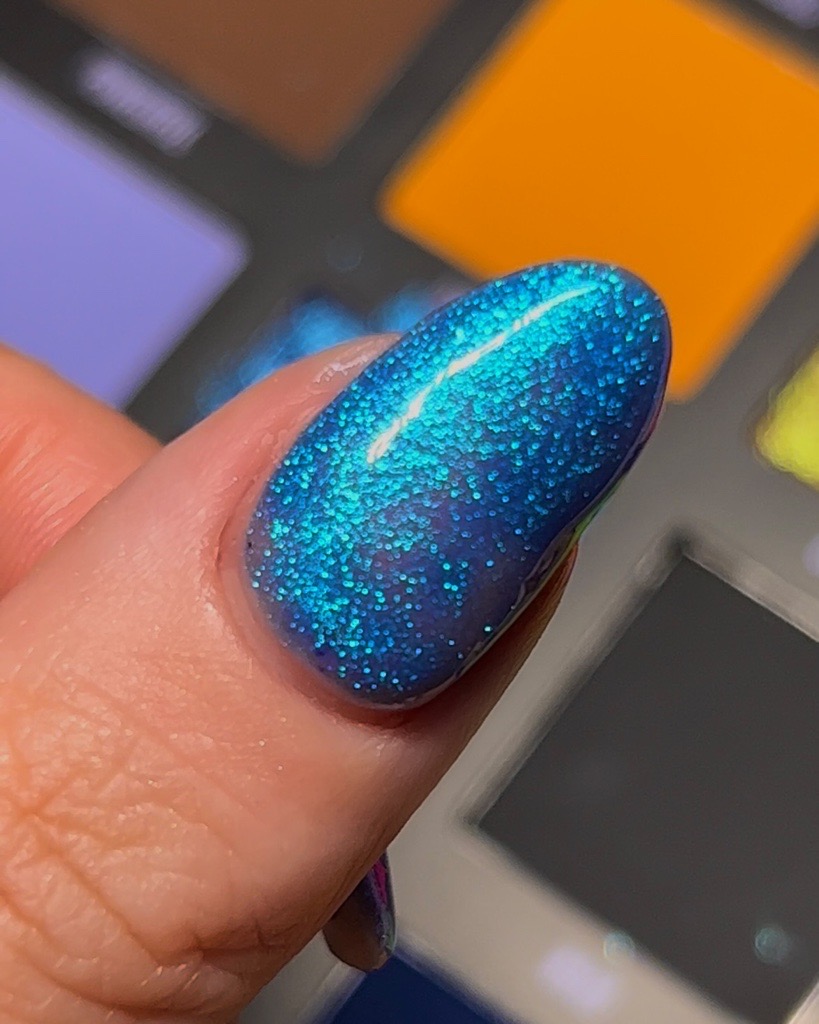
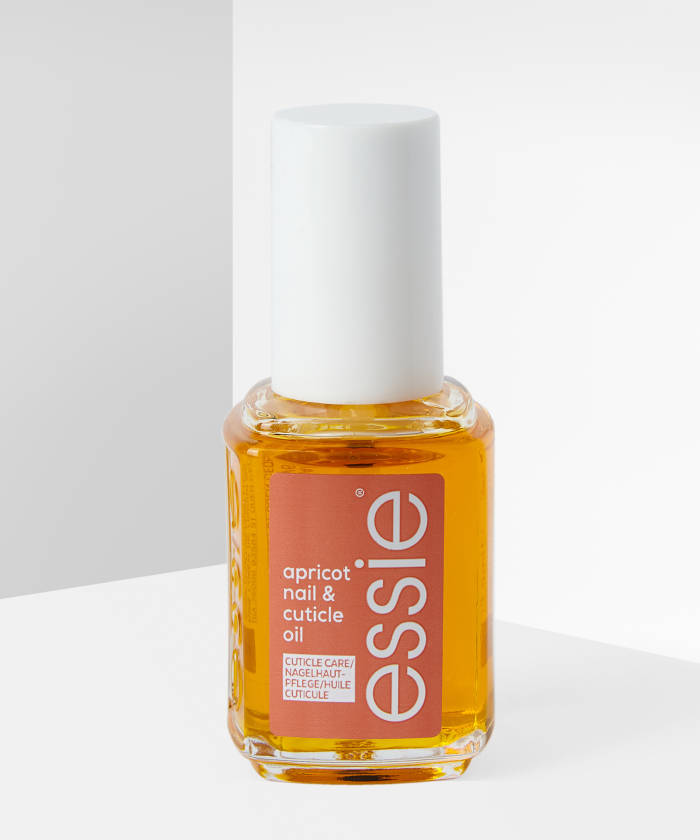
Once your polish is dry, apply a top coat to lock your design in and prevent chipping. And once your top coat is completely dry, apply cuticle oil to the cuticles to keep your nails healthy and strong.
