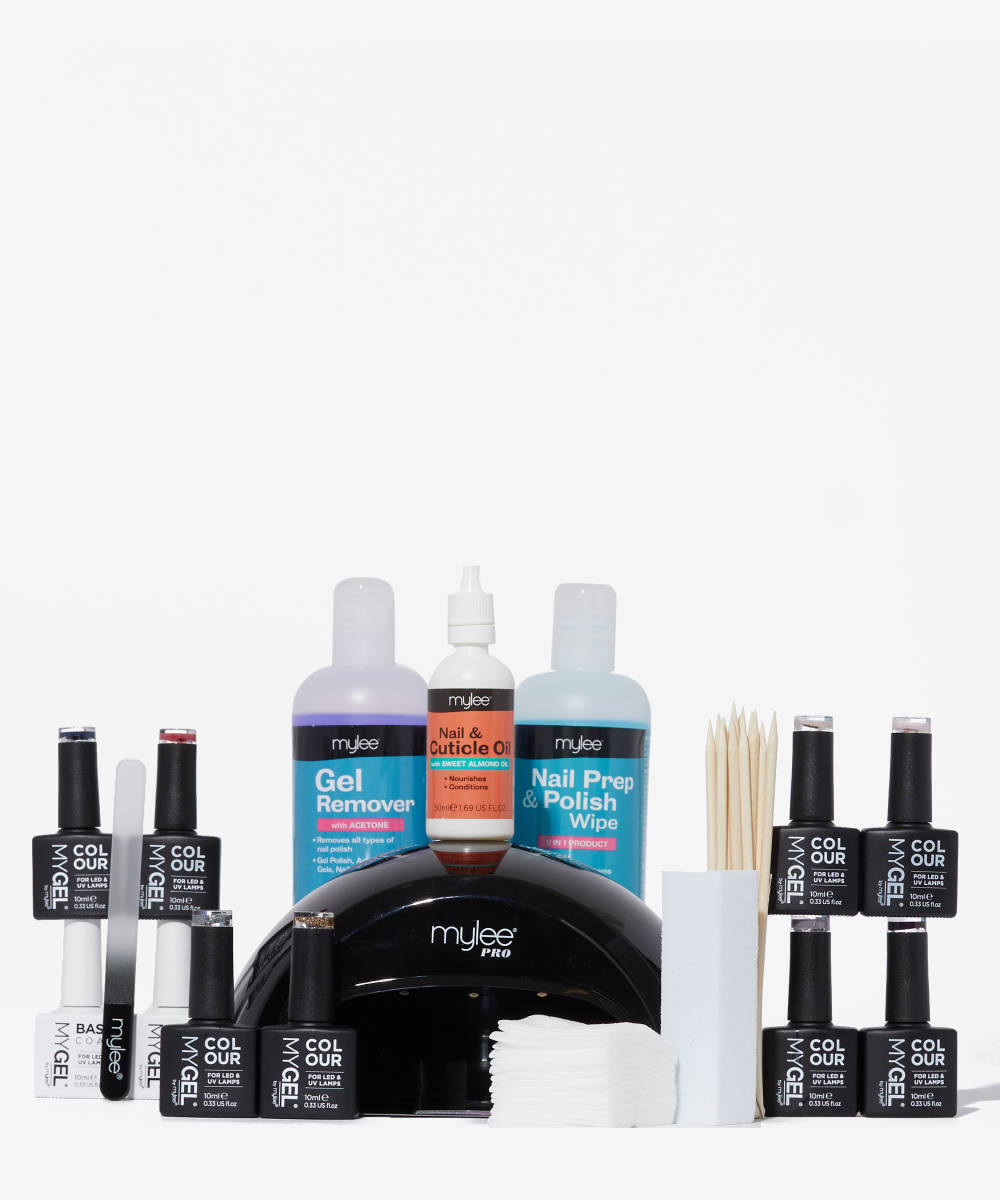
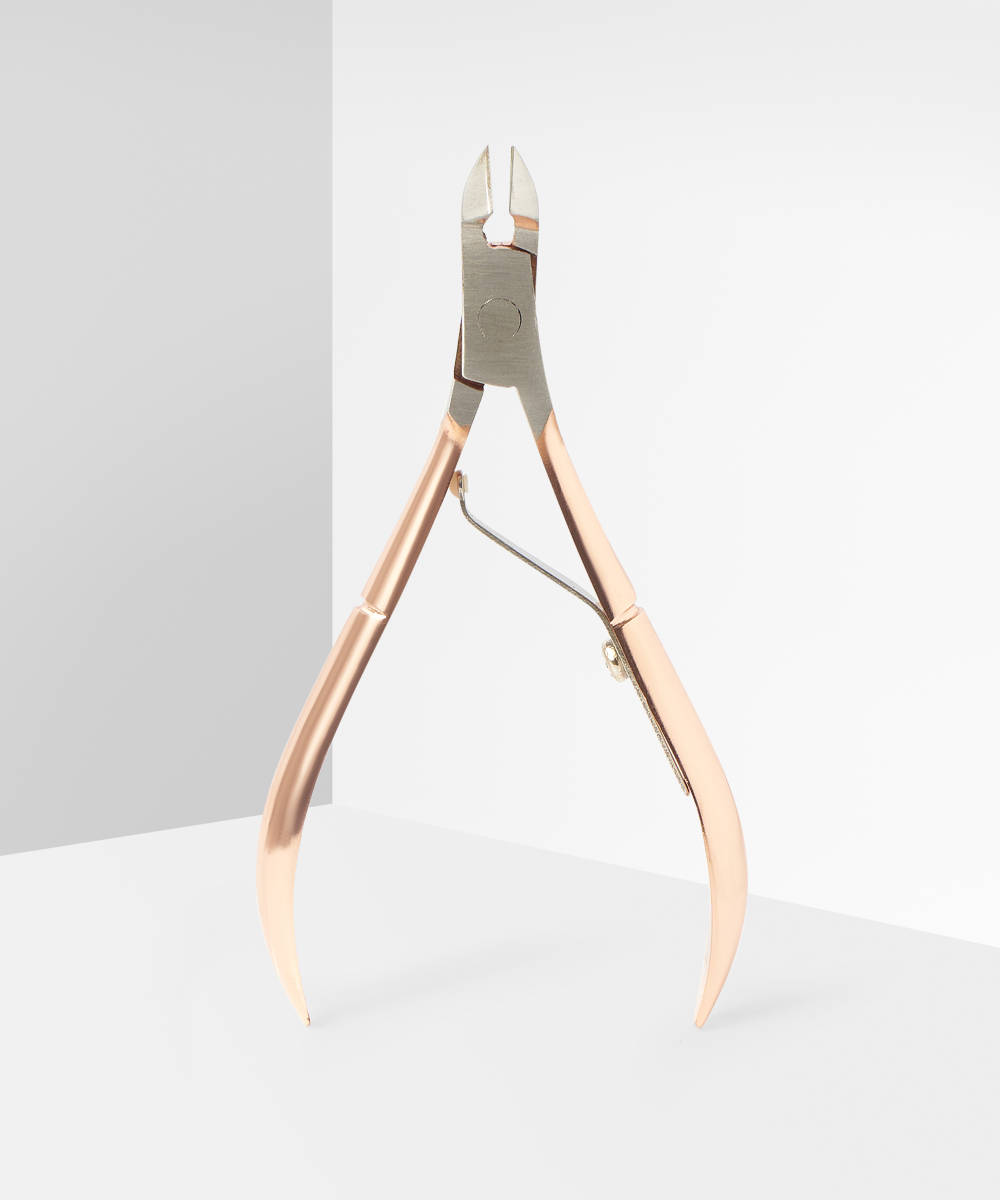
Using gel polish at home is easier than you think. If you’re ready to put in that little bit of extra effort for a salon-quality job, minus the cost and salon visit, then you’re in the right place. Gel-based polish requires a UV or LED light to cure the polish which locks it onto your nails, making it more durable and less messy than regular polish, helping it to stay chip-free for weeks. Win- win!
Using gel polish for the first time can seem daunting, and there are a few no-no’s that we need to avoid. Read on to get the inside scoop on our tips and tricks for using gel polish, that will give you a perfect manicure on your first attempt.
1. Fail to prepare, prepare to fail
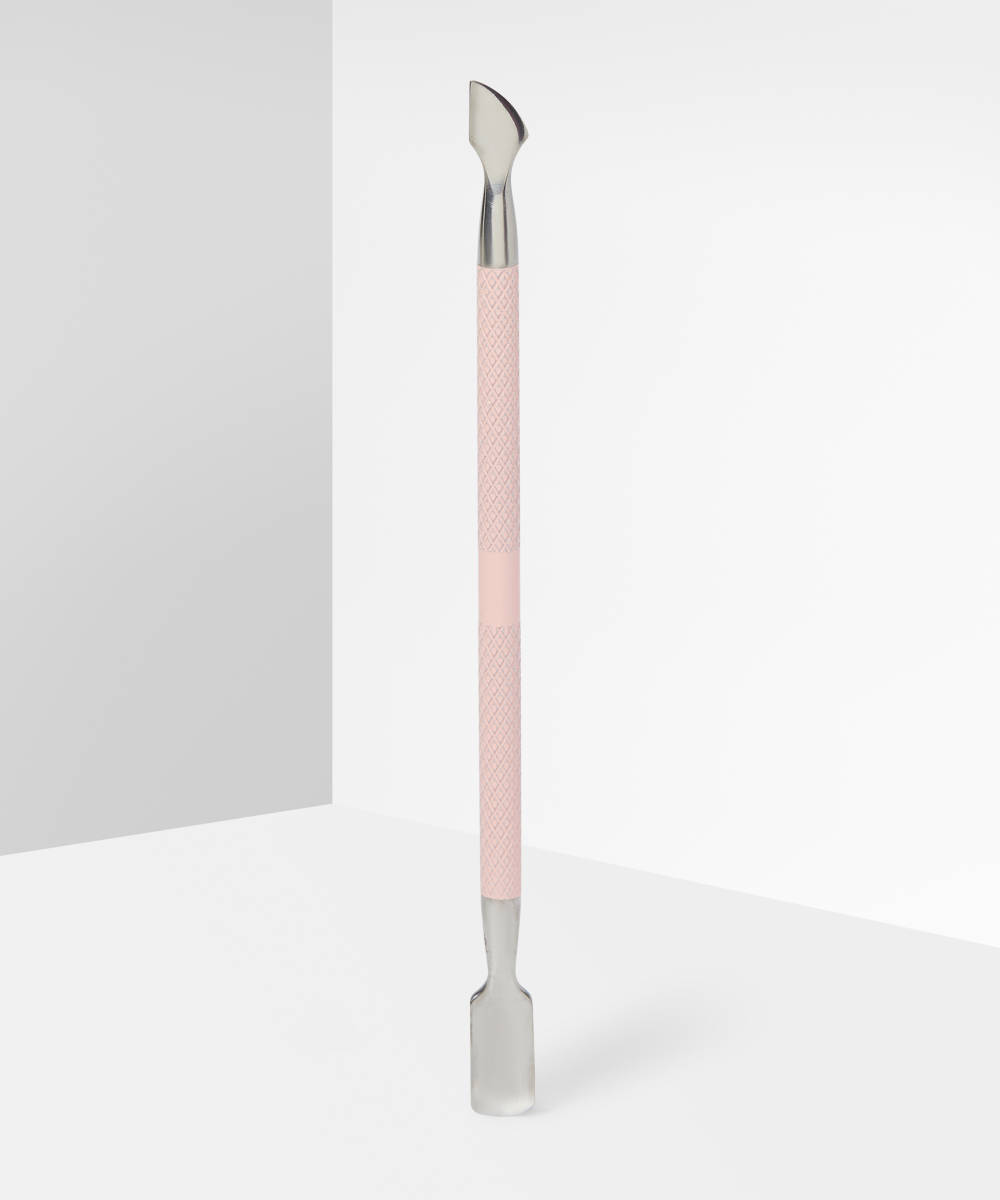
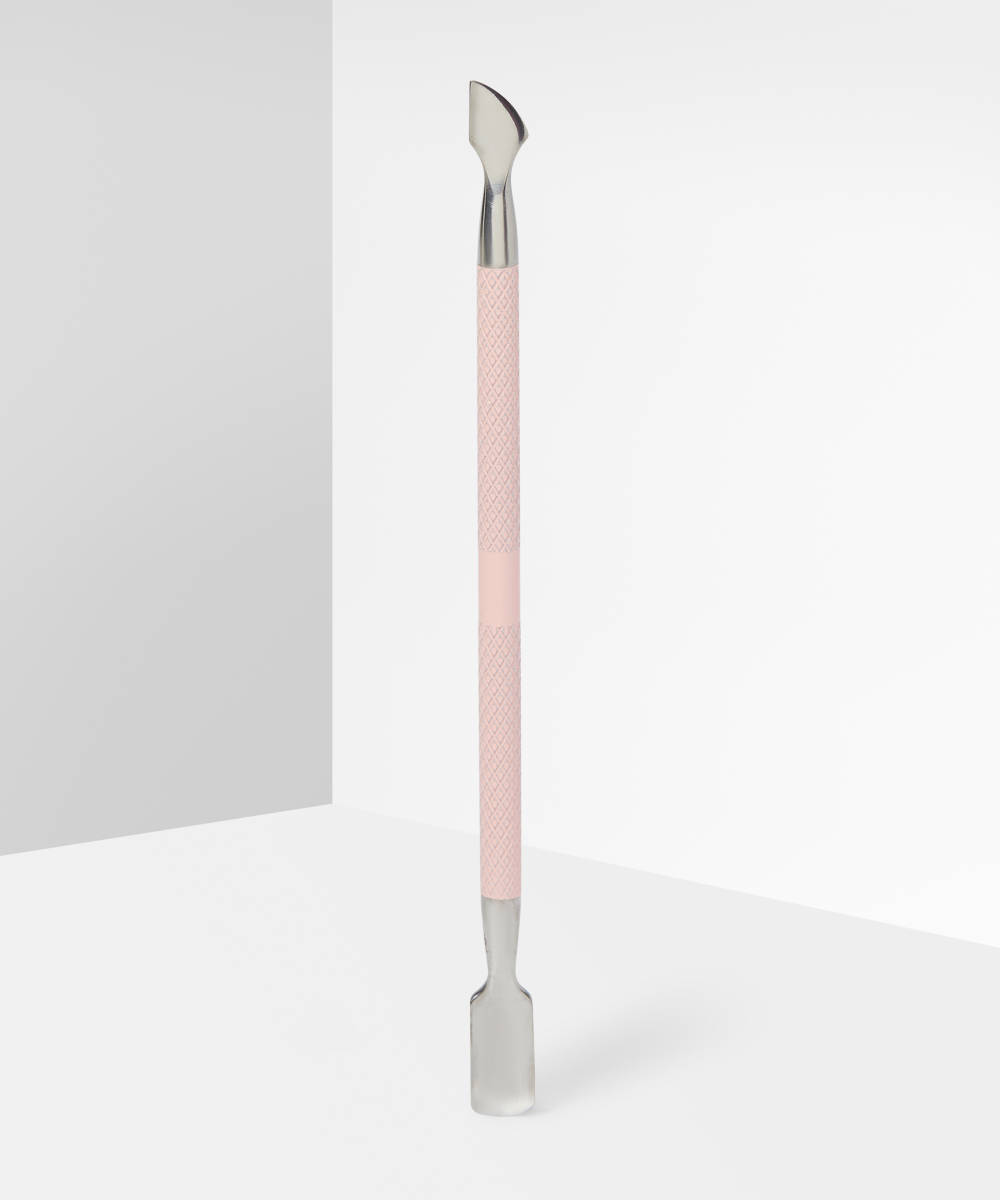
It may sound surprising, but your prep time should take up at least a third of your whole nail session. Make sure you push back your cuticles (not too far- it shouldn’t hurt!) with a cuticle pusher and scrape the dead cuticle off the nail plate.
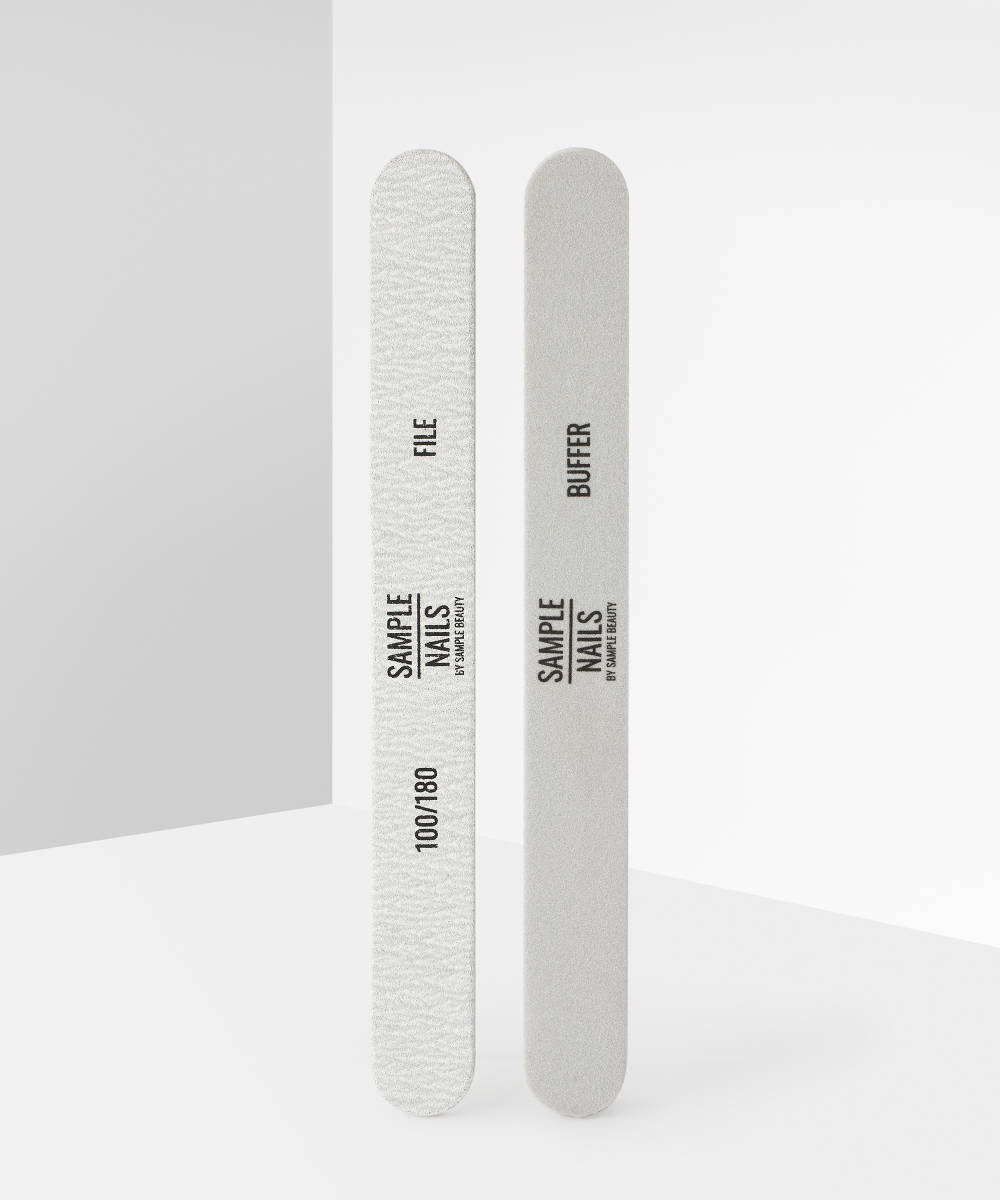
We then need to buff the nail with a nail buffer, so that your gel polish has something to stick to, making your manicure last longer. Remember- you are trying to rough up your nails, not make them smooth.
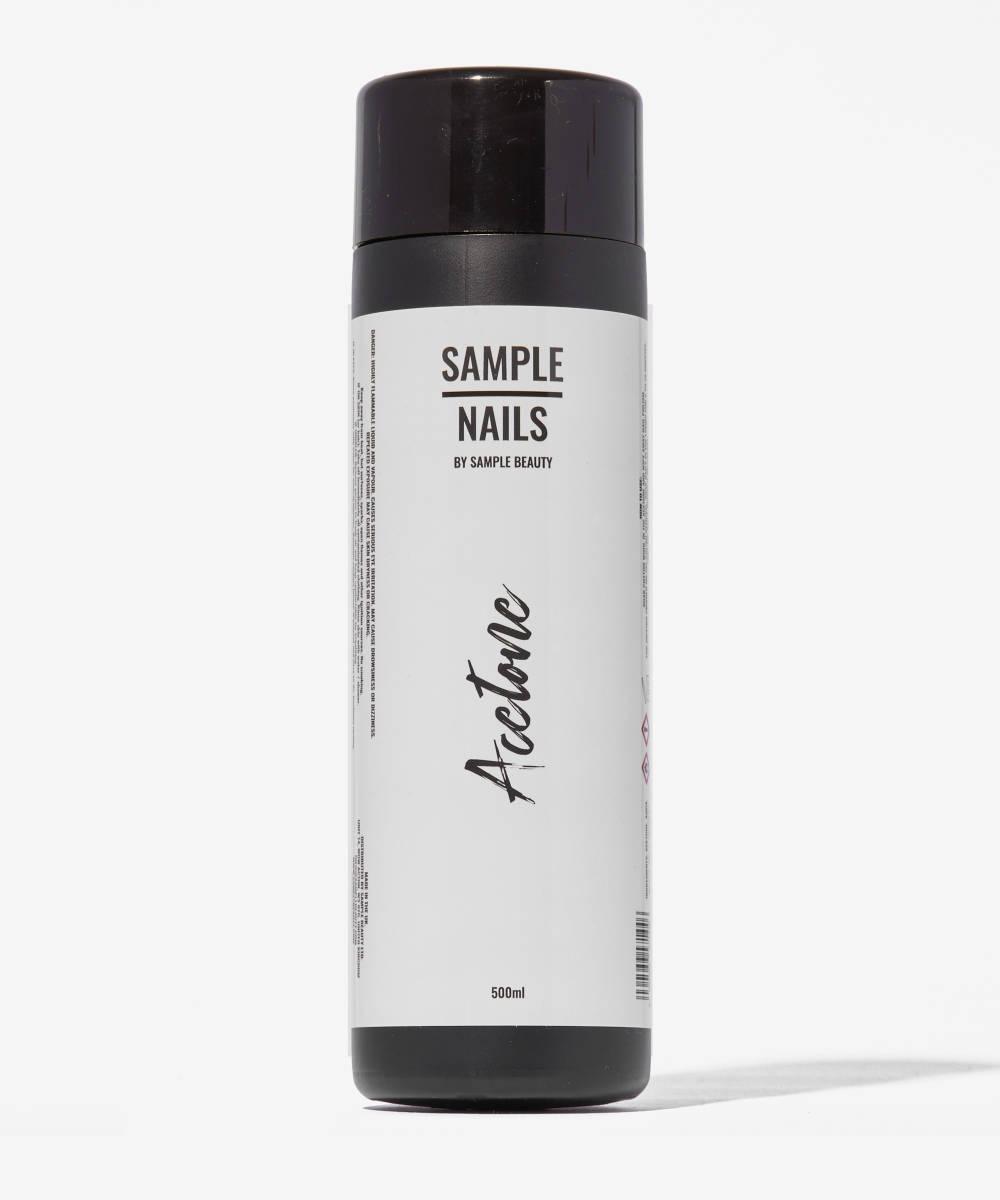
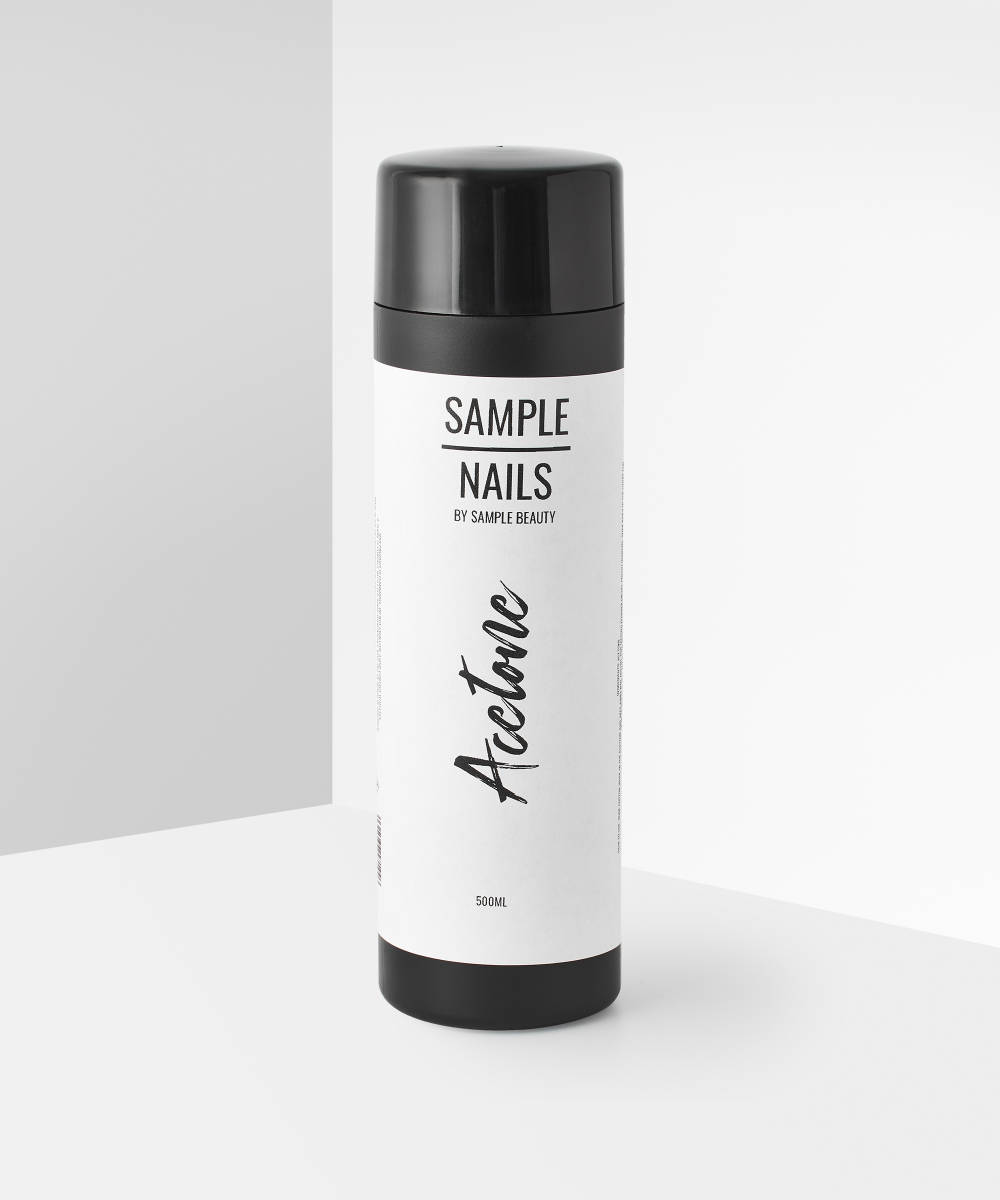
The final step in your prep is crucial, we need to make sure there is absolutely no dust, debris, oils or creams left on your nails from buffing and everyday use, your gel won’t stick if there are any of this left on your nails. Soak a cotton pad or dip a brush in acetone and apply it to the nail until it’s dry. This bit can look a little scary as the nail gets dehydrated but don’t worry- it doesn’t last forever and is an important step.
2. Thin layers, please!
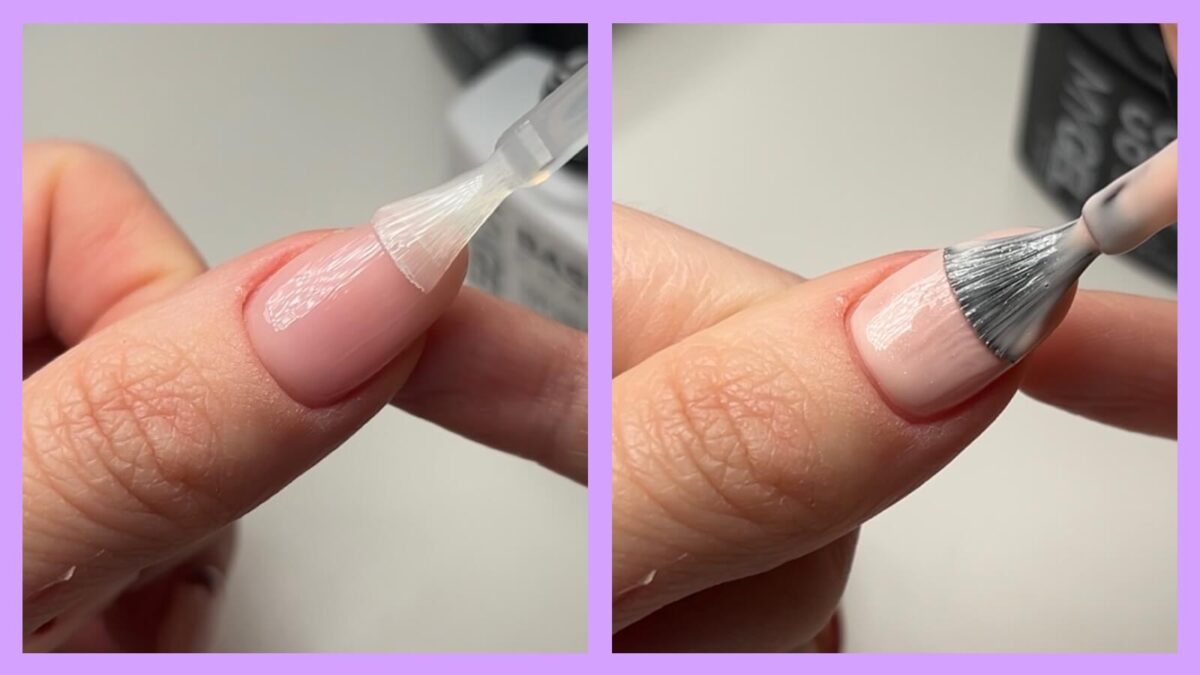
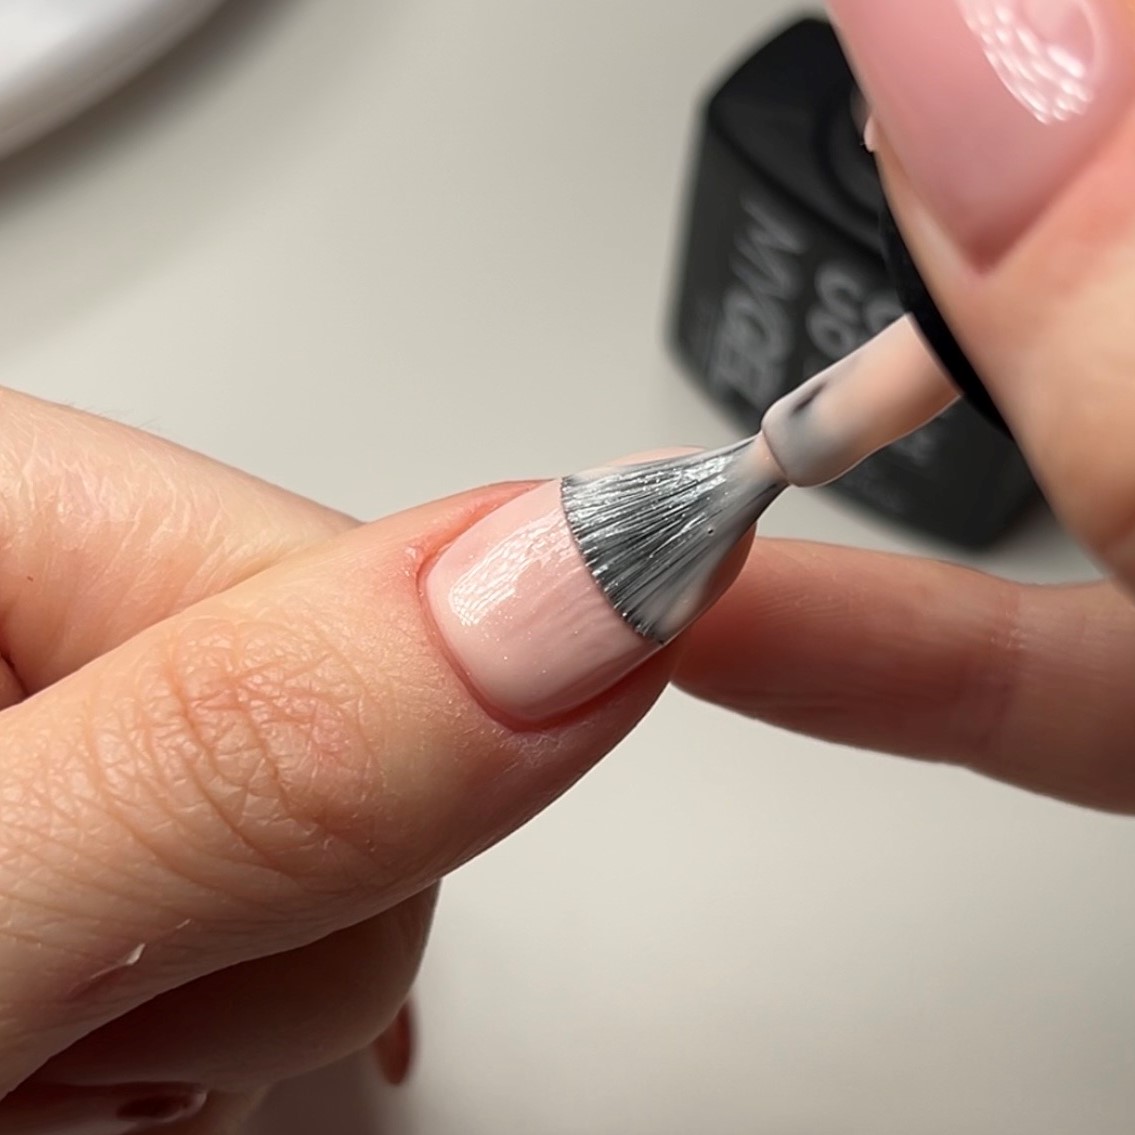
When applying the gel polish, the general rule to follow is that less is more. Applying more thin layers is better than fewer thick layers. We need to remember that gel nail polish is different from classic nail polish, so it doesn’t require a super thick coat. The beauty of using gel is that curing between coats means that if you mess up and apply too much, we can simply remove the whole layer and start again.
3. Always cap the free edge
One of the biggest mistakes that at home gel users make is not capping the free edge. This is just a fancy way of saying painting all the way to the edge of the nail and even a little under, with your base and topcoat as well as your colour. This prevents your nails from lifting and gives it better protection from chips and scratches.
4. Remember to remove wet polish
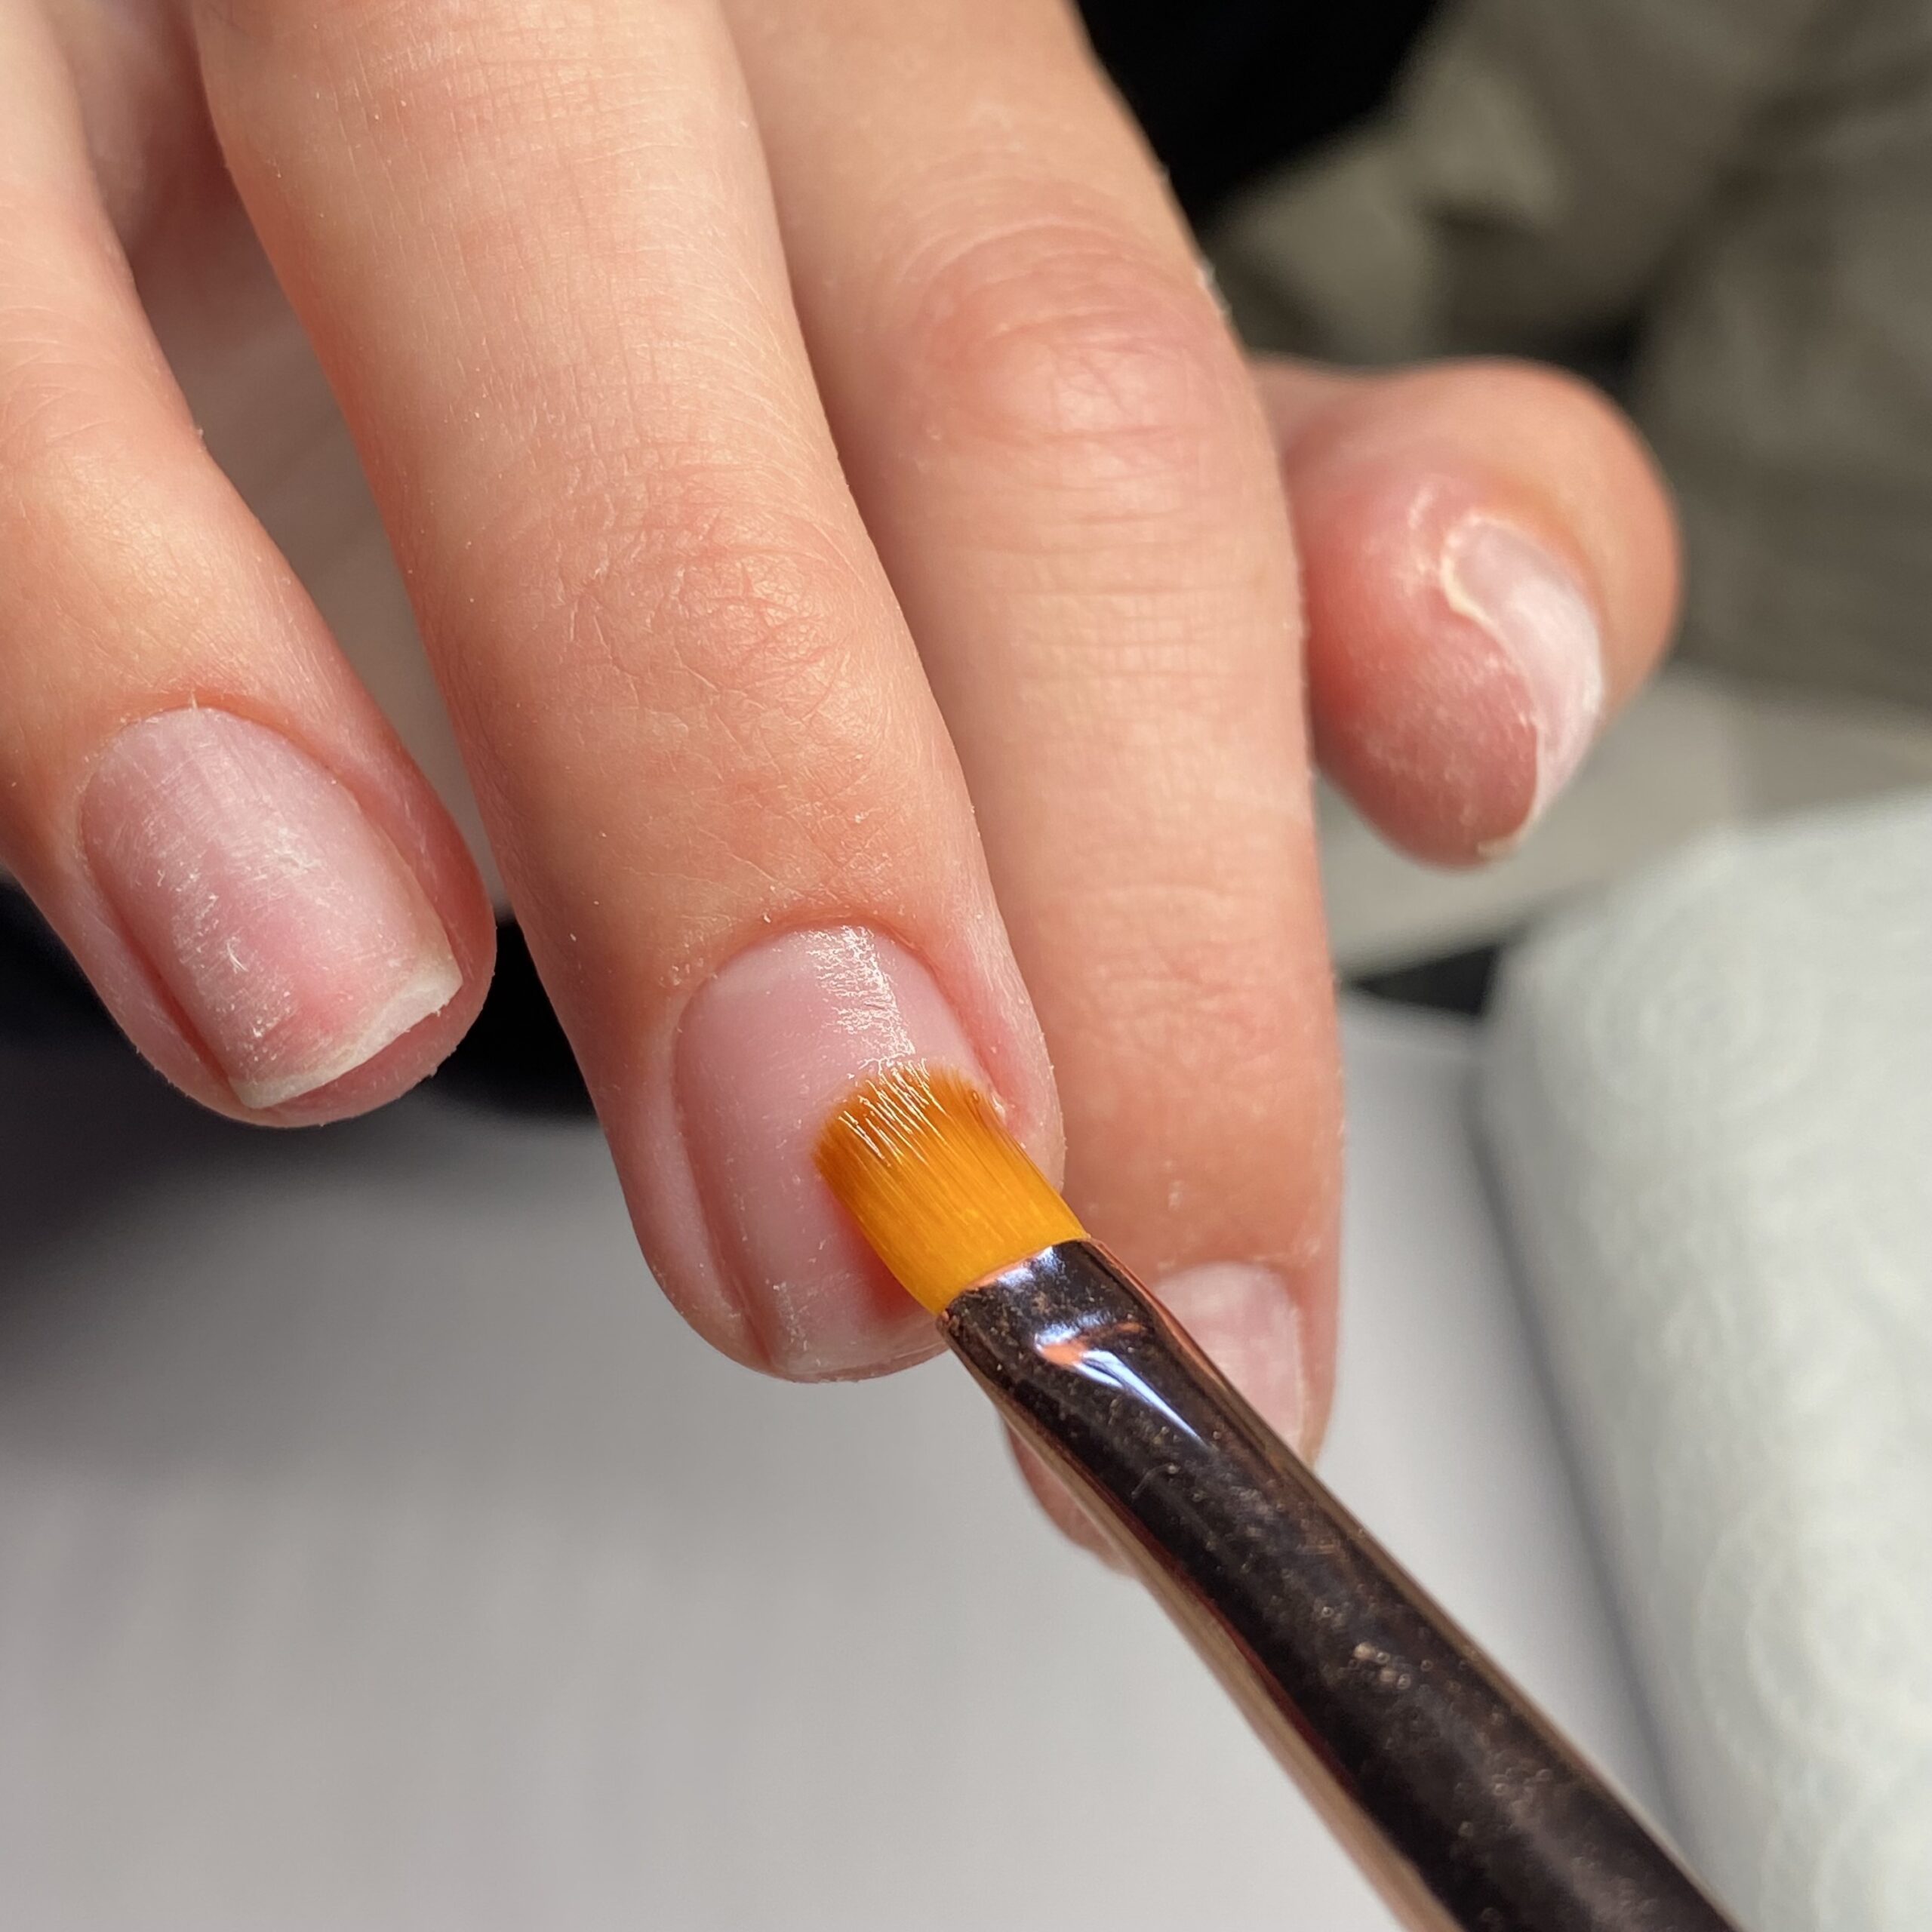
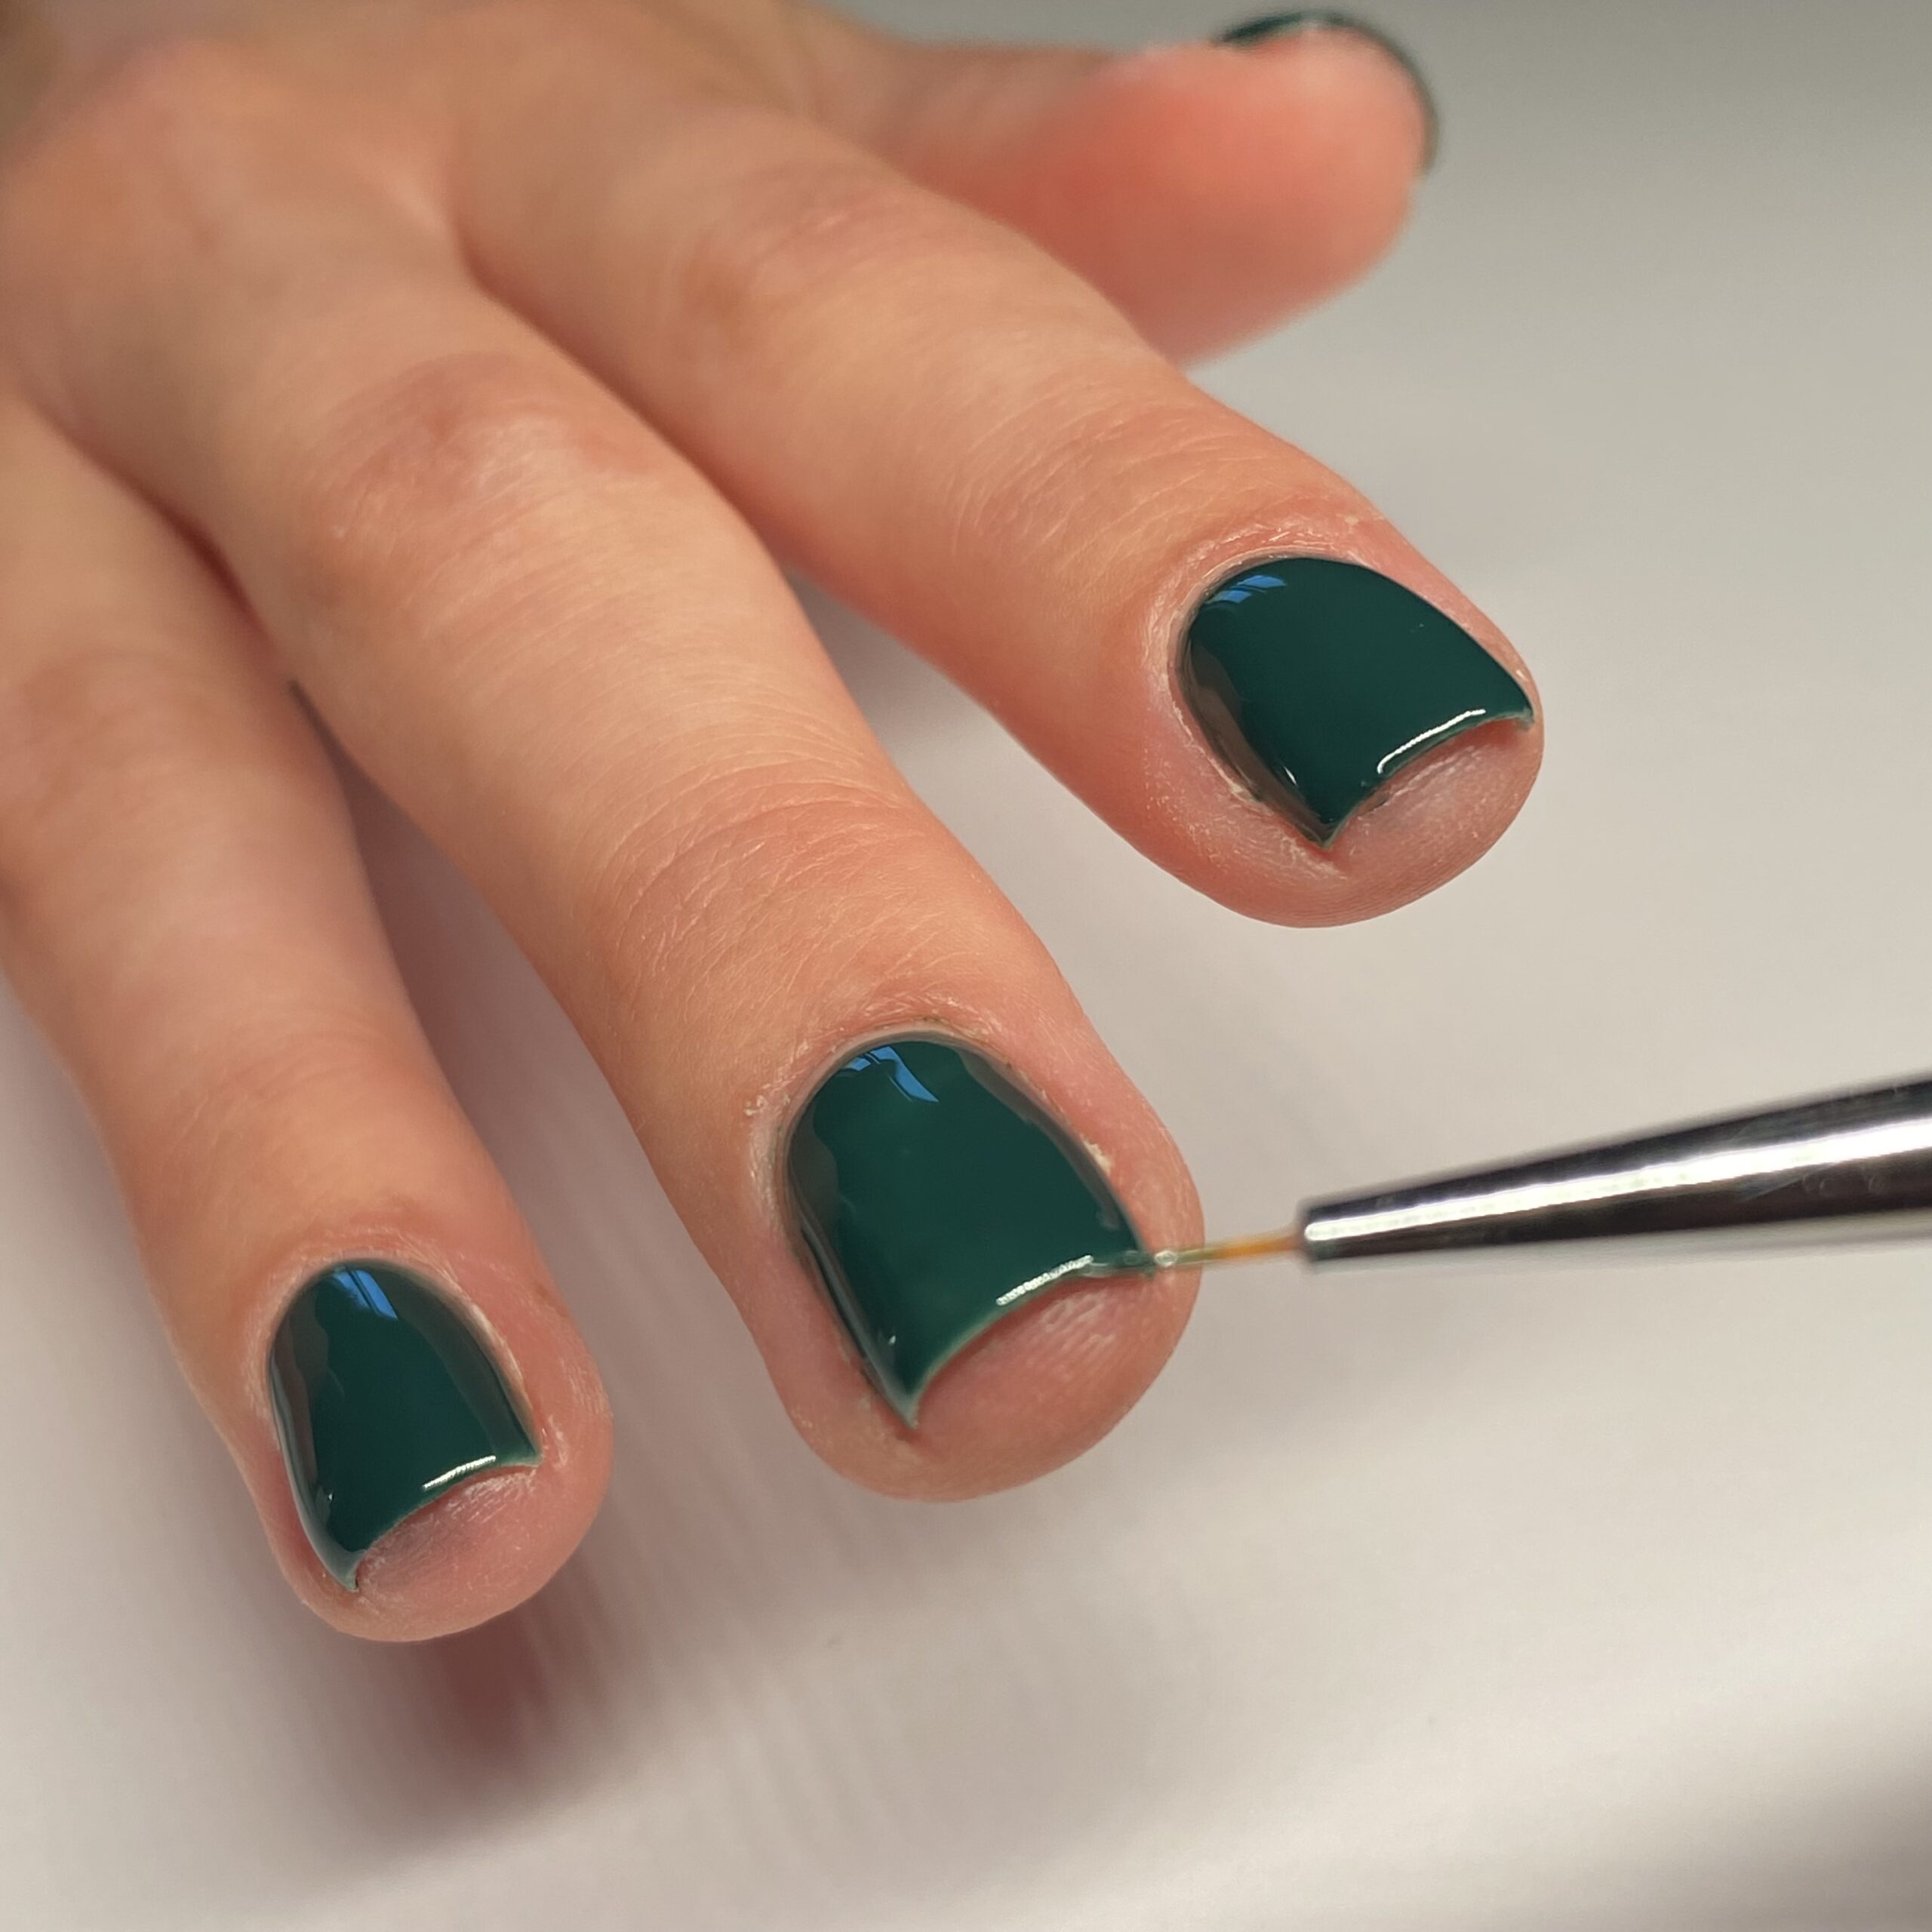
When painting your nails, avoiding the cuticles and side walls is a no-brainer, but practice makes perfect. If you do accidentally get polish on your skin, use a thin brush dipped in acetone to clean up the cuticles and nail edges. It’s so important to remove polish from your skin before you cure it under the lamp, because once it’s cured on your skin- it won’t come off.
5. Don’t forget your aftercare
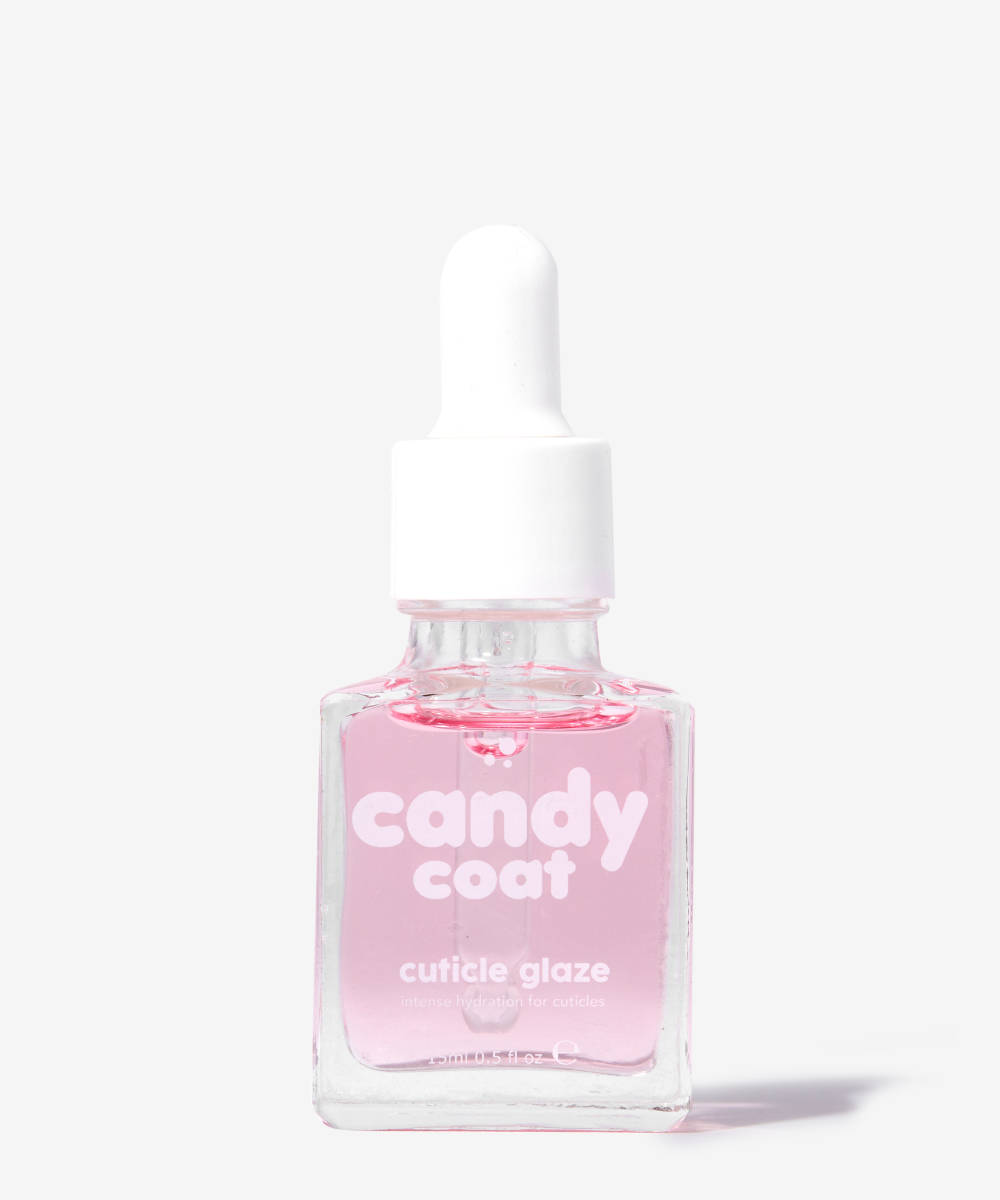
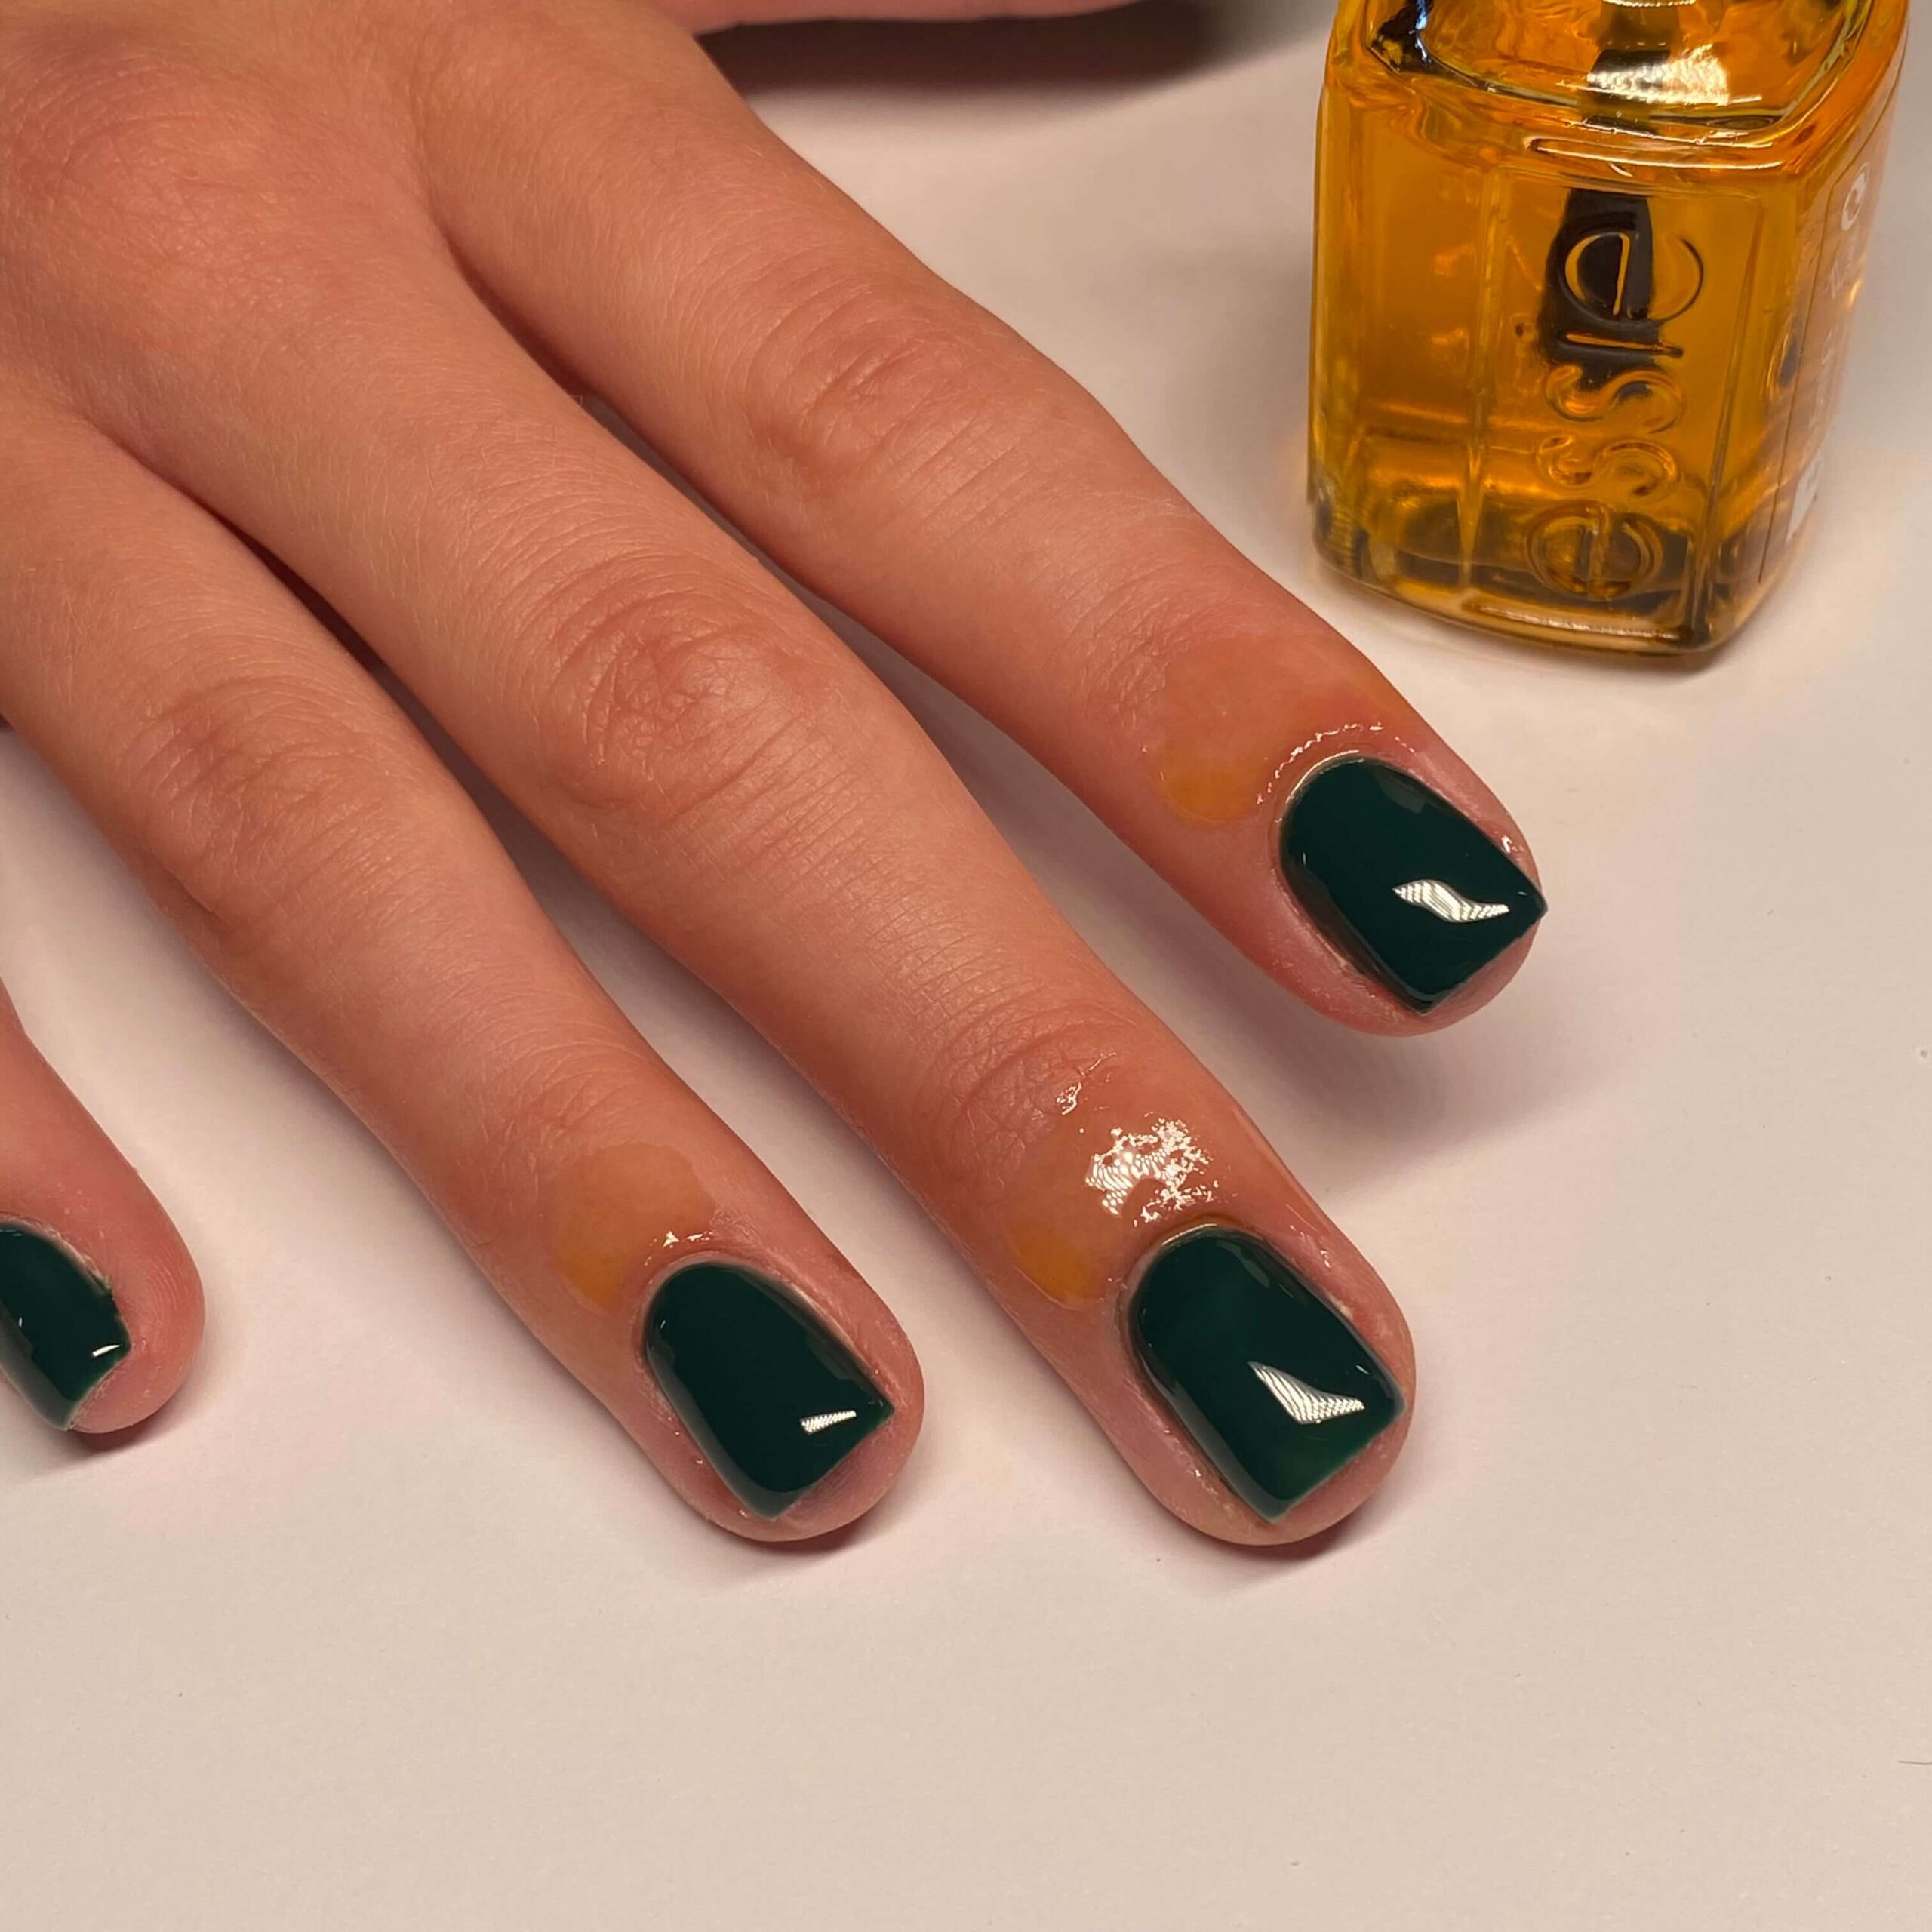
Aftercare is almost as important as the manicure process itself. Applying cuticle oil and hand cream after doing your nails is a step a lot of us neglect (oops). As gel polish application requires acetone, which can dry out the nails, it’s crucial that we add a bit of moisture back into the nails.
6. Proper removal is key
We’ve gone into depth here about removal. But you know the drill, as tempting as it might be, do not pick off your gels! This causes serious damage to the nail underneath, weakening the nails and causing breakage. When removing gel properly, the gel should just crumble off, you shouldn’t need to forcefully scrape it off.
Shop our faves:
This article was previously published at an earlier date and has since been updated.
