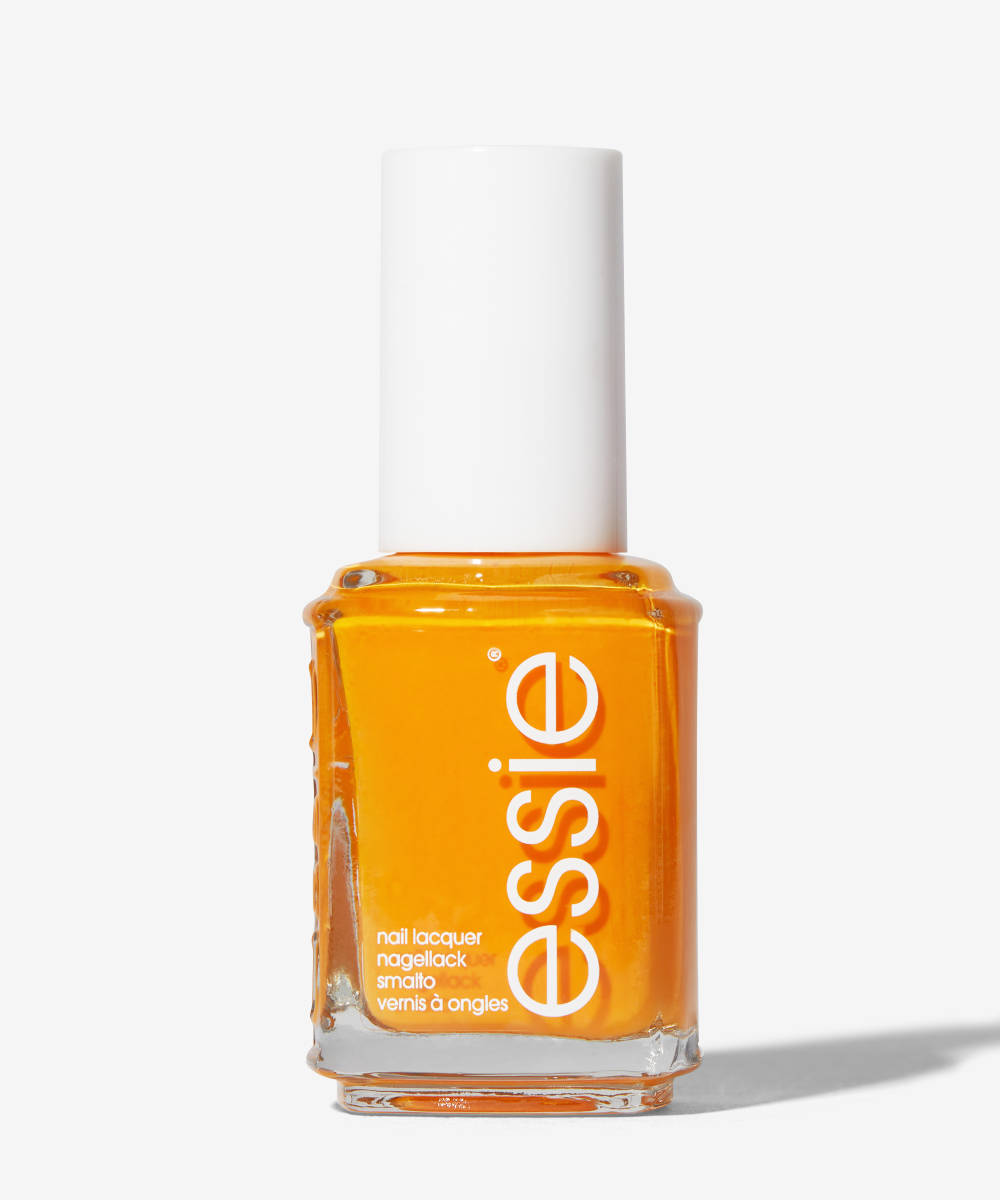
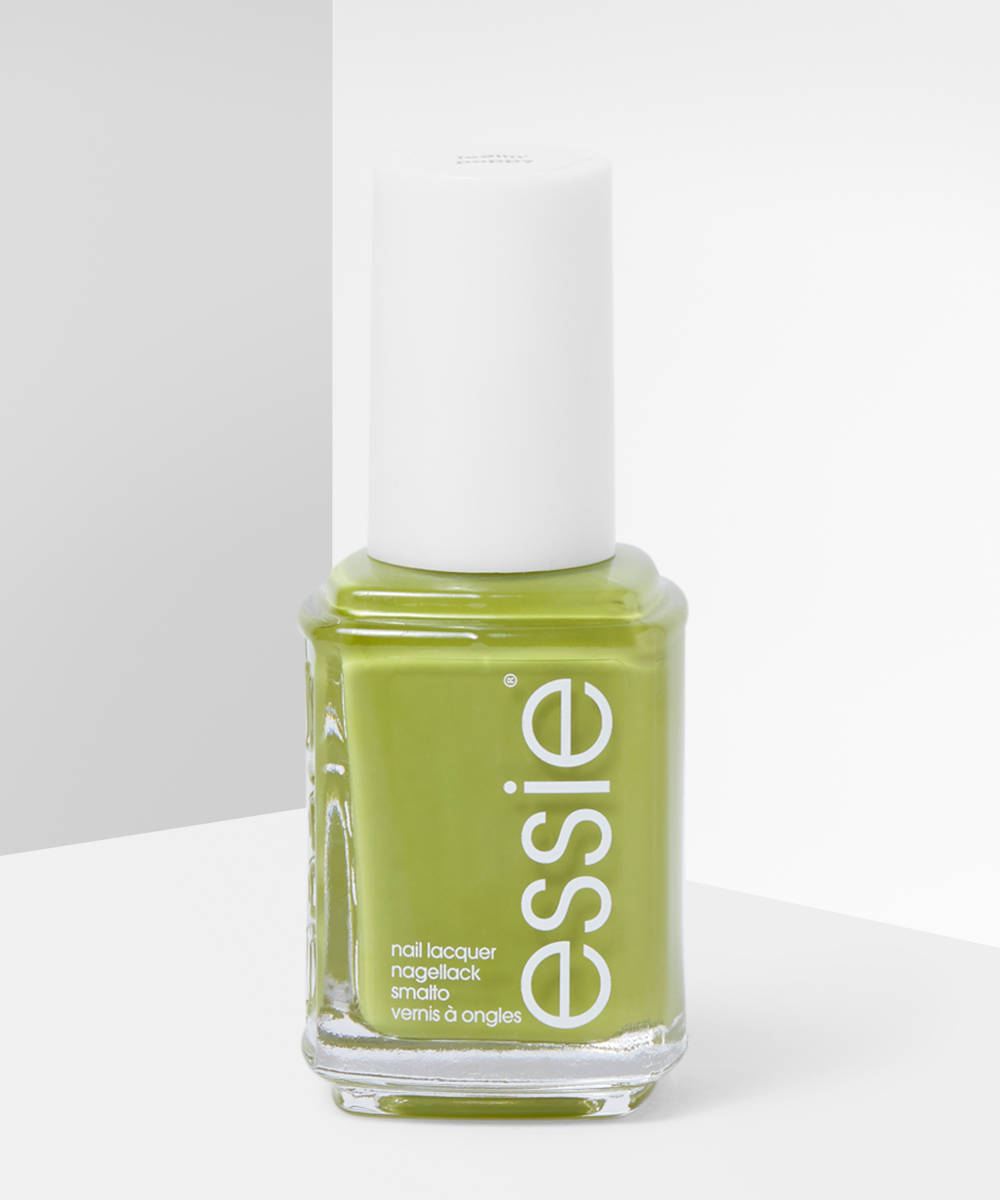
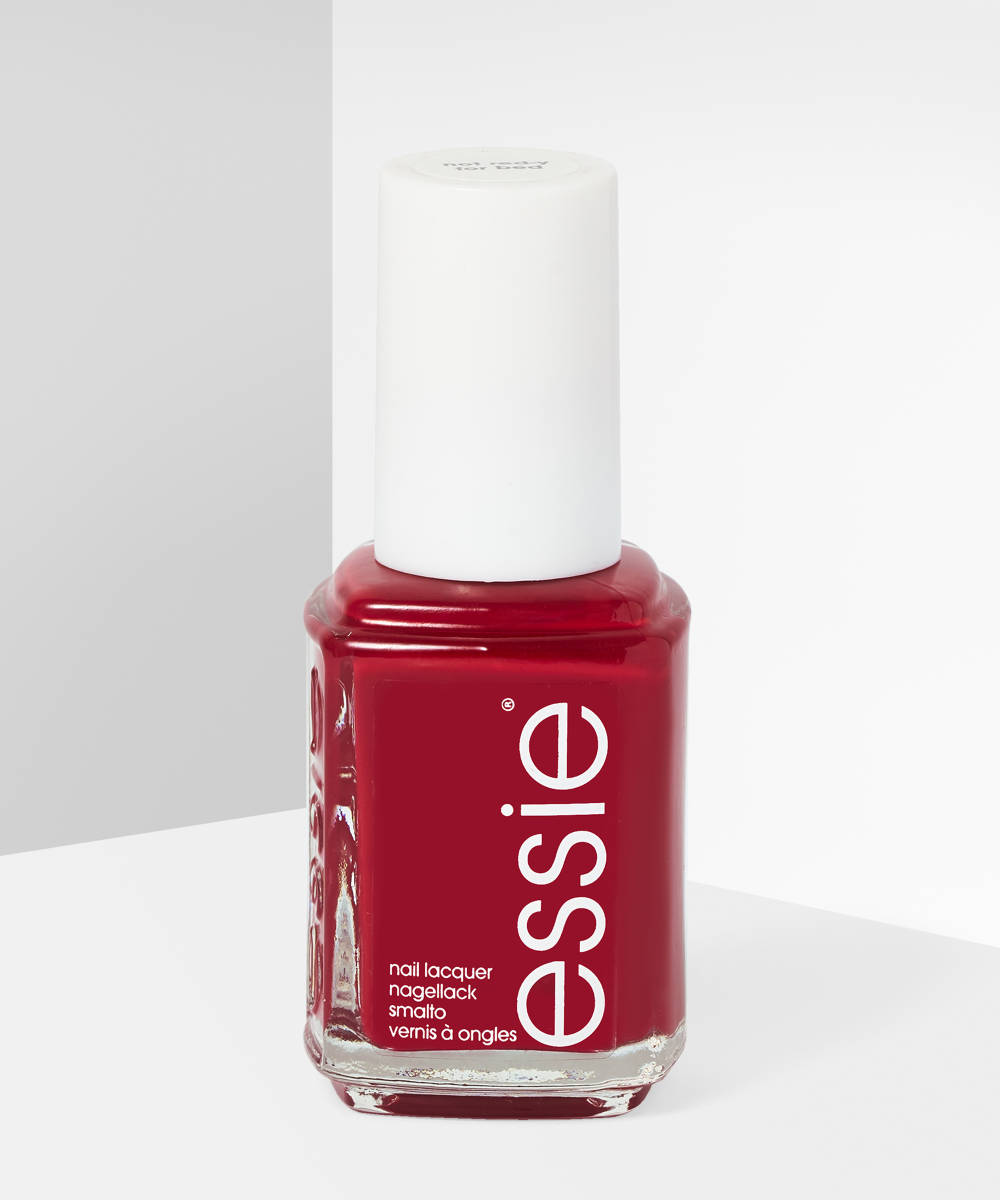
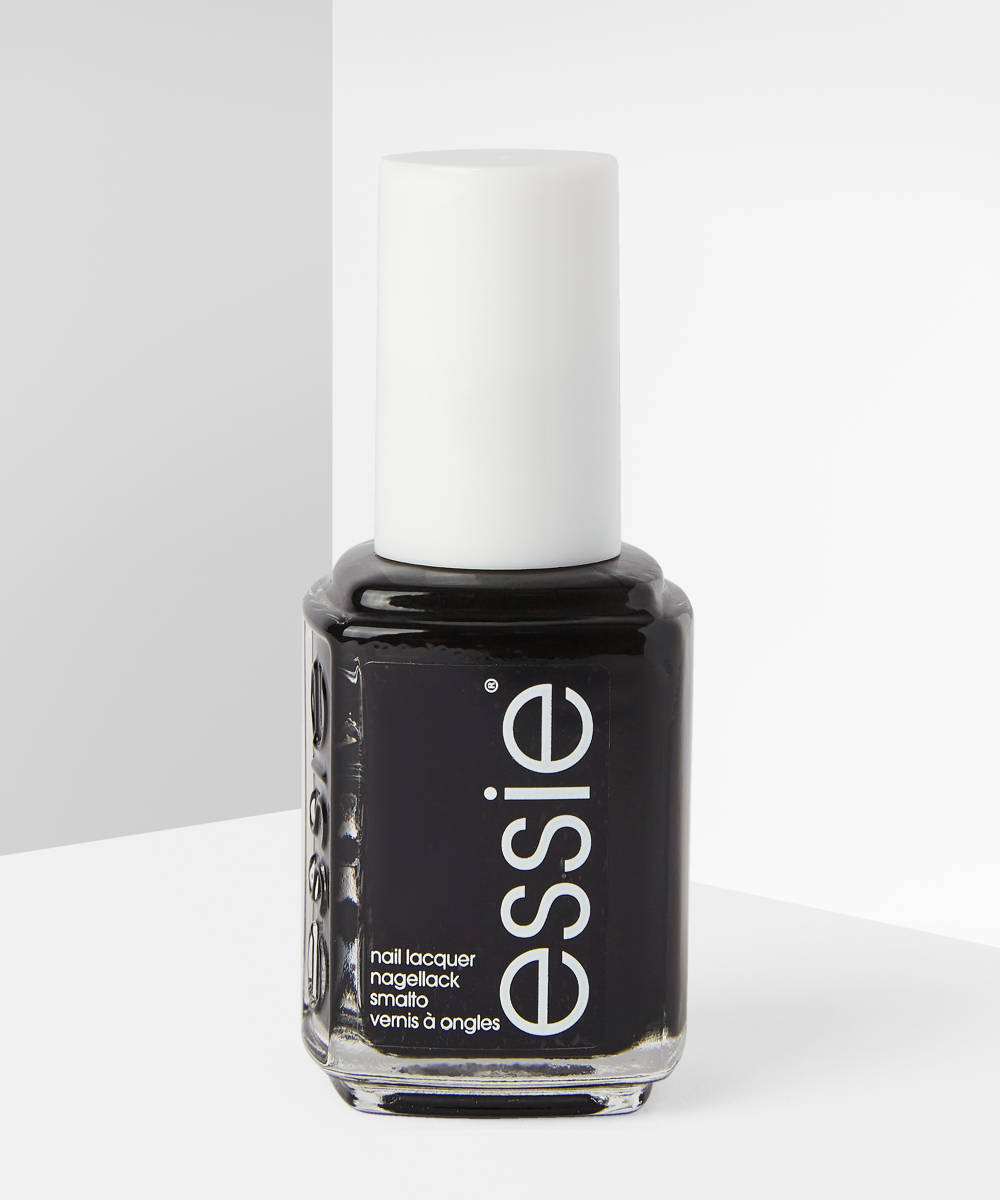
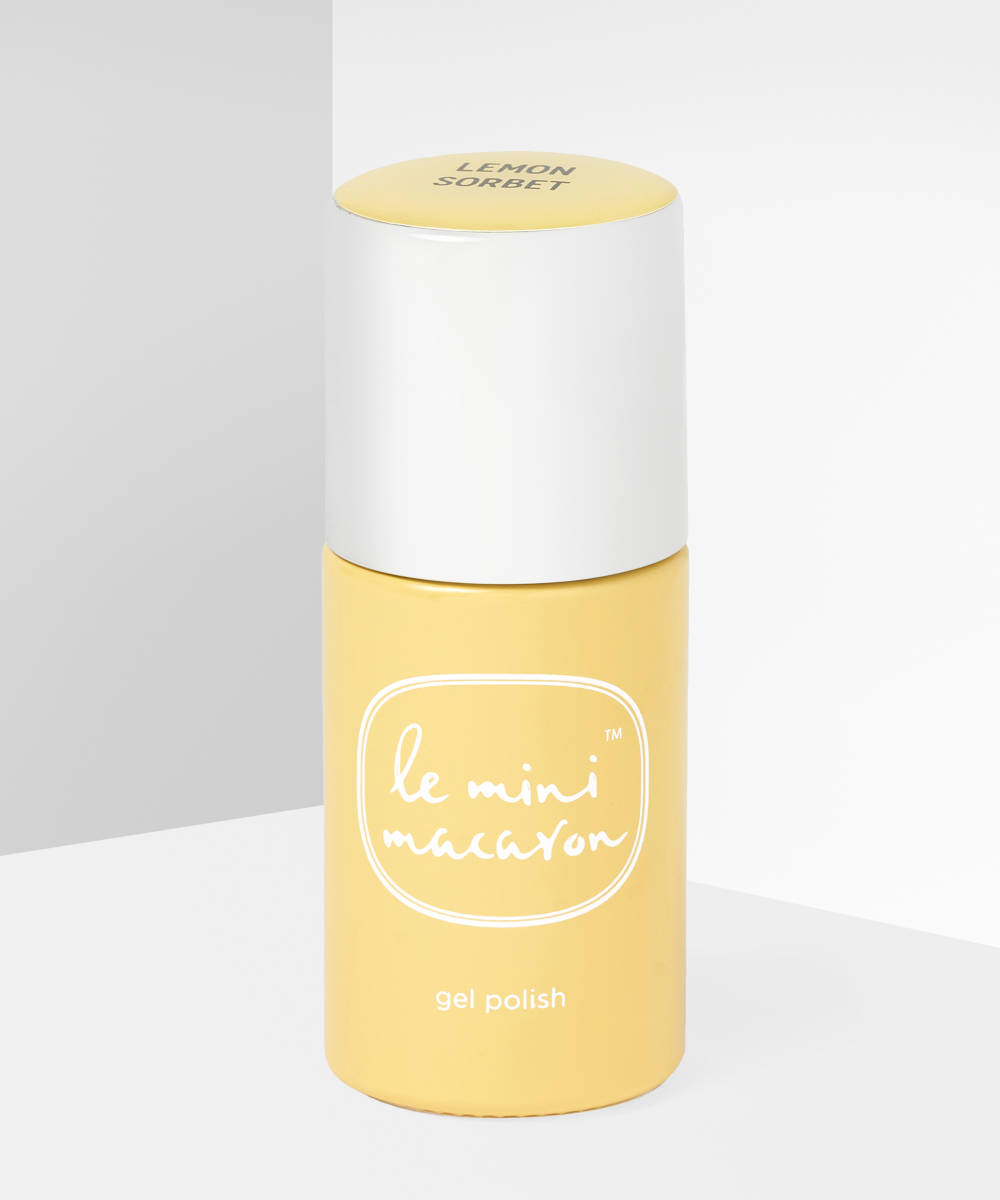
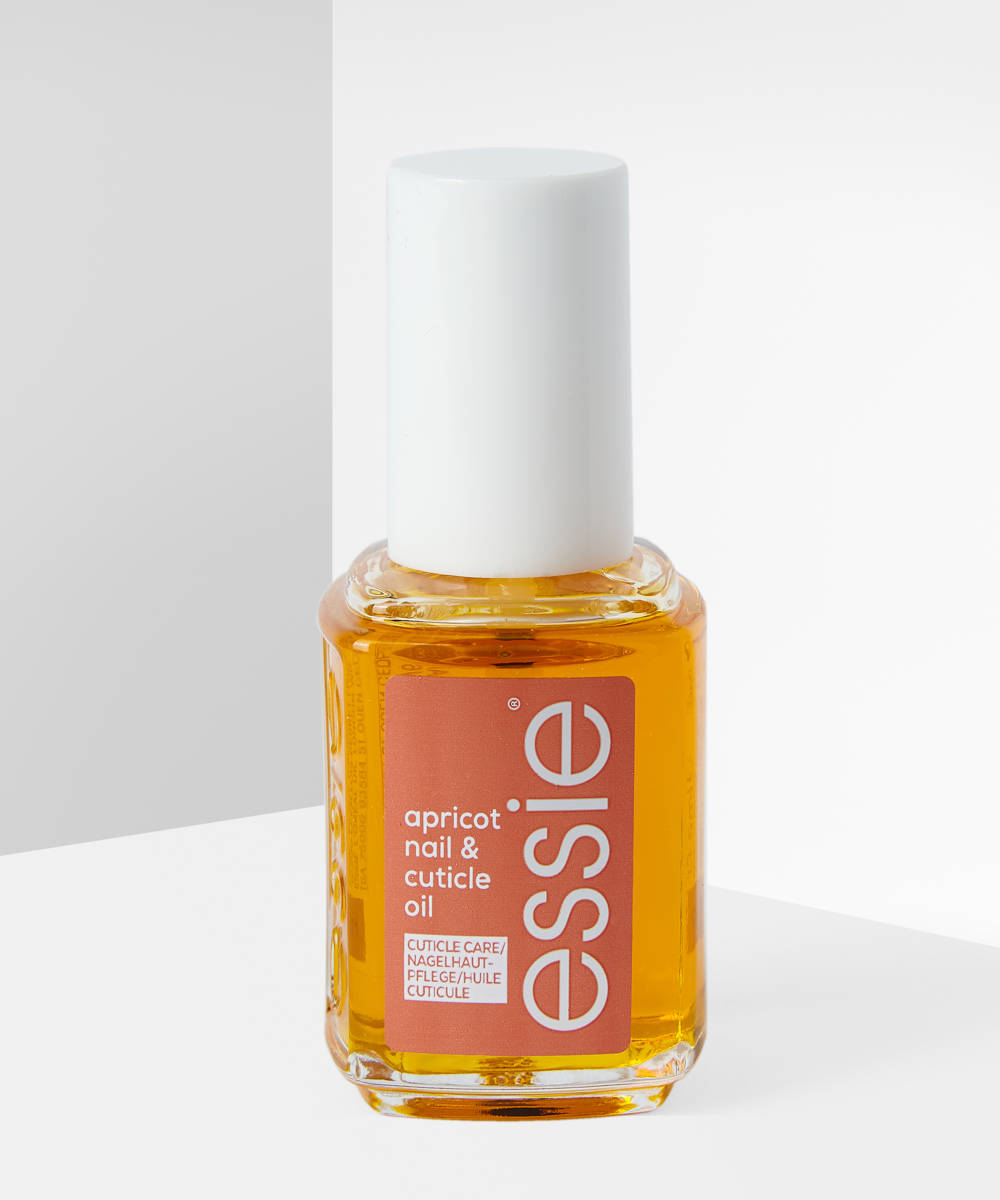
The weathers getting warmer, nights are getting lighter, and Summer is officially on its way. As much as we’re tempted by a fruity cocktail as soon as the sun appears, there’s one place that fruits also belong, and that’s on our nails.
Super subtle but super cute, adding fruit designs to our nails can be the pop of colour we’ve been searching for all our lives (slight exaggeration we know).
Scroll to find out how to create five different cute and easy fruity nail designs, that we know you’re gonna love…
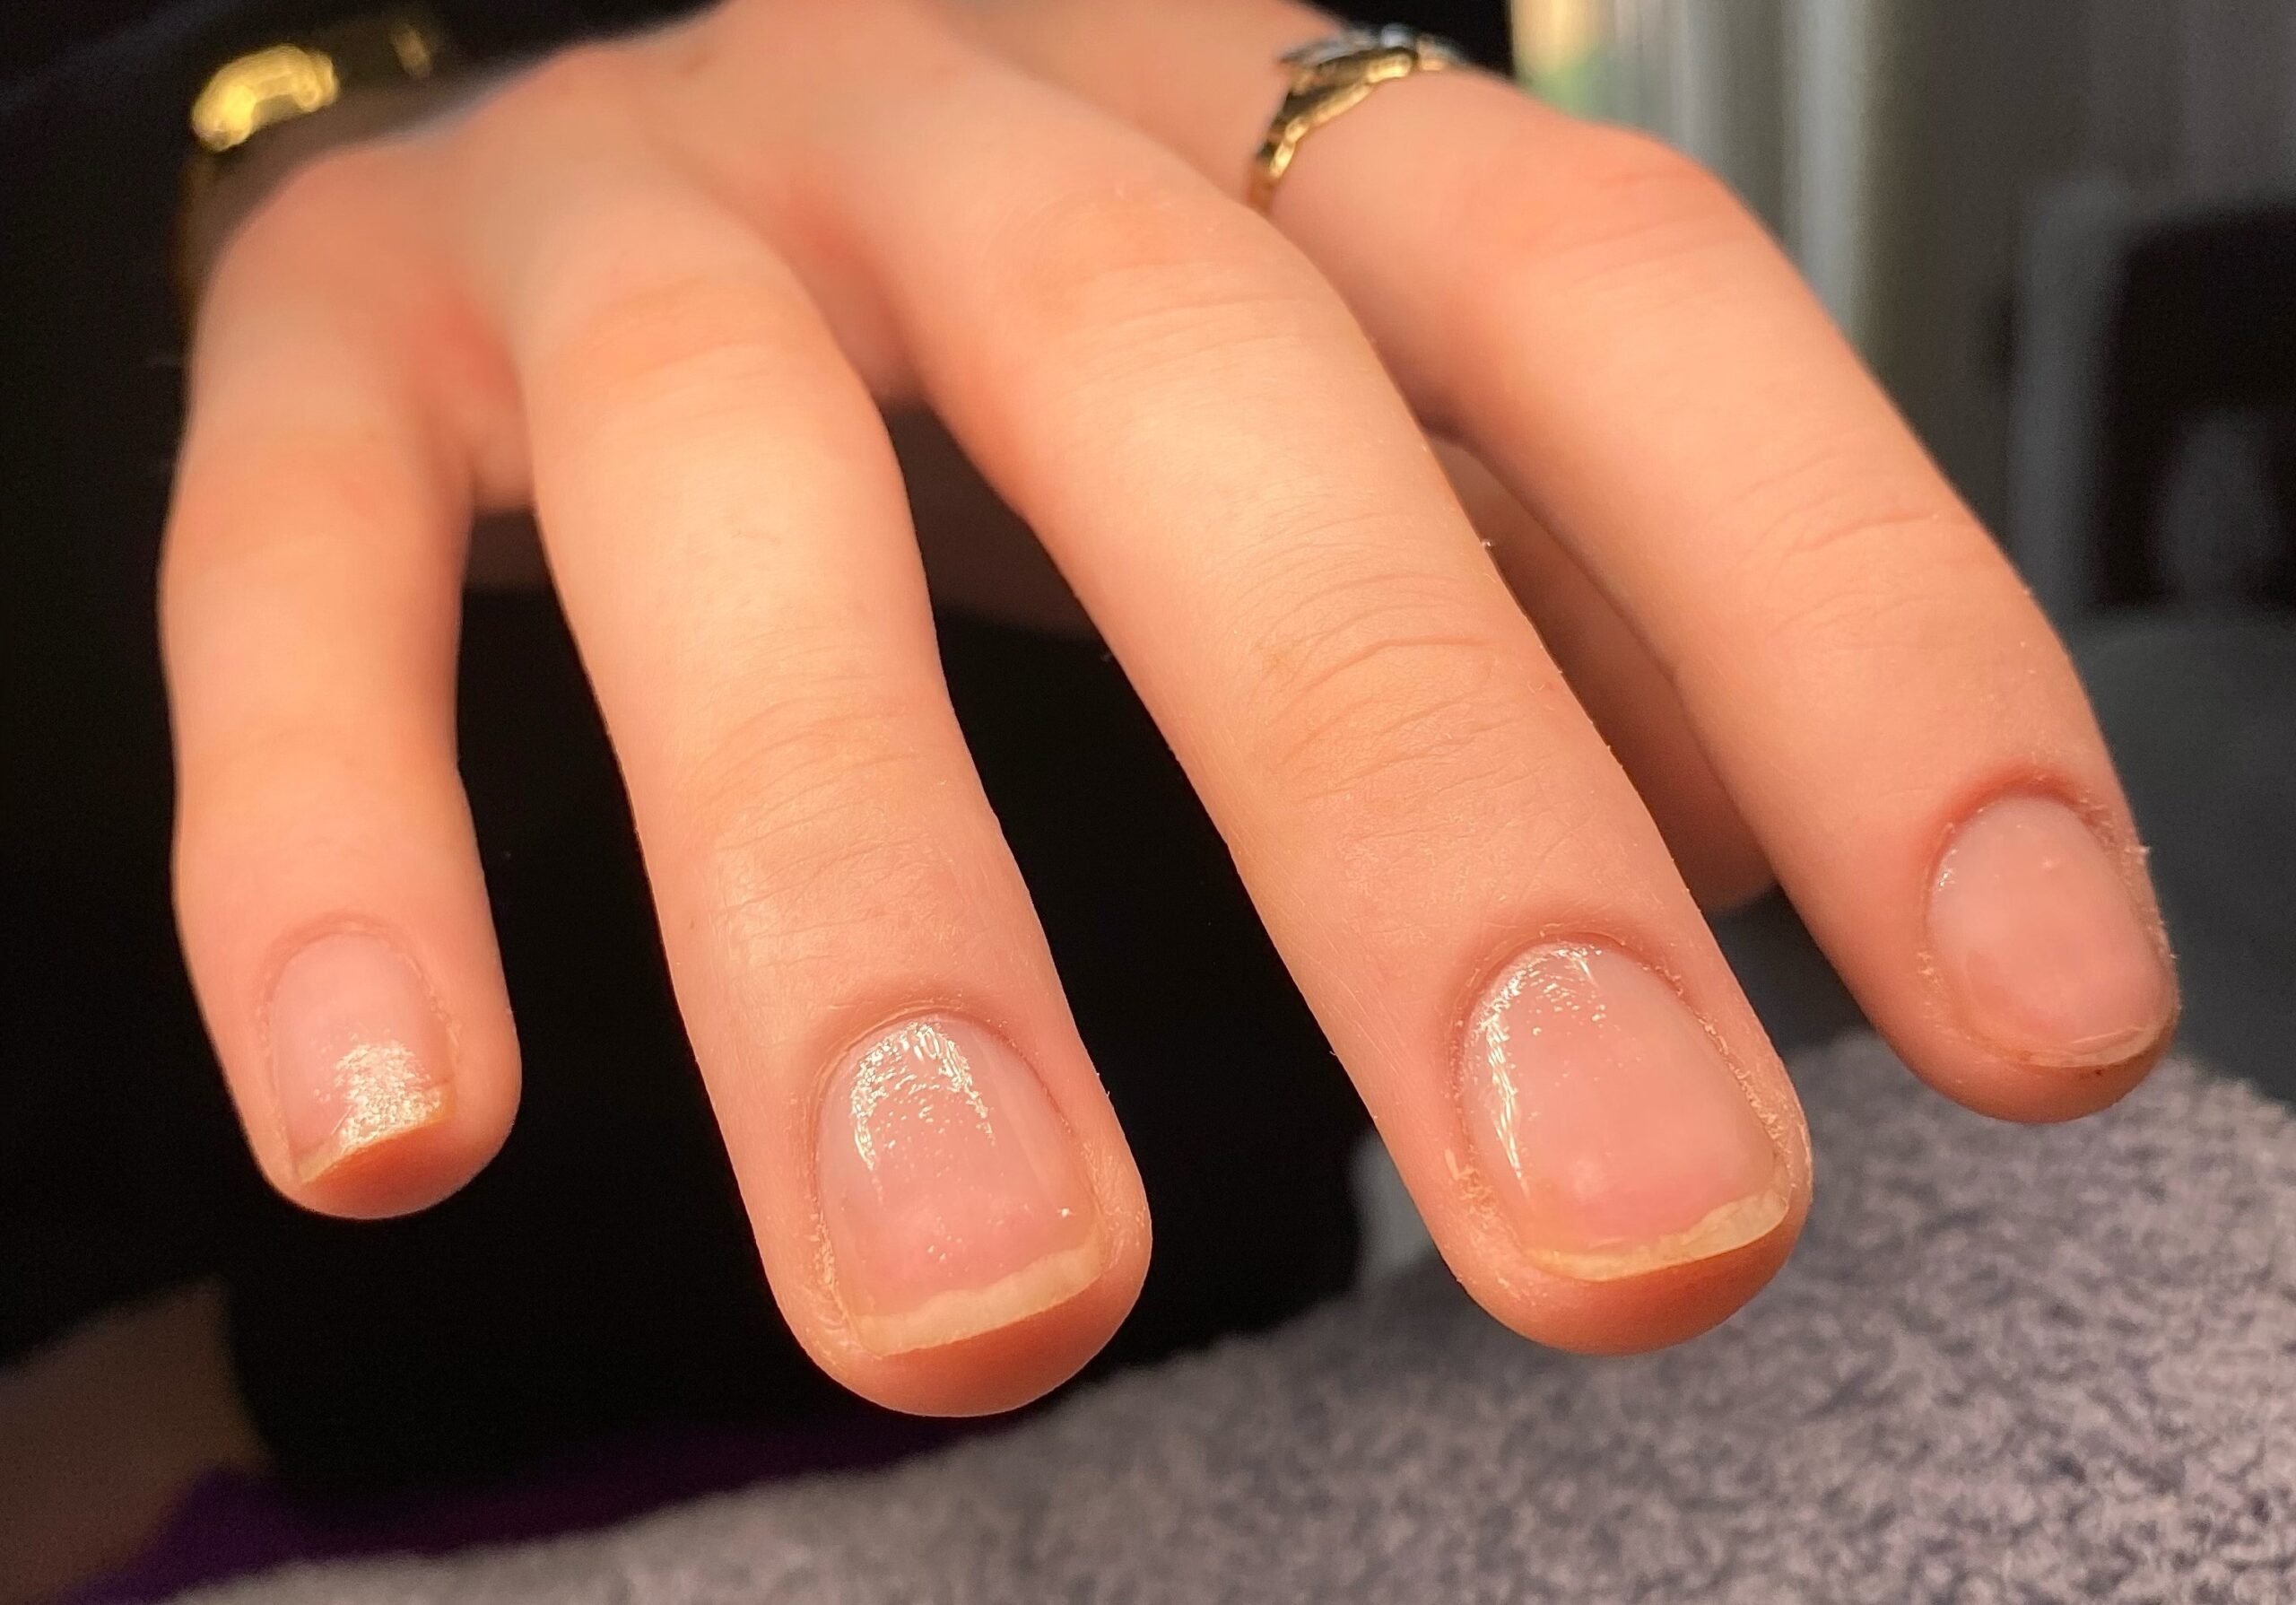
🍑 Peach 🍑
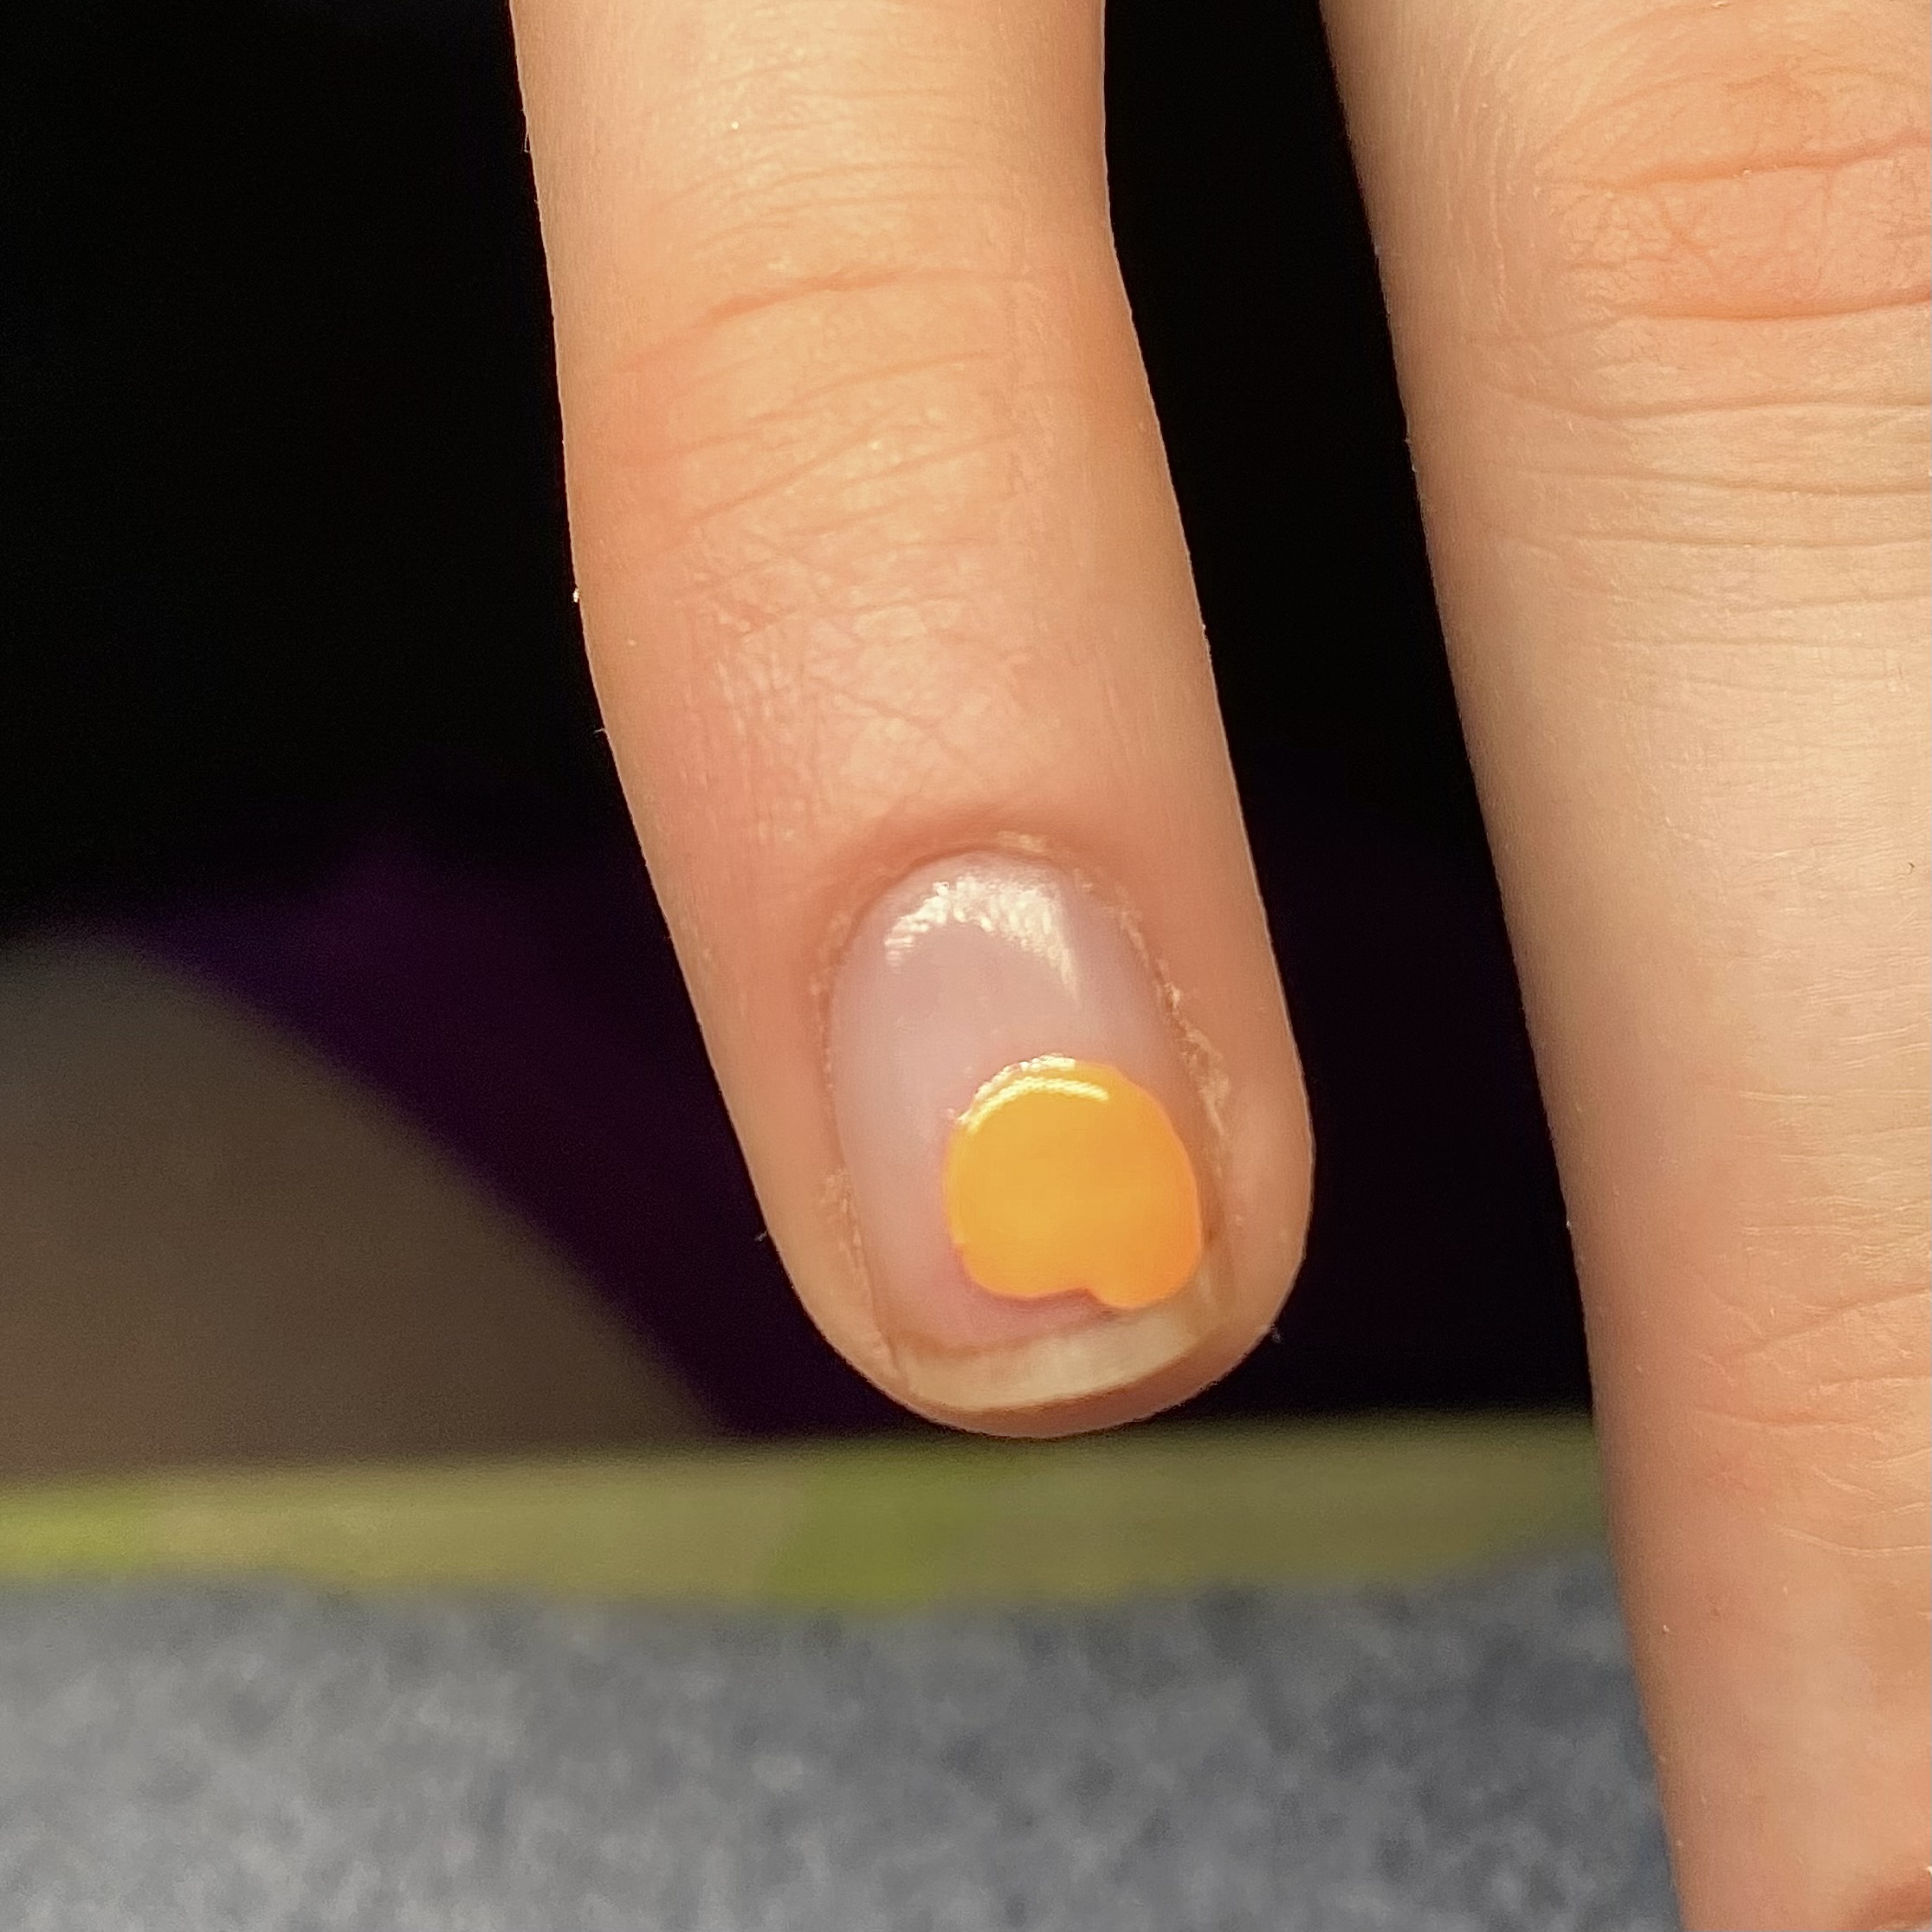

1. Using a peachy orange polish and small detailer brush, start by painting on the outline of a heart, then fill it in. Use thin layers and build up the colour until it’s opaque.
2. Then, using a small brush, use a darker peach or light brown polish to add definition to your peach and a green polish to add two small leaves.
🍒 Cherry 🍒
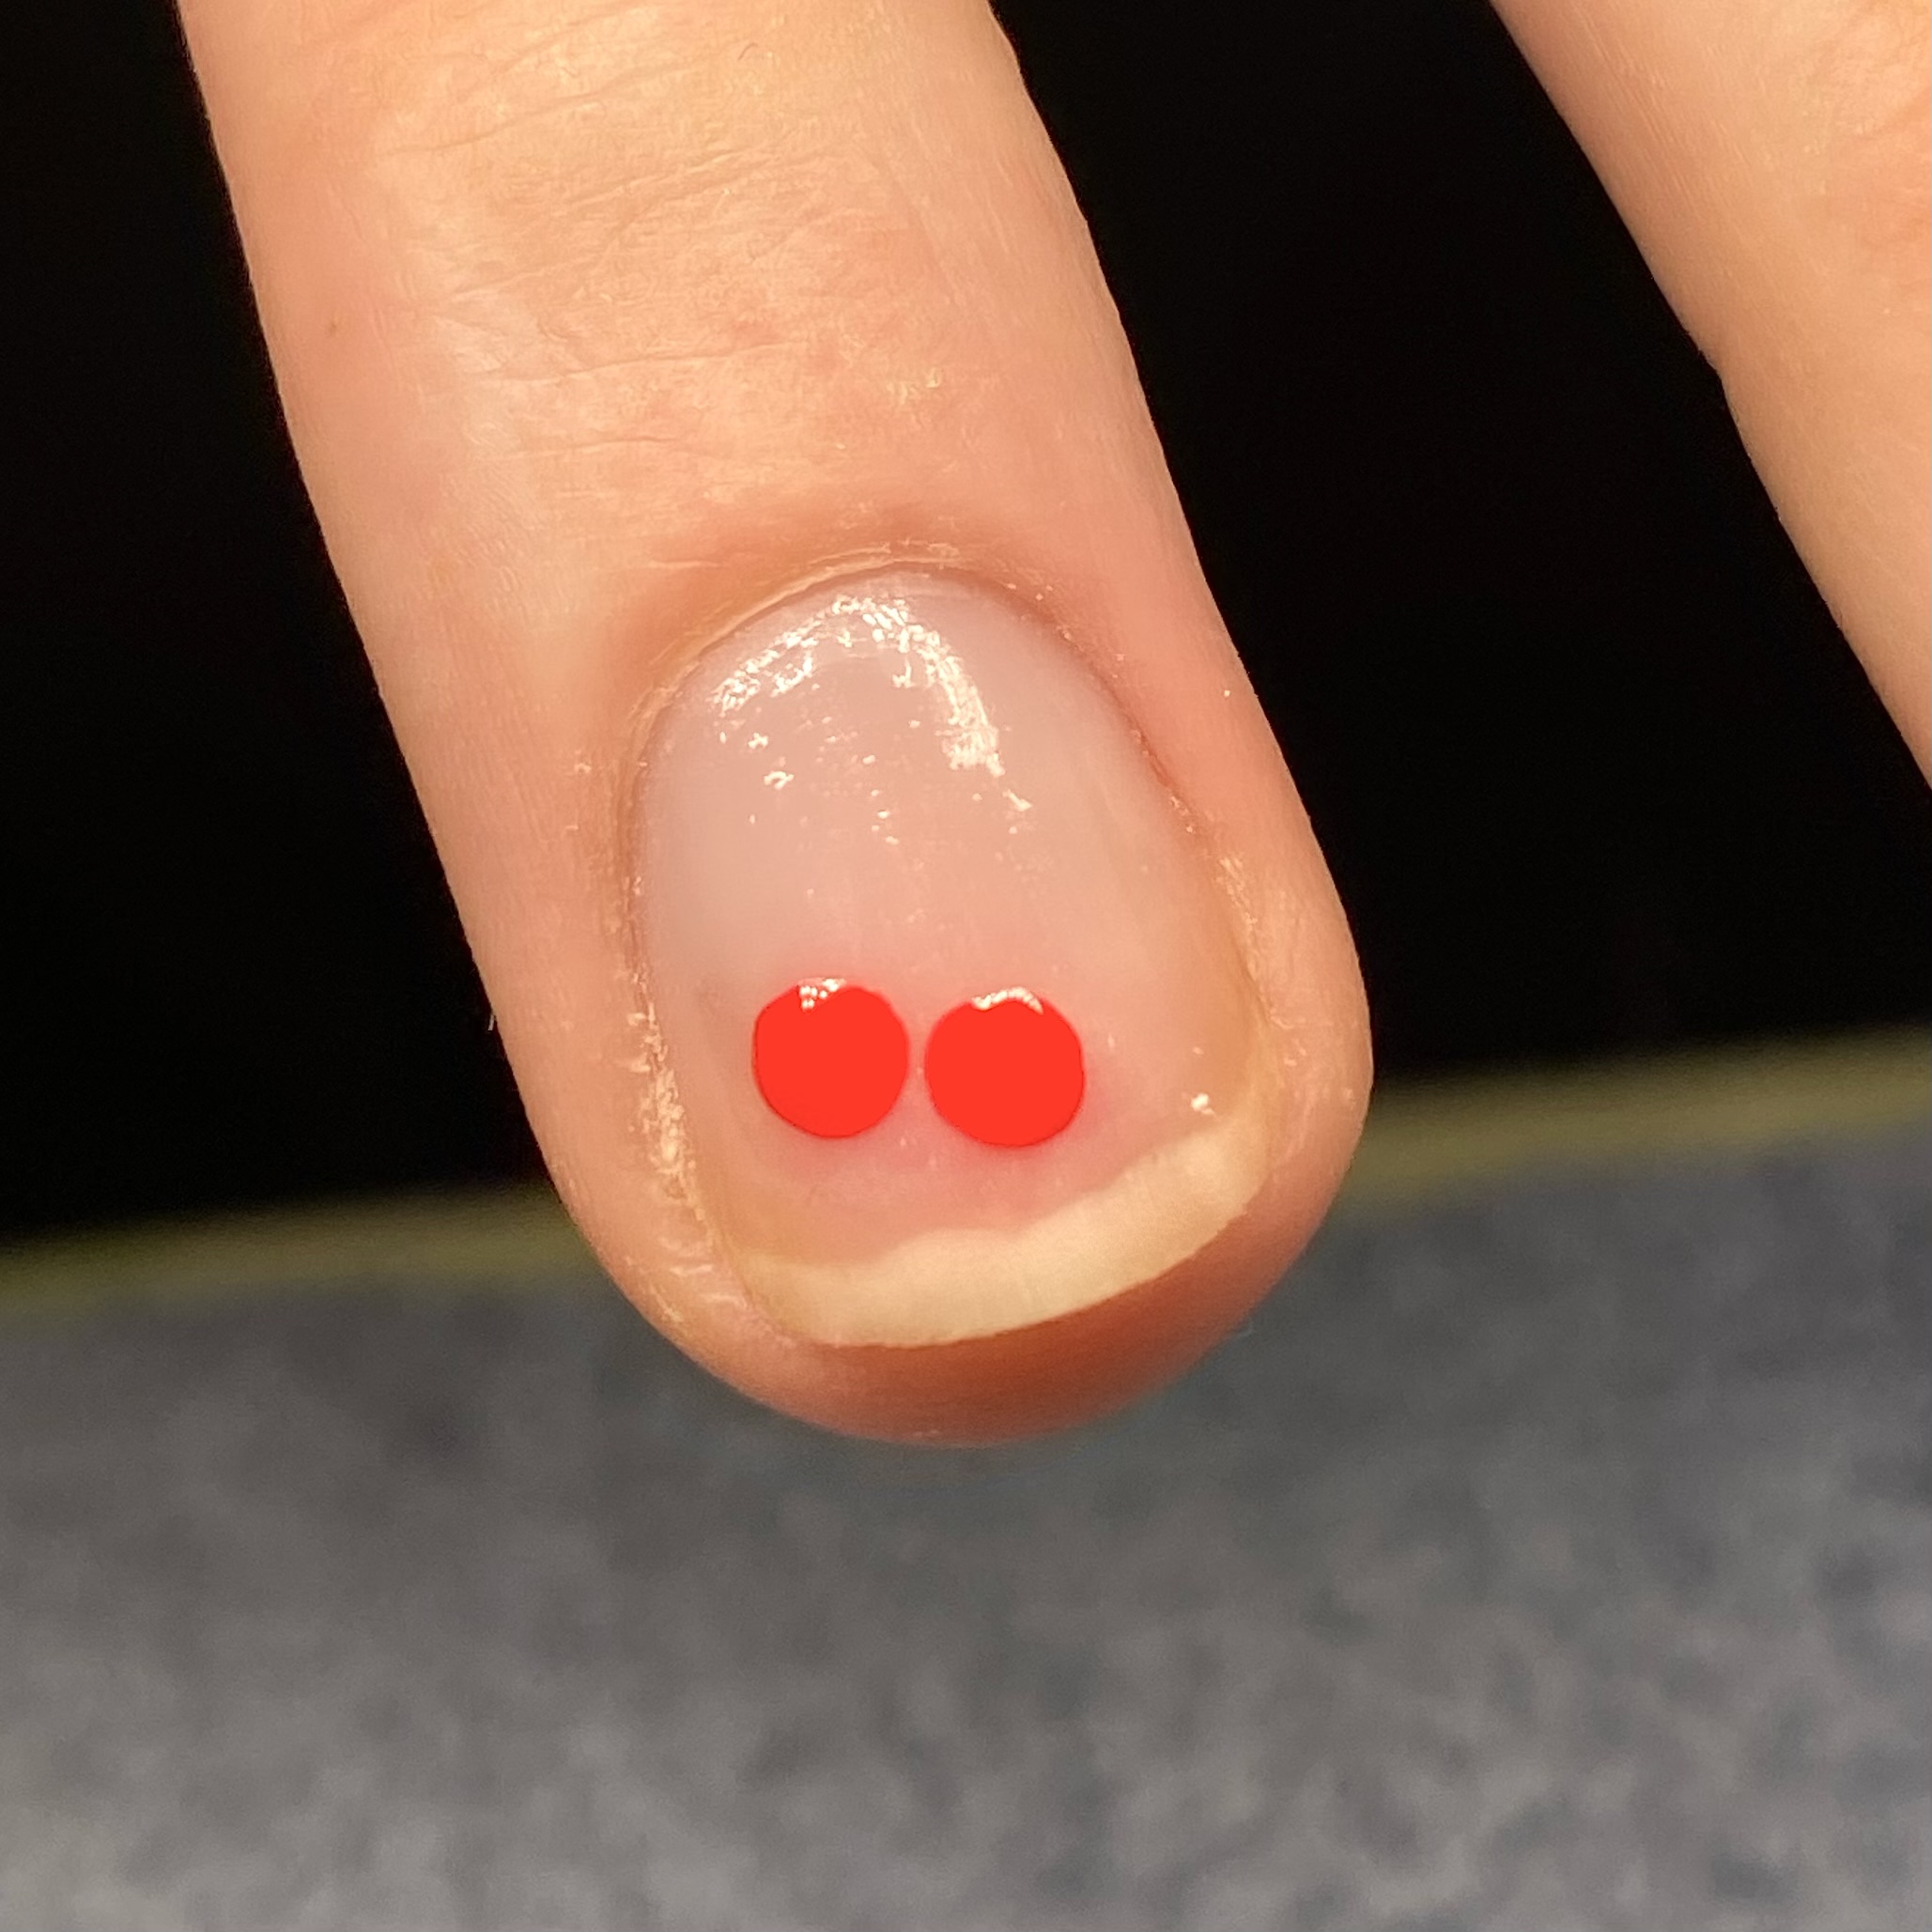

1. Using a bright red polish and a dotting tool (the end of a bobby pin works great for this), start by applying two dots onto the nail, making sure they don’t touch. Use thin layers and build up the colour until it’s opaque.
2. Then, using a small brush, use a white polish to add light definition to your cherries and a green polish to add a stalk and two small leaves.
🍉 Watermelon 🍉
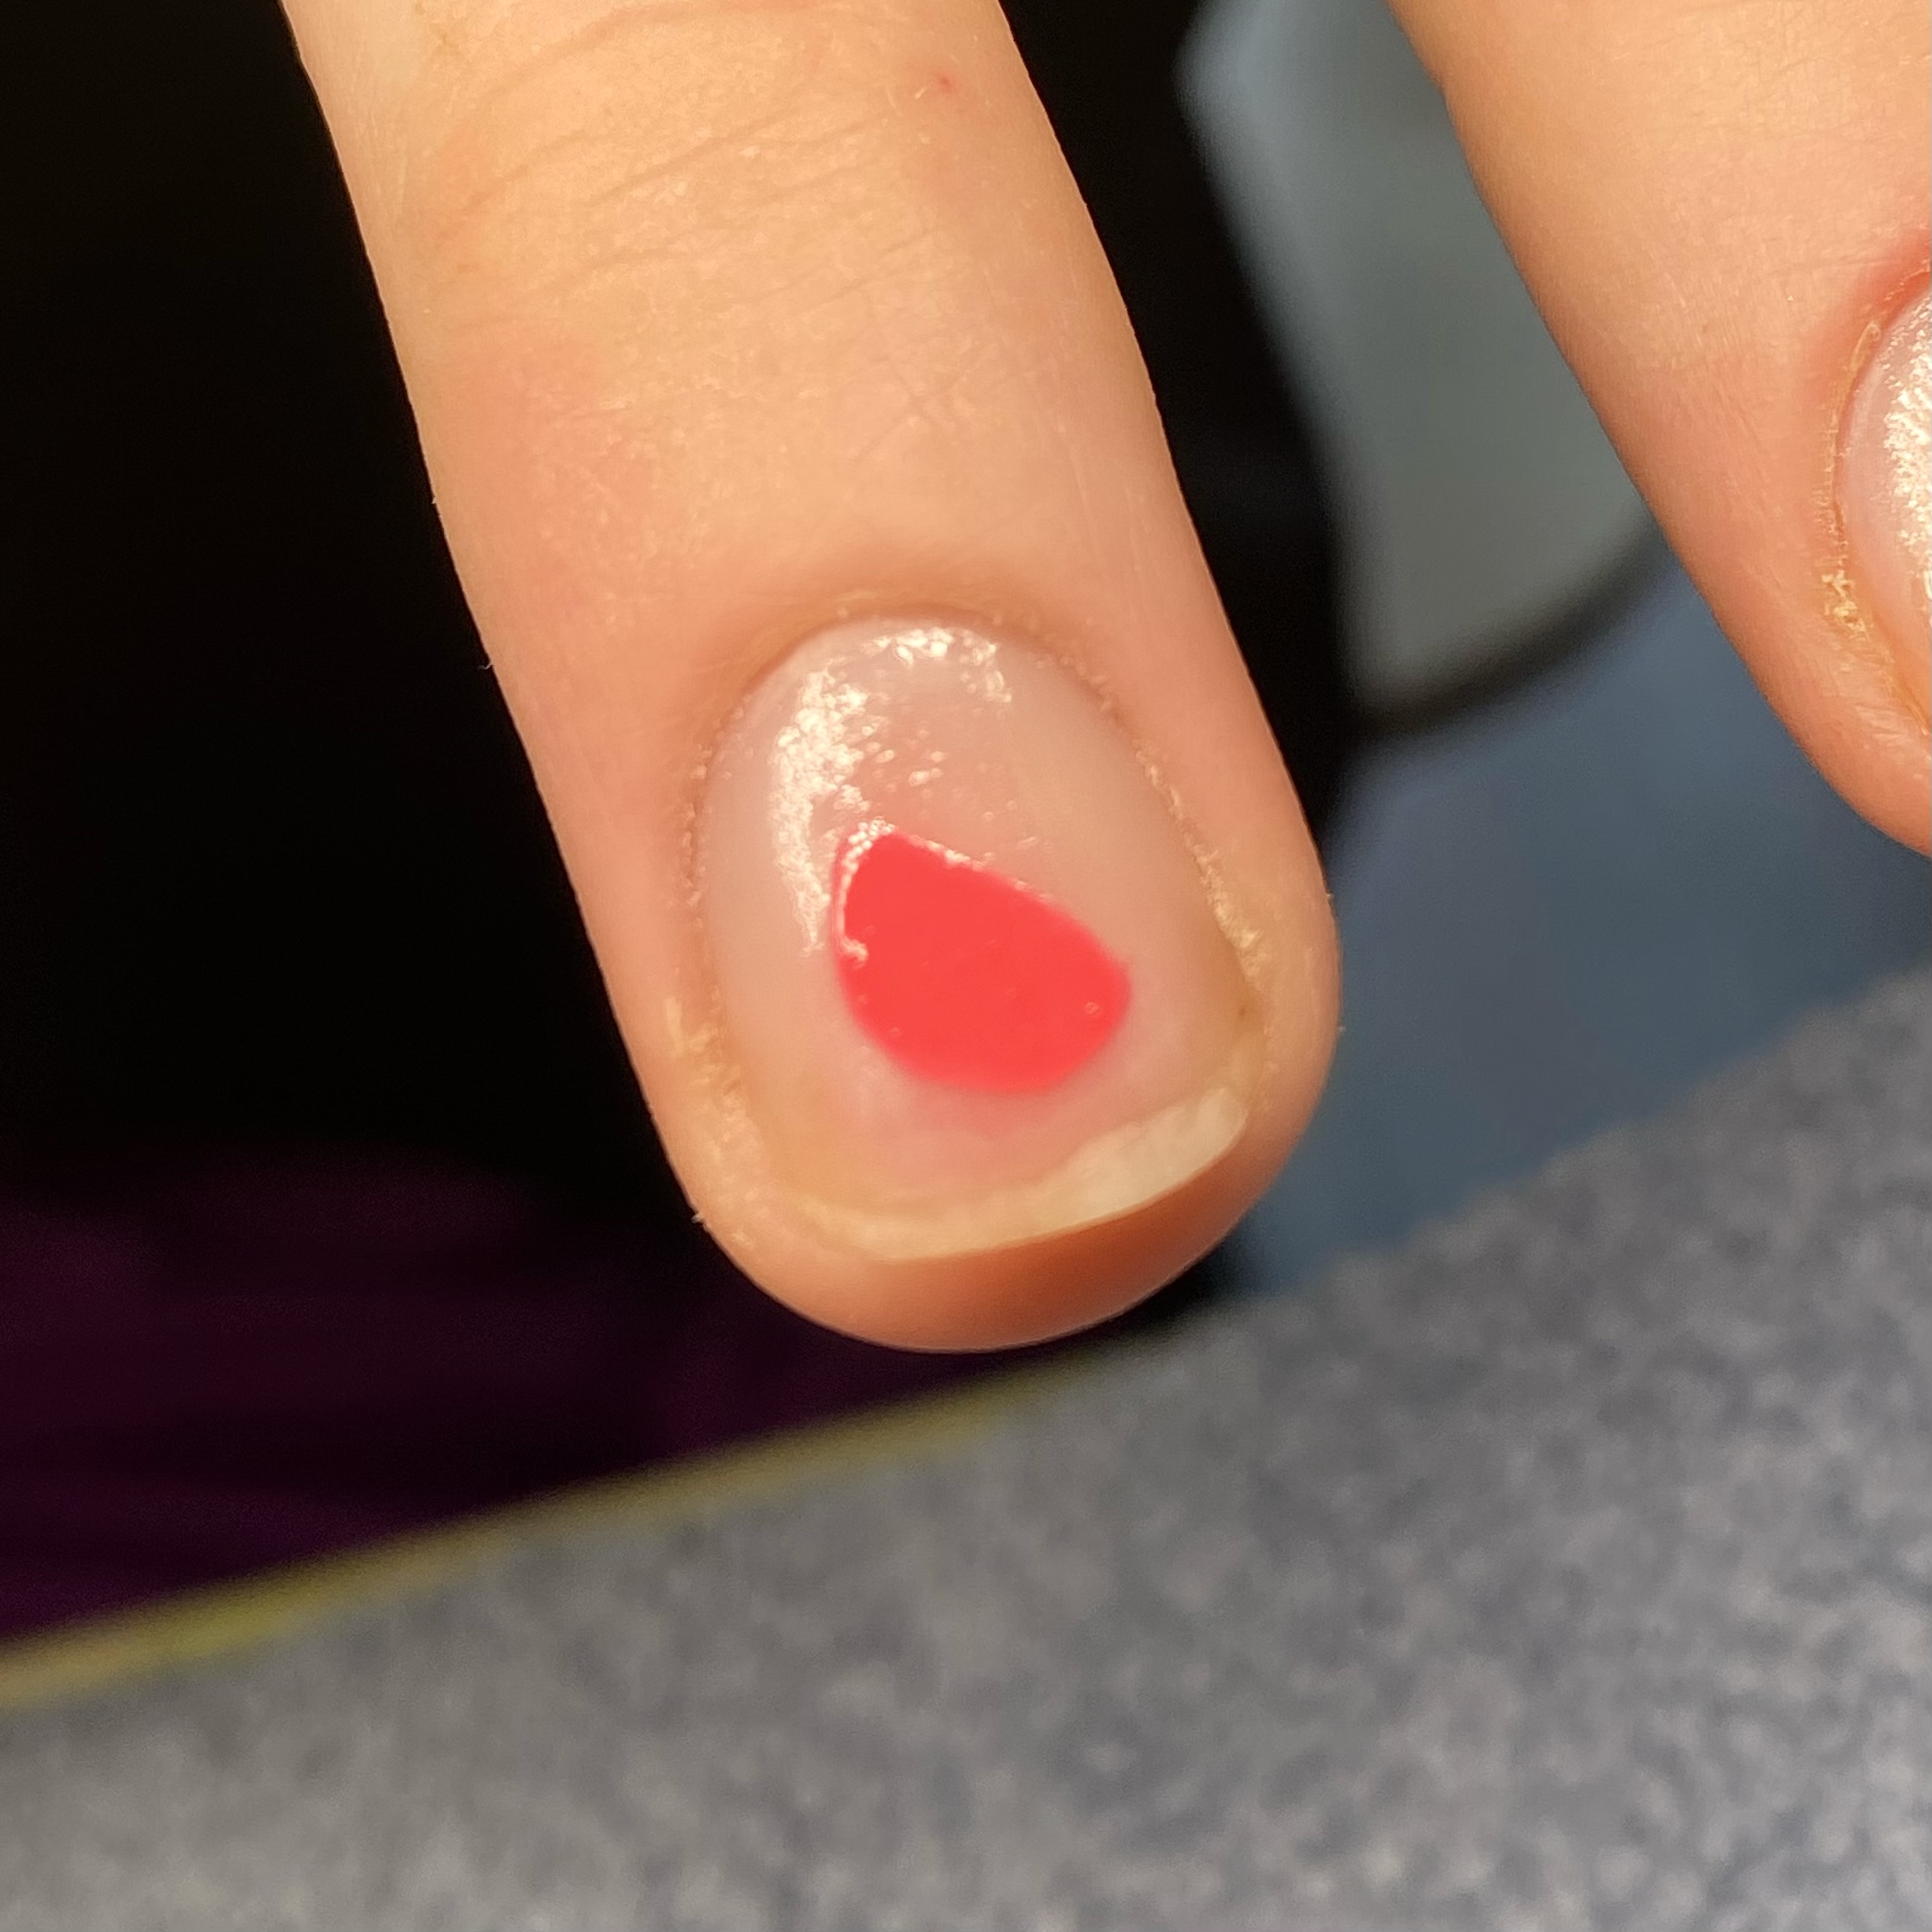
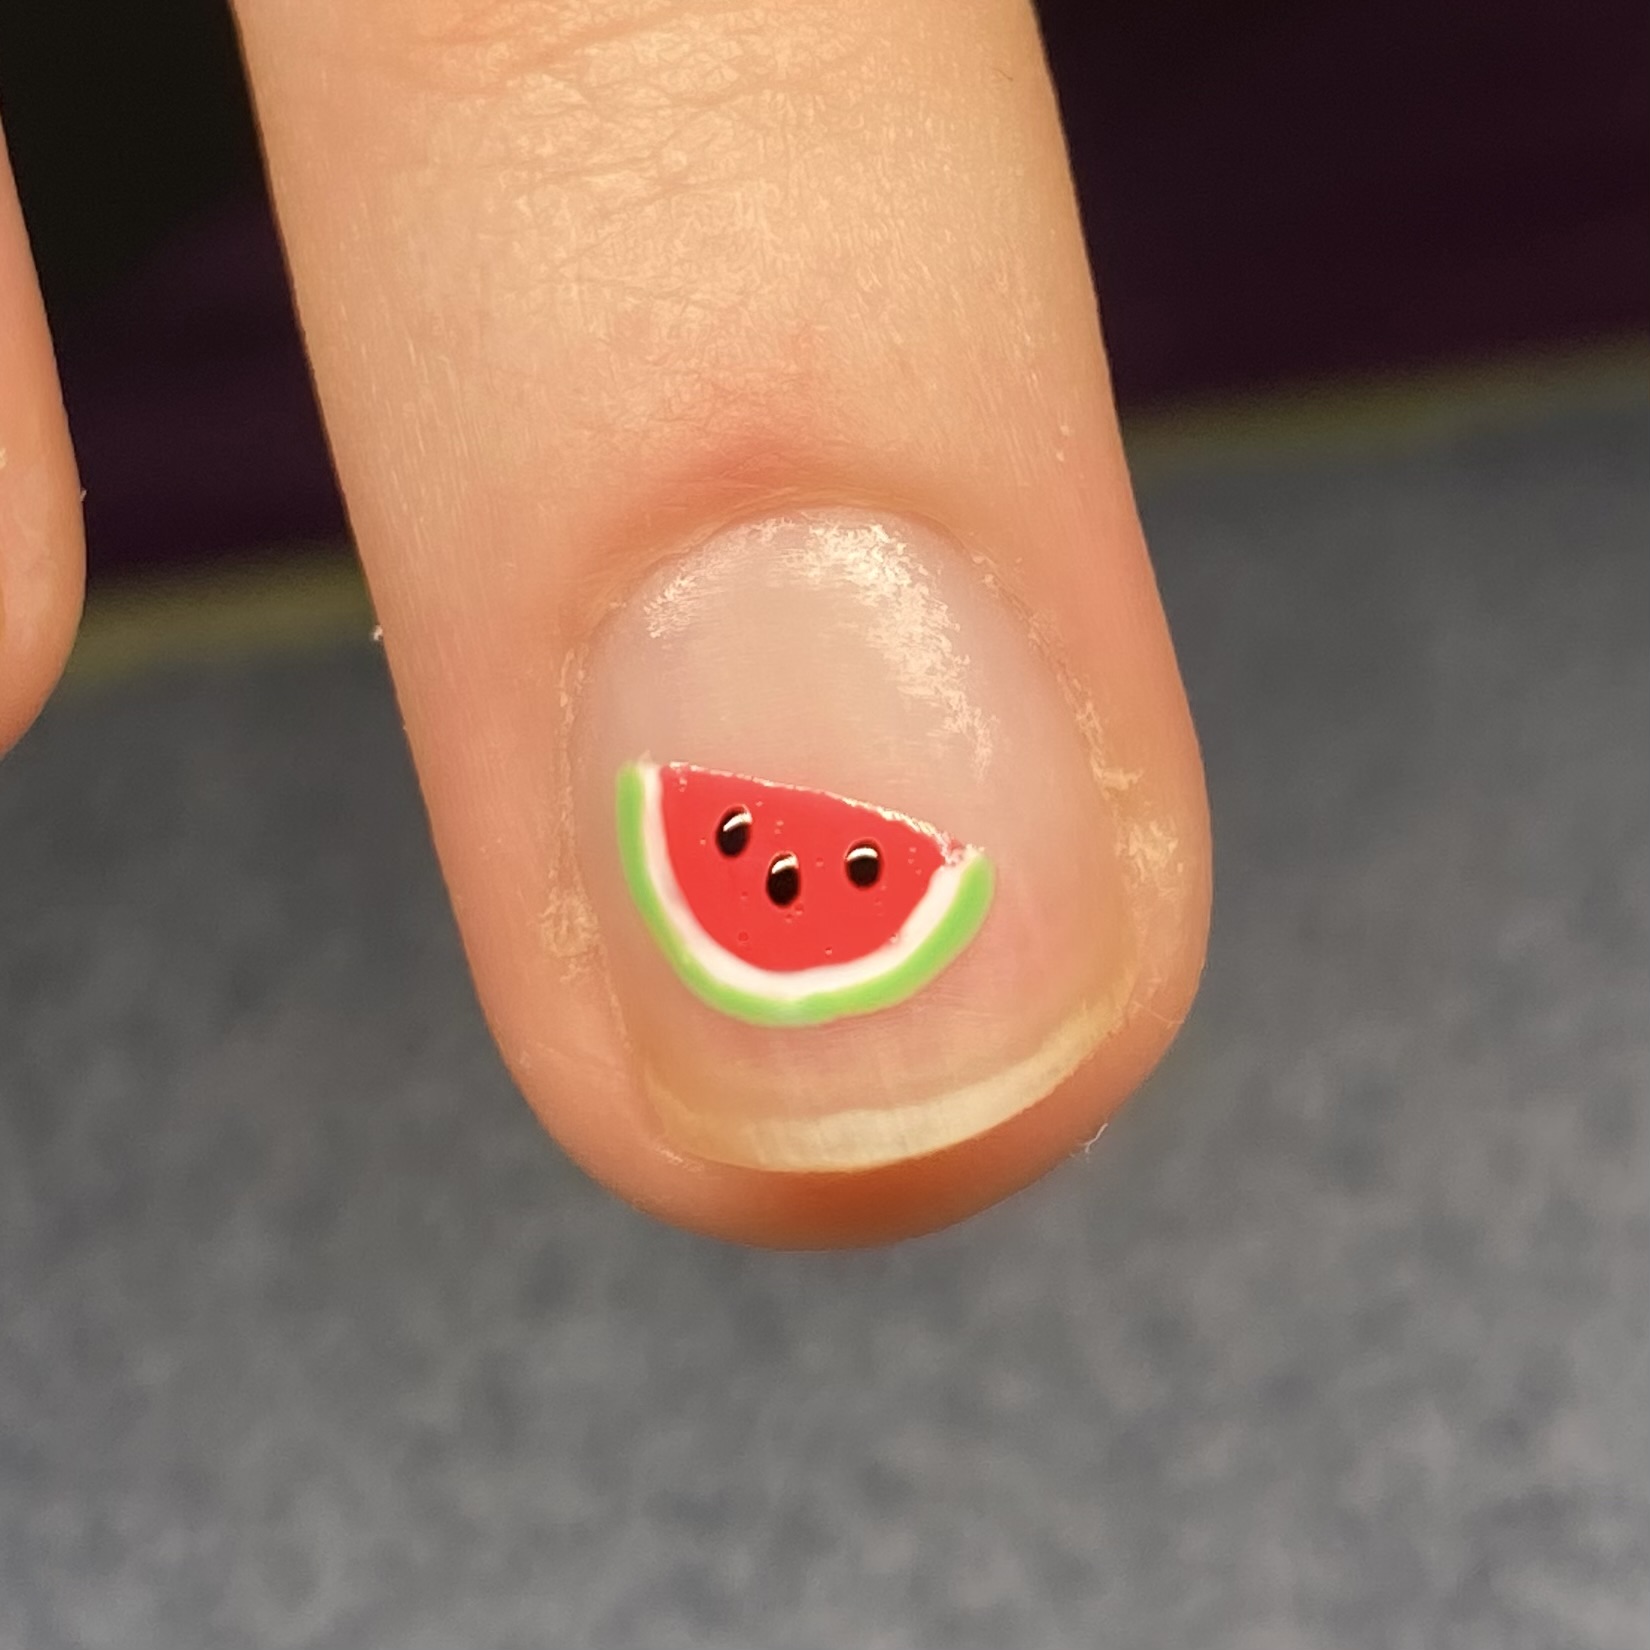
1. Using a pinky red polish and a small detailer brush, start by painting on the outline of your watermelon slice, in a half circle shape, then fill it in. Use thin layers and build up the colour until it’s opaque.
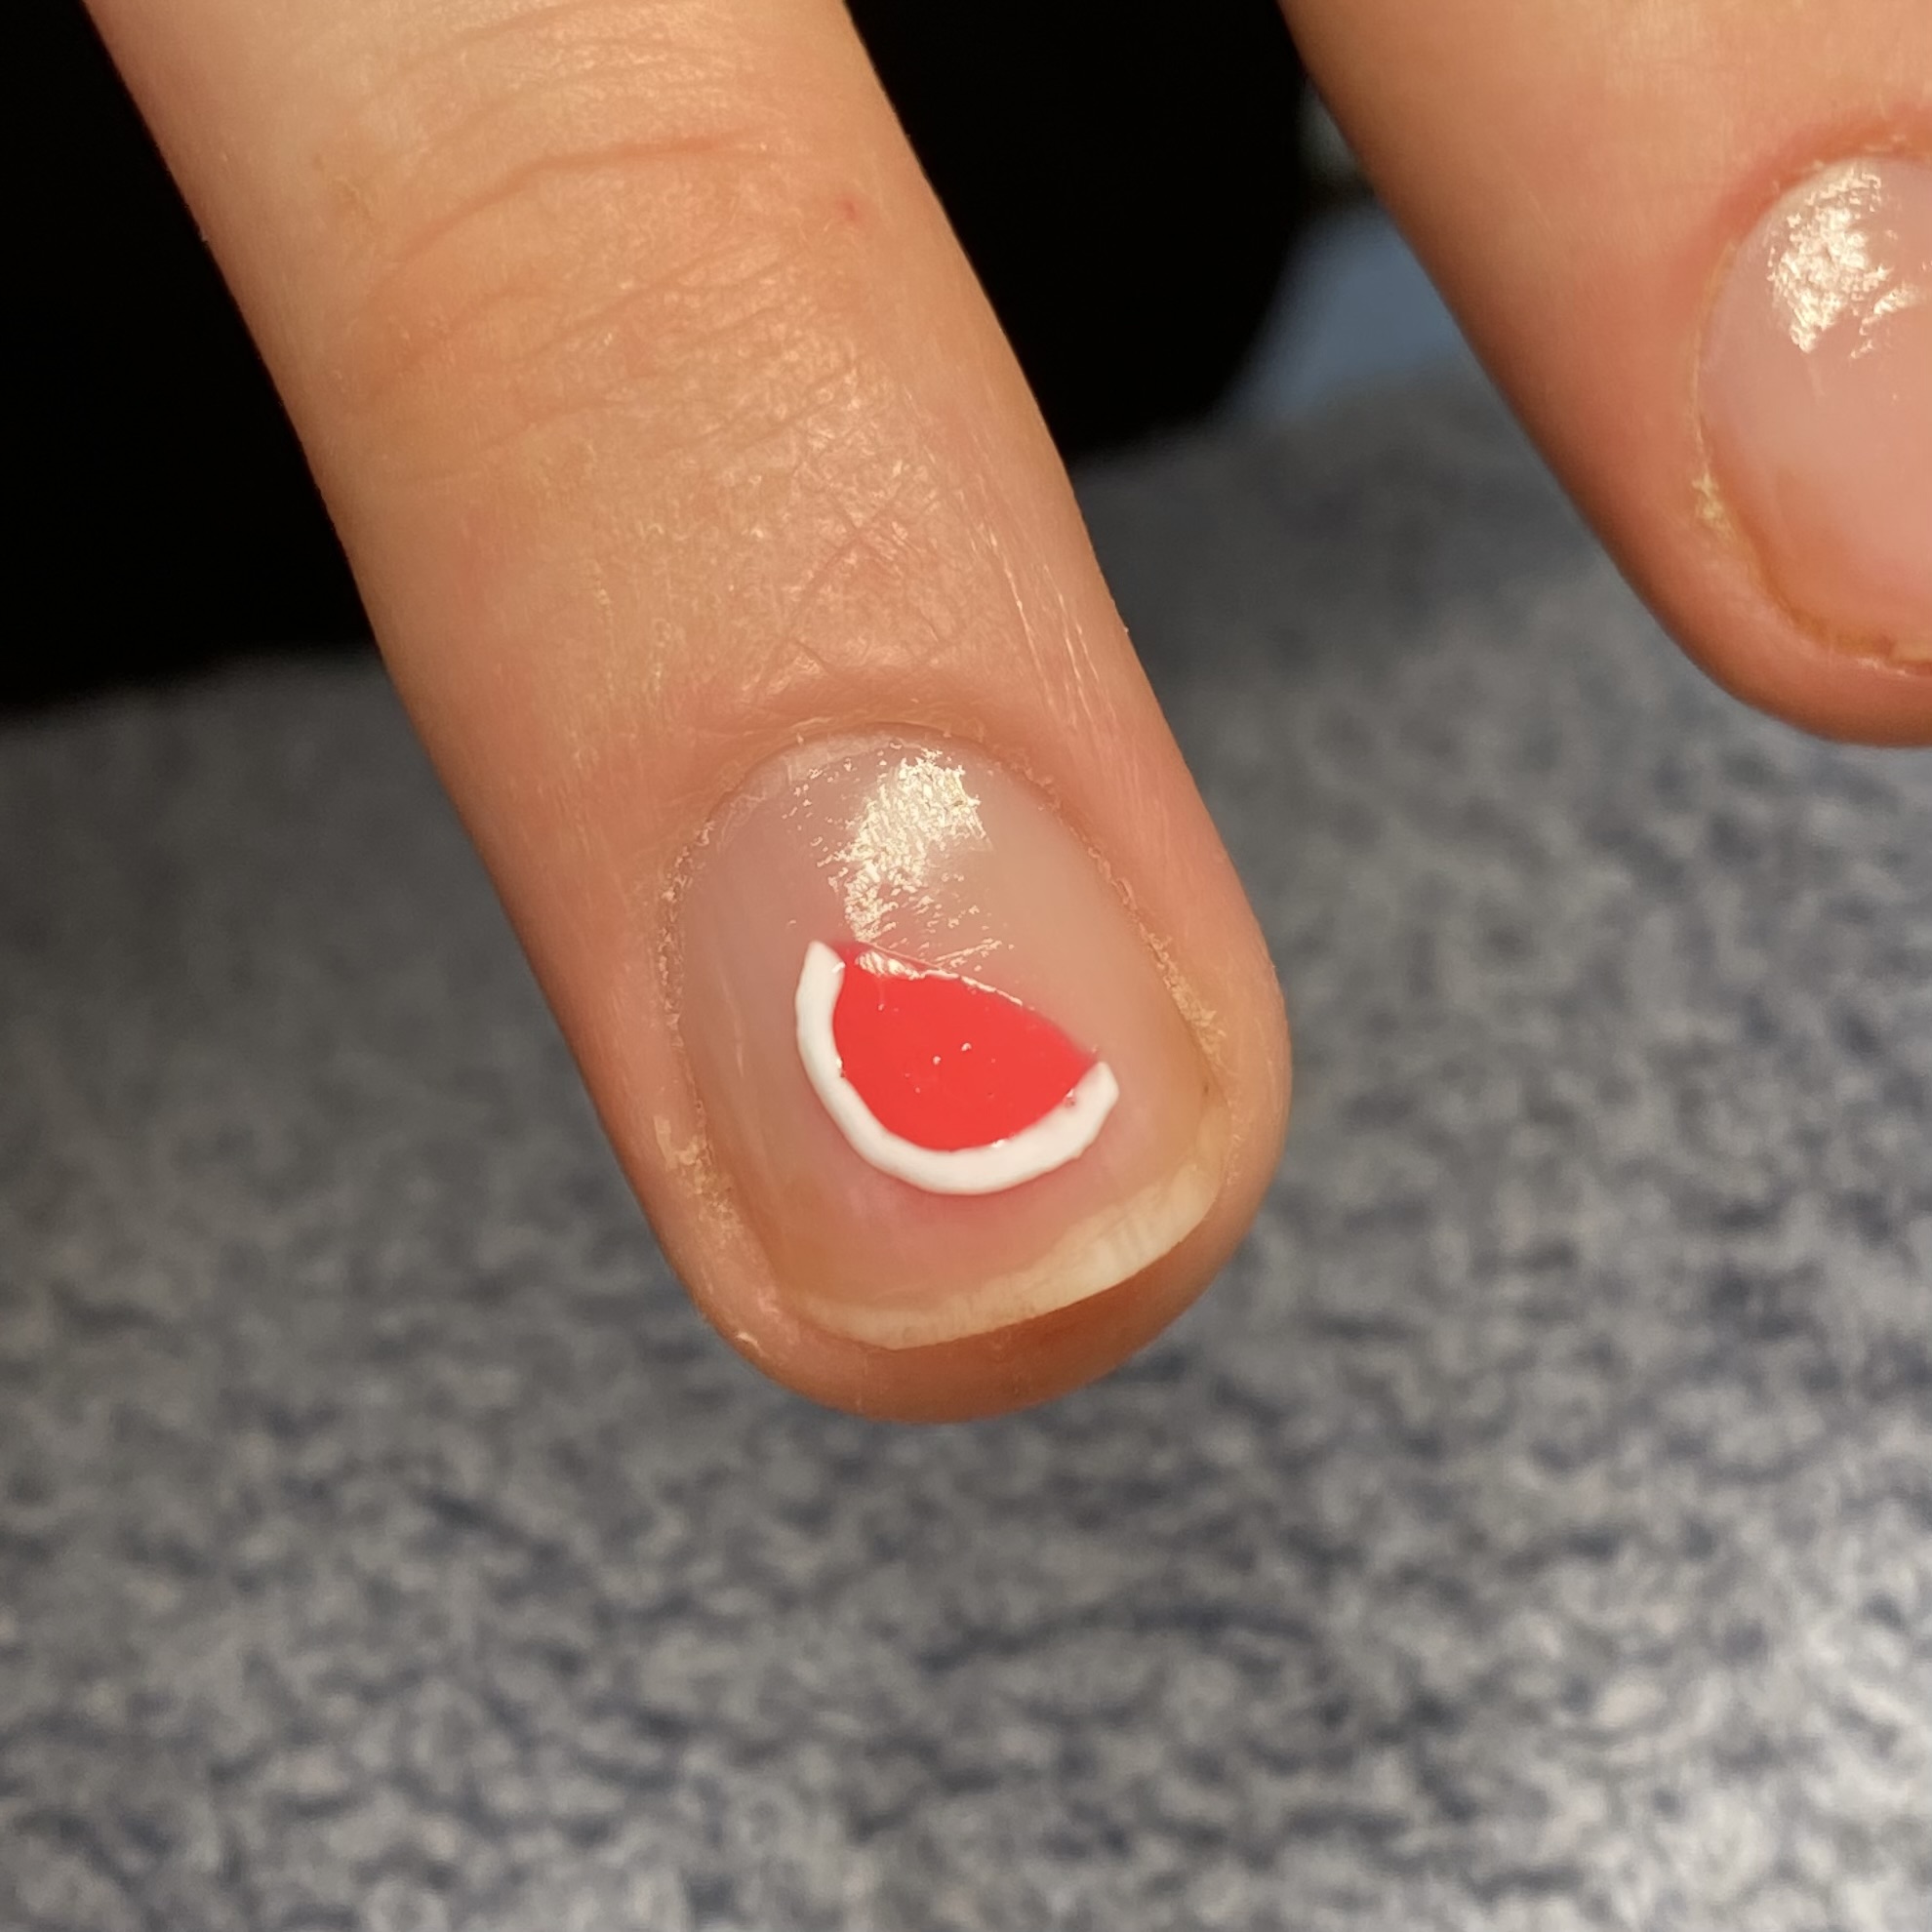
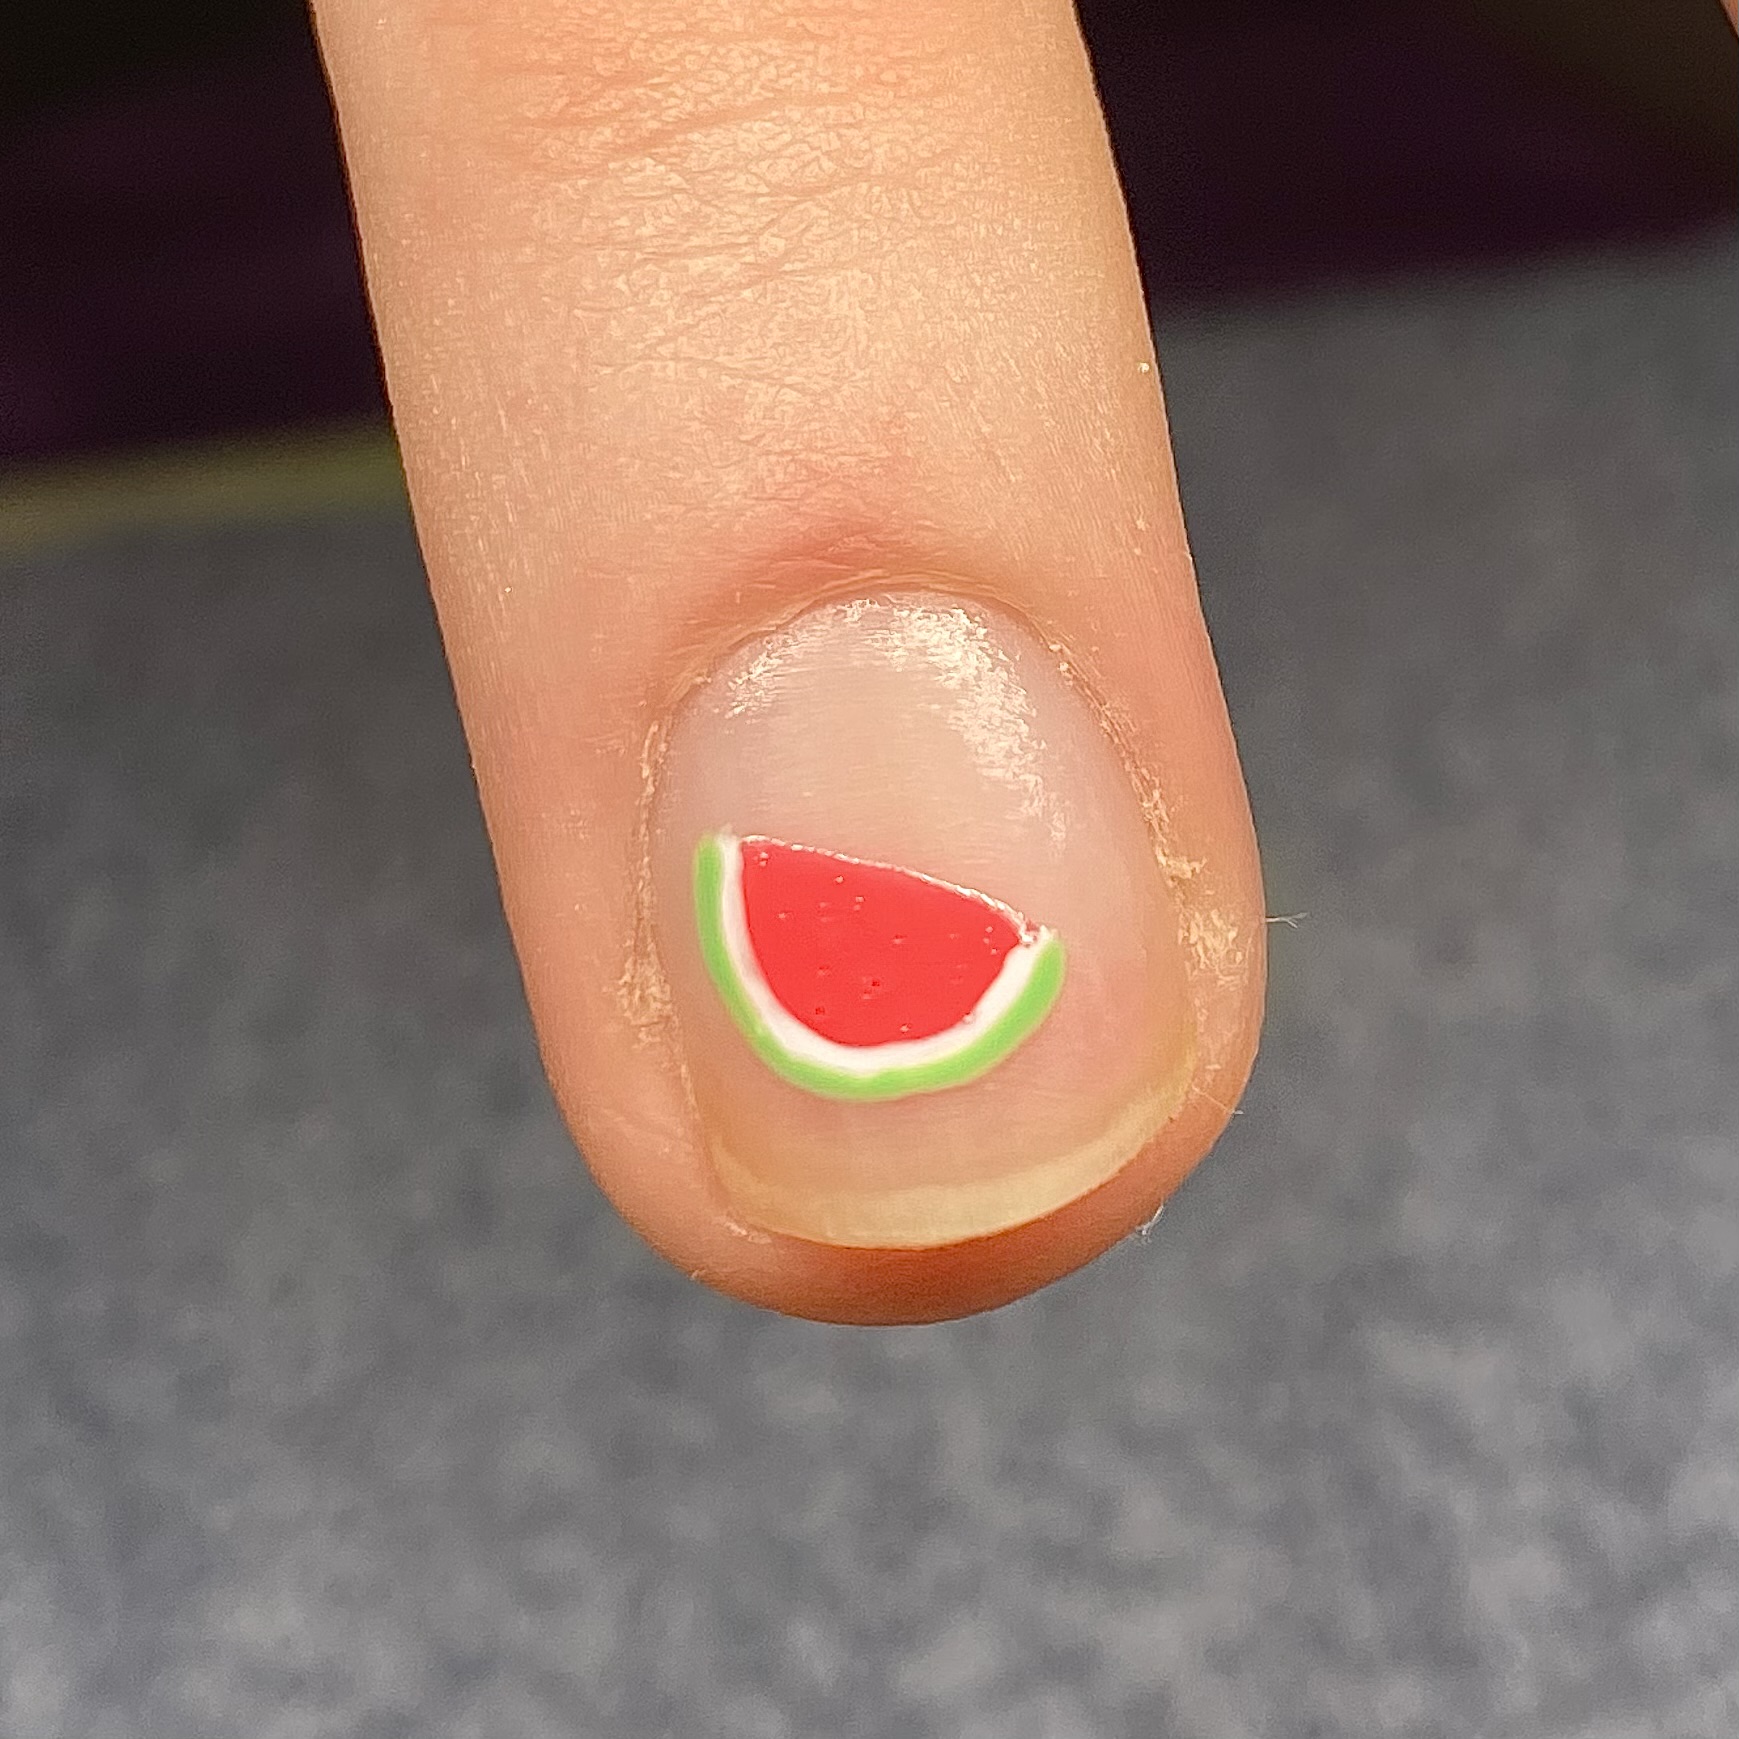
2. Then, using a small brush, white polish to add an outline to your shape. Once this is dry, outline your white line with green.
3. Using a dotting tool or the very end of your brush, use a black polish to add three small seeds.
🍋 Lemon 🍋
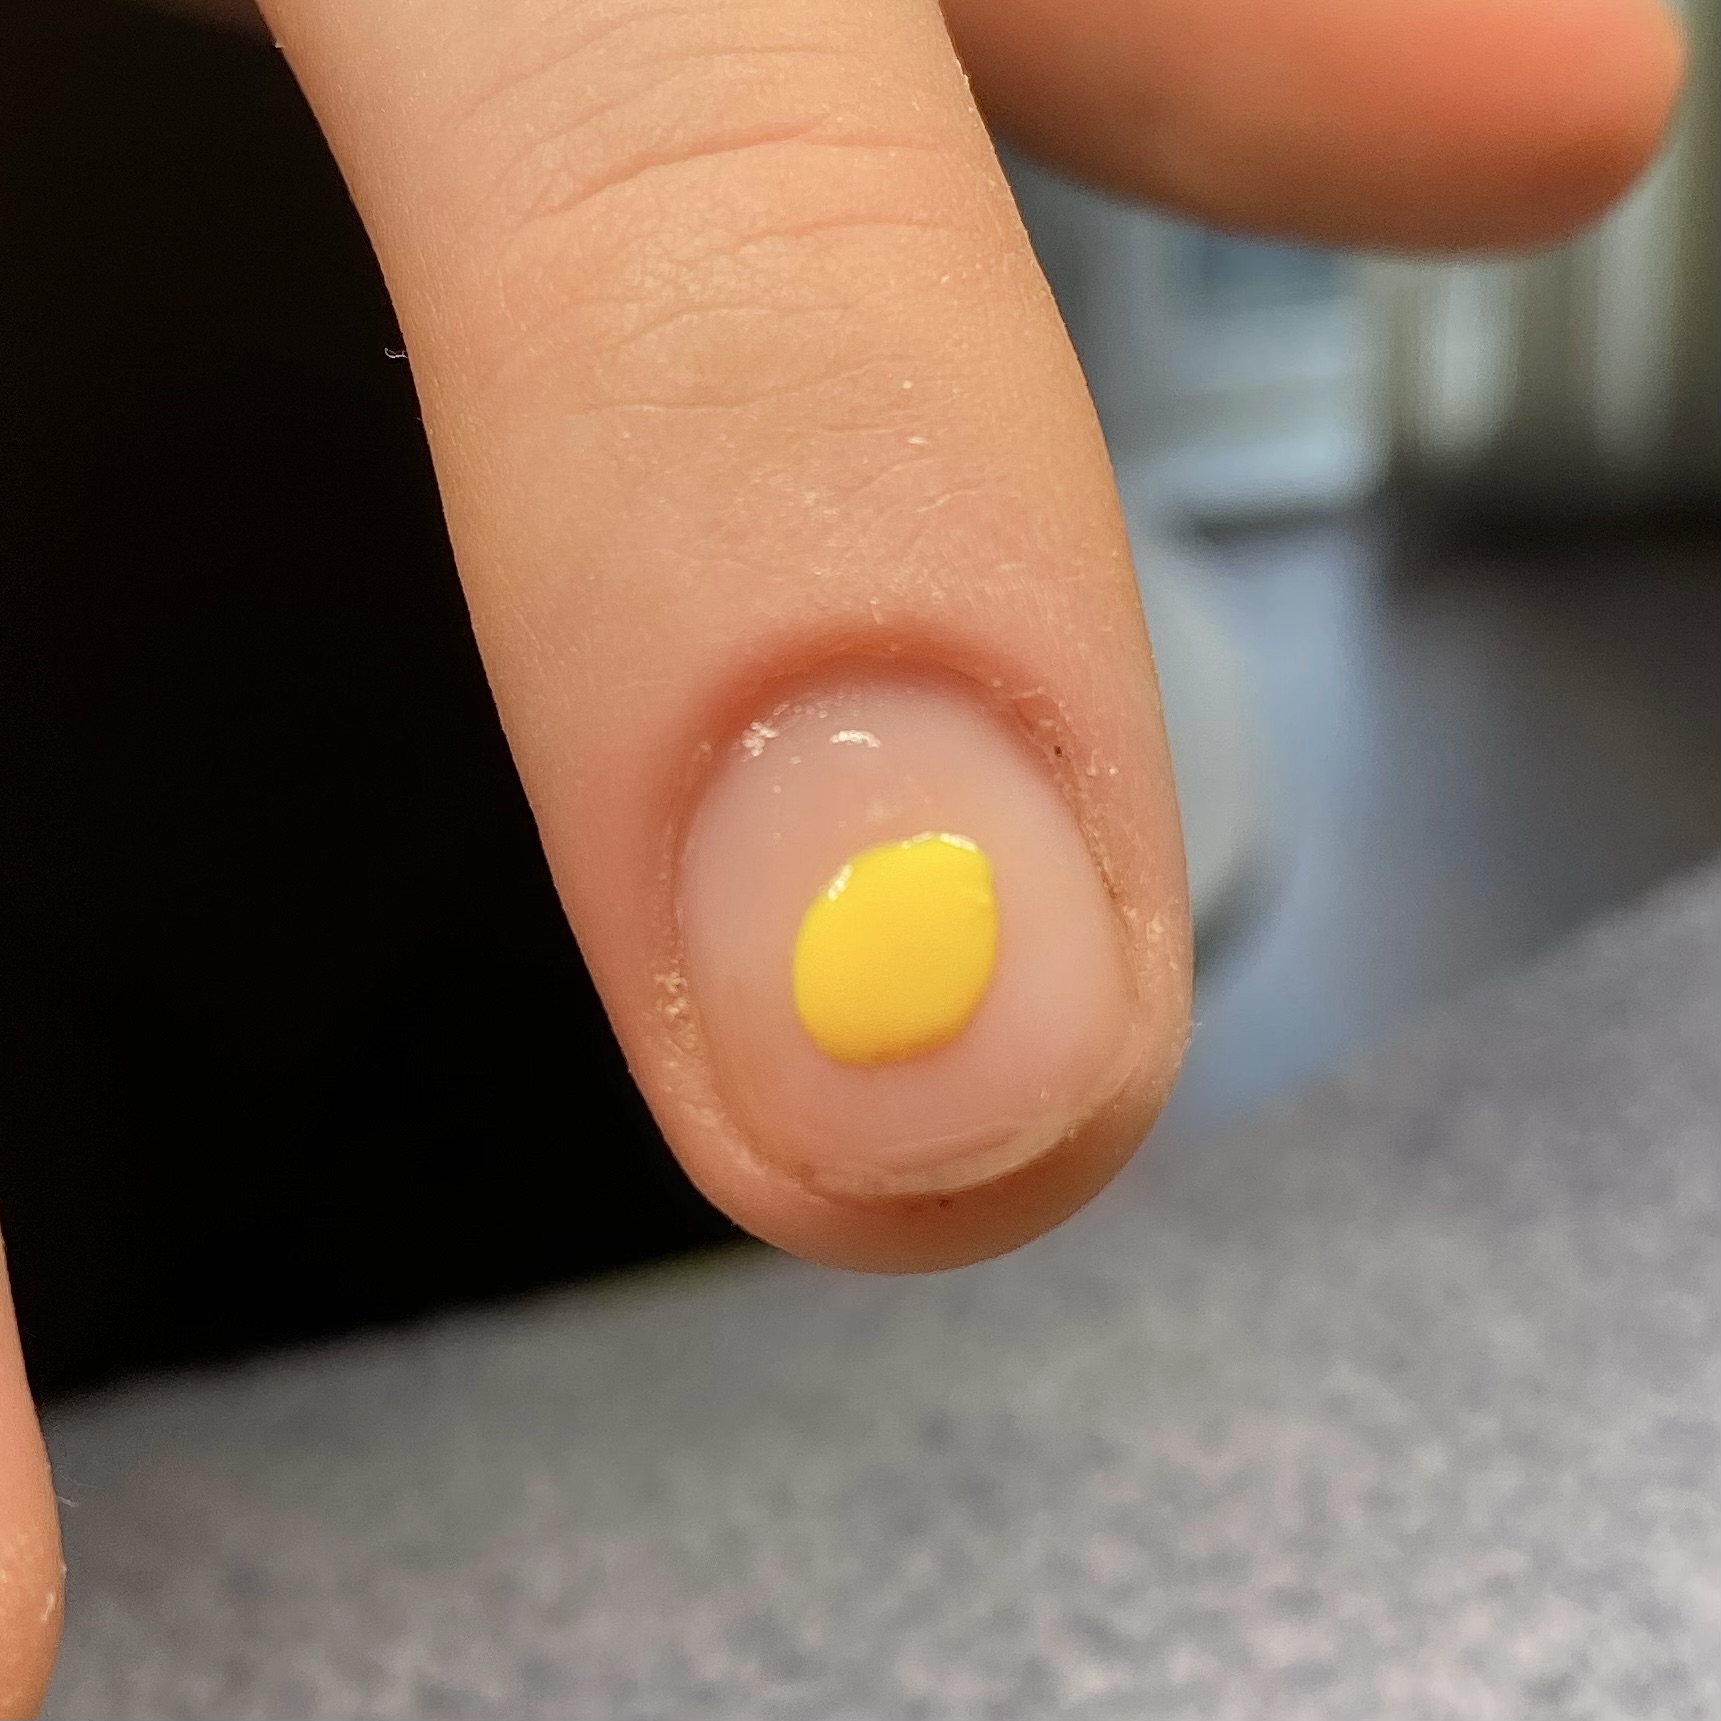
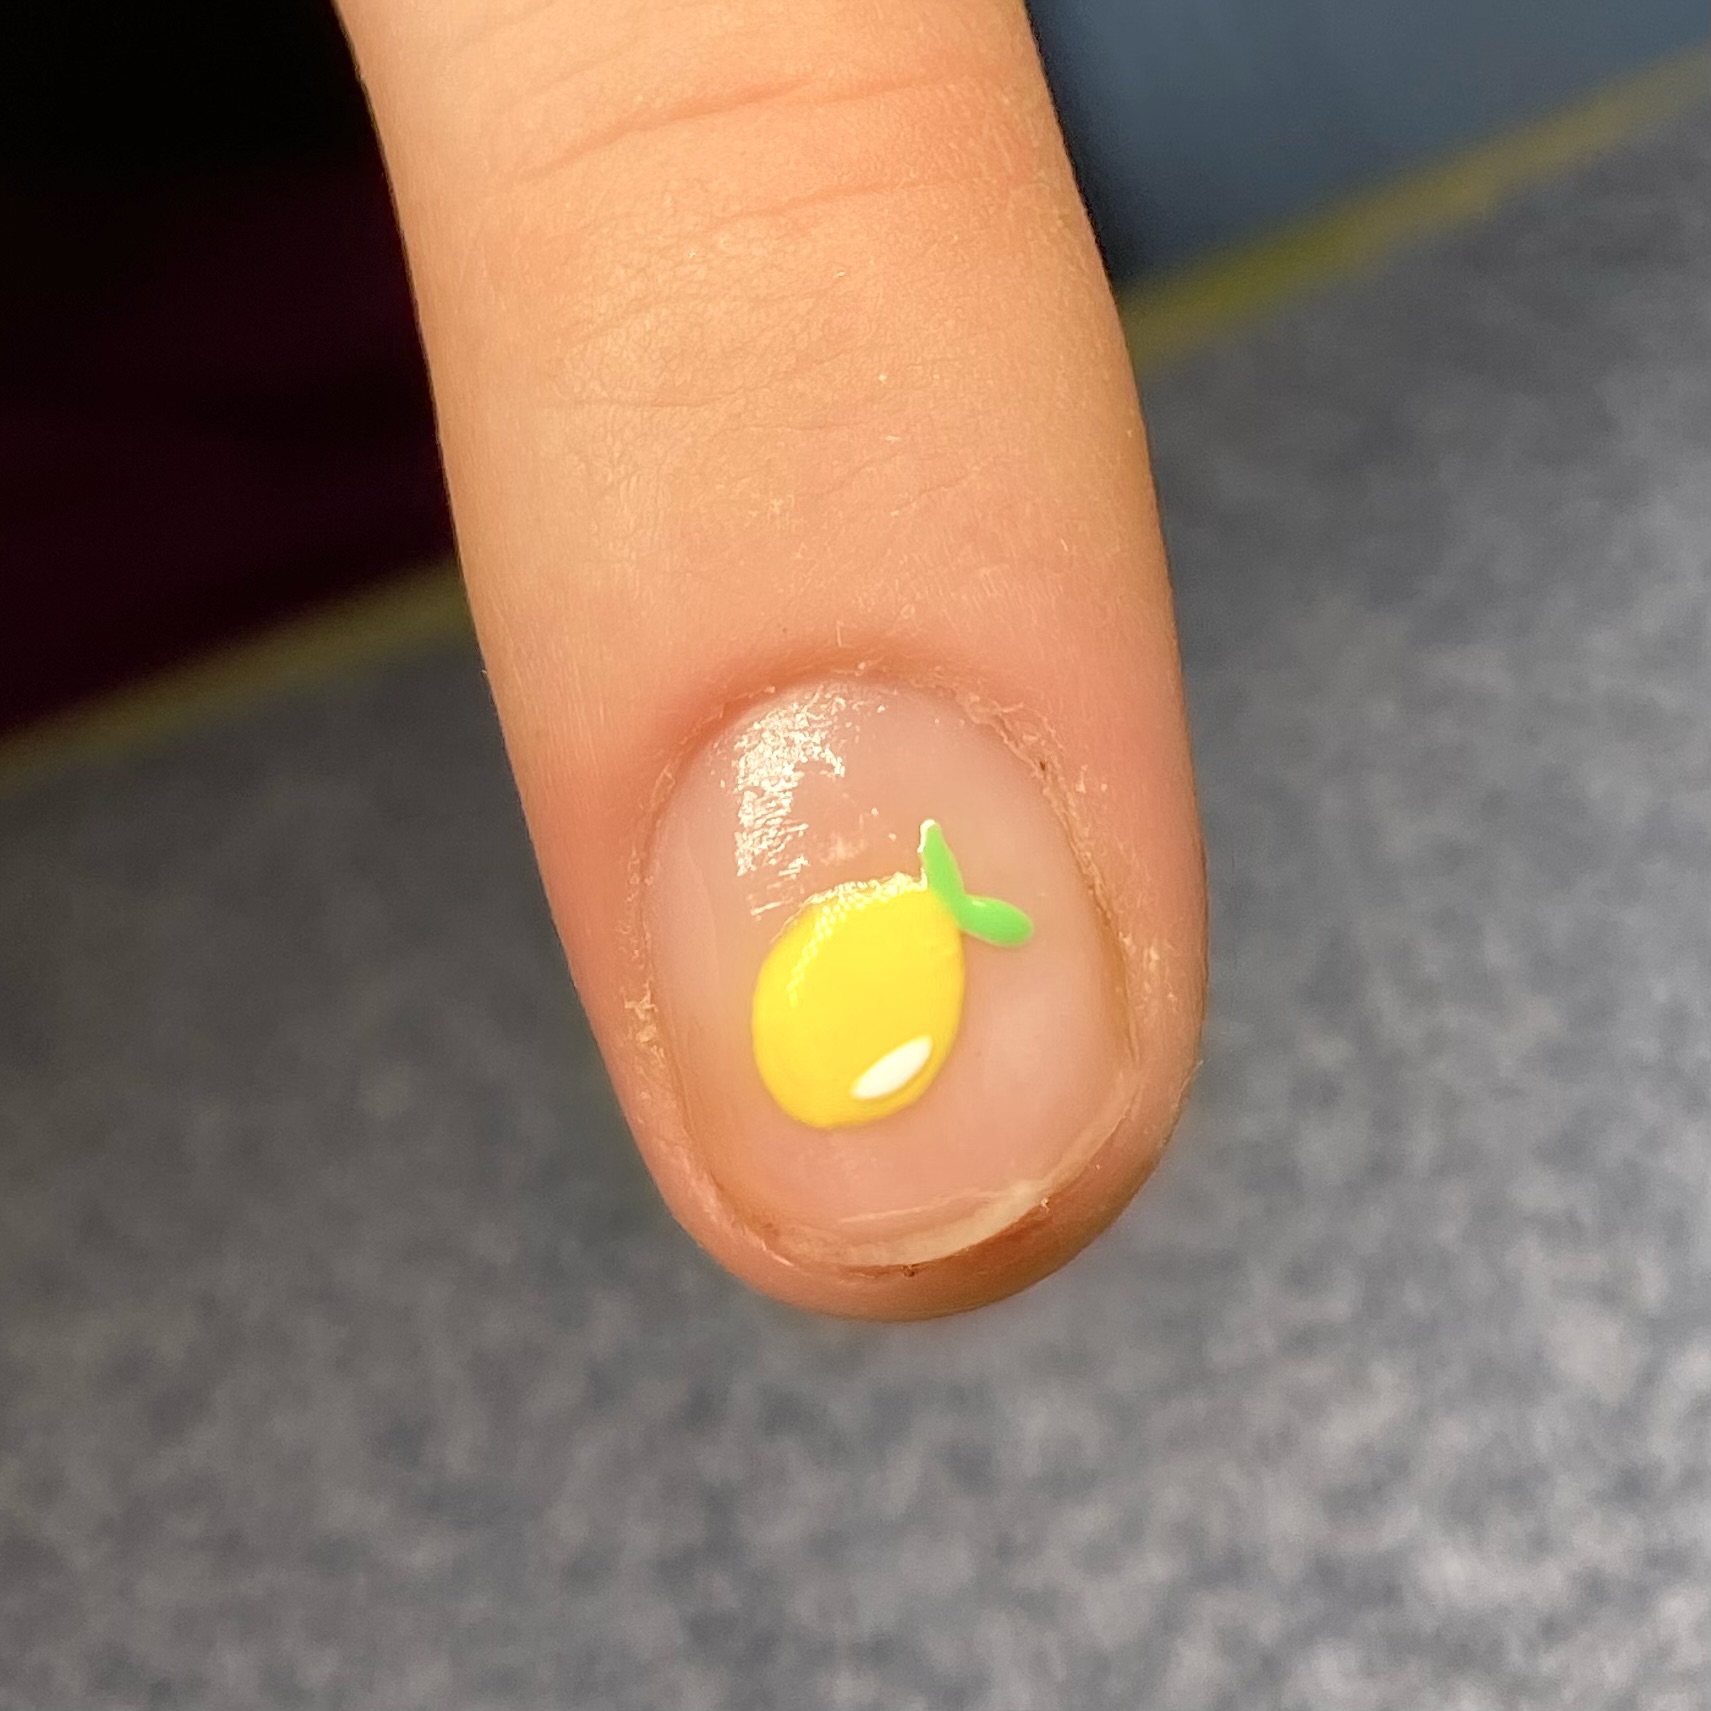
1. Using a yellow polish and small detailer brush, start by painting on the outline of your lemon then fill it in. Use thin layers and build up the colour until it’s opaque.
2. Then, using a small brush, use a white polish to add definition to your lemon and a green polish to add two small leaves.
🍓 Strawberry 🍓


1. Using a red polish and small detailer brush, start by painting on the outline of your strawberry, then fill it in. Use thin layers and build up the colour until it’s opaque.
2. Then, using a small brush, use a white polish to add small dots to your strawberry and a green polish to add two small leaves.
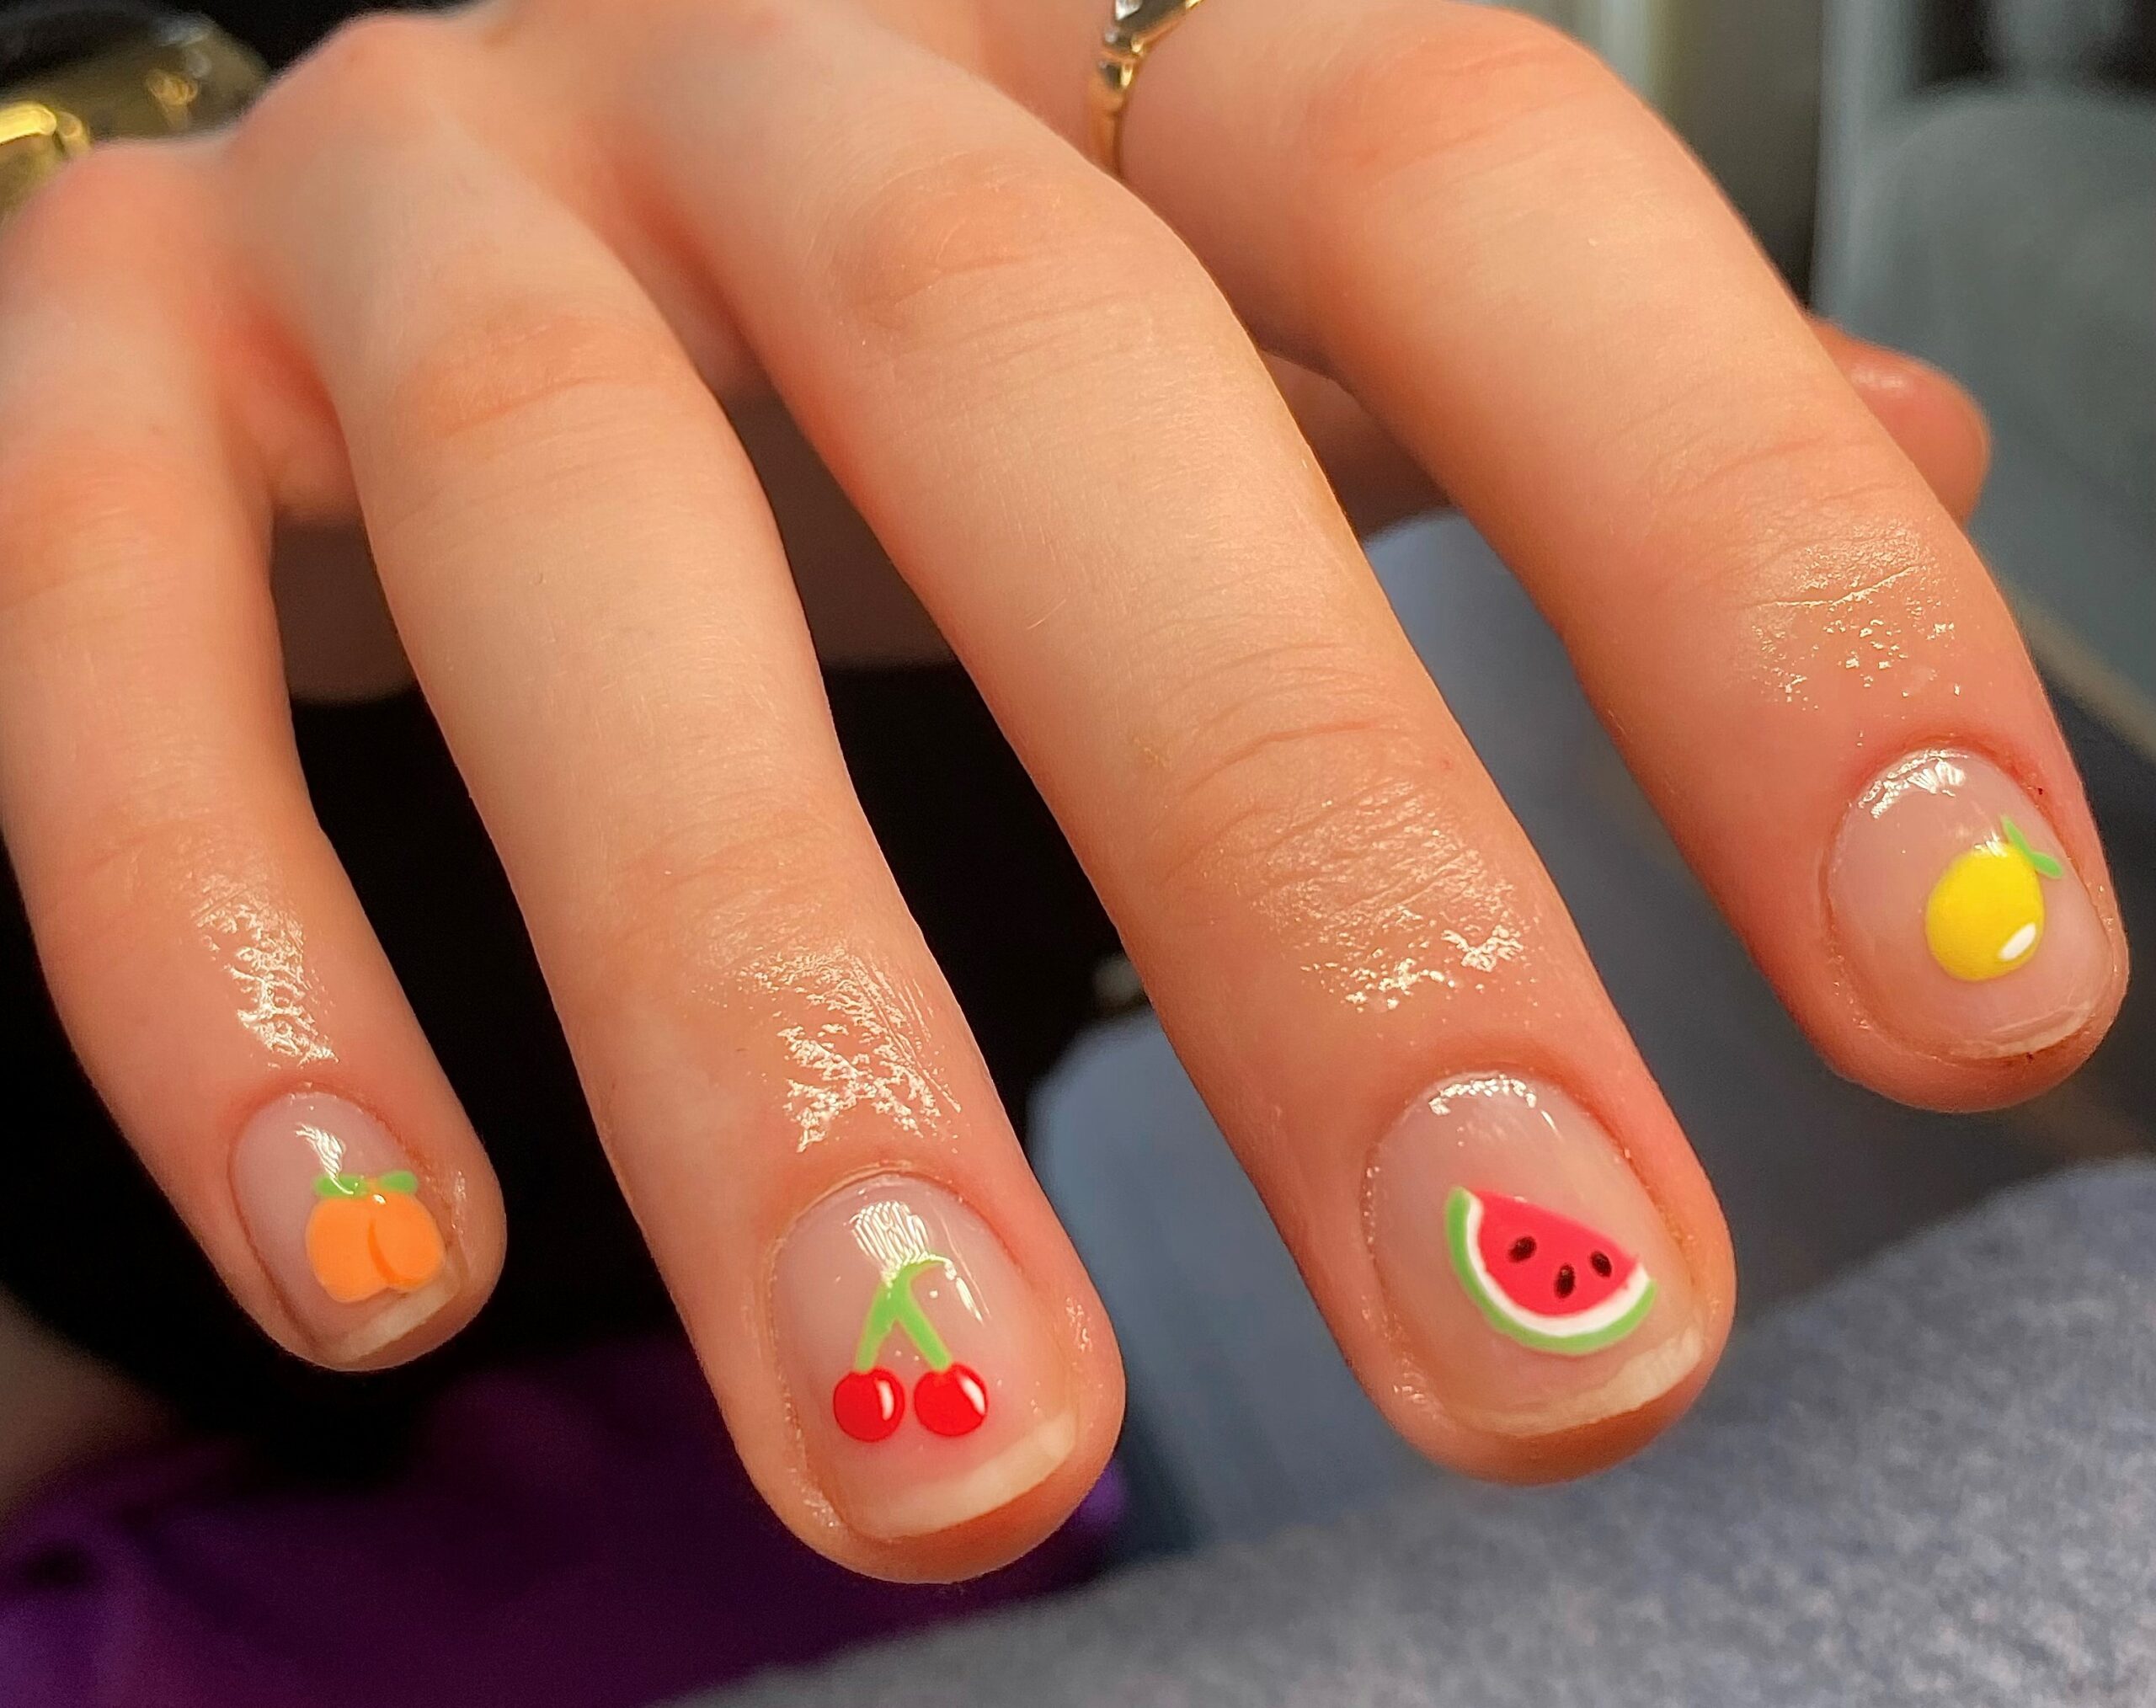
Once each nail is dry, apply a top coat to lock in your designs and prevent chipping.
Once your top coat is completely dry, apply cuticle oil to the cuticles to keep your nails healthy and strong.

