The way you apply makeup is personal to you, if you’ve been using it for years you likely have your routine down. Maybe you have a few different makeup routines in your rotation, date night makeup, everyday makeup, going out makeup, gym makeup even? But if it’s been a while since you went back to basics and swatted up on the expert’s way of how to apply makeup and the recommended order to do makeup in, then now’s your chance. You might find adding in an extra step using makeup primer, or changing up the order of when you apply eyeshadow makes all the difference to your finished look.
And if you are new to it all, looking for a simple step-by-step guide on how to apply makeup, the recommended order of products, and even some top tips on the tools to use along the way, then we have got you covered.
Don’t forget to brush up on the best ways to remove makeup too – if you’re going to be doing it properly you need to remove it effectively, for your skin’s sake!
The Different Tools to Use When Applying Makeup
When it comes to applying makeup, there are a few different tools you can use across the various steps.
If you want to keep your makeup routine minimalist or want to try out products before you invest in makeup tools, you can use your hands for pretty much most of the steps (product dependent). If you choose to apply your makeup with your fingers, just make sure your hands are thoroughly clean before you start. And afterward too – there’s nothing worse than accidentally wiping foundation over your outfit via the back of your hand.
If you opt for using your fingers to apply most of your makeup you can expect lighter coverage and a super precise application – especially useful with the likes of liquid highlighter.
Using makeup brushes to put makeup on is something you’re probably familiar with, there are brushes for everything from eyeshadow brushes to foundation brushes, and there are even different types of brushes for each product. Choosing the right makeup brush can be a journey of trial and error, you’ll learn what you enjoy using most for each step and for the different products in your collection.
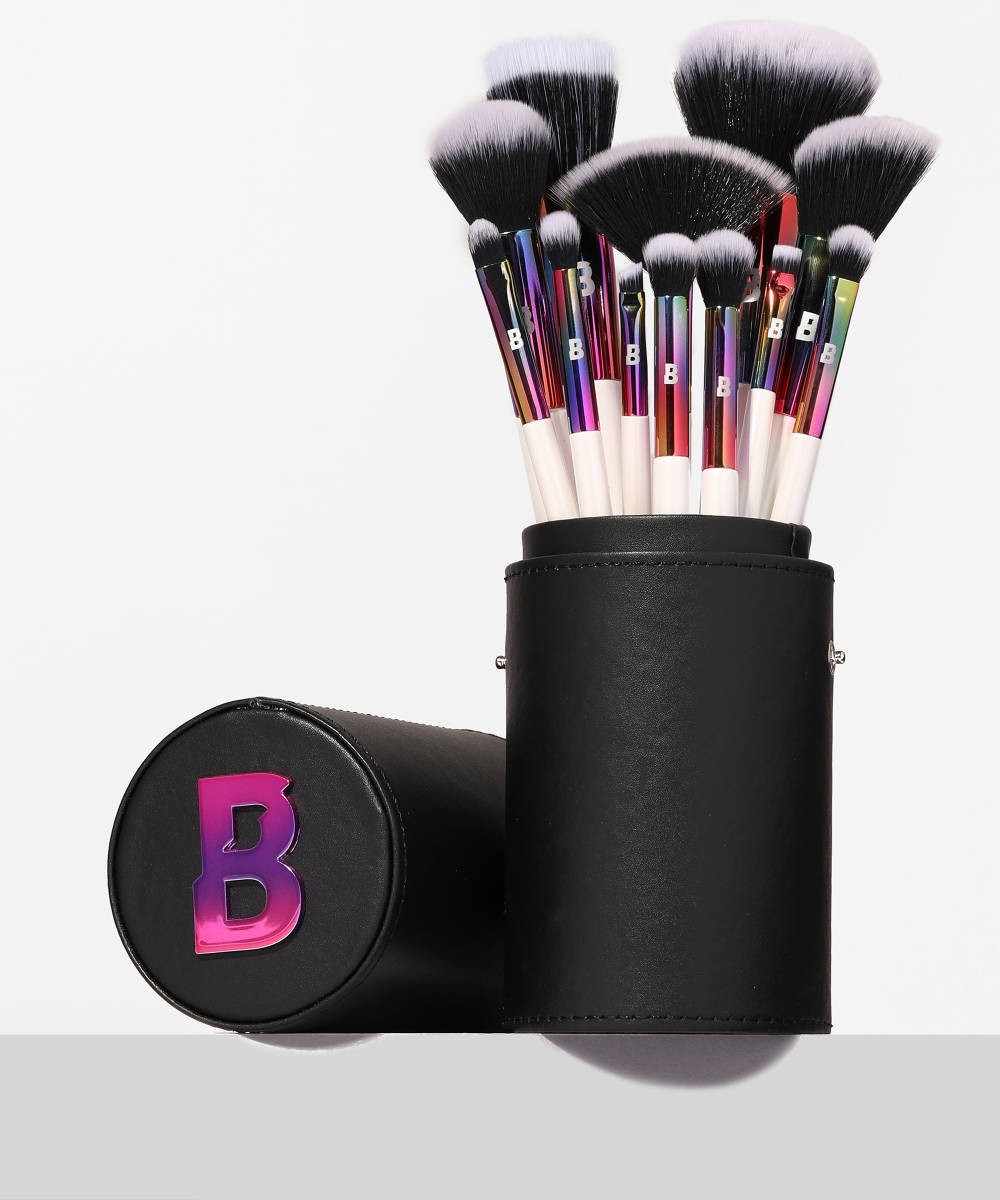
If you are looking to start adding brushes into your makeup routine then opting for a makeup brush set is a great shout. That way you can get a selection of brushes that will work across the multiple steps of your routine. The By BEAUTY BAY Prism 12 Piece Travel Brush Set is a great starting point, you’ll find brushes that’ll work for every step of your routine all in one place. If you like to use powder, are big on eyeshadow, or want a fuller coverage from your base, then brushes are definitely the way to go.
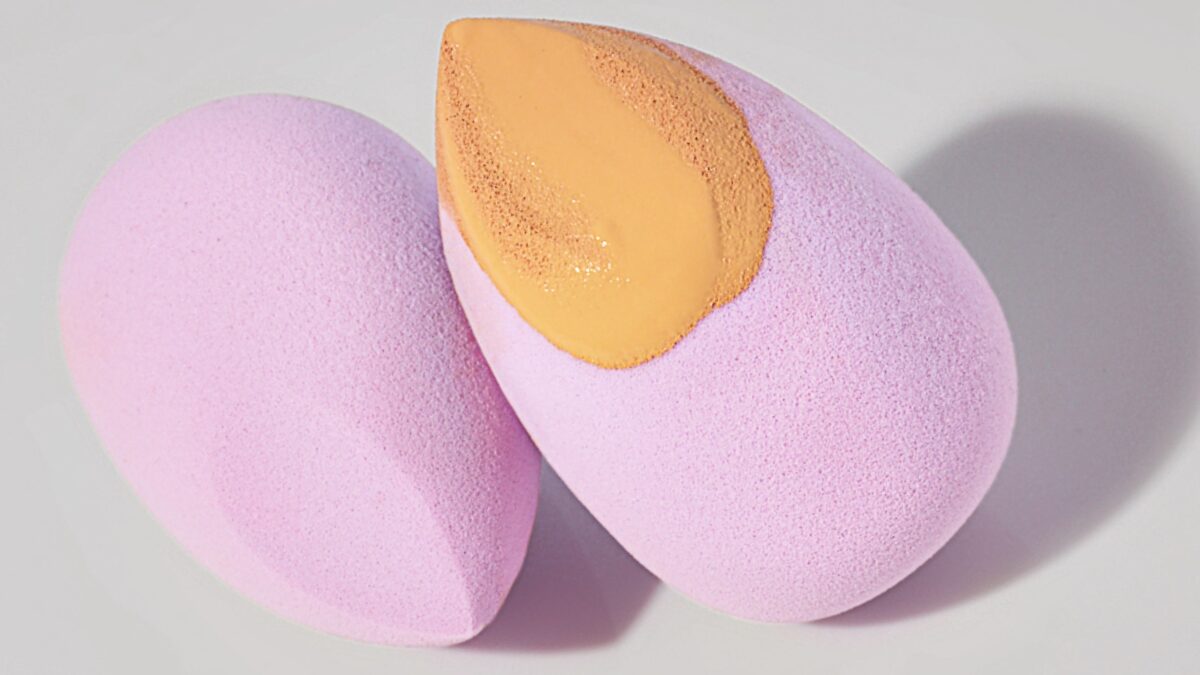
And finally, there are makeup sponges – another tool that can be used to do your makeup with. Makeup sponges are best used during your base application (foundation, concealer, etc) but can also be used with cream and liquid formulations of blushers, bronzers, and highlighters.
Makeup sponges are great for applying makeup when you want to build a full-coverage look, with a flawless finish. You can even use your sponge-damp for super well-blended results.
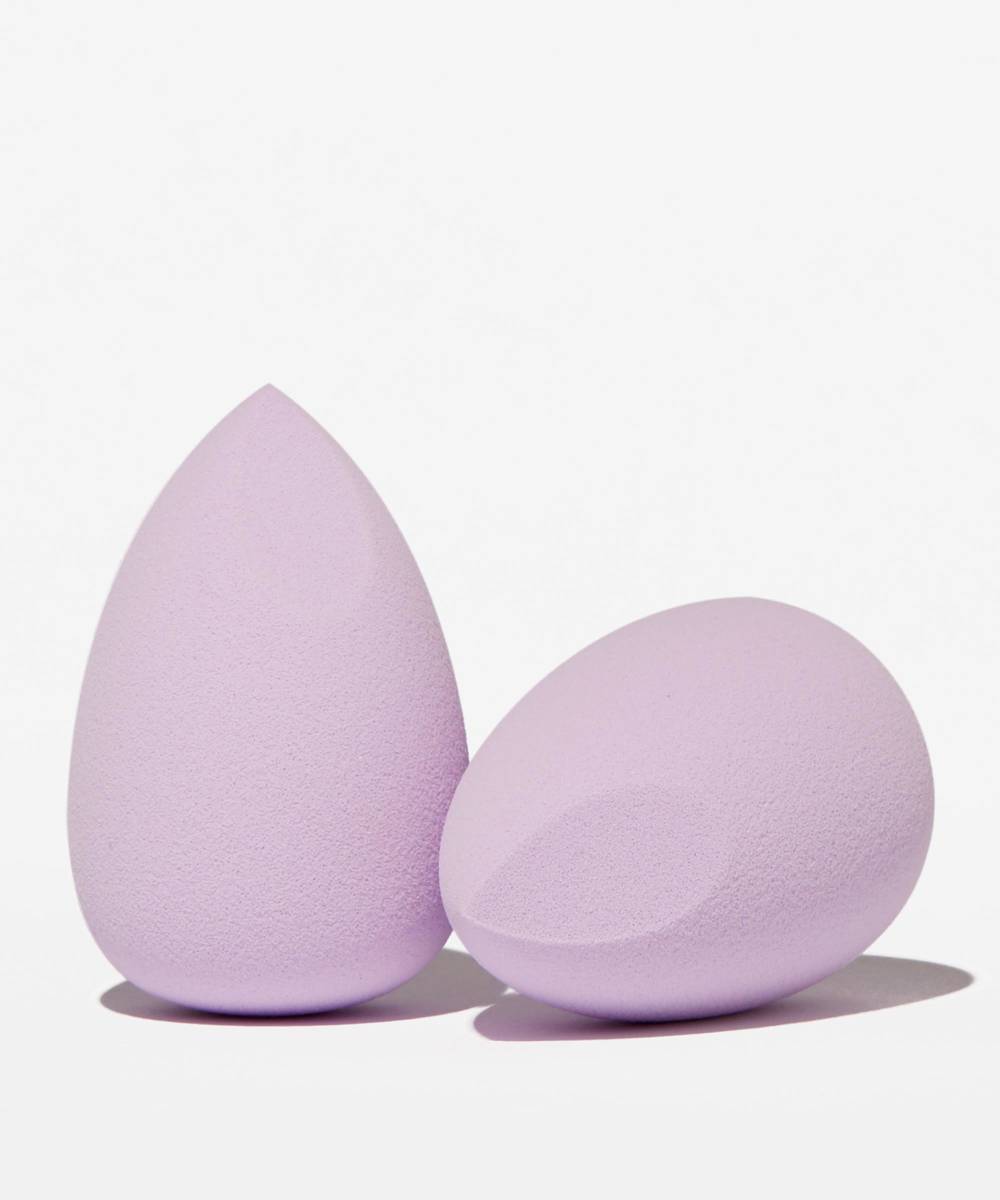
Makeup sponges don’t come in lots of variations like brushes, so you won’t have as much of a hard time choosing the right one. To make it even easier for you though, we love the By BEAUTY BAY Makeup Sponges 2-Pack – the multi-pack will see you through a few months of usage!
If you are using tools to apply your makeup, don’t forget to clean your makeup brushes and sponges to ensure they continue to work well all the time (and to protect your skin).
The Order of How to Do Makeup
Depending on the type of makeup look you are going for, the amount of time you have, and personal preference, you might not follow this exact makeup order. We’ve included all the basics so you can see the recommended flow, however, if you have a way that works for you that’s different from the one below, then there’s nothing wrong with that. How you do your makeup is completely up to you.
Before you start applying any makeup it’s important to cleanse your face – we can’t get enough of double cleansing – and follow with the rest of your skincare routine. A hydrated face is the ideal base for easy makeup application…
Step 1: Primer
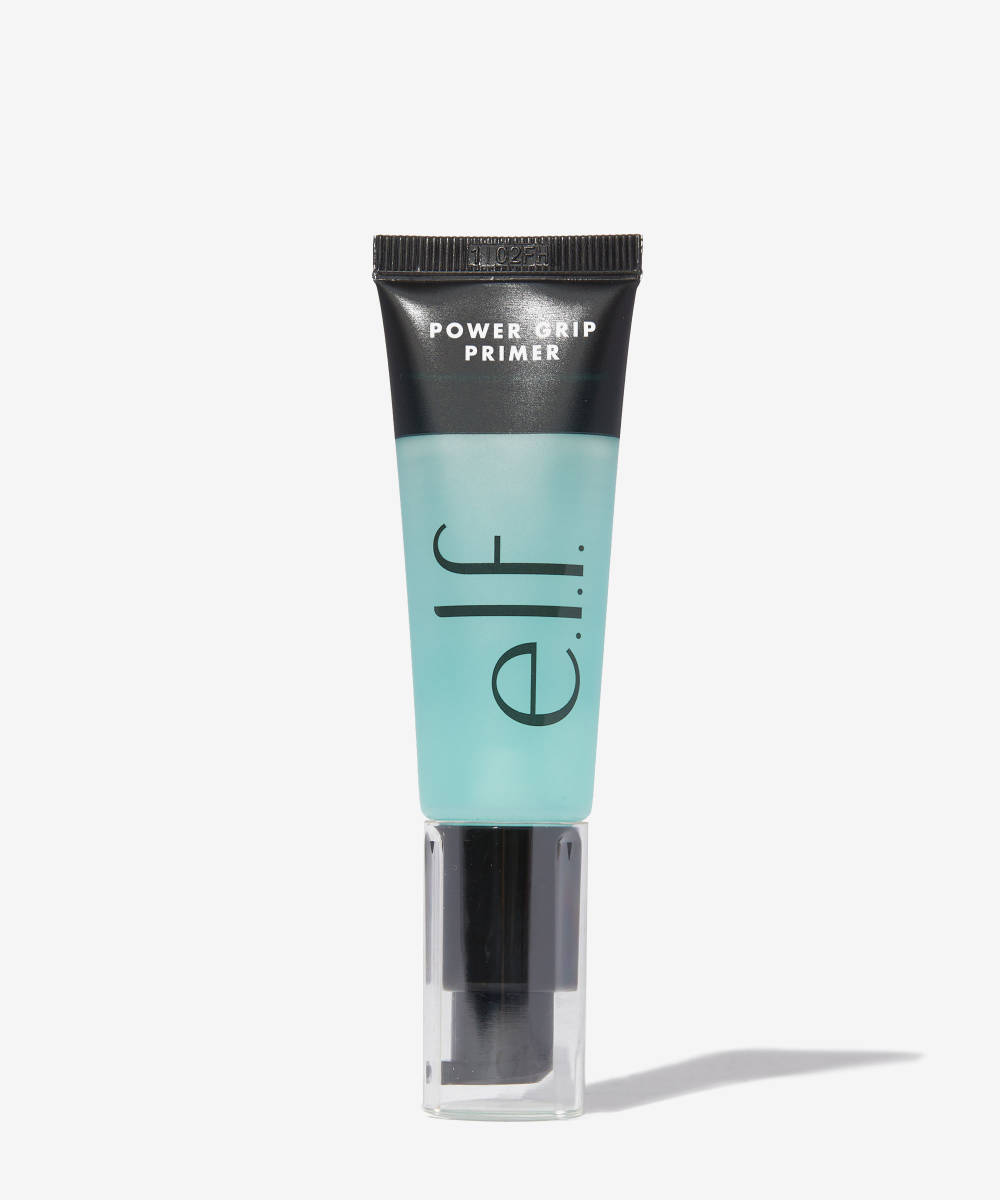
Primer isn’t a must-do, but it will help your makeup last longer. Primer works to fill in uneven texture, helping you to achieve a flawless, long-lasting finish and allowing for smoother application of your makeup.
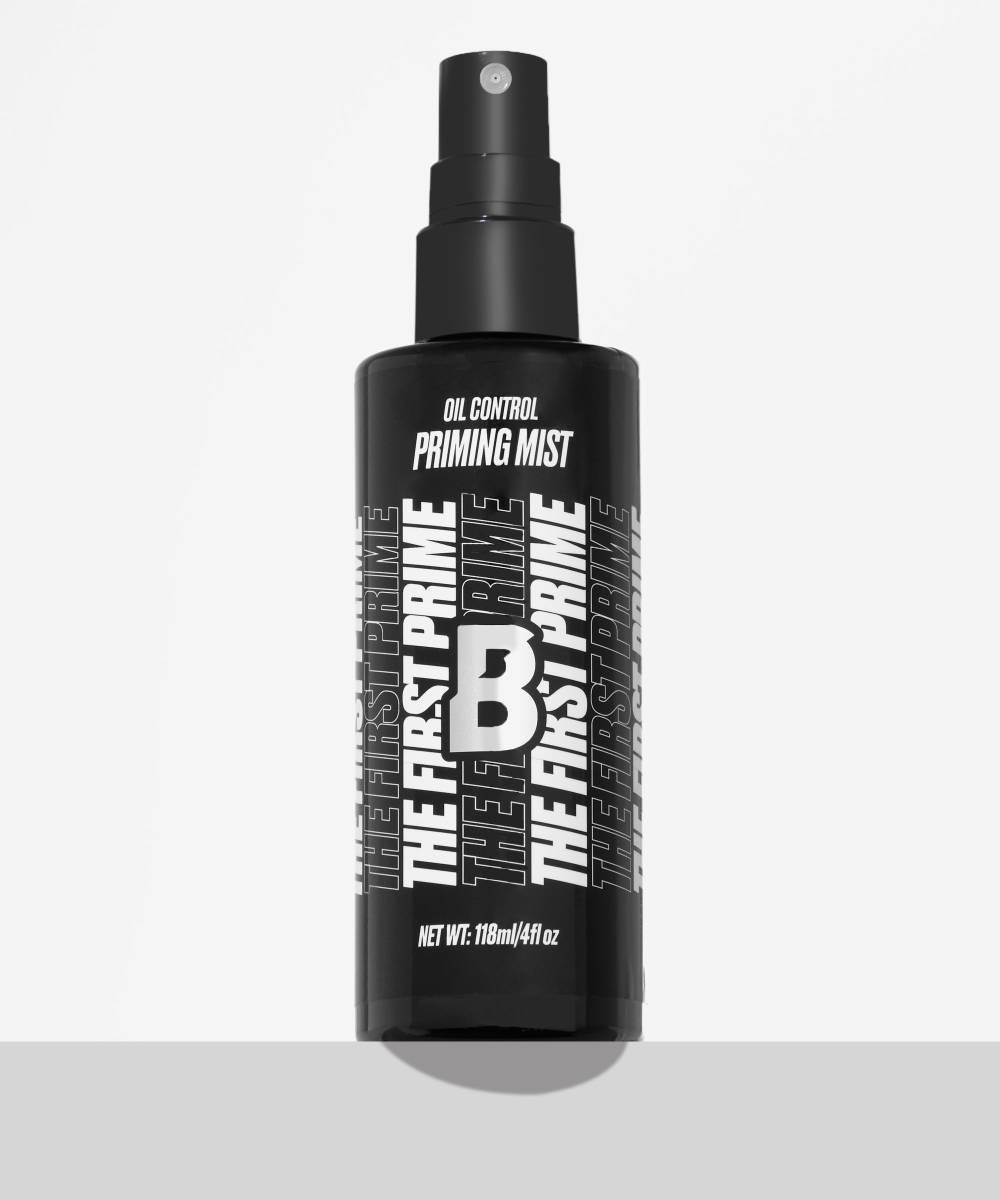
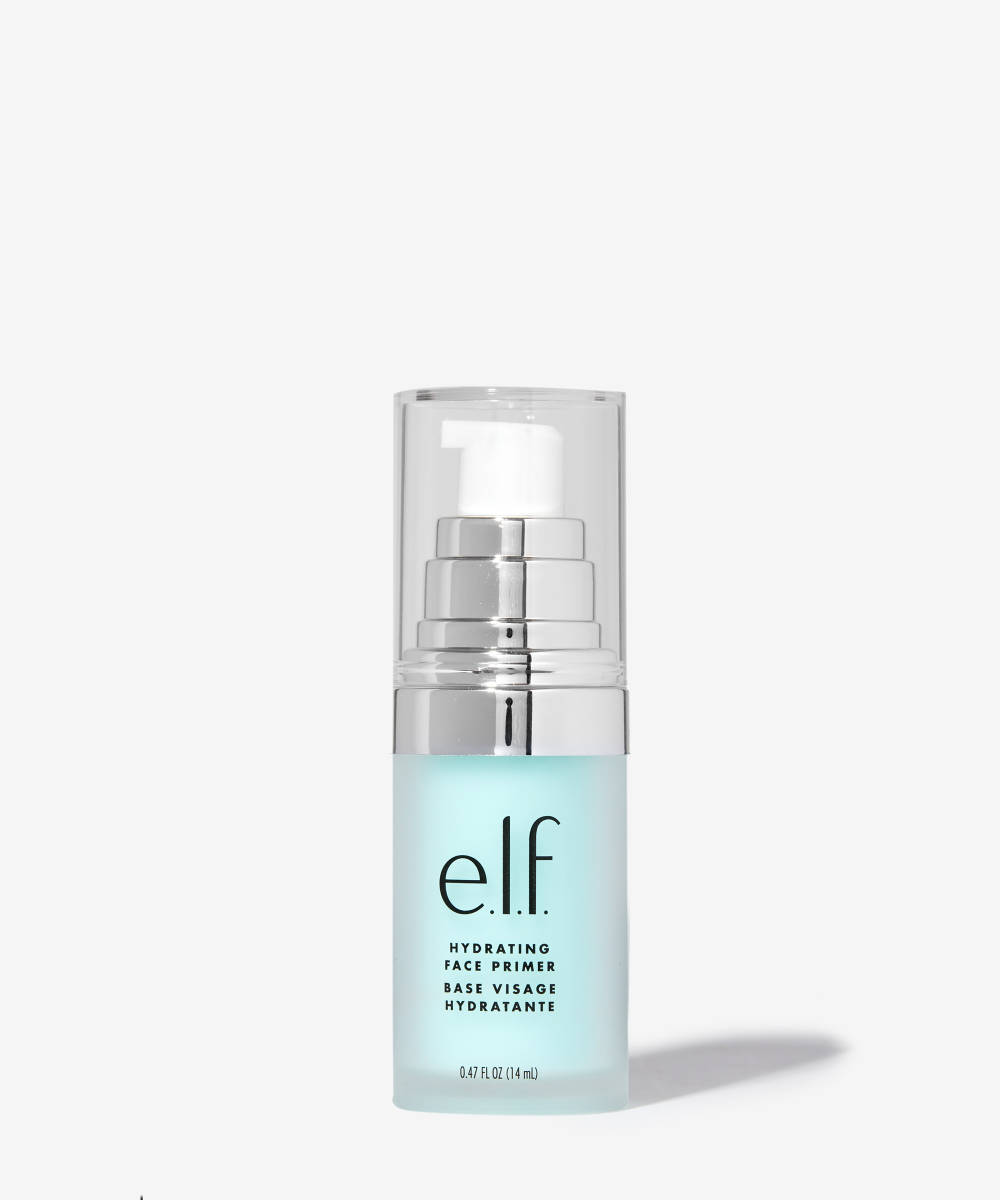
You can choose your primer based on your skin concerns, to help care for your skin whilst you wear makeup. If you have oily skin, the By BEAUTY BAY Oil Control Priming Mist will help to control shine throughout the day, whilst helping your makeup stay in place. Or, if you have dry skin, try going for something hydrating like the e.l.f. Cosmetics Hydrating Face Primer – it will help to hydrate your skin and manage dry patches whilst you’re wearing makeup.
Step 2: Foundation
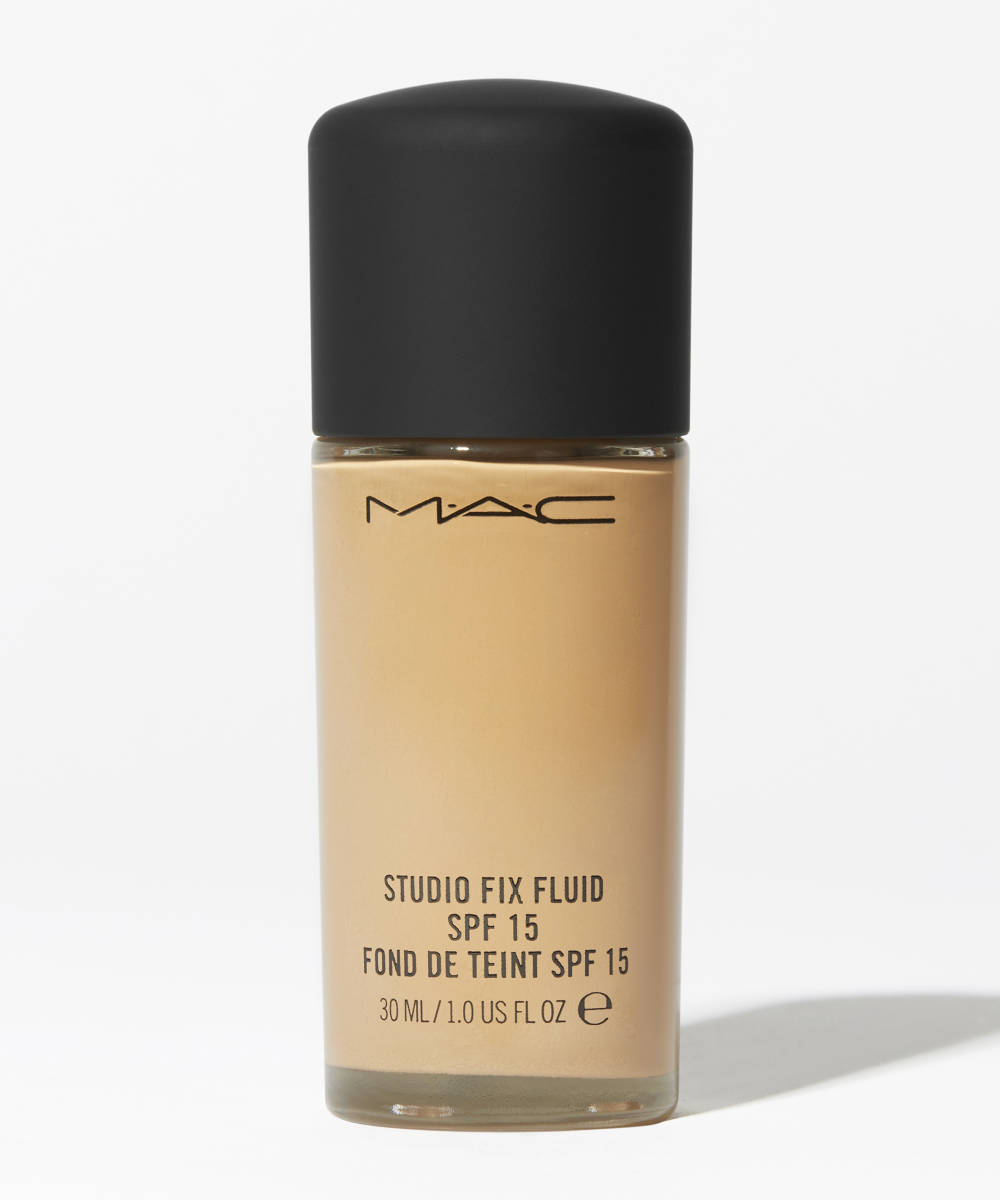
Once you’ve primed, it’s time to start on your base. Using your preferred foundation and your applicator tool of choice, blend outwards from the centre of your face. Using either a foundation brush, makeup sponge, or your fingers, build up your desired coverage. Be sure to blend and buff your foundation in to avoid harsh foundation lines on your neck.
Alternative Step 2: Eye Makeup
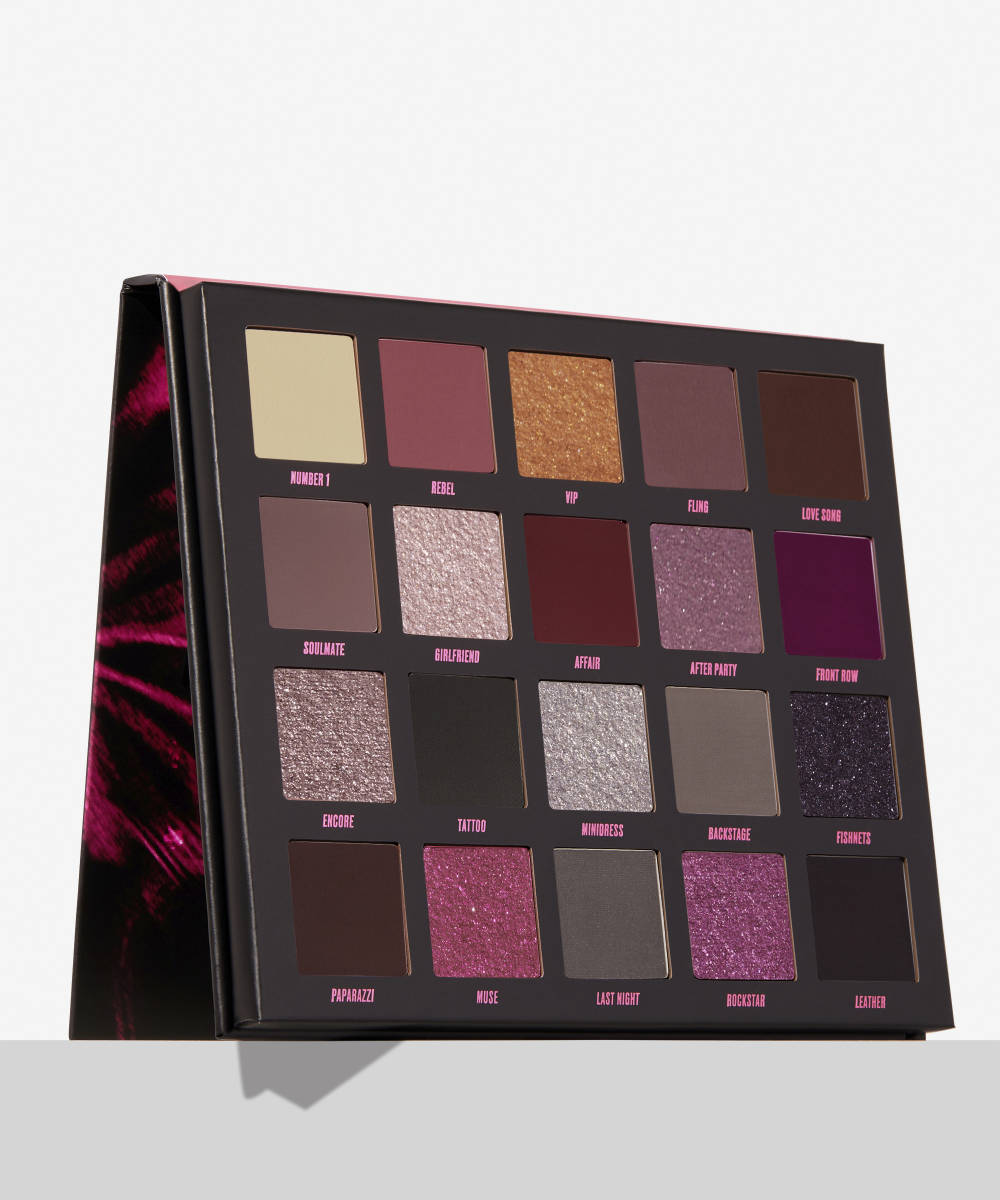
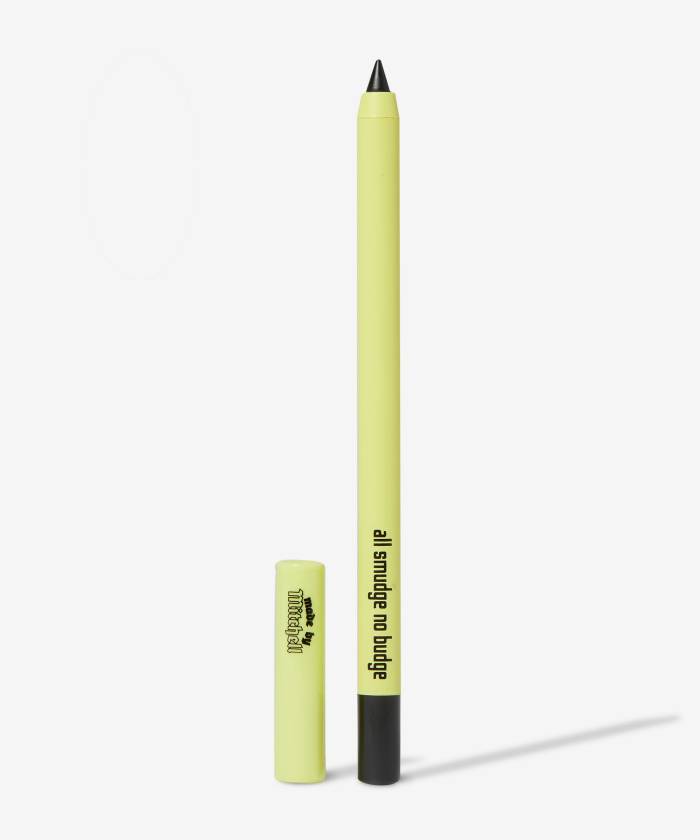
You might already be doing this, or this could be a complete curveball to you, but if you are going heavy on the eye makeup it can be a good idea to do it before you start applying your foundation. Applying your eyeshadow, eyeliner, and mascara before your foundation means you avoid wiping away your base makeup around your eyes, whilst inevitably tidying up your flicks and any excessive product.
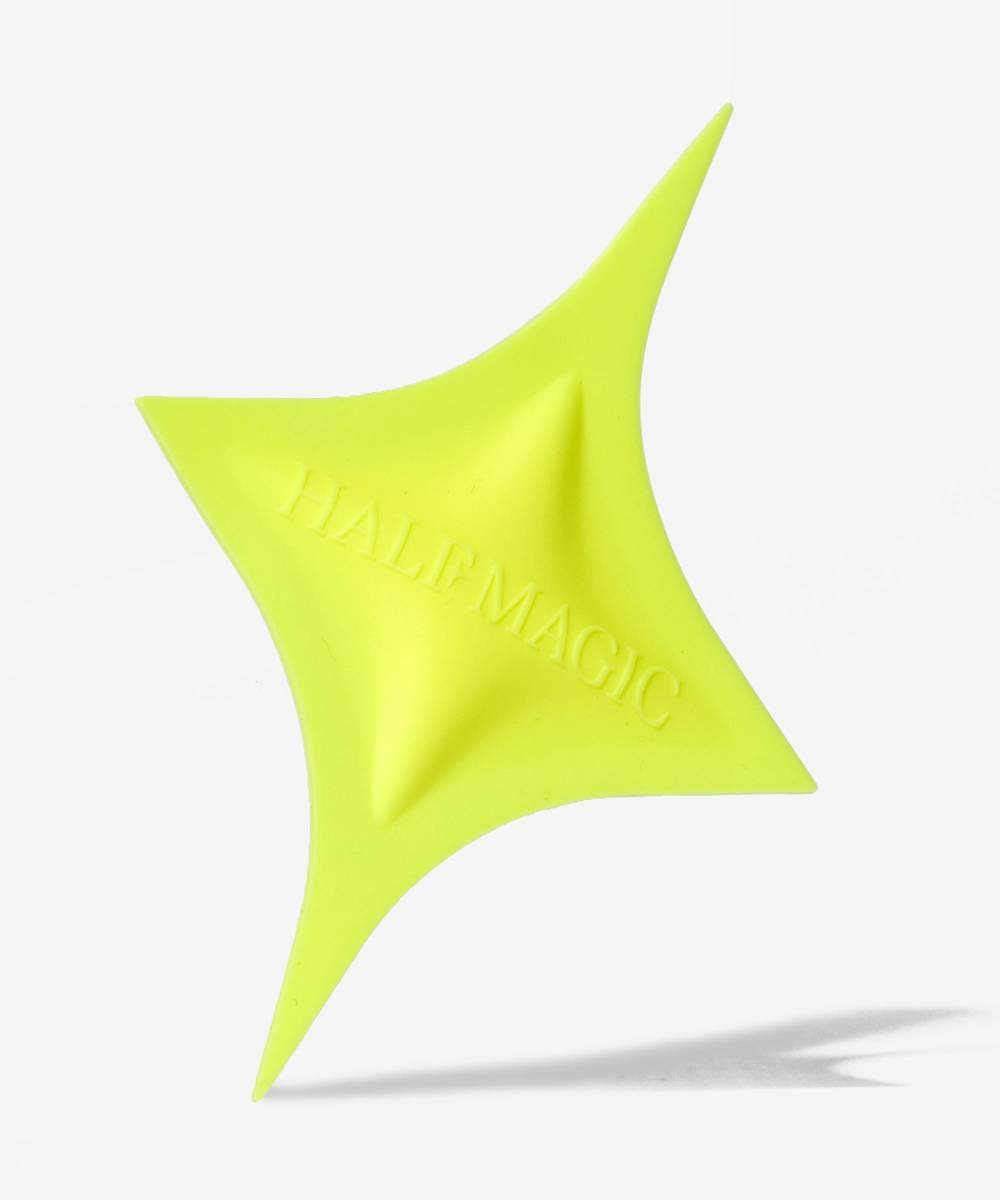
You can use handy tools like the HALF MAGIC Wing Magician Silicone Guide to help minimise the mess caused by failed eyeliner wings. Whatever order you do your eye makeup in, this tool is always handy.
If you do choose to do your eye makeup before foundation, you’ll just need to achieve some extra precision when applying it so as to not accidentally get foundation all over your fresh smoky eye
Step 3: Concealer
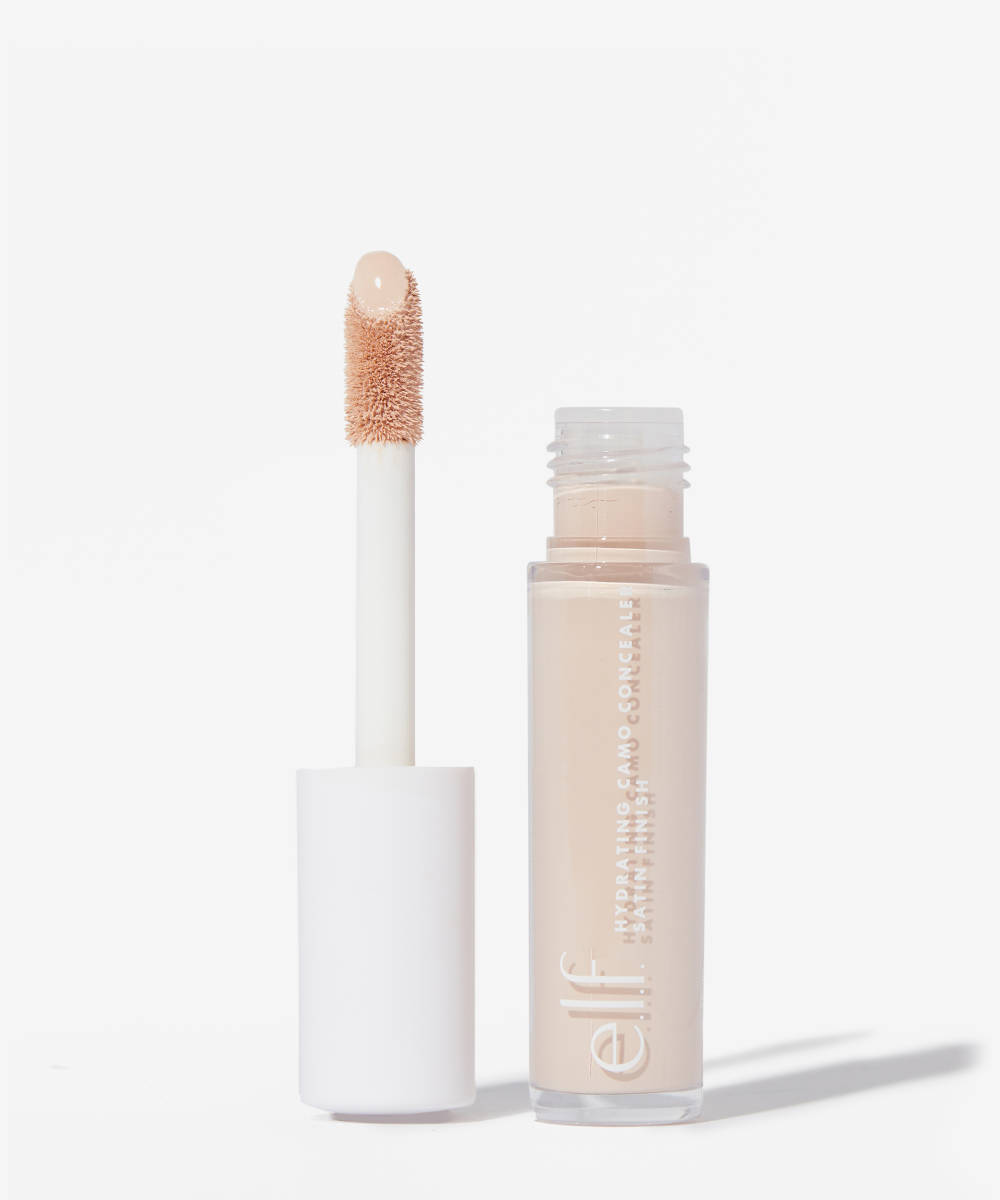
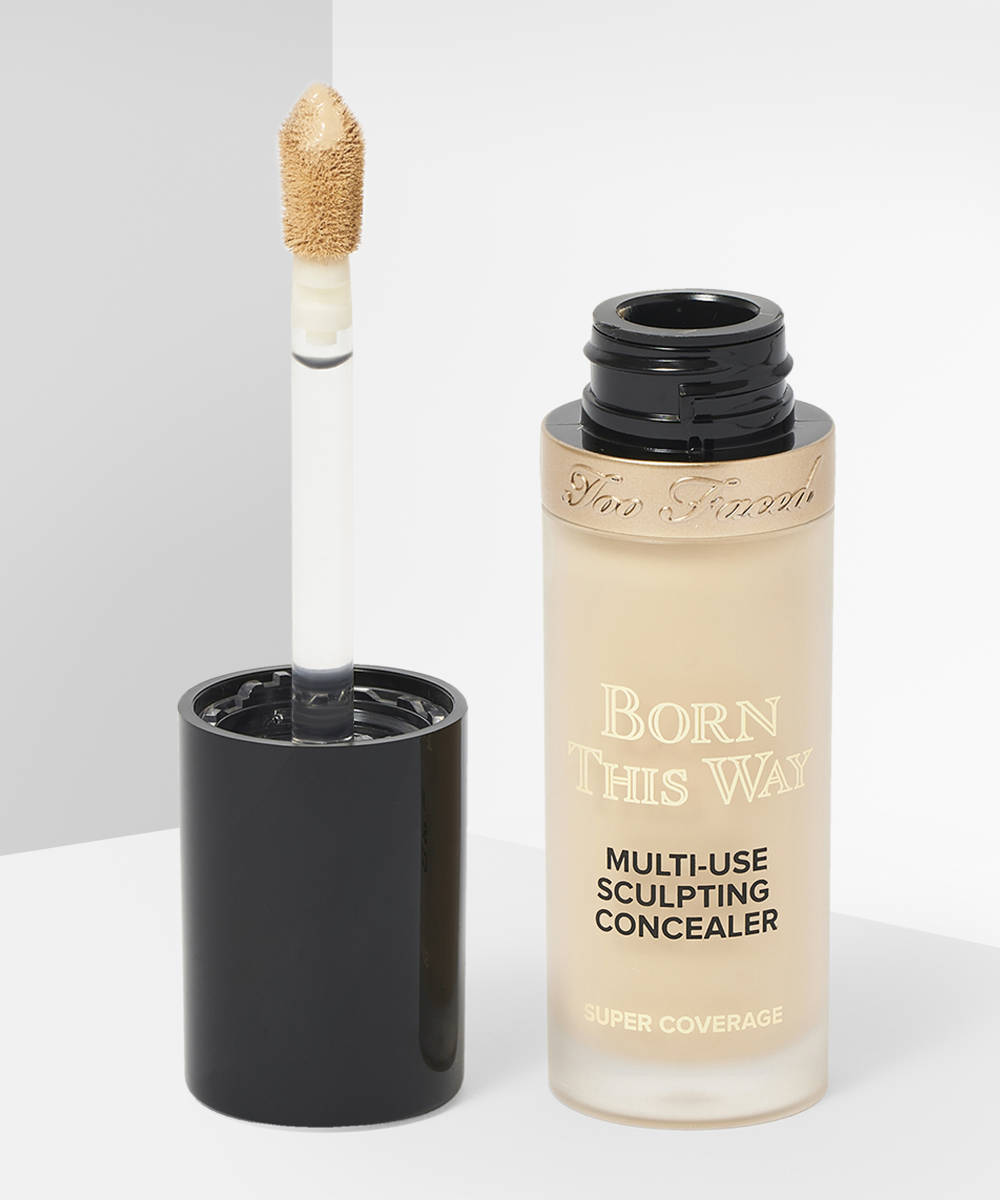
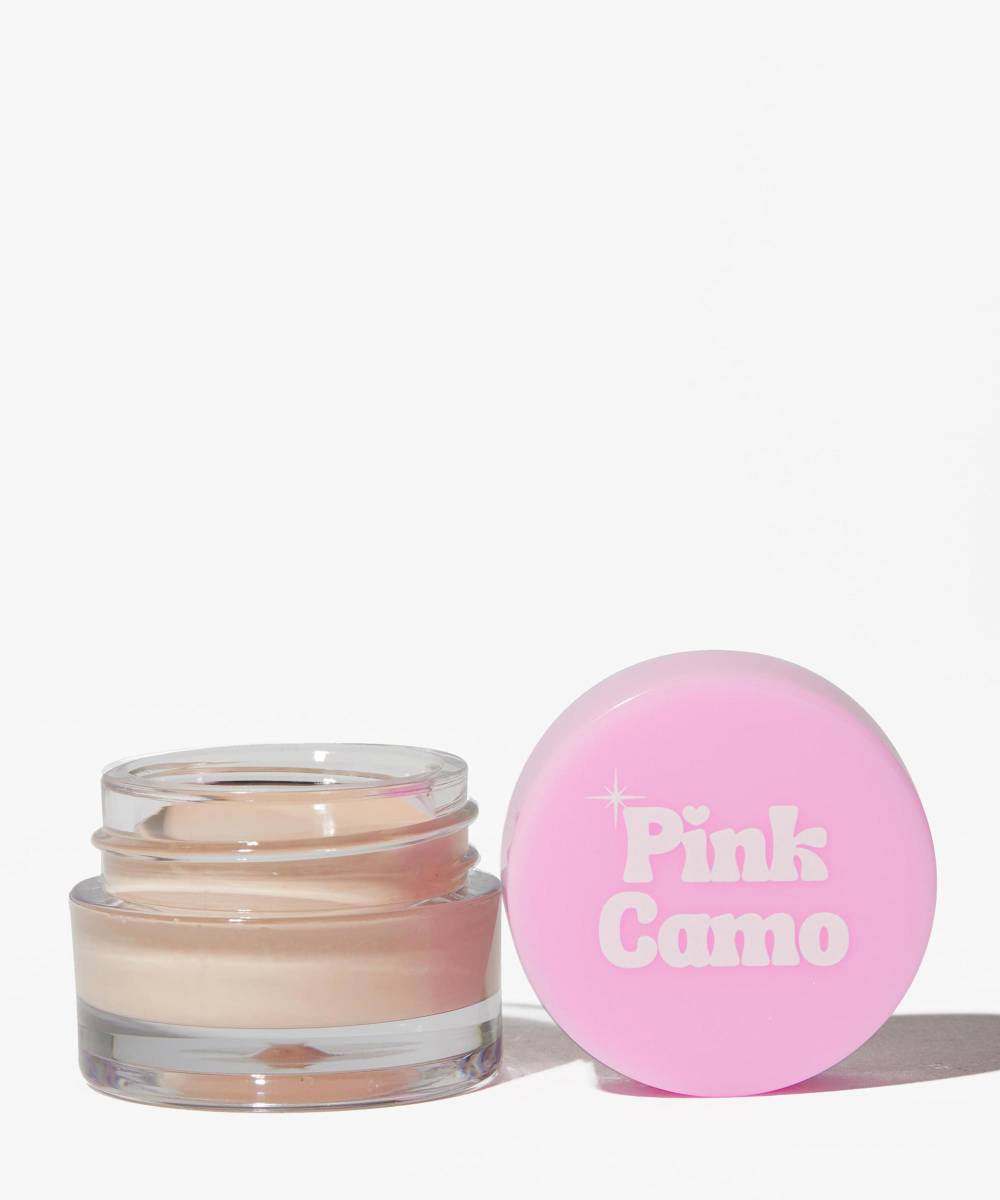
Once your foundation is on and maybe even your eye makeup too, the next step is concealer. Your foundation will provide coverage for most of your face but if you have some areas that need a little more of a touch-up, that’s where concealer comes in. If you are looking to cover up spots or areas of redness with concealer, choose a shade that matches your skin tone and foundation. You’ll want to blend this in with either your fingers or a concealer brush for a seamless look.
You can also use concealer to brighten your face – if you want to do this choose a shade that is lighter than your skin tone. Brightening concealer is great for covering dark circles under the eyes. Be gentle with application in under-eye areas though as the skin is so delicate.
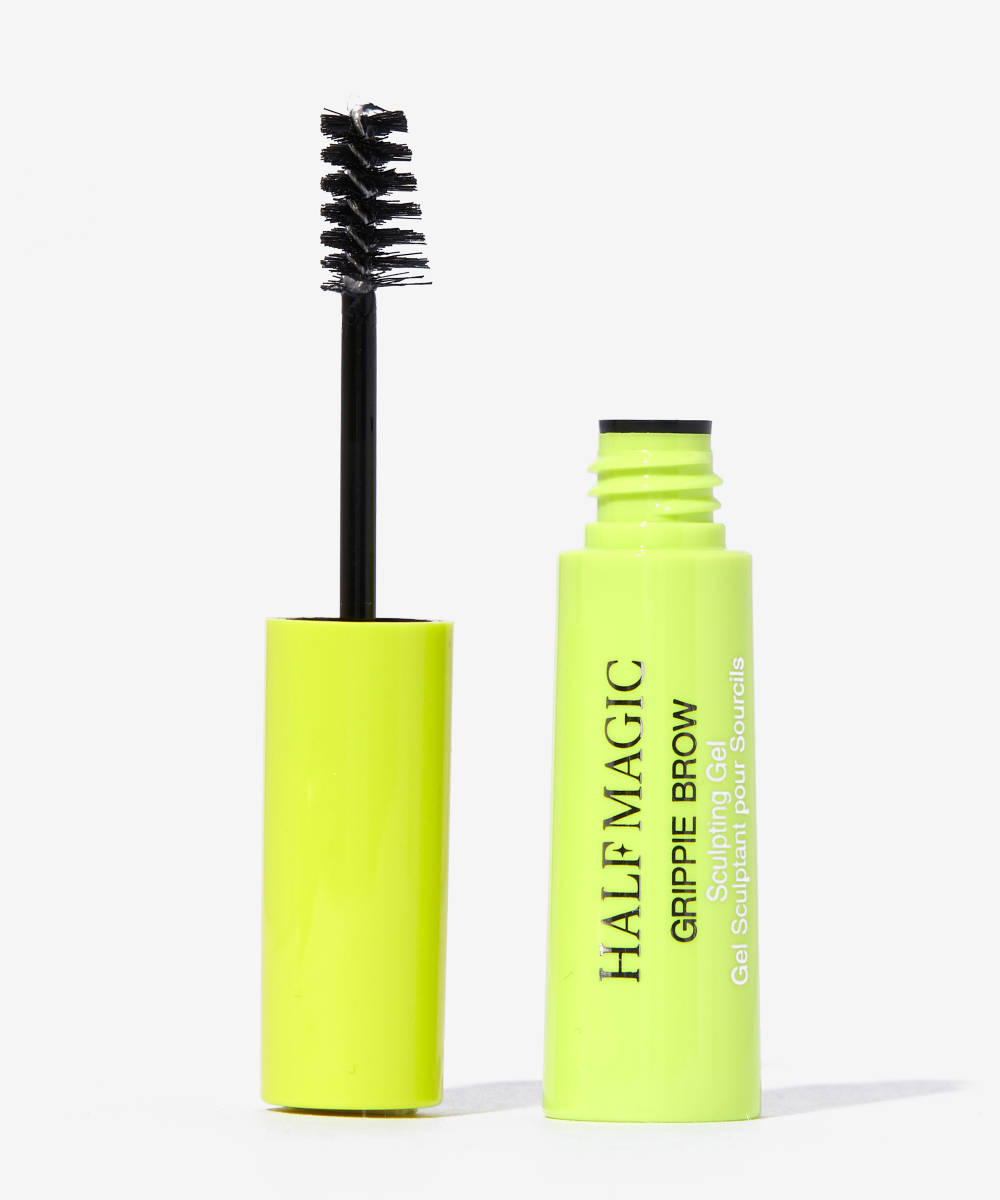
Step 4: Brows
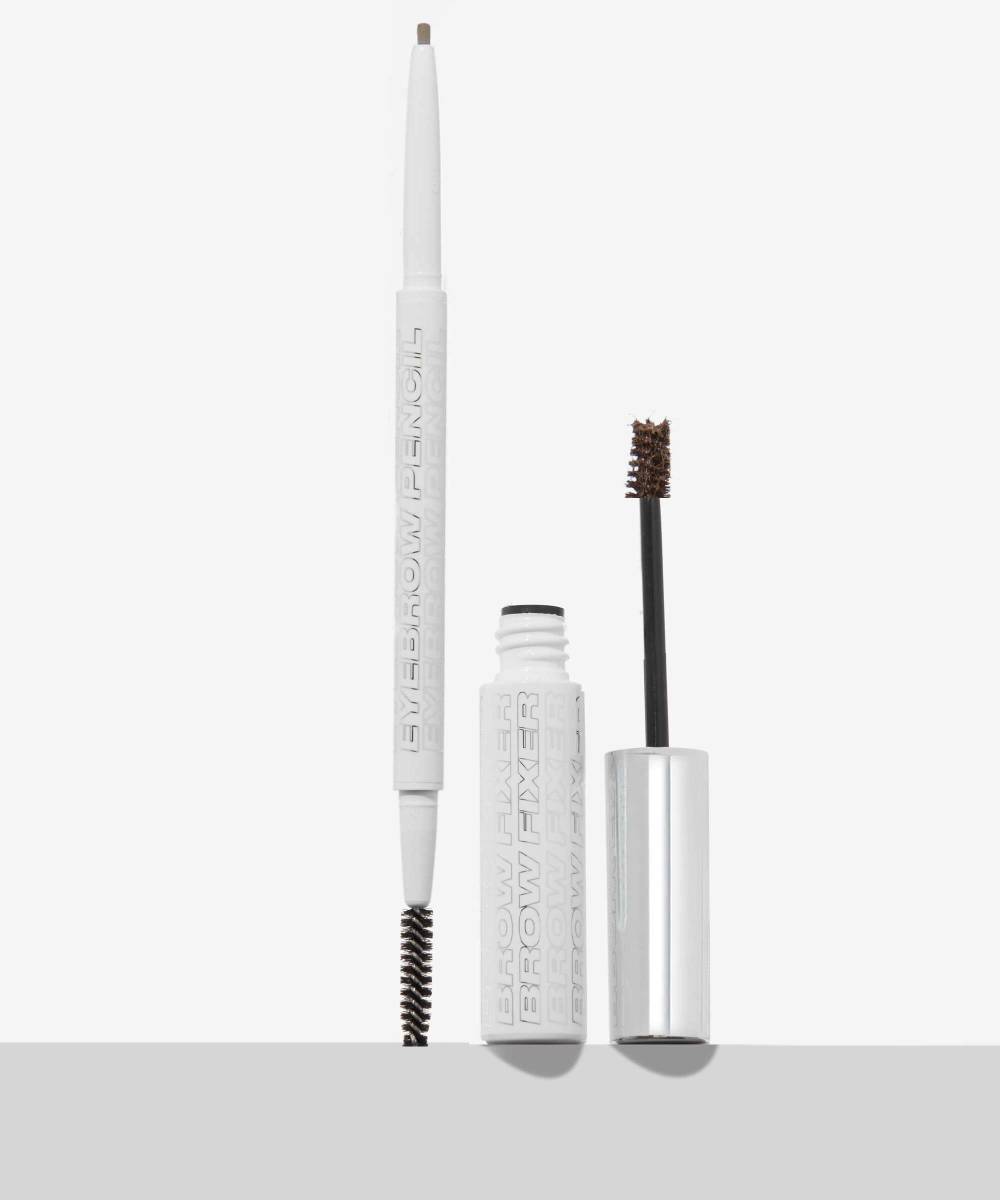
Once you are happy with your base, you can start working on your brows. This step could be done pre-foundation like eye makeup, however avoiding getting foundation in brows during the application process can be tricky. So, for ease, place brows after foundation in your makeup application order.
Step 5: Bronzer
Now it’s time to add some colour and dimensions to your face of makeup. Bronzer and contour are different, so if you are looking for advice on that check out our contouring guide.
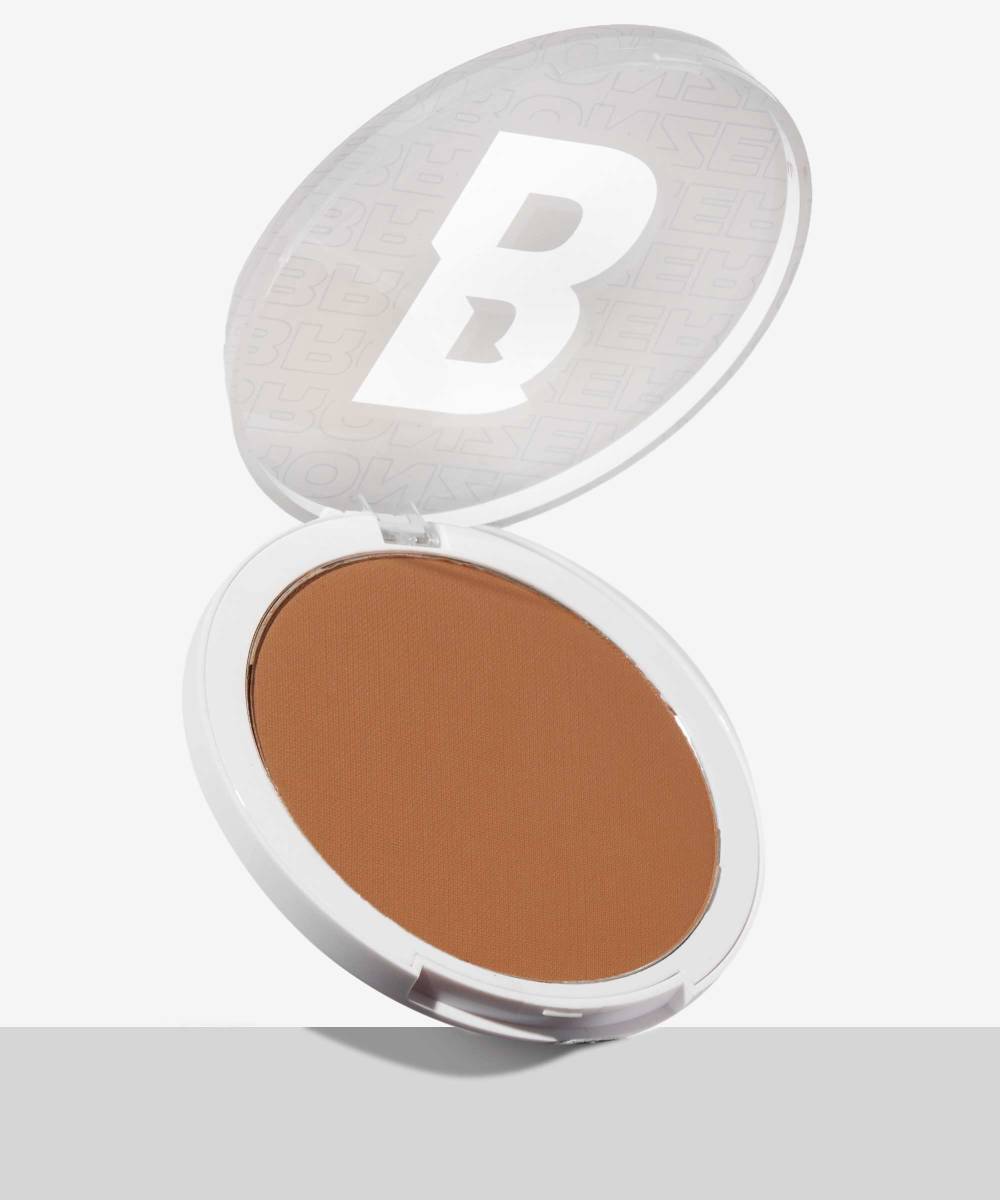
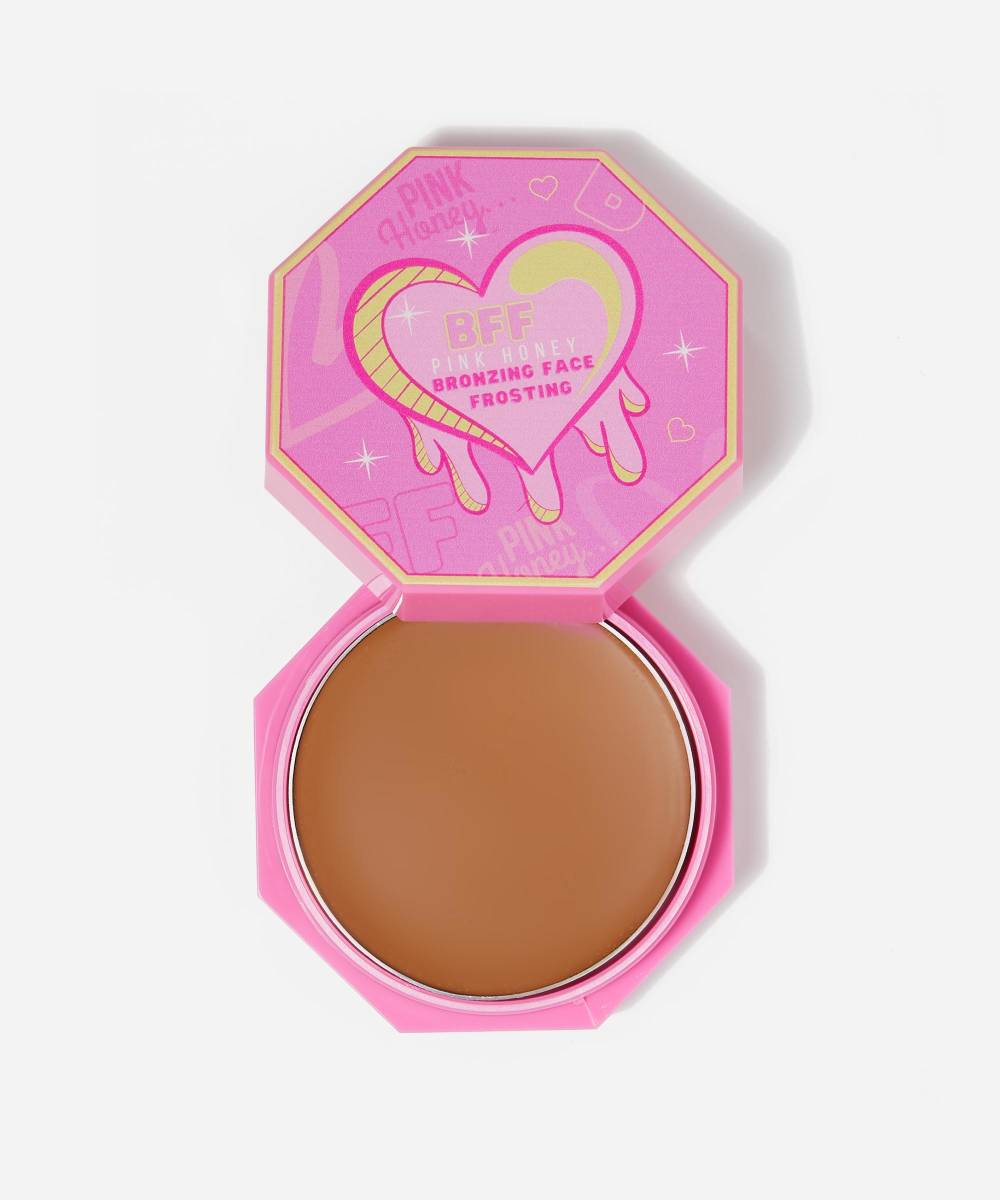
Bronzer isn’t a necessity in your makeup application process, but it is a great way to add warmth to your face. Powder bronzers like the By BEAUTY BAY Powder Bronzer are best applied with an angled brush for precision or a fluffy cheek brush for a quick glow.
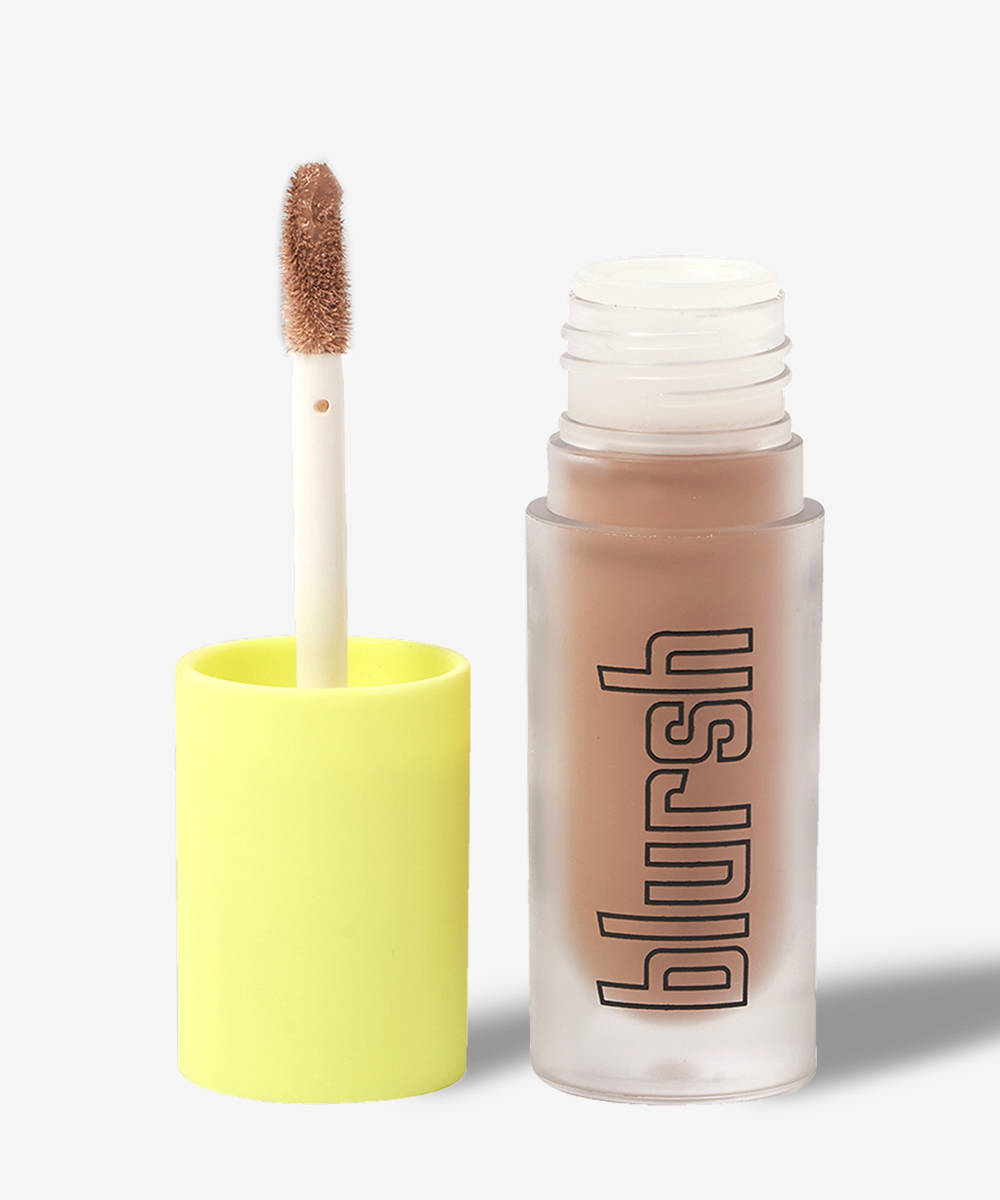
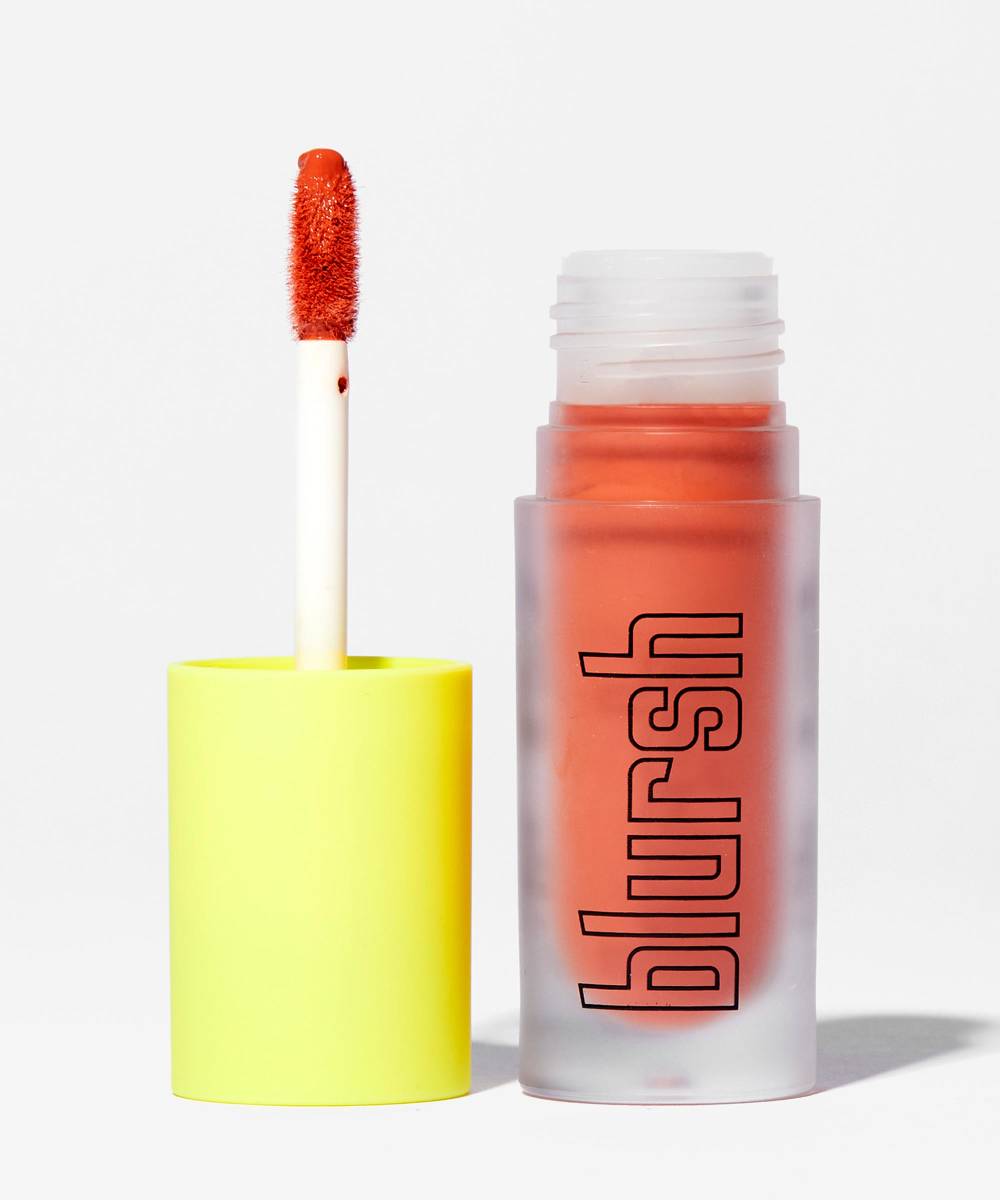
If you opt for a liquid or cream bronzer like the Made by Mitchell Blursh Bronzed Liquid Bronzer, then we recommend using a sponge, a kabuki brush, or your fingers to effortlessly blend it into your base.
Try to apply bronzer to the high points of your face e.g. your forehead, cheeks, and nose.
Step 6: Blush
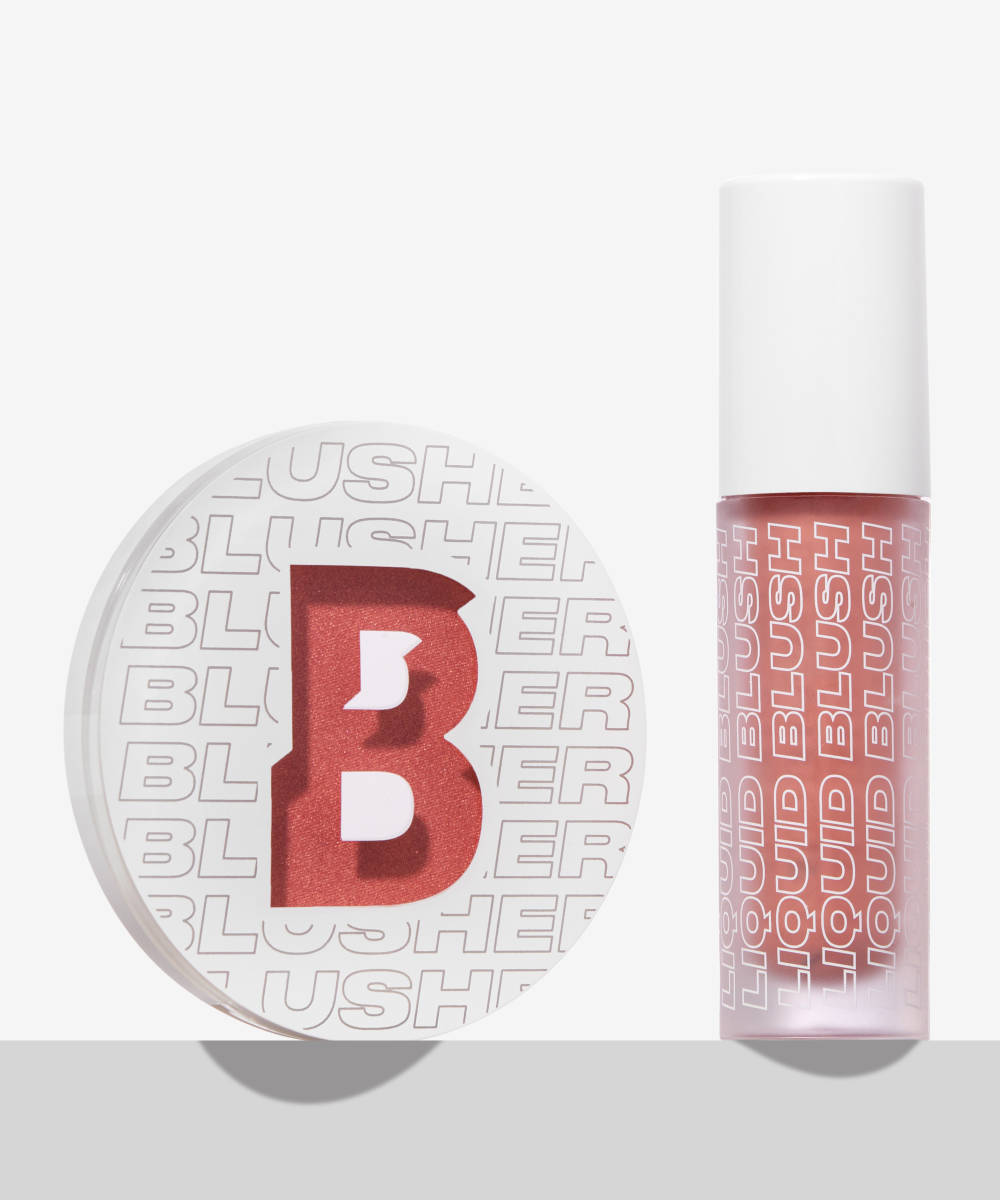
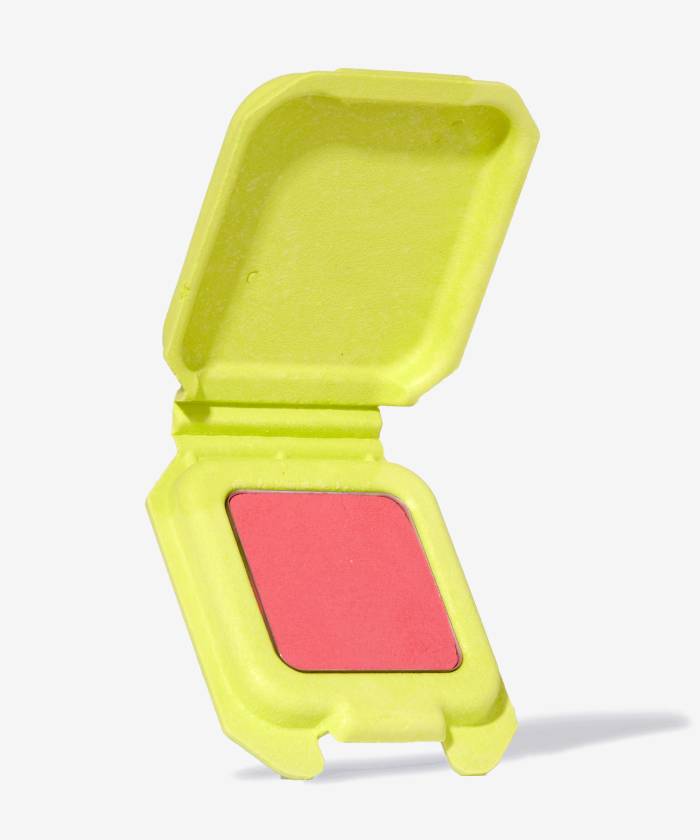
If you love a rosy glow or are a fan of recent trends like strawberry makeup or cold girl makeup, then you won’t be skipping this step. Blush comes in a range of colours including pinks, corals, and reds – so there are plenty of options to choose from to compliment your complexion and desired makeup look.
Powdered blush is best applied and blended with a thick blusher brush, whilst cream and liquid blushes blend best when applied using your fingers or a sponge. As well as applying blusher to the apples of your cheeks, you could also apply some to the tip of your nose during this step, for a sunkissed, or cold-kissed look.
Step 7: Highlighter
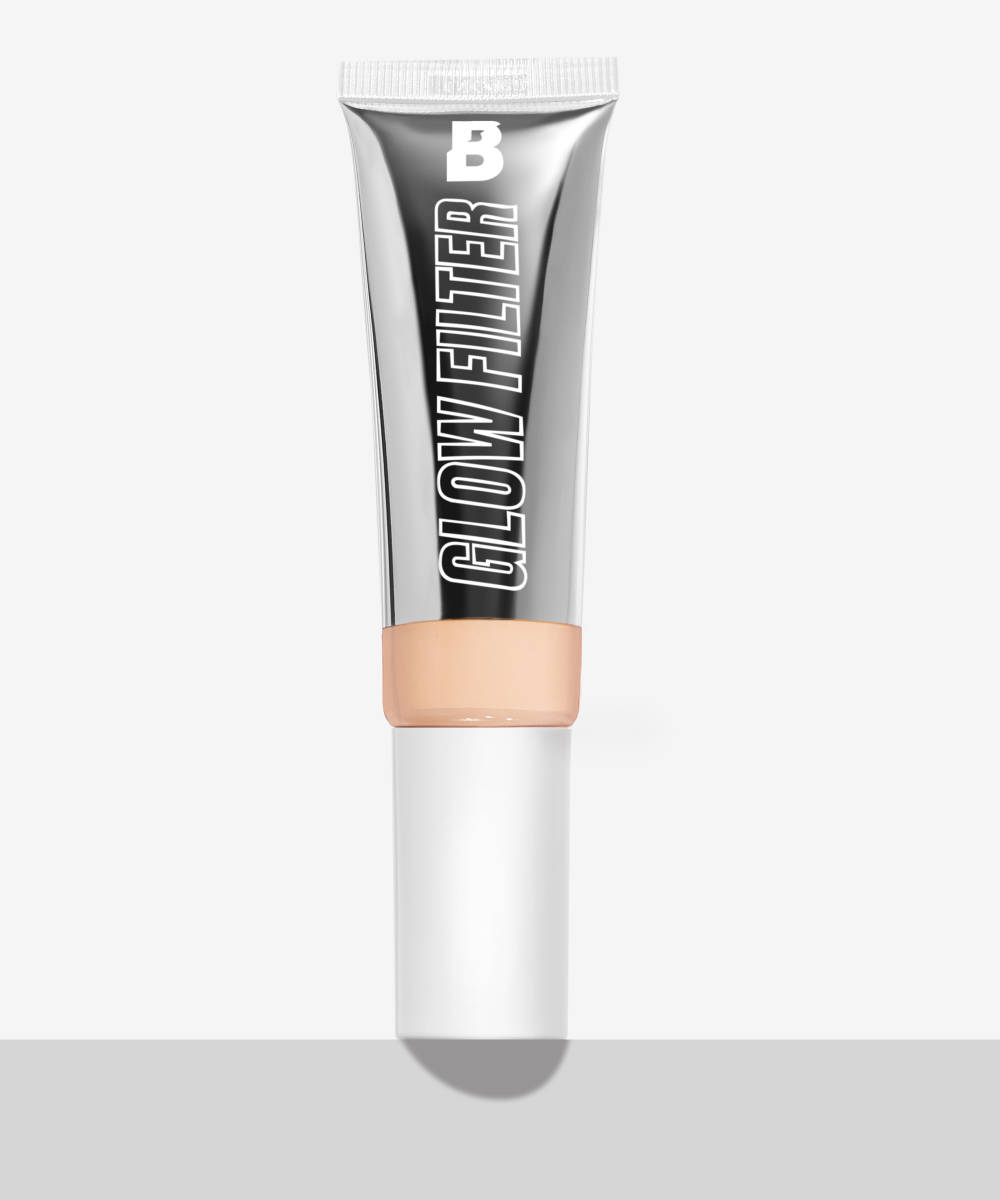
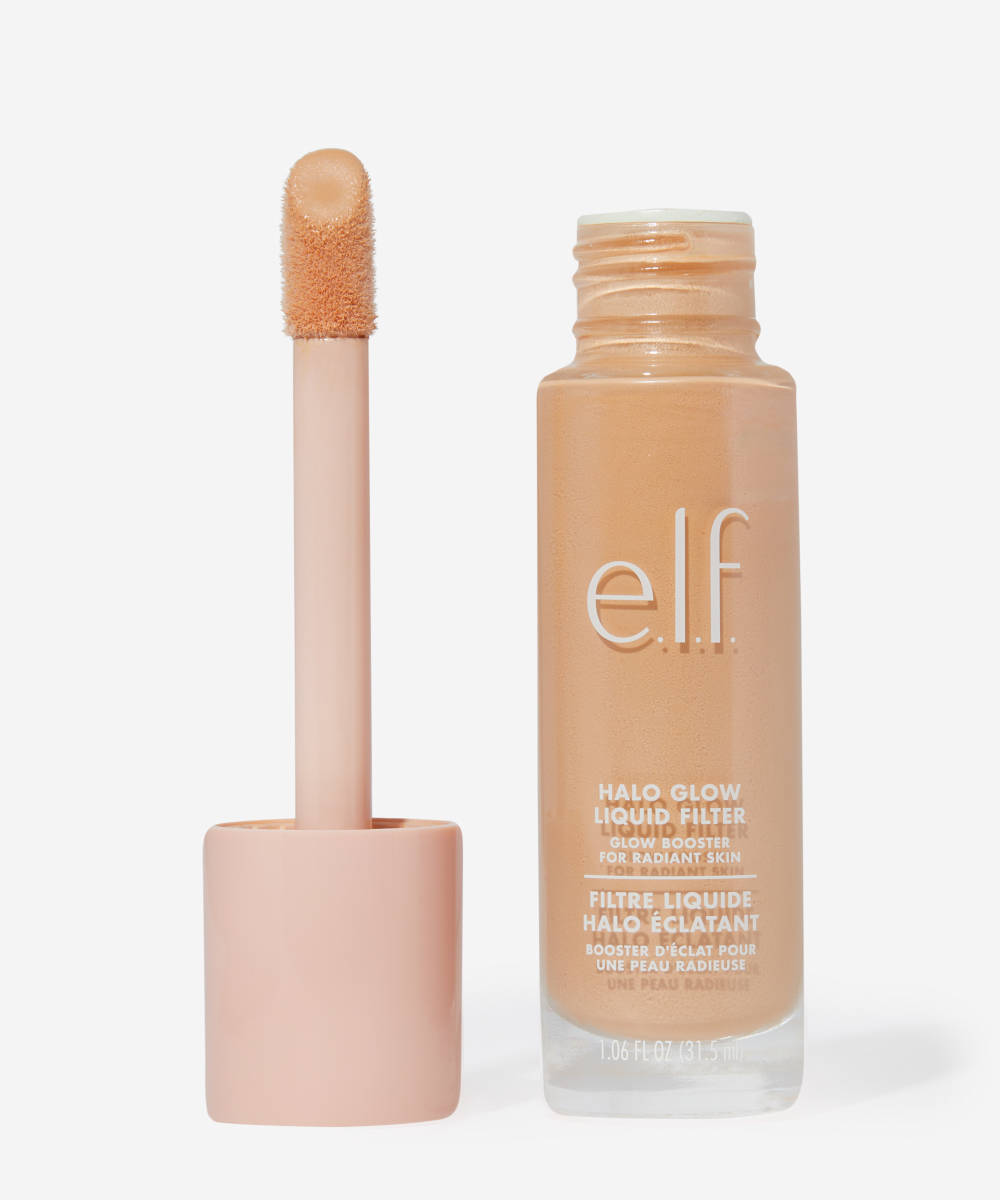
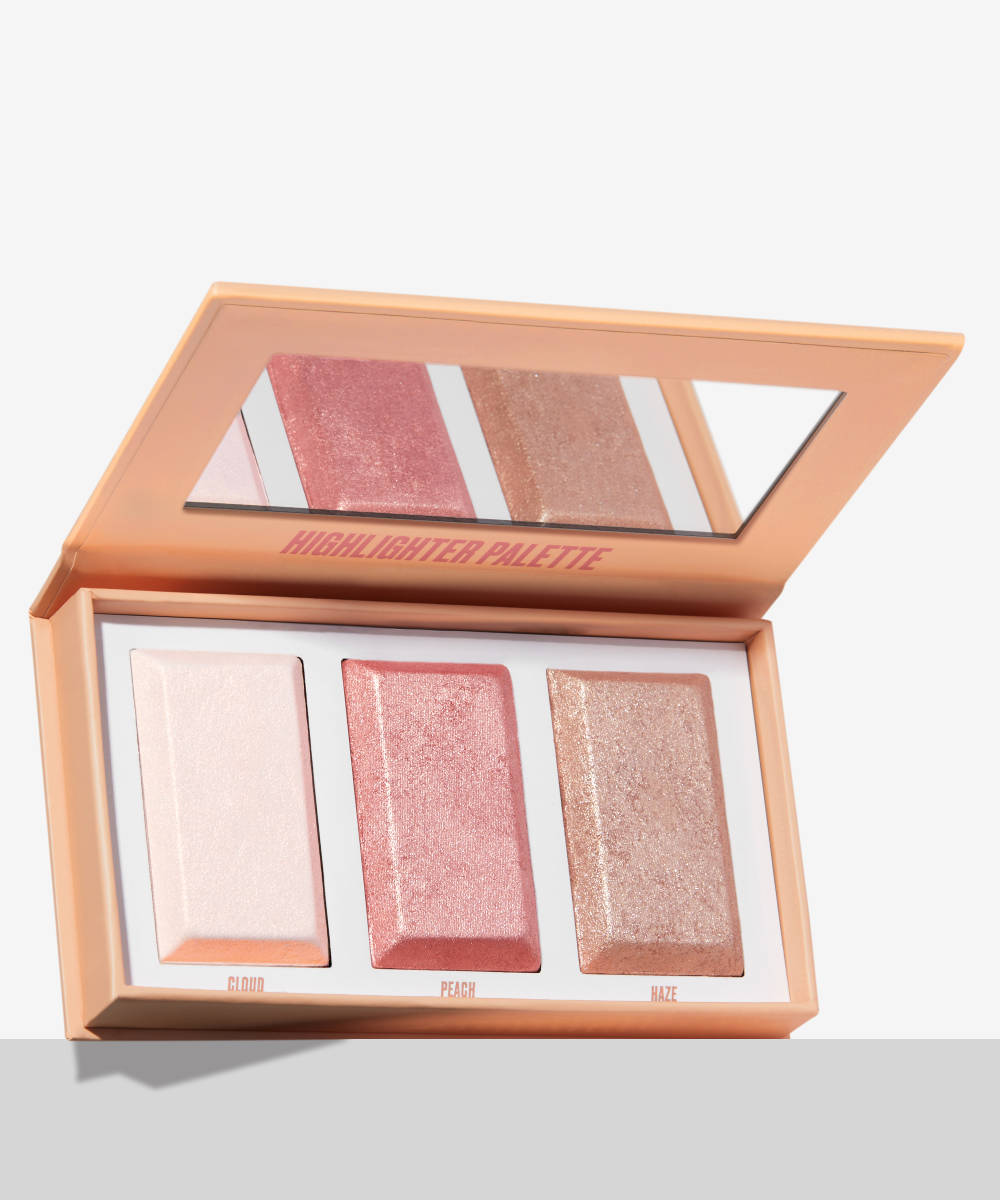
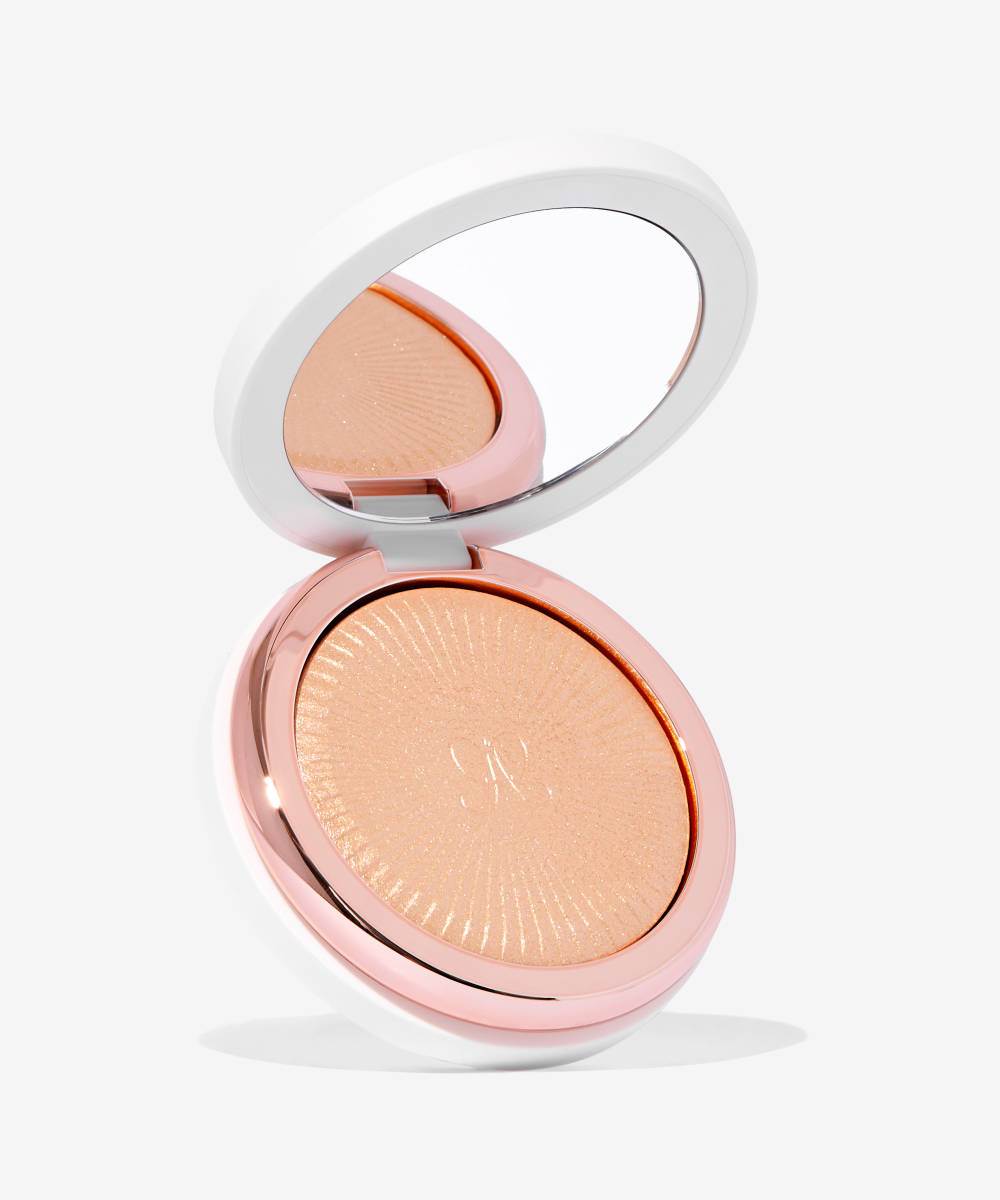
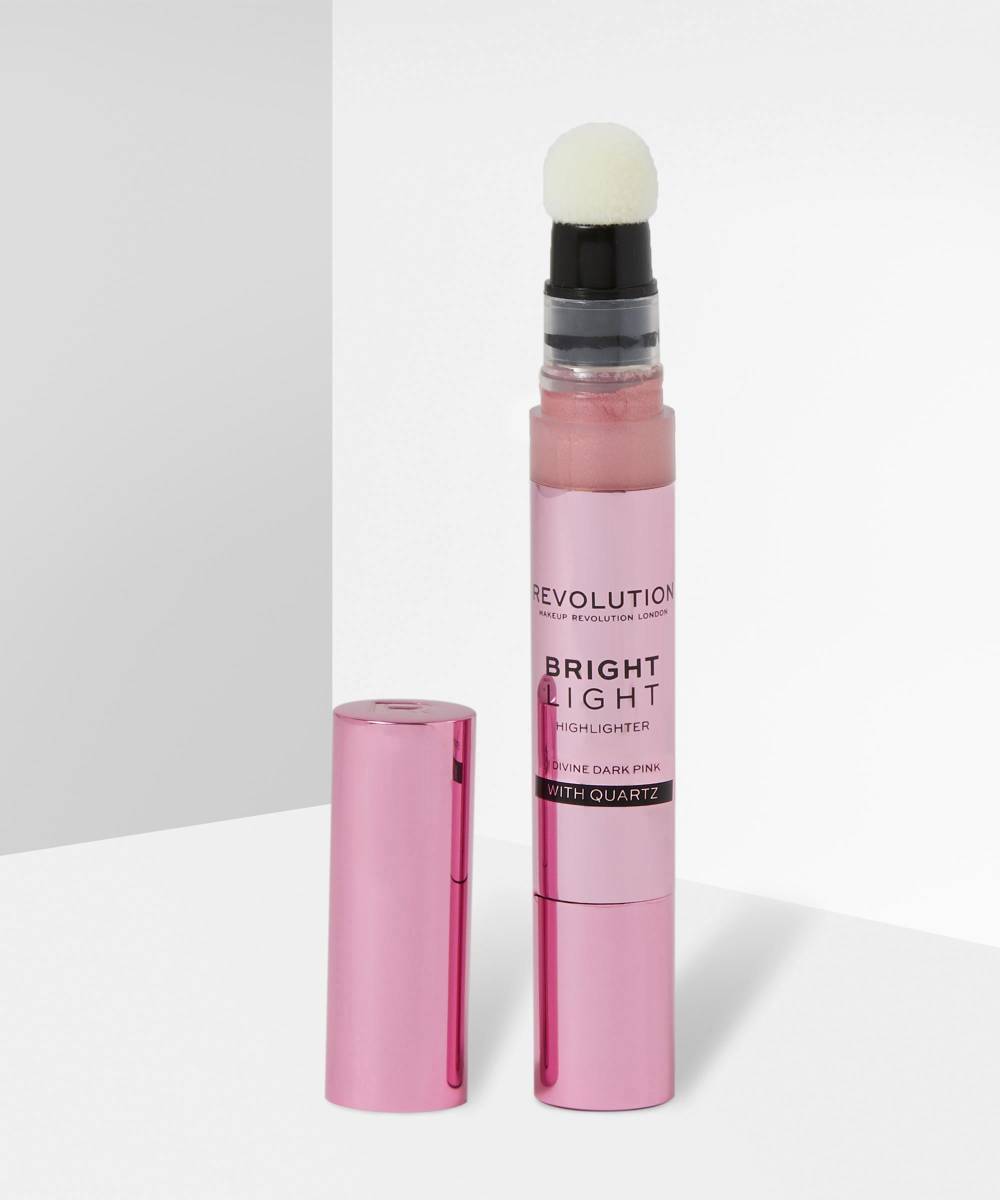
Whatever order you do your makeup in, highlighter will always come towards the end – a lovely finishing touch to draw attention to your flawless makeup. Highlighter does what it says on the tin and highlights areas of your face by adding a touch of glow and radiance. If you are using a powdered formula and a highlighter brush, opt for a small precise brush so you can be controlled in your application, especially for smaller areas like your Cupid’s bow, centre of chin, and brow bone. On top of those areas, you’ll also want to apply highlighter across your cheekbones.
Step 8: Lips
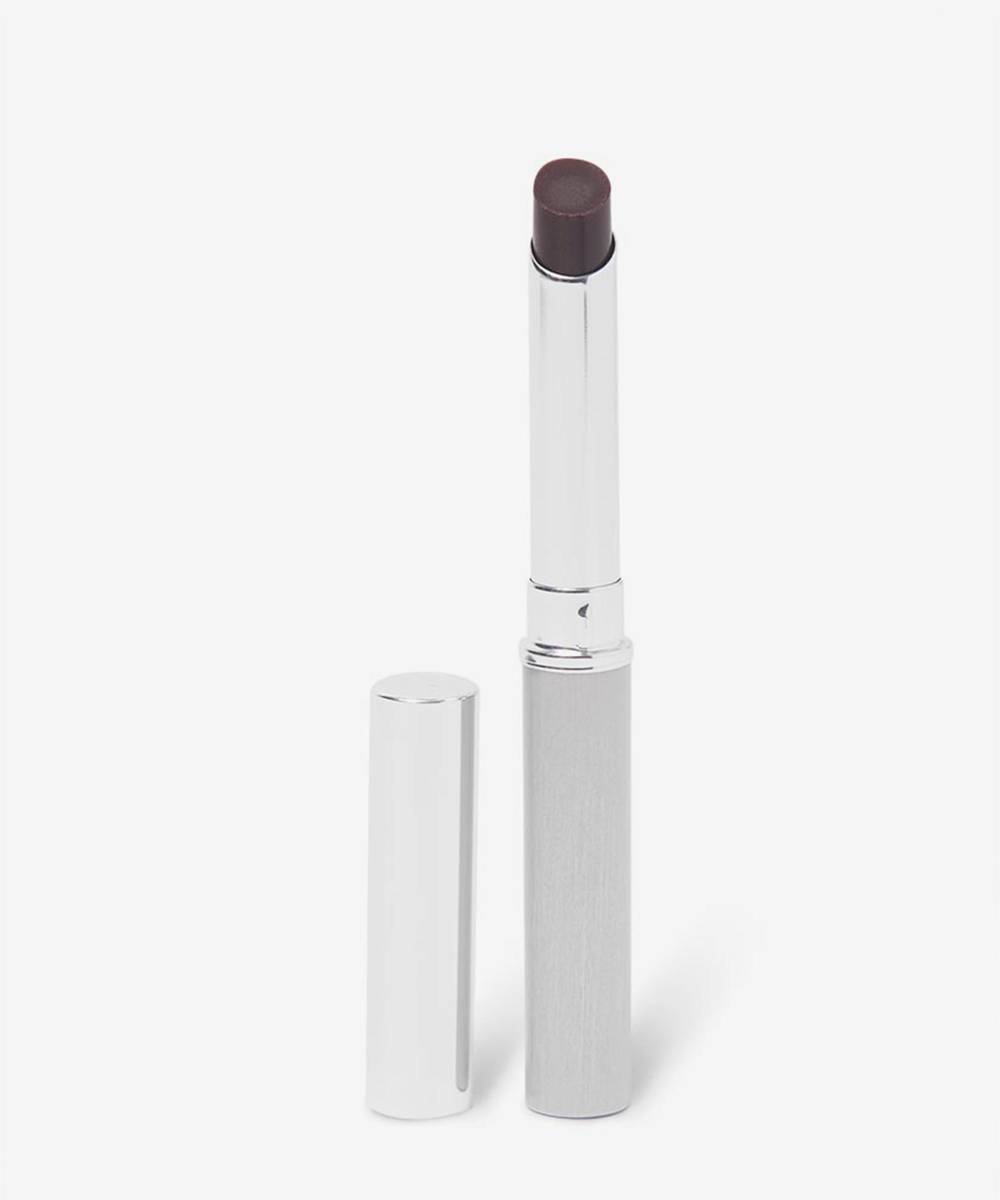
Now you’ve finished your face makeup, the next step is to turn your attention to your lips. First off you are going to want to remove any foundation from them, it’s not 2007 anymore. Once your lips have returned to their natural state, you can decide how you want to adorn them, lipstick, lip gloss, or just some lip balm, it’s completely up to you!
Step 9: Setting Spray
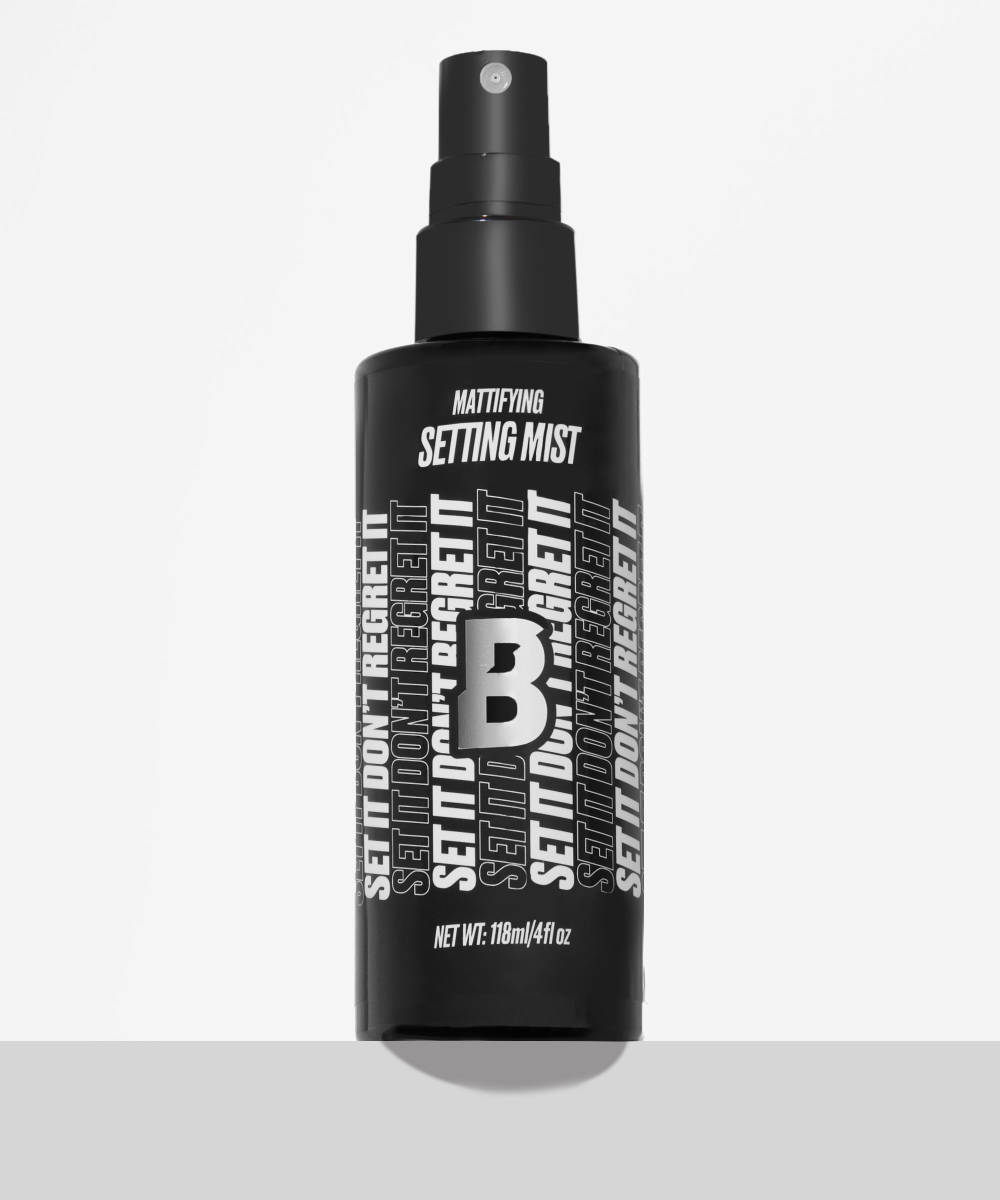
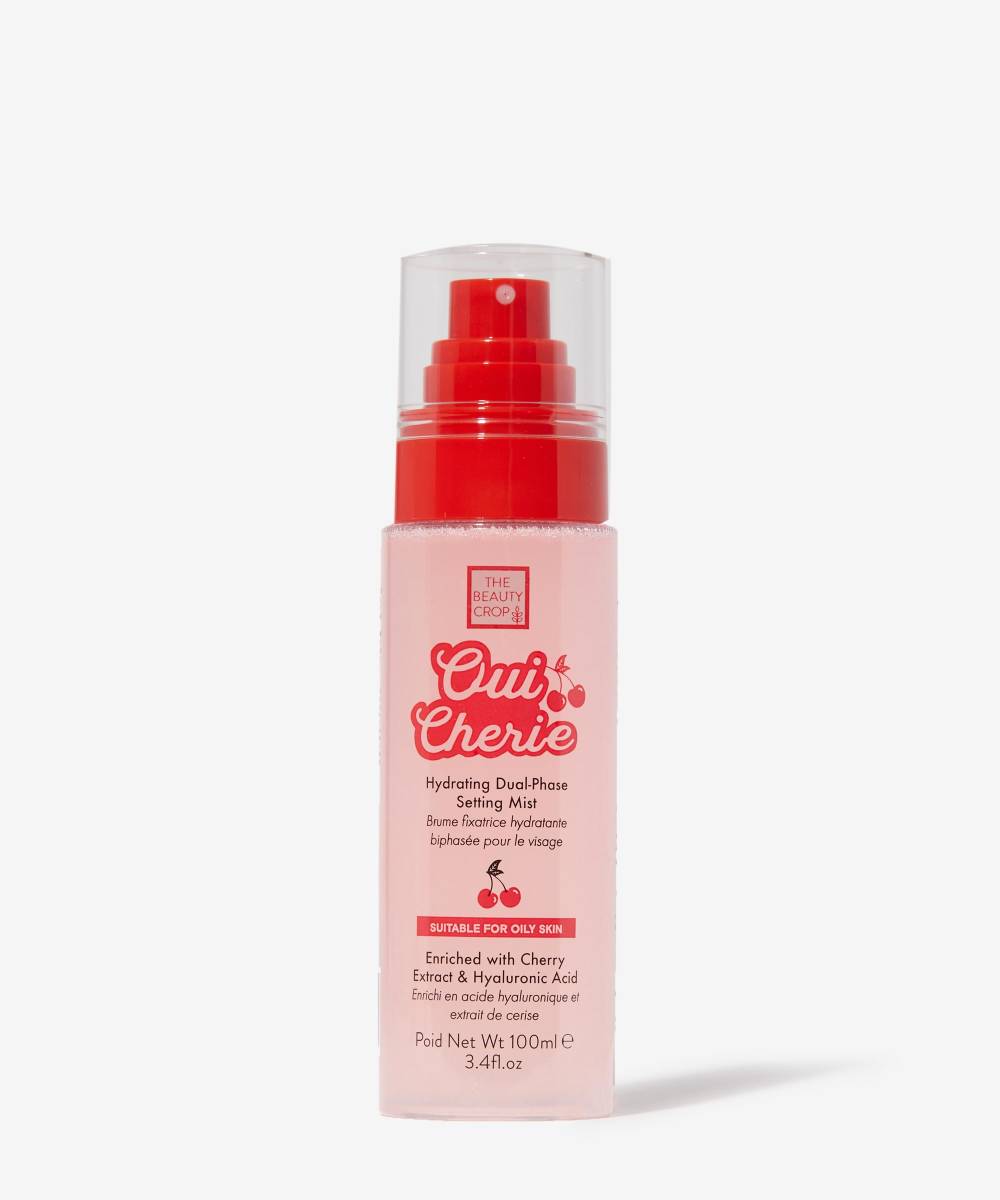
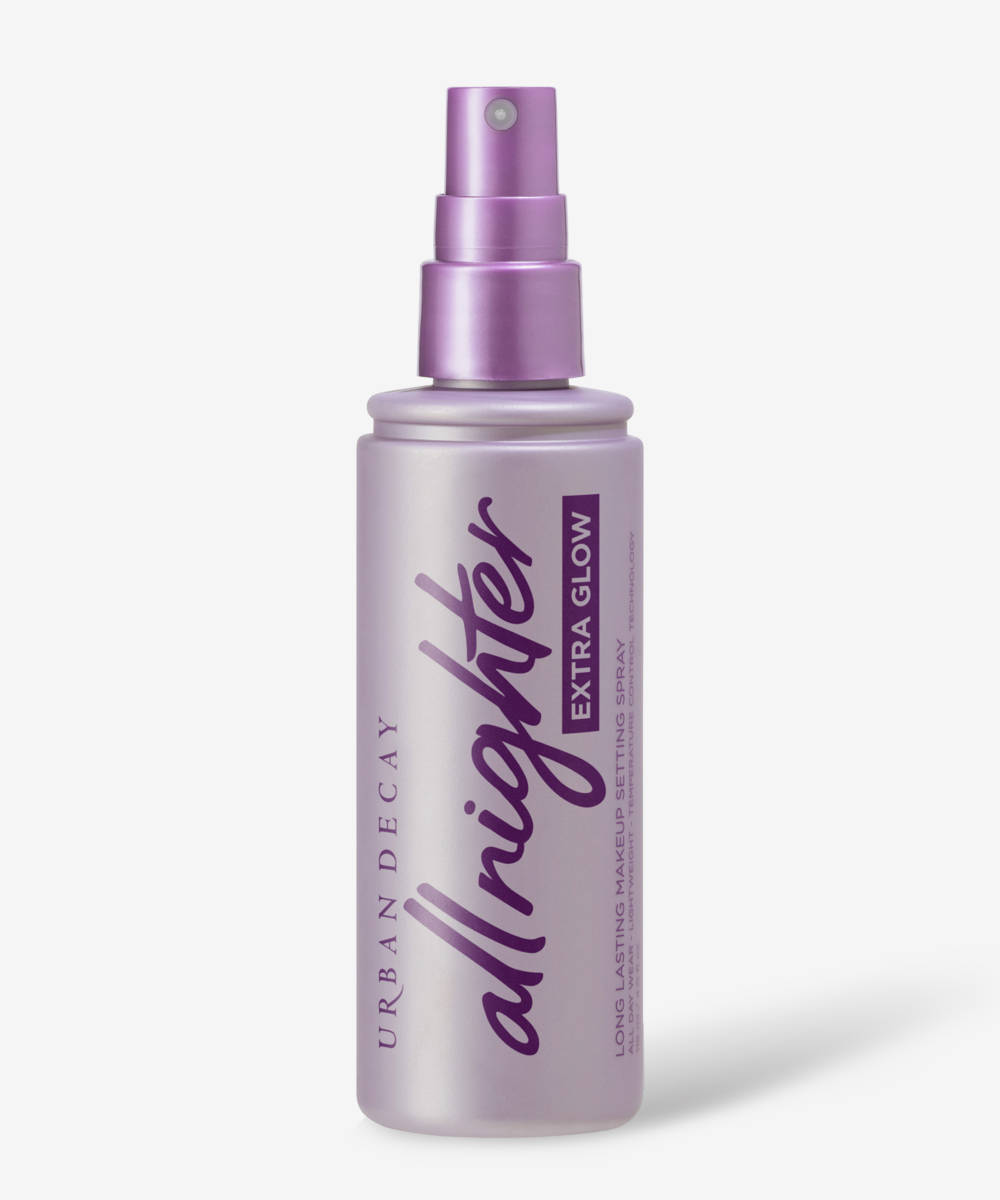
The final step – setting spray, just like primer it isn’t a necessity but it can help your makeup work harder. A good setting spray will melt all your layers of makeup together and lock them in place for hours to come. Spray your skin and leave it to air dry, you’ll be wowed by the results. Applying setting spray at the end of doing your makeup can help stop creasing, patchiness and even control shine, what’s not to love?
And voila, a simple guide on what order to apply makeup in. You can pick and choose advice on how to apply makeup and this order is just a suggestion. Hopefully, you’ve taken some helpful tips from here, be that what tools are best for doing different types of makeup with, or which makeup step should come first. What’s your go-to way of doing makeup? Haul some new makeup today and try out these top tips!
