Take your nails from URL to IRL with a lil’ multidimensional beauty… Think 3D finishes and a touch of chrome and you’re on the right track. We’ve already covered the bases with the multidimensional makeup inspo, and now it’s time to tackle the nails.
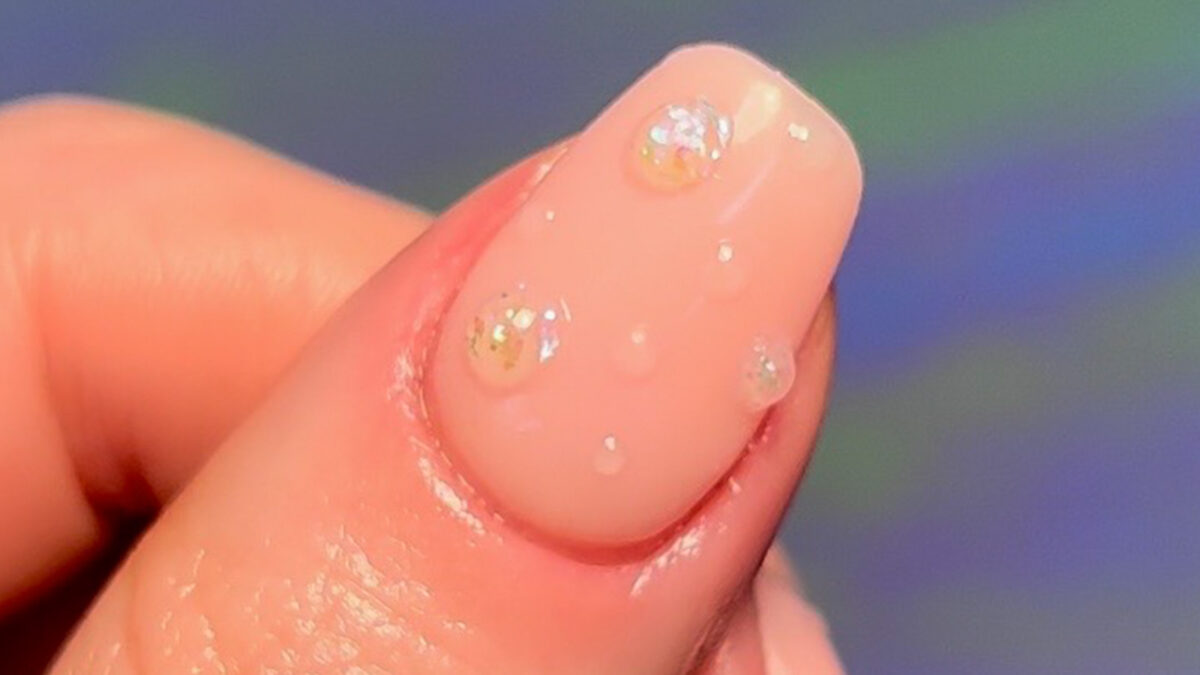
Wanna channel this energy into your nails but not sure where to start? Scroll to discover this easy, rain drop, nail art tutorial, to get you started…
Step one: base
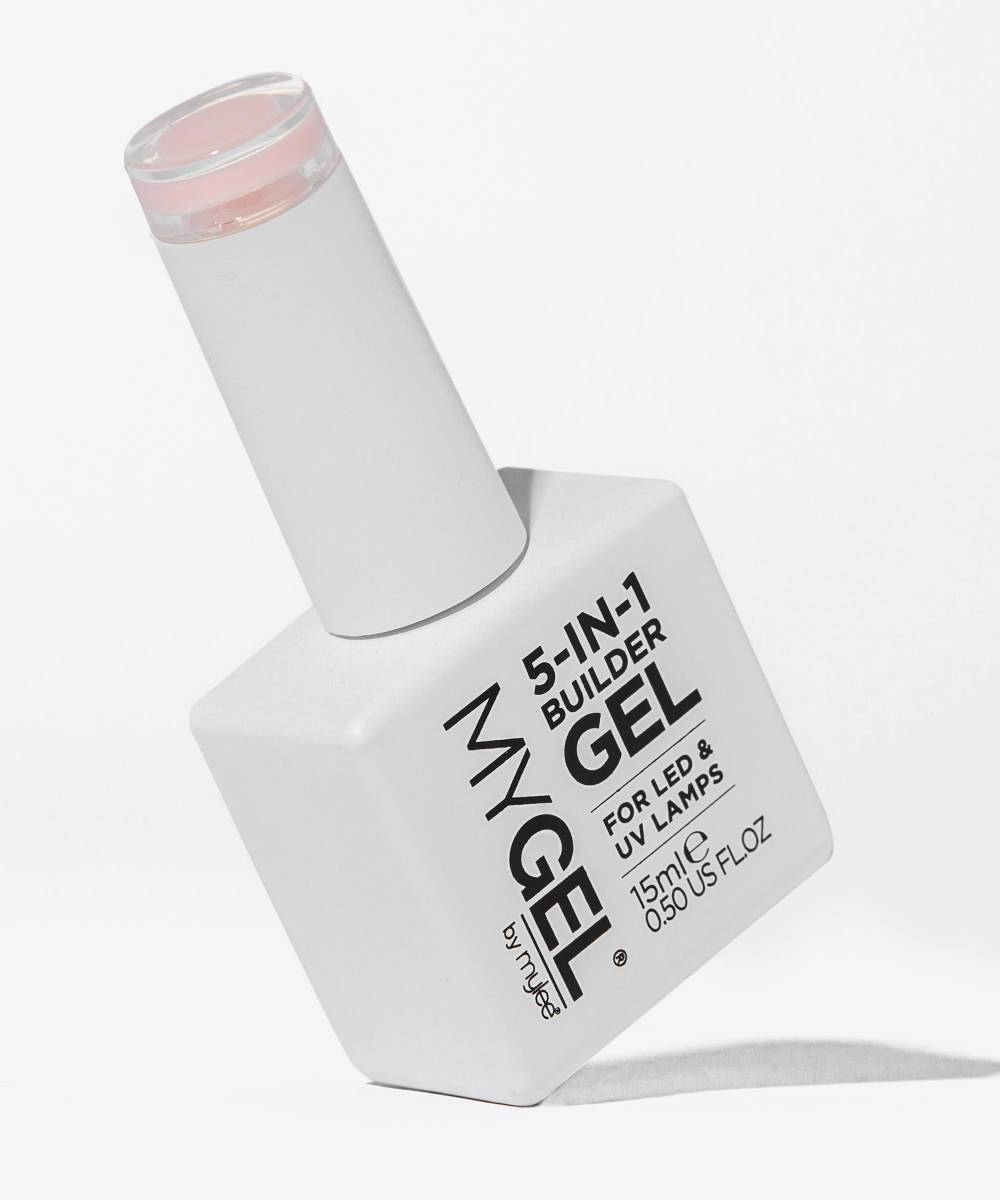
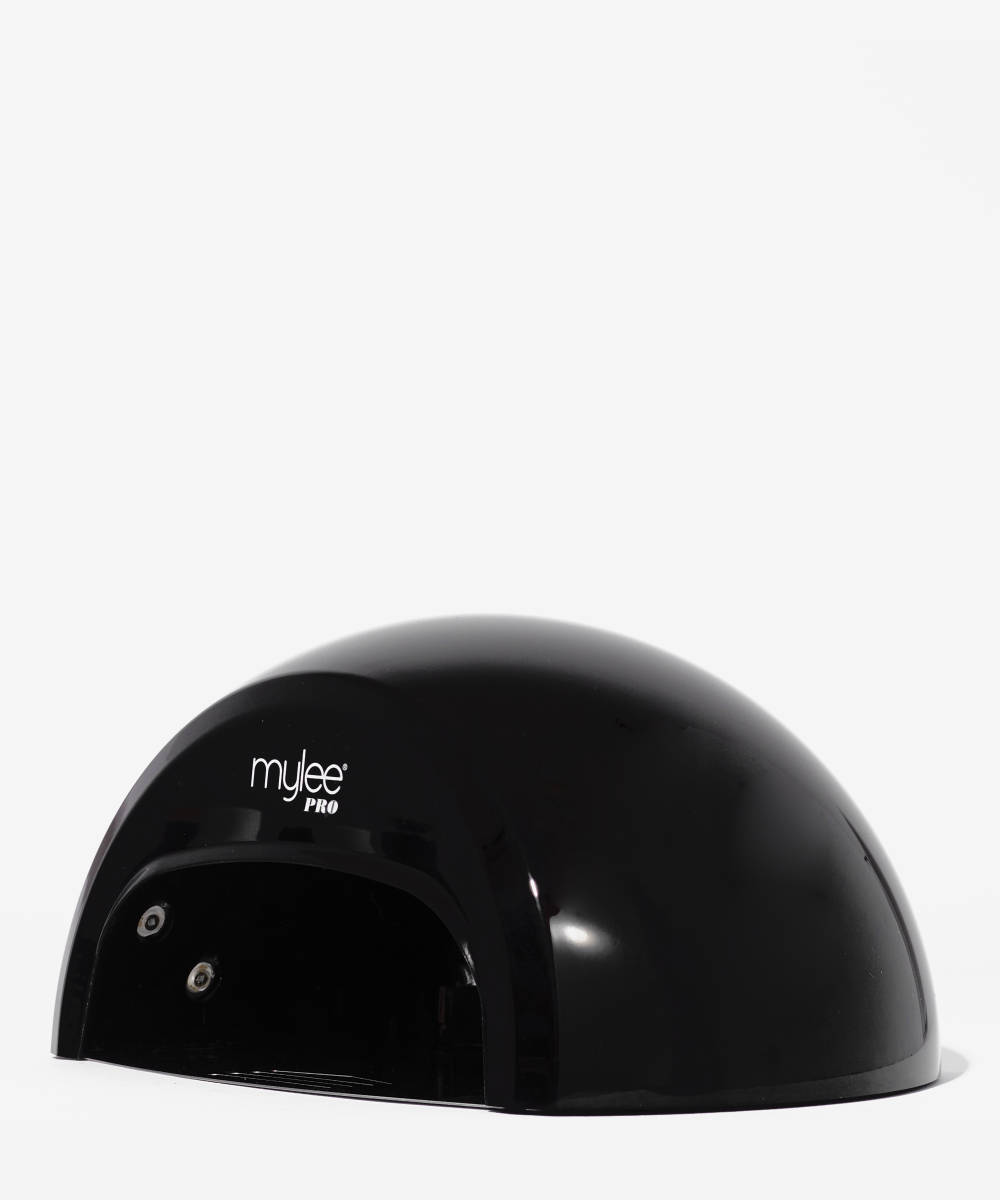
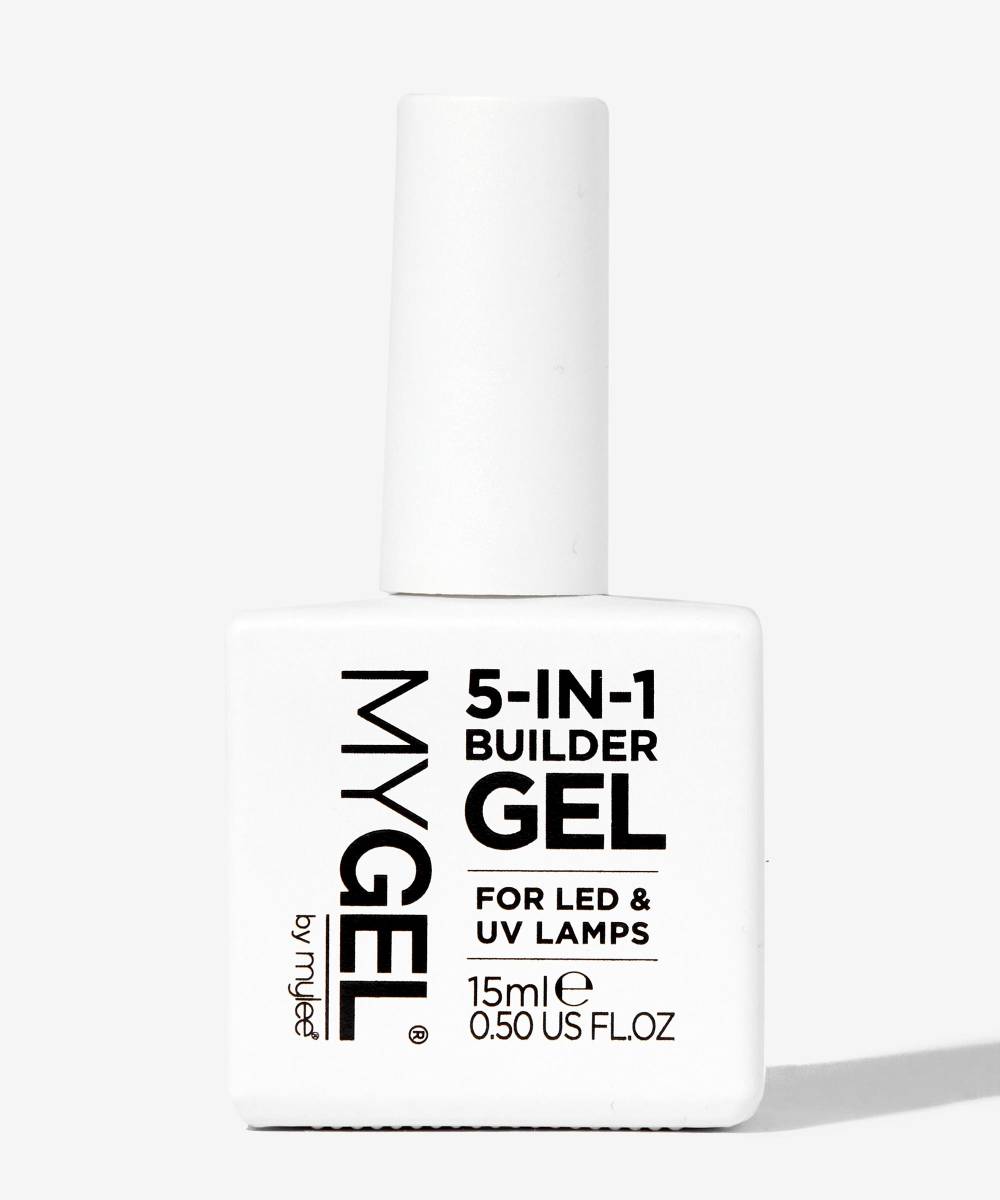
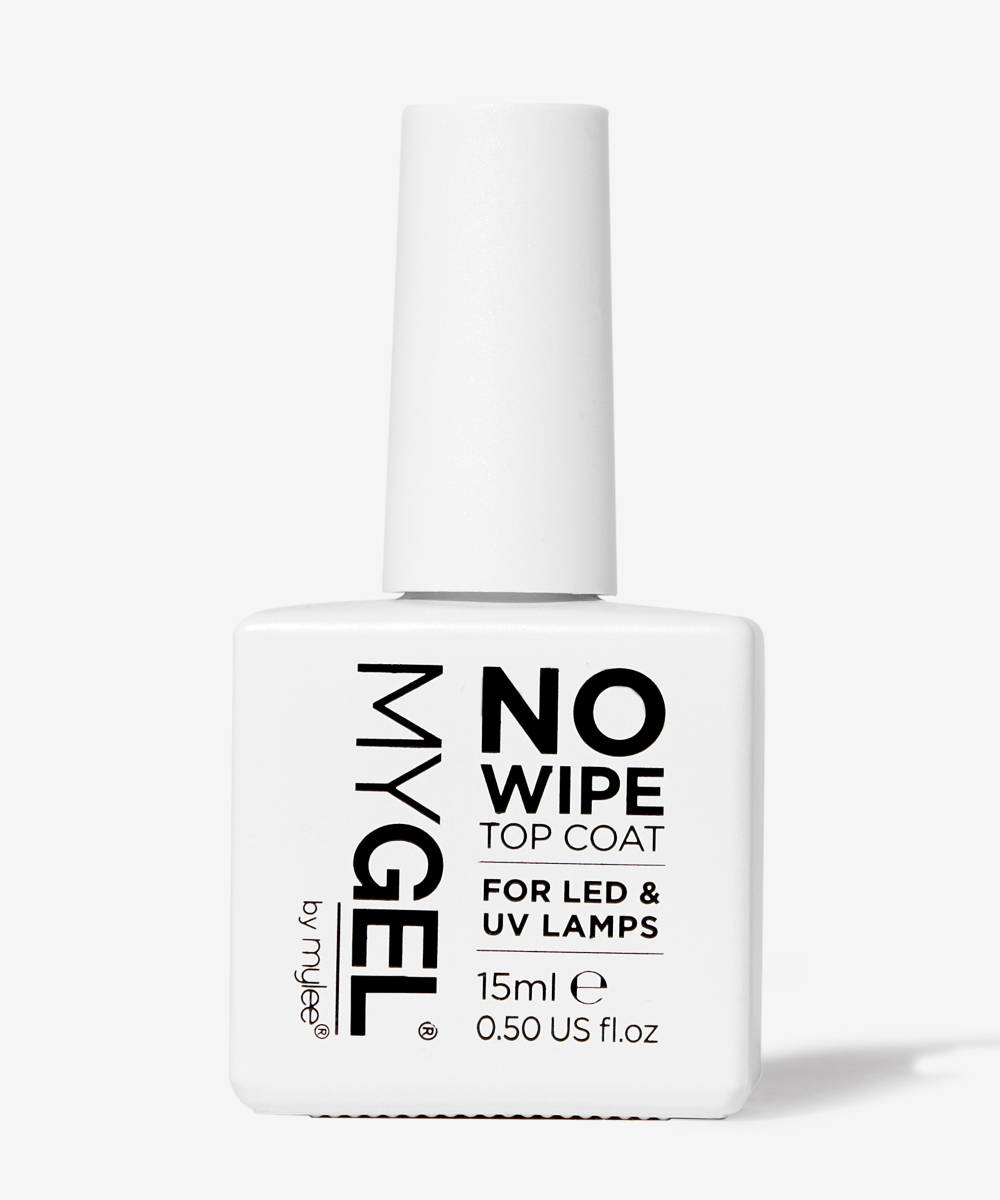
Start with a fresh application of your base coat or builder gel. If you want to learn how to use builder gel like we have here, this tutorial here is the one for you. Then, apply top coat to your nails and cure for 60 seconds.
Step two: rain drops
Using a dotting tool (a bobby pin works for this too!), start by dipping into your clear builder gel and then creating small beads of product on the nail. Create small and large ones until you are happy with your design and cure in your lamp for 60 seconds, straightaway.
P.S. as you are using beads of product here, we recommend curing each finger straight after your design is complete, to avoid the product running down the nail.
Step three: chrome
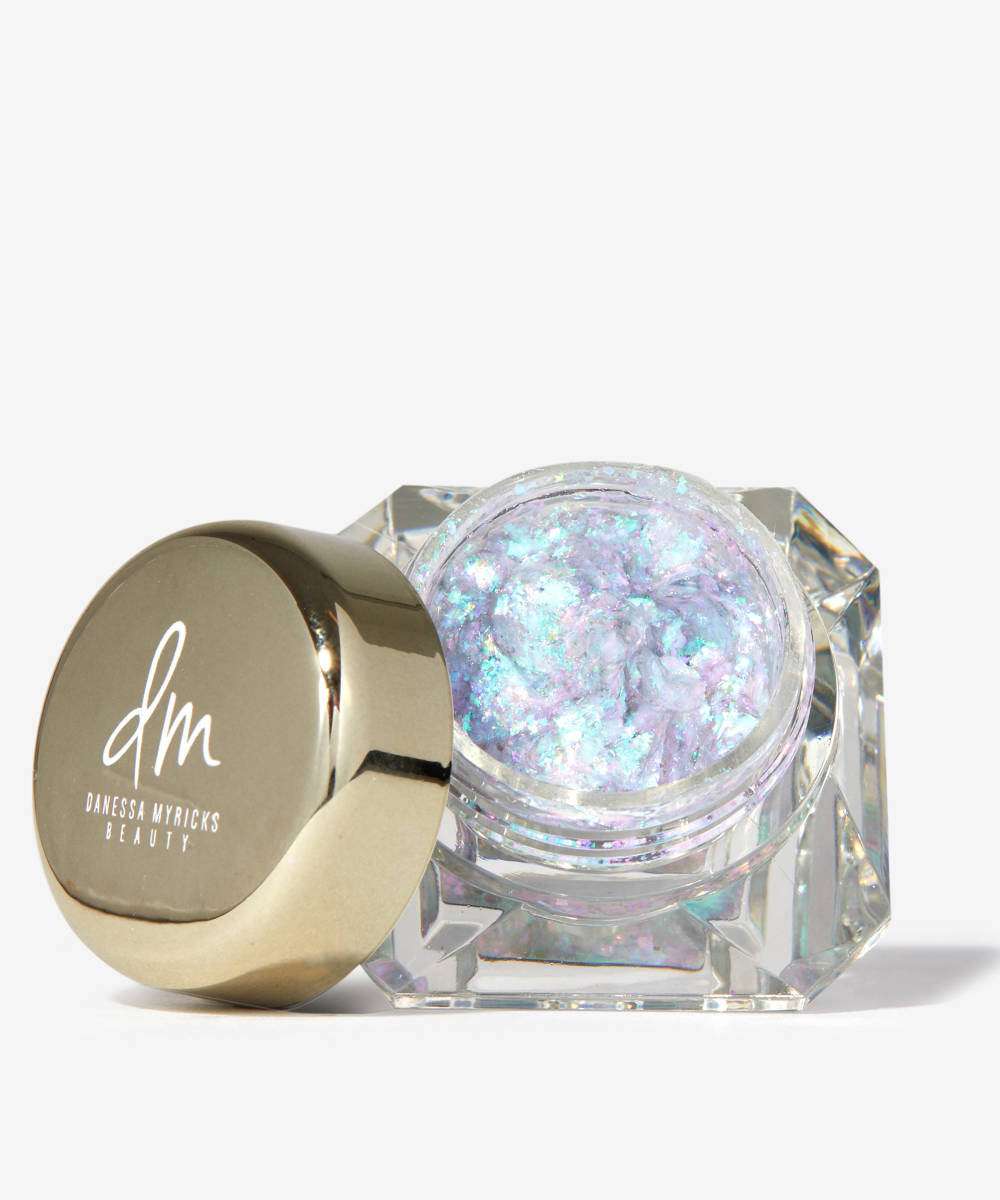
Take your fave chrome powder or glitter, we’re using the Danessa Myricks Infinite Chrome Flakes in Pixie Dust here, and mix it with a little bit of top coat. Then use a small brush to paint it onto your larger beads of builder gel. This will create the multidimensional finish we’re going for. Cure for 60 seconds.
Step four: top coat
Apply top coat to the beads of builder gel, only, do not apply it to the whole nail, as this will affect your rain drop effect. Cure for 60 seconds.
Step five: cuticle oil
Once your top coat is cured, apply cuticle oil to the cuticles to keep your nails healthy and strong.
