We’ve asked our favourite MUAs to share the makeup techniques they’re practicing at home so you can upgrade your skills and your haul.
Setting Makeup
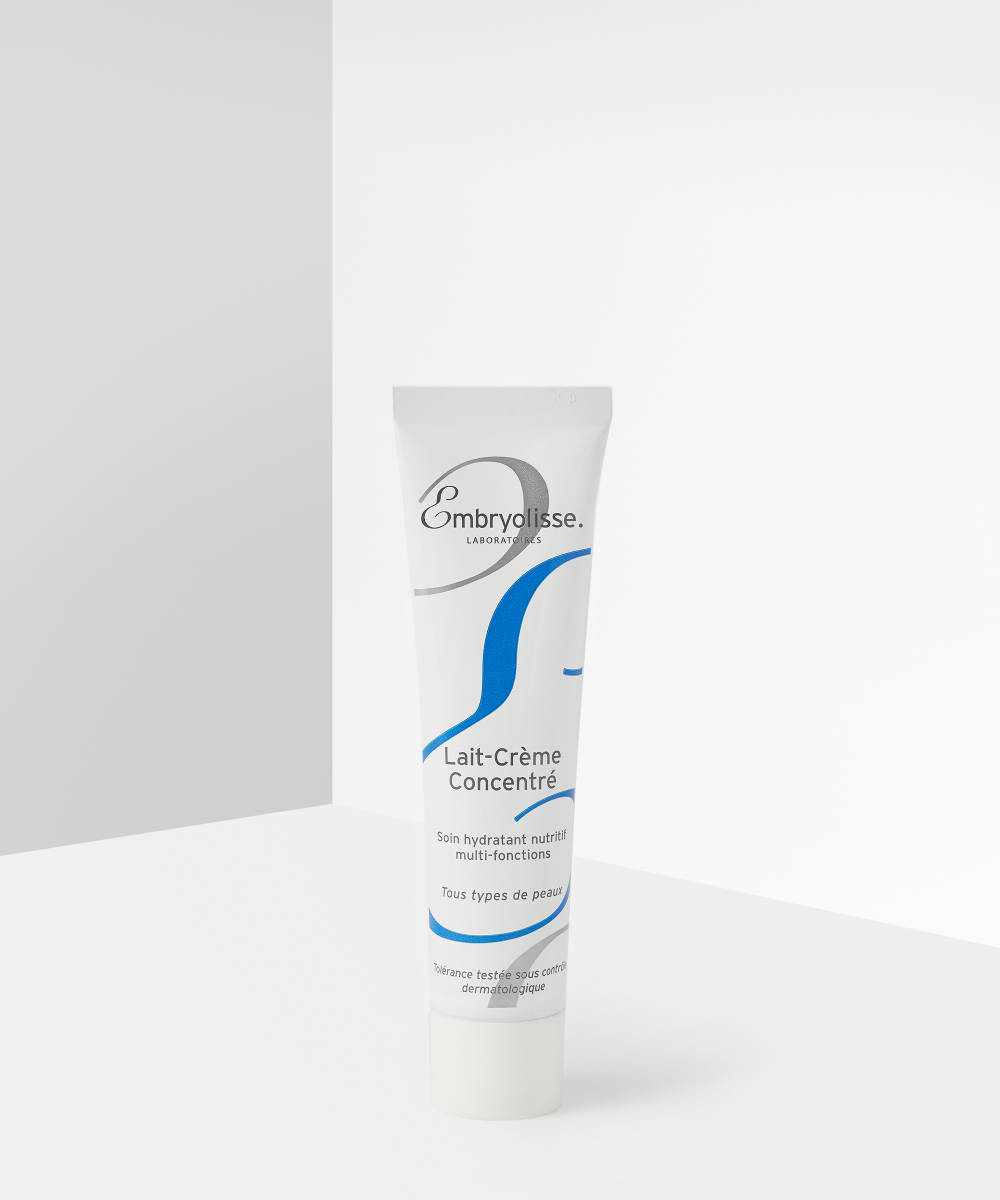
One of the biggest annoyances is leaving the house with a fresh face, only to have your makeup slipping an hour later. @oliviaboothmakeup suggests trying her ‘ultimate face prep tip’: ‘I’ve been using Embryolisse’s Lait-Crème Concentré face cream; it’s so smooth and makes your makeup sit like a dream. For best results, apply it with your fingers to warm it up on the skin.’
Olivia has also been working on perfecting the longevity of her looks and recommends keeping Mario Badescu’s Facial Spray with Aloe Herbs and Rosewater to hand to prevent makeup from looking dull after hours of wear: ‘Try a few sprays to keep your makeup looking fresh throughout the day/night. Your makeup will look reborn!’
Pigments
Pigments can be tricky to apply, not to mention messy. But who’s to say they can only be used on the eyes? Spending more time at home means you have the opportunity to experiment with different products and get creative with where and how you apply them. Plus, you have more time to clean up afterwards.
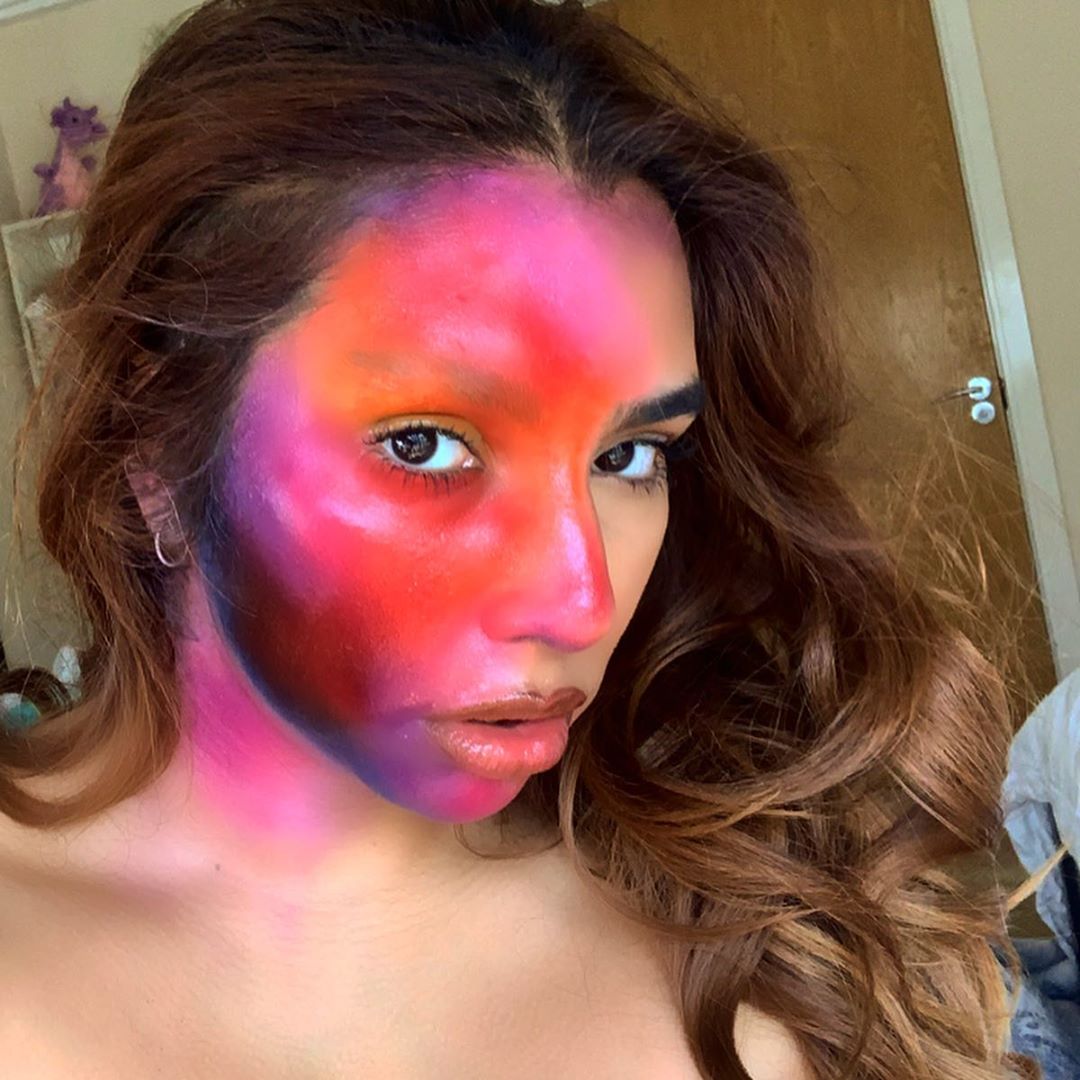
@umberghauri is using their time at home to create editorial looks with loose pigments and mixing mediums and using their colourful looks to inspire creativity on Instagram.
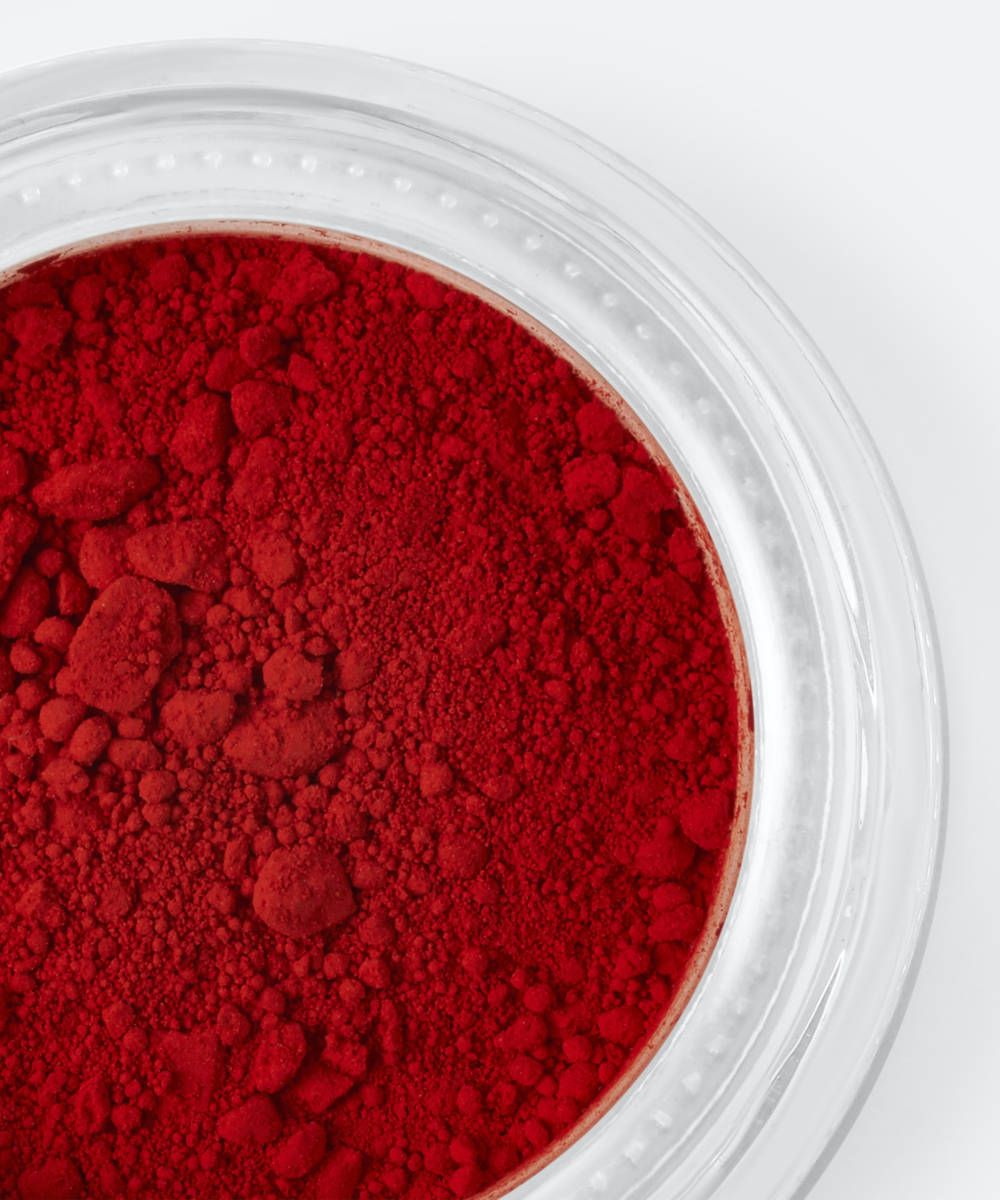
‘I’ll be playing scientist with textures while at home. Nothing is as vibrant and rich as loose pigments like the ones by Sample Beauty. Since I’m not going anywhere it’s ok if I mess up and get fall out everywhere!’
Brows
@wendysworld_xox is using her time at home to experiment with the thickness and fluffiness of her brows using the Revolution Pro Brow Pomade in Granite to accentuate and fill in any gaps.
‘My top tip is to fluff the brows up then using the tiniest bit of LA Girl Pro Concealer in Beautiful Bronze to highlight my brows and make them stand out.’
@oliviaboothmakeup has been missing her freshly waxed, freshly tinted brows, but suggests styling your brows out the best you can.
‘A brow mascara is great for really enhancing your hair colour and keeping your brows in shape. Apply with the wand for best use, spike them up and rock that famous bushy brow. Now is the perfect time to try new styles!’
Eye Liner
Liner has made a big comeback in the last year, and the trend doesn’t show signs of slowing down.
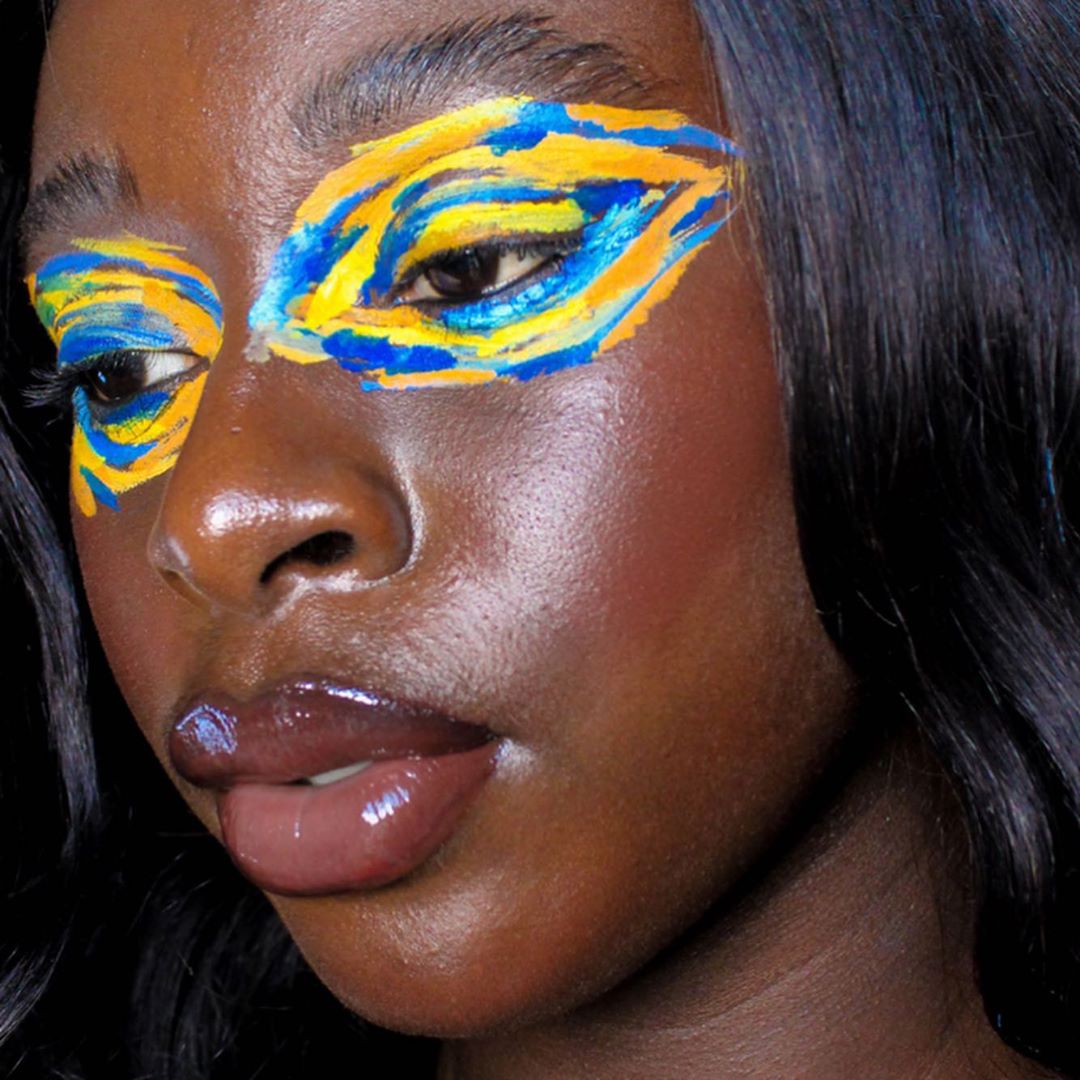
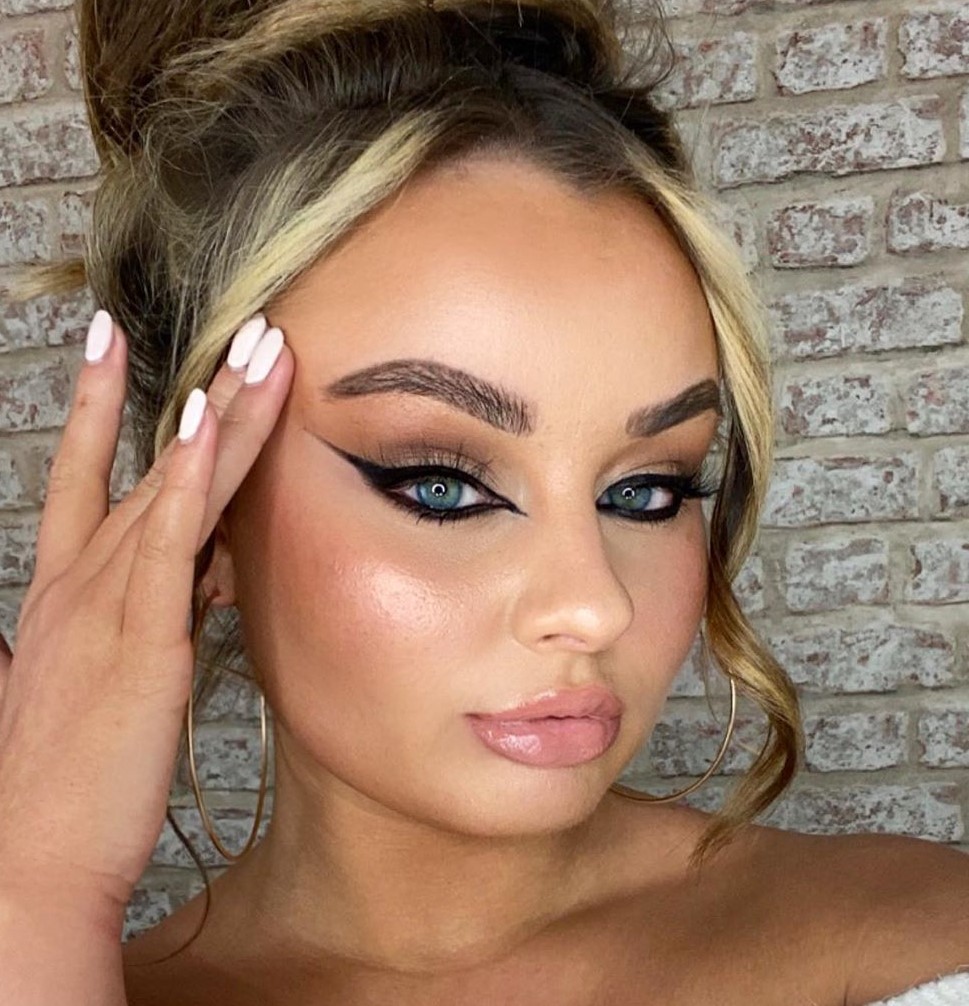
@laureneddymakeup_ is working on perfecting her winged liner and experimenting with new techniques: ‘I’ve been playing around with different shapes while at home; from an Egyptian style cat eye to a smudged smoky wing.
‘I’m used to creating a heavier liner looks on clients, so it’s been fun to really work with my own eye shape for once. I’ve found the easiest technique so far is to create the liner in small sections and use a very fine tipped brush. Katie Jane Hughes also has some amazing winged liner tutorials for hooded eyes!’
Contour
Contouring is a skill that can’t be mastered overnight – trust us, we’ve been trying since Kim K tweeted her contour tricks all the way back in 2012. Yep, it’s been that long!
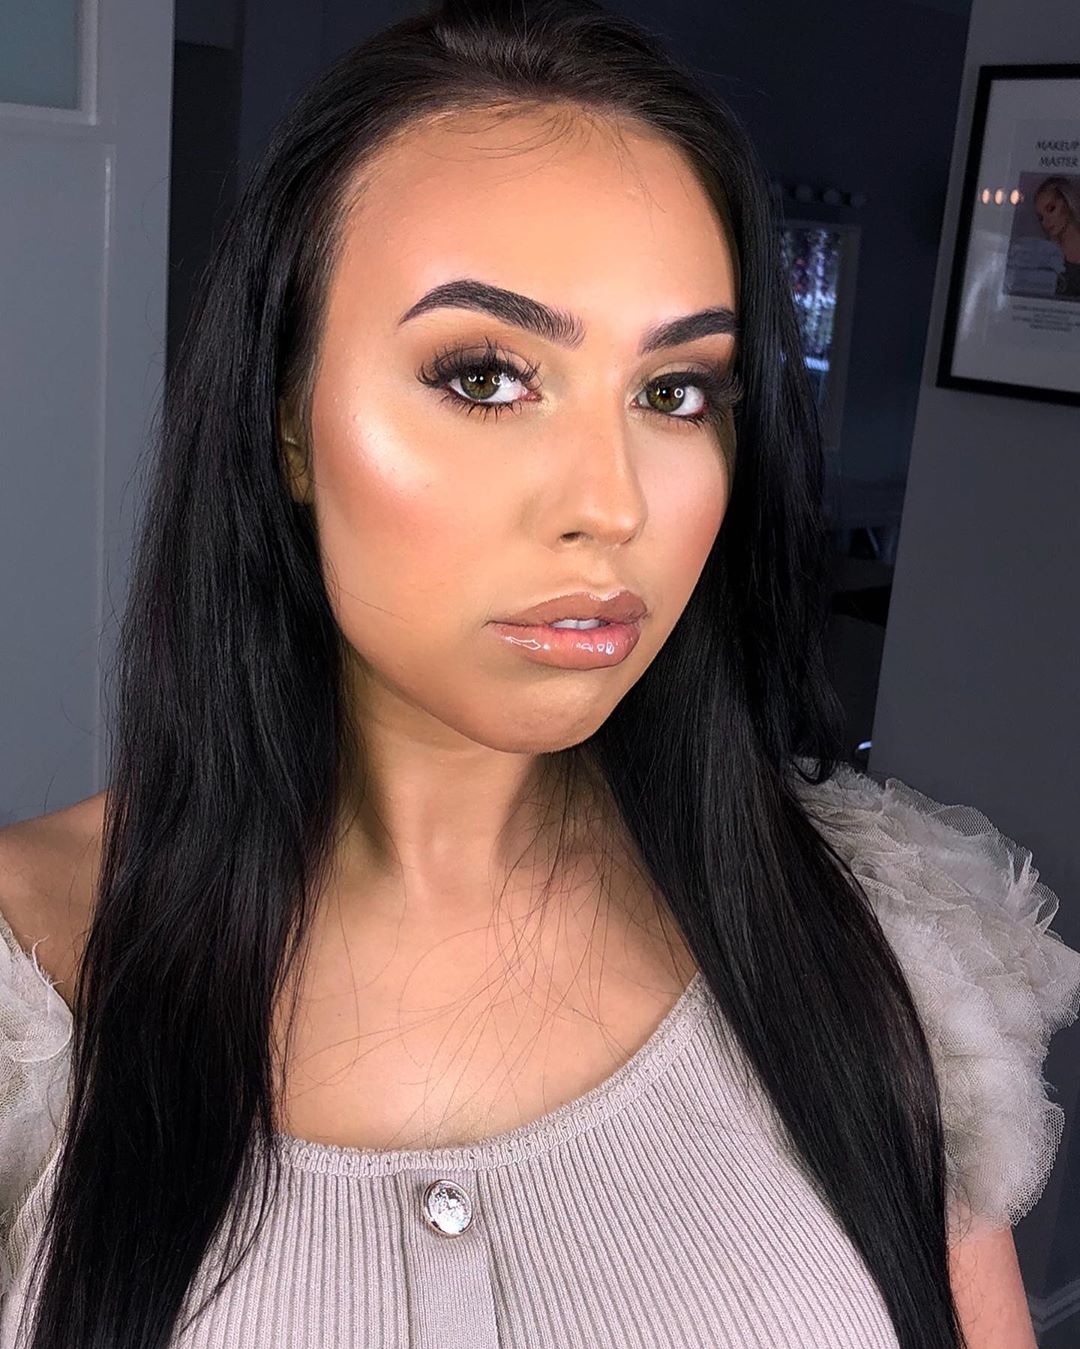
@makeupbyjessicajade_ says finding the right contour product and blending technique for your face shape is the best way to perfect your contouring skills.
‘I love using the LA Girl Concealer in shade Espresso or Toast to contour, but I find these dry quickly, so you can’t leave them sitting on your face for too long or they’ll look patchy.
‘My top contouring tip is to apply the product and blend it straight in with a buffing brush, or a small fluffy brush for the nose, then again with a beauty blender to ensure everything is properly buffed. But don’t apply too much product, build it up instead; this will prevent it from looking muddy.’
If you find your contour is patchy or looks too dark, Jess recommends spritzing setting spray over the face before evenly applying a small amount of foundation to the face.
‘Lightly go over your face with the foundation and it will start to move the contour product a bit more. If you still think it’s too dark, apply a little more concealer to lighten the face.’
Highlighter
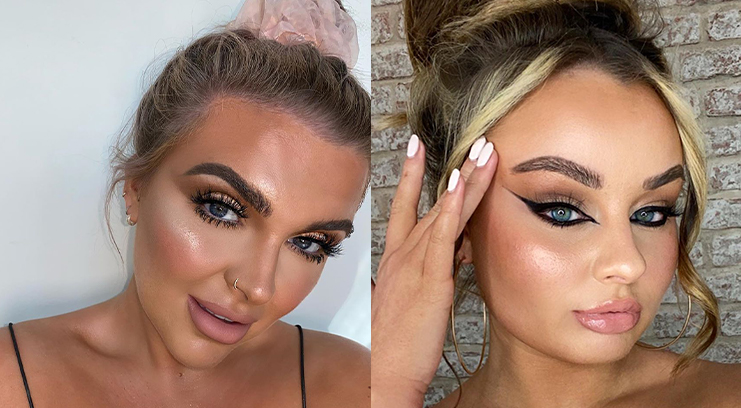
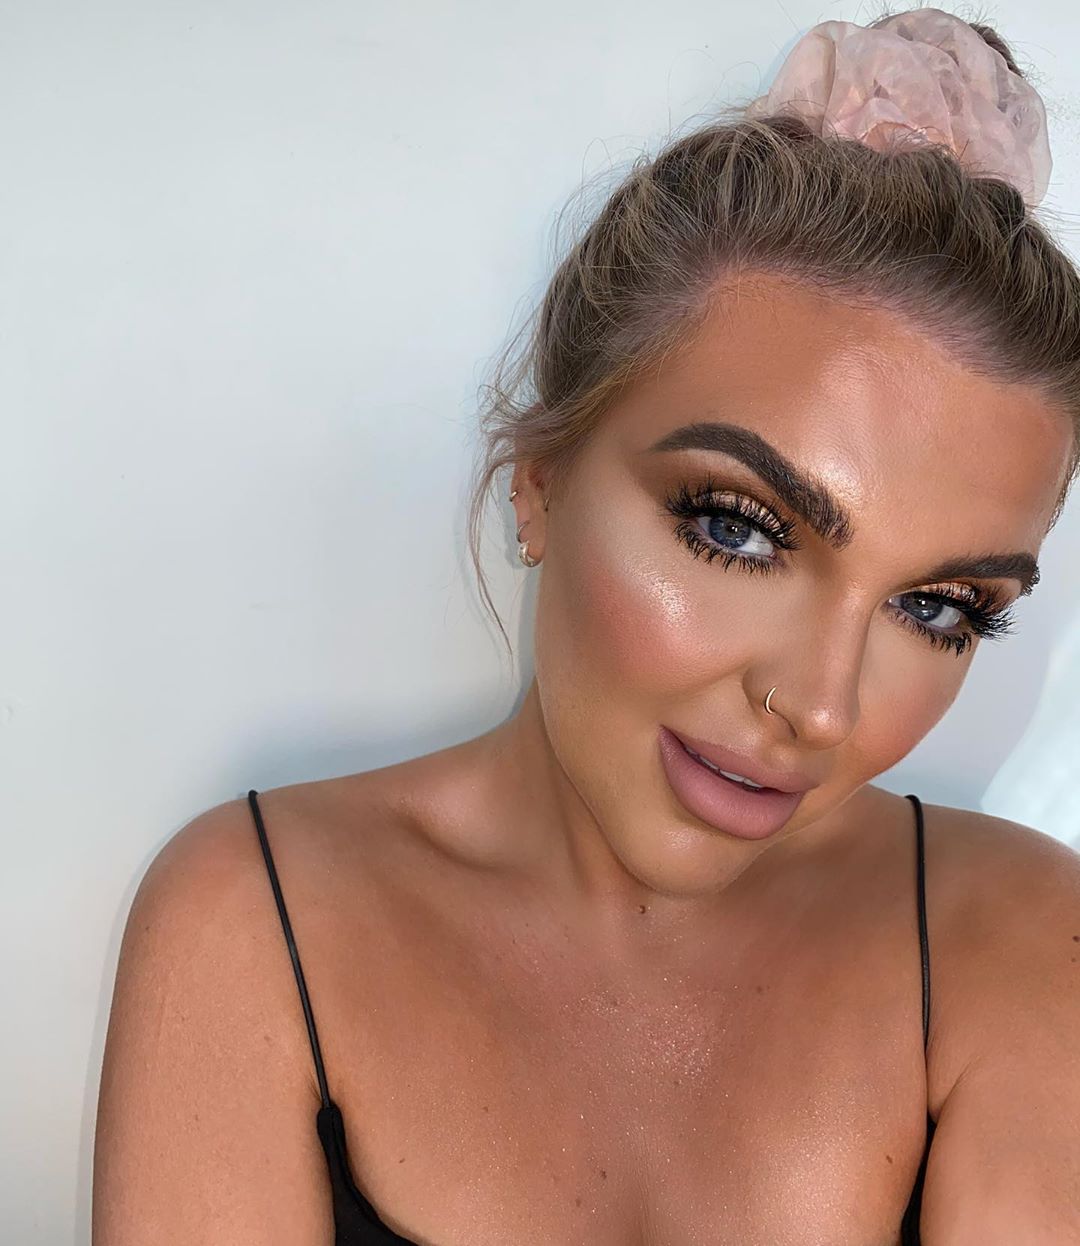
Highlighter is a risky game; it’s the final touch to your look and, let’s face it, doesn’t always apply super easy. One slip or smudge and you can ruin your whole look. @hartyyy recommends sheering out your cream or liquid highlighter on the back of your hand with a damp beautyblender.
‘Tap small amounts on to the high points of the skin using the blender where you’d want the most product (cheek bones) and distribute the rest above brows, down the nose and a tiny bit on the chin area. You can use this too on your collarbones for a glowy summertime look.’
If you want a super blinding highlight, Lucy suggest adding a powder highlight to the middle of your cream or liquid highlighter: ‘Apply the powder highlighter with a fluffy, eyeshadow blending brush and keep your focus central, super light in pressure and moving in small, circular movements. This will help to set your liquid highlighter too.
‘Make sure you tilt your head around so you can see how the highlight reflects from all angles. Just so it’s smooth and blends into the rest of your makeup.’
Foundation
Foundation is the base of all makeup looks, literally. If you nail your foundation, you know you’re going to have a great makeup day. But it is easy to allow foundation to become basic and lacklustre, that’s why @scarlettfeathersmakeup has recommended her ultimate makeup technique.
‘I mix a face illuminator and a concealer together and apply to the highest points of the face before foundation. I’ve gone off highlighter recently and I find this is a subtle, beautiful way of enhancing features.’
Freckles
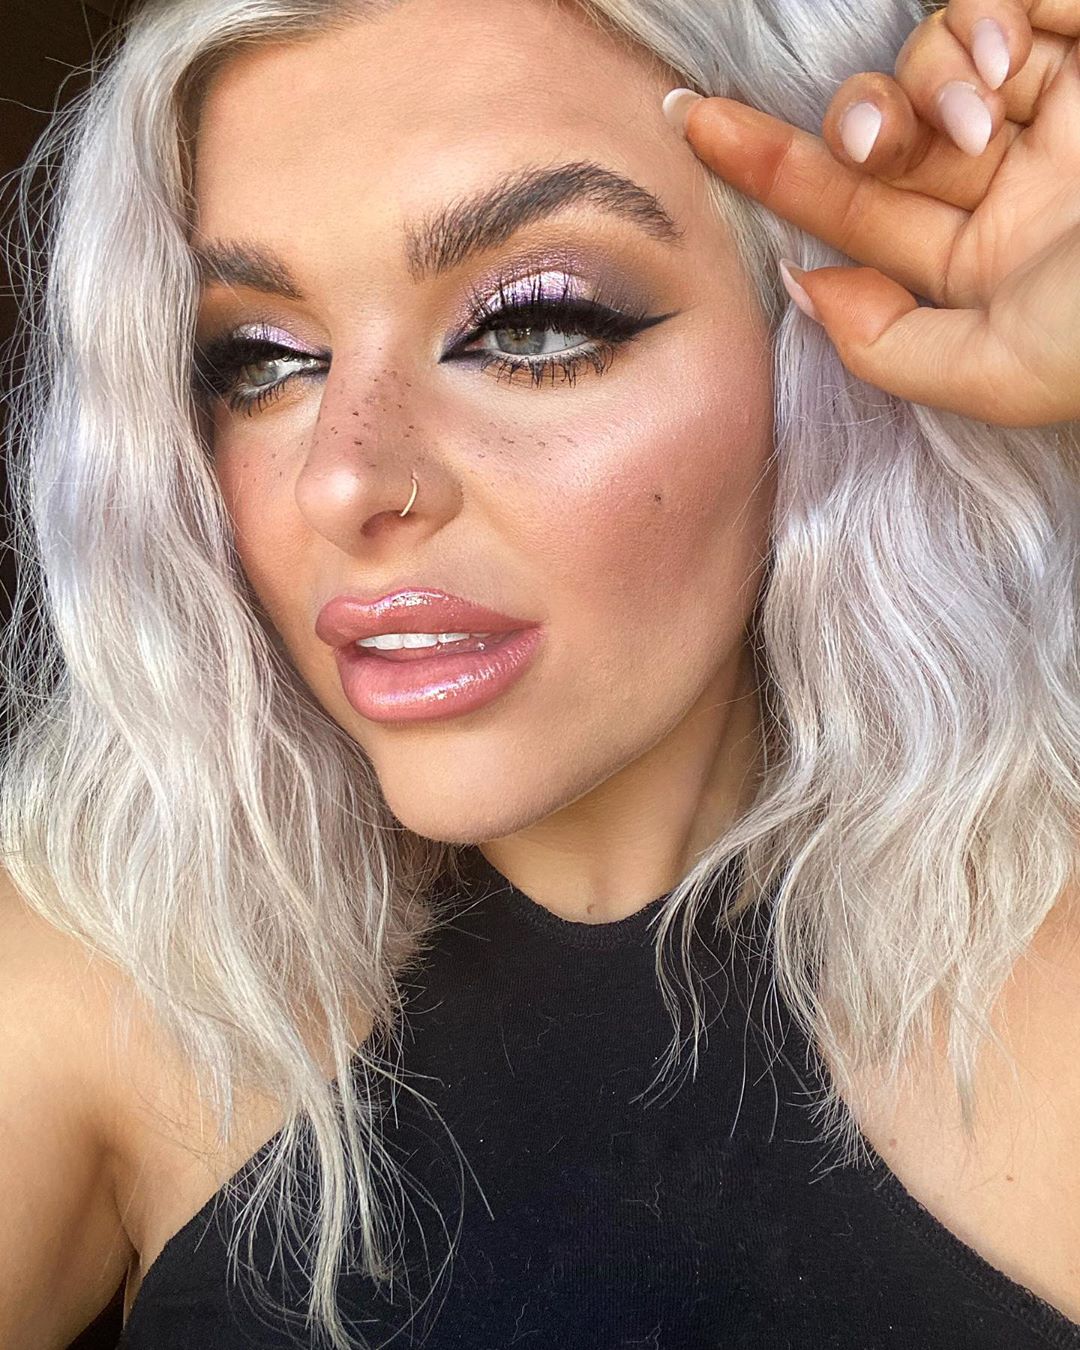
We swear we’ve been practicing our faux freckles technique for what feels like years now, but we just can’t get them looking on point. Luckily, freckle expert @hartyyy has shared her tips to mastering the ultimate summer look. She advices applying all cream and liquid makeup products be applied and set with powder before layering the freckly product over.
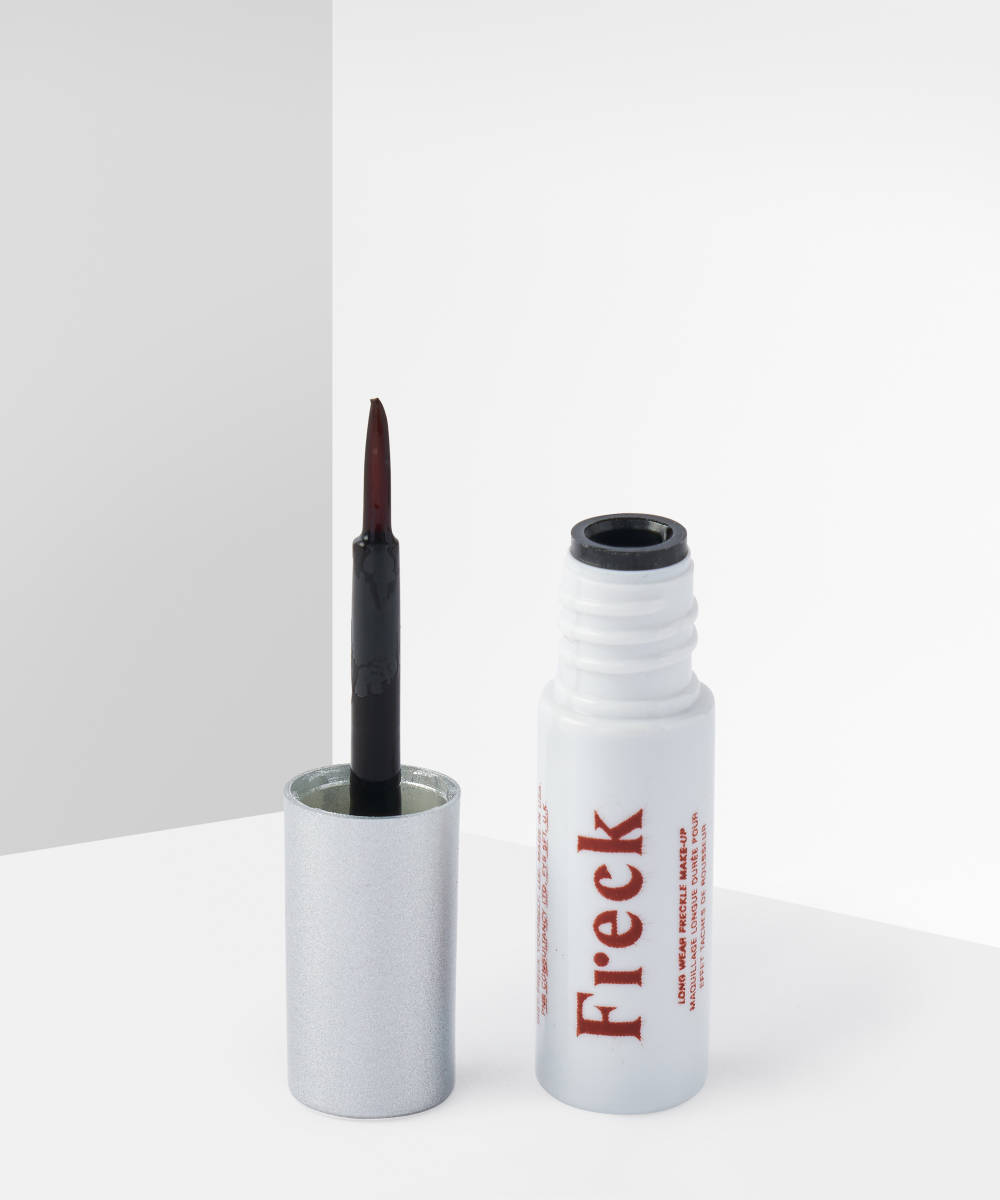
‘Apply Freck Faux Freckle Cosmetics Neutral to where you would naturally get freckles – the nose and cheek area. The secret to this is not to be too precise!
‘Once the product has been on the skin a few seconds, take your ring finger and gently tap over the top to blend into skin and tone down slightly. I do this a few times to get slightly different tones to the freckles.
‘Finish the look by leaving a few unblended as these will stay darker and finish off your gorgeous summer skin. Then set makeup where needed with any powder products.’
