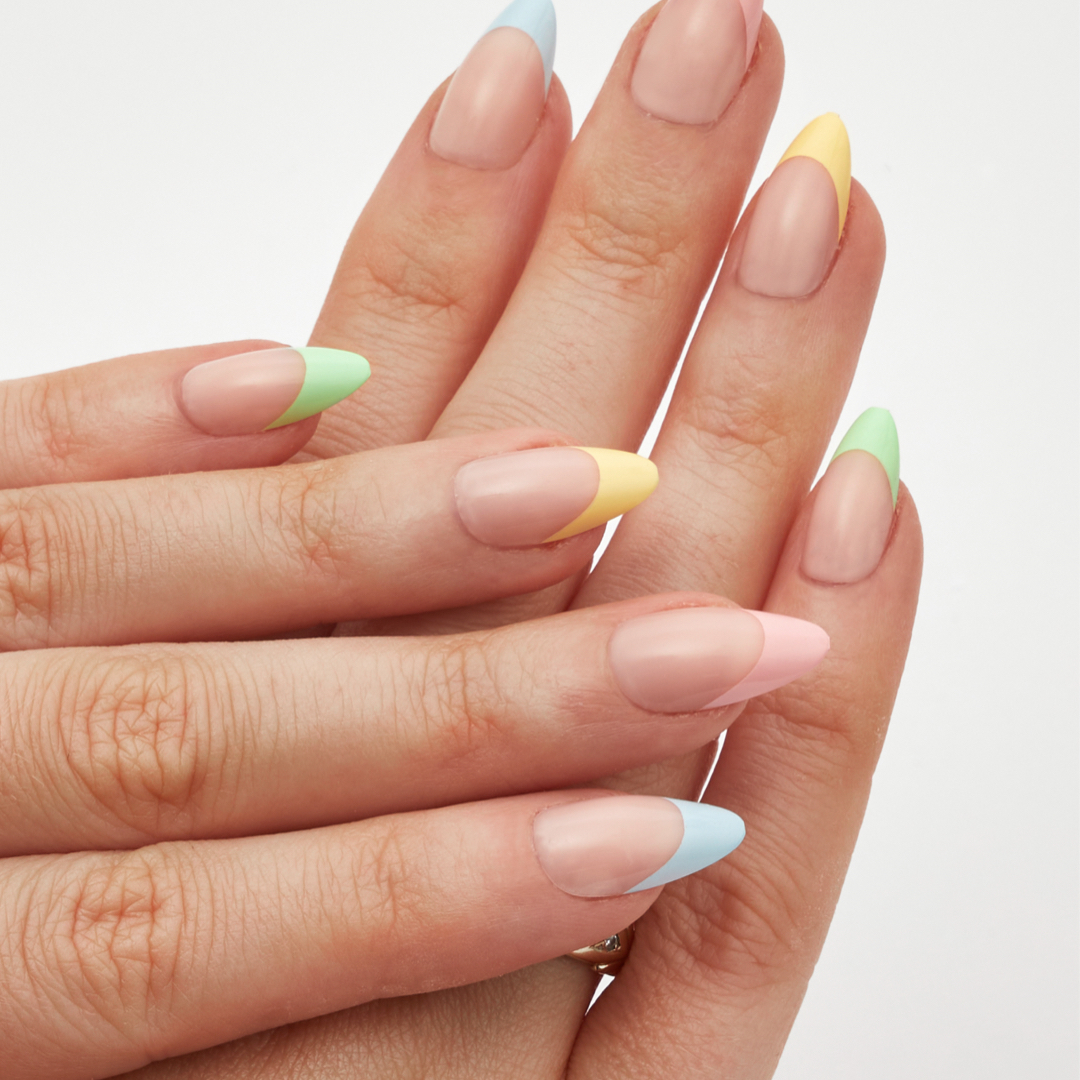
Press-on nails are back and better than ever, and Glamnetic nails are leading the trend with their range of easy-to-apply, must-have designs and colours. Waterproof, reusable, and super quick to apply, their press-on nails are a top choice for those who don’t have time to make it to the salon.
But how do Glamnetic nails work, and what is best way to apply press-on nails for a flawless finish that lasts? If you’ve found yourself struggling with missing nails and glue-covered fingers in the past (we’ve all been there), we’re here to right all your press-on related wrongs. From prepping your nails to removing them, we’ve teamed up with Glamnetic to walk you through everything you need to know to achieve your perfect set.
Can you reuse press-on nails?
Yes, with the right bit of TLC, you can get multiple uses out of press-on nails. To keep them fresh, safe, and organised in between uses, store them in a clean, dry container.
How long do press-on nails last?
How long your press-on nails last depends on how you choose to apply them. If you use nail adhesive sticker tape, your set will typically last three to five days. Alternatively, if you’re using nail glue, you can extend the staying power of your press-ons for up to two weeks.
How to remove press-ons
Removing your press-on nails is a breeze if you do it in the right way (nail biters, we’re looking at you). For a gentle removal, follow these simple steps:
1. Soak your current nails in warm, soapy water for up to 10 minutes to loosen the adhesive.
2. When ready, gently lift the press-on nails, making sure not to bend or break them.
3. Once your press-on nails have been removed, gently scrub away any glue residue from each nail (we recommend using a soft-bristled toothbrush).
How to apply your Glamnetic press-on nails
Whether you’re a press-on pro or you’re just getting started, applying them is super quick and easy. We’ve put together the simple steps you need (using the Glamentic Press-On Nails in Confetti) to create a salon-worthy set from the comfort of your own home (and for a fraction of the price).
Top tip: if you’ve got any nail varnish on, make sure to remove this with acetone and wash your hands before getting started.
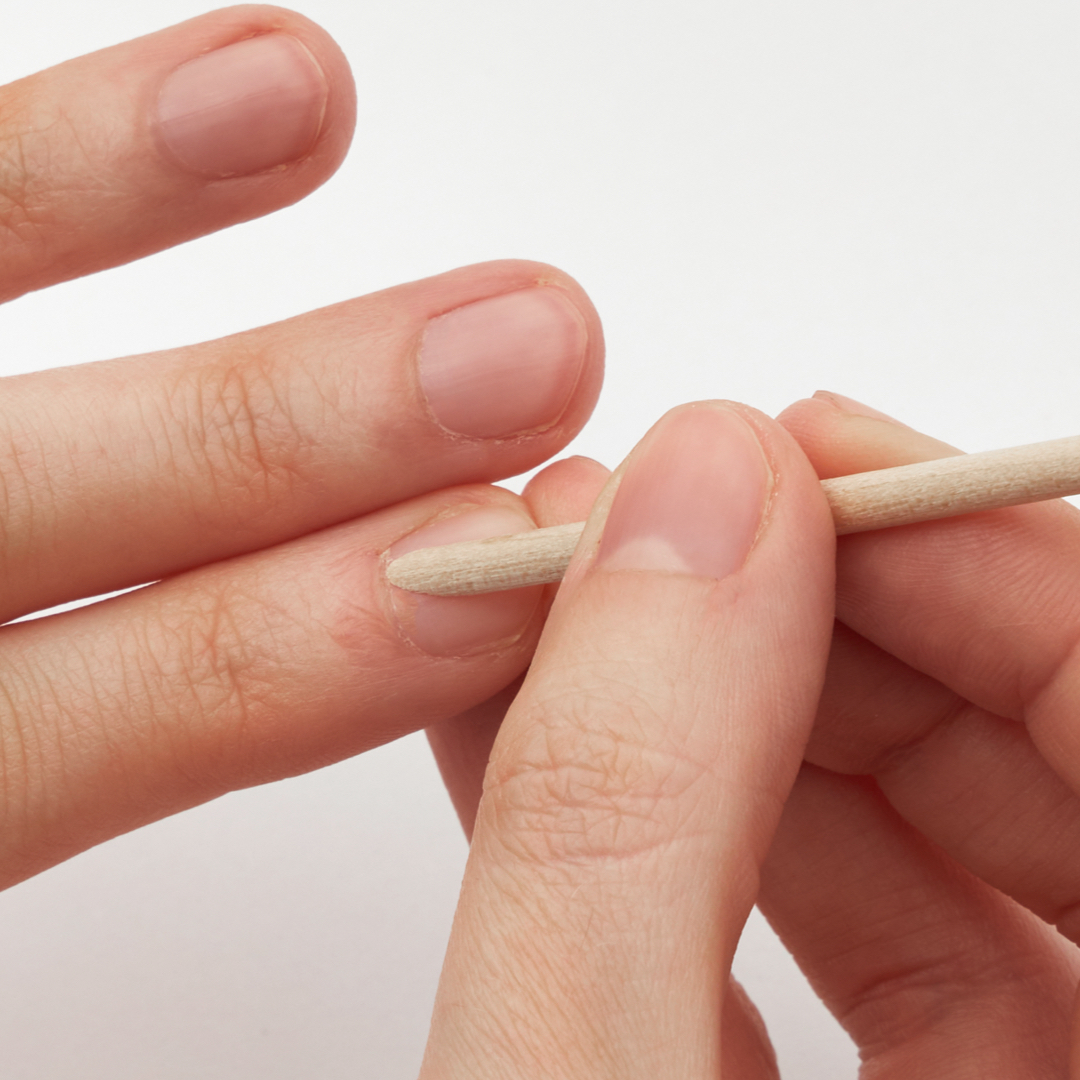
Step 1: Care for your cuticles
Keeping your cuticles in check can be the difference between an average and professional-quality manicure. To create a smooth base for your press-ons, apply cuticle oil to your nails and gently push them back with a cuticle stick.
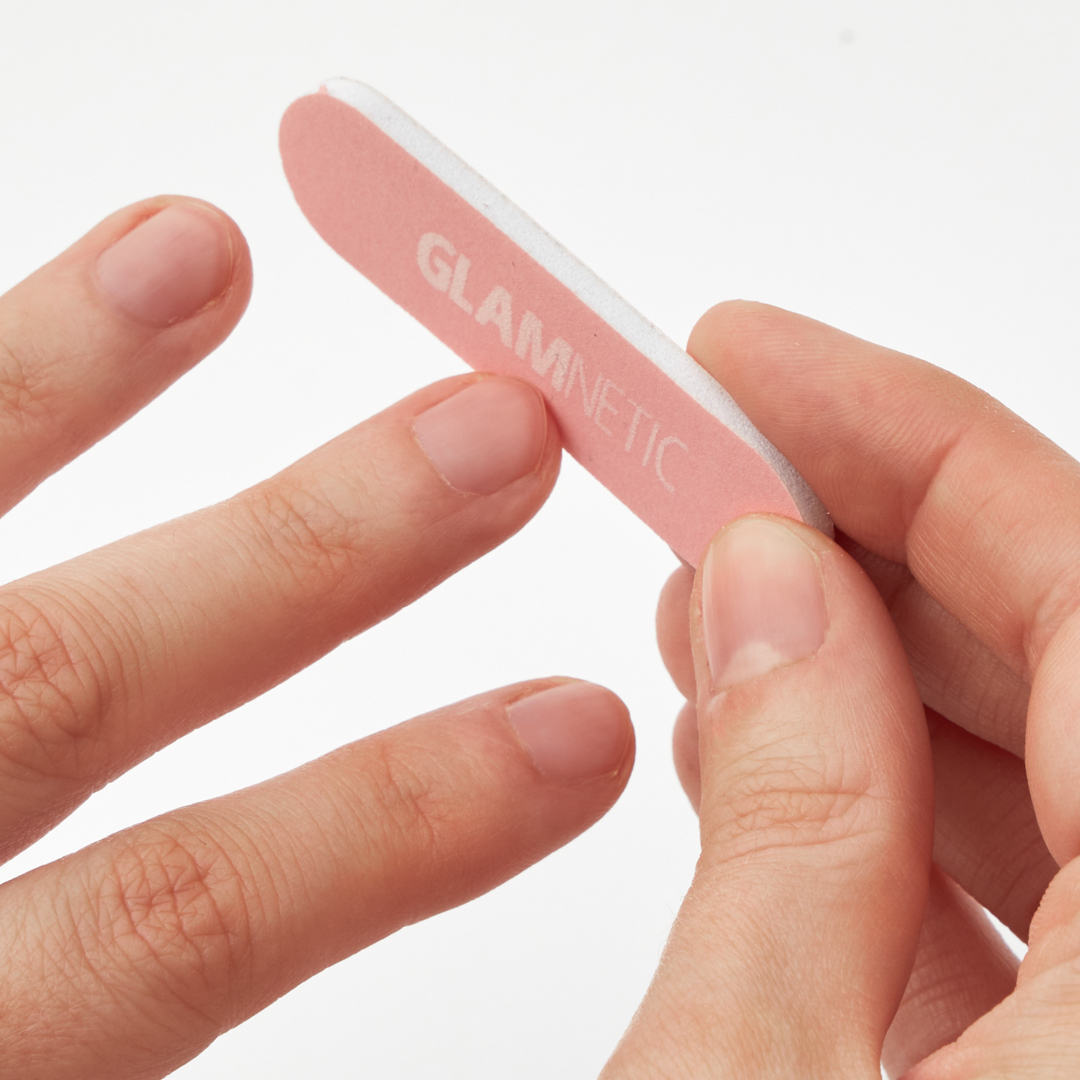
Step 2: Shape and buff
File your natural nails to your desired shape and length, smoothing out any rough edges. Gently buff the surface of your natural nails to create the ultimate base for your press-ons and help them to stick better.
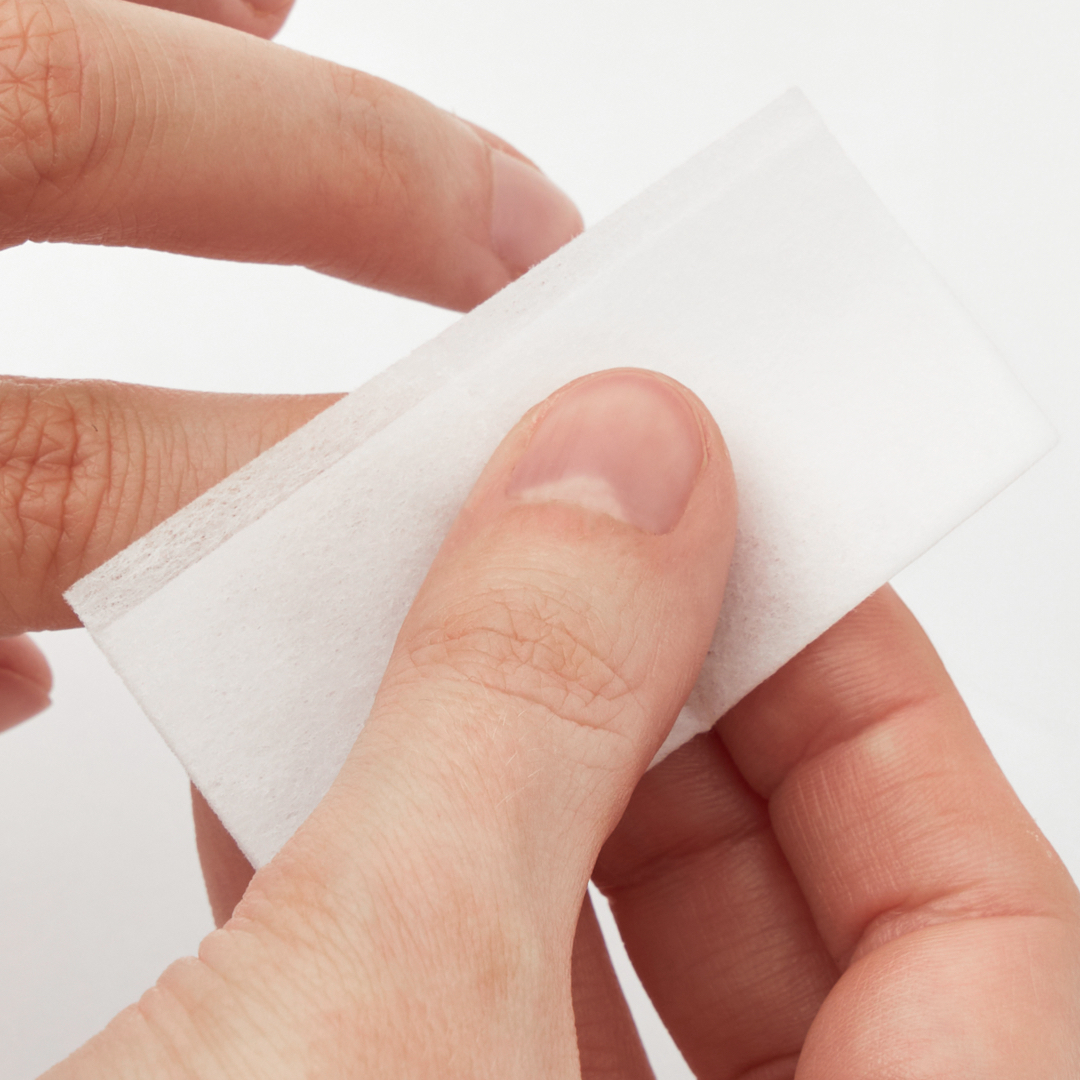
Step 3: Clean your nails
Wipe away any excess oils or creams from your nails with the alcohol wipe provided. Make sure your nails are clean and dry before moving on to the next step.
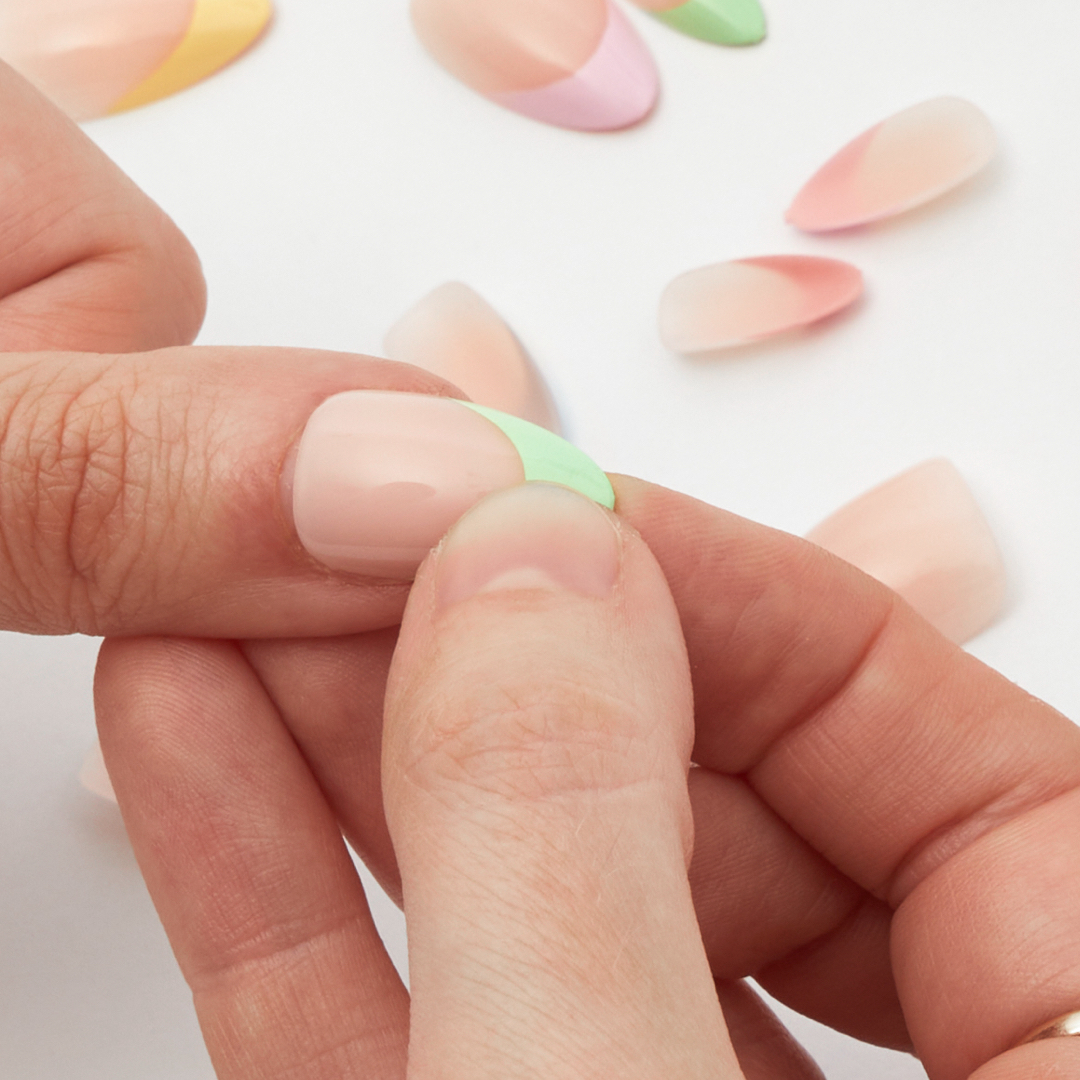
Step 4: Select your size
Lay out your press-on nails in front of you and match each one to your natural nails for size. For easy application, lay these out in the order you will apply them.
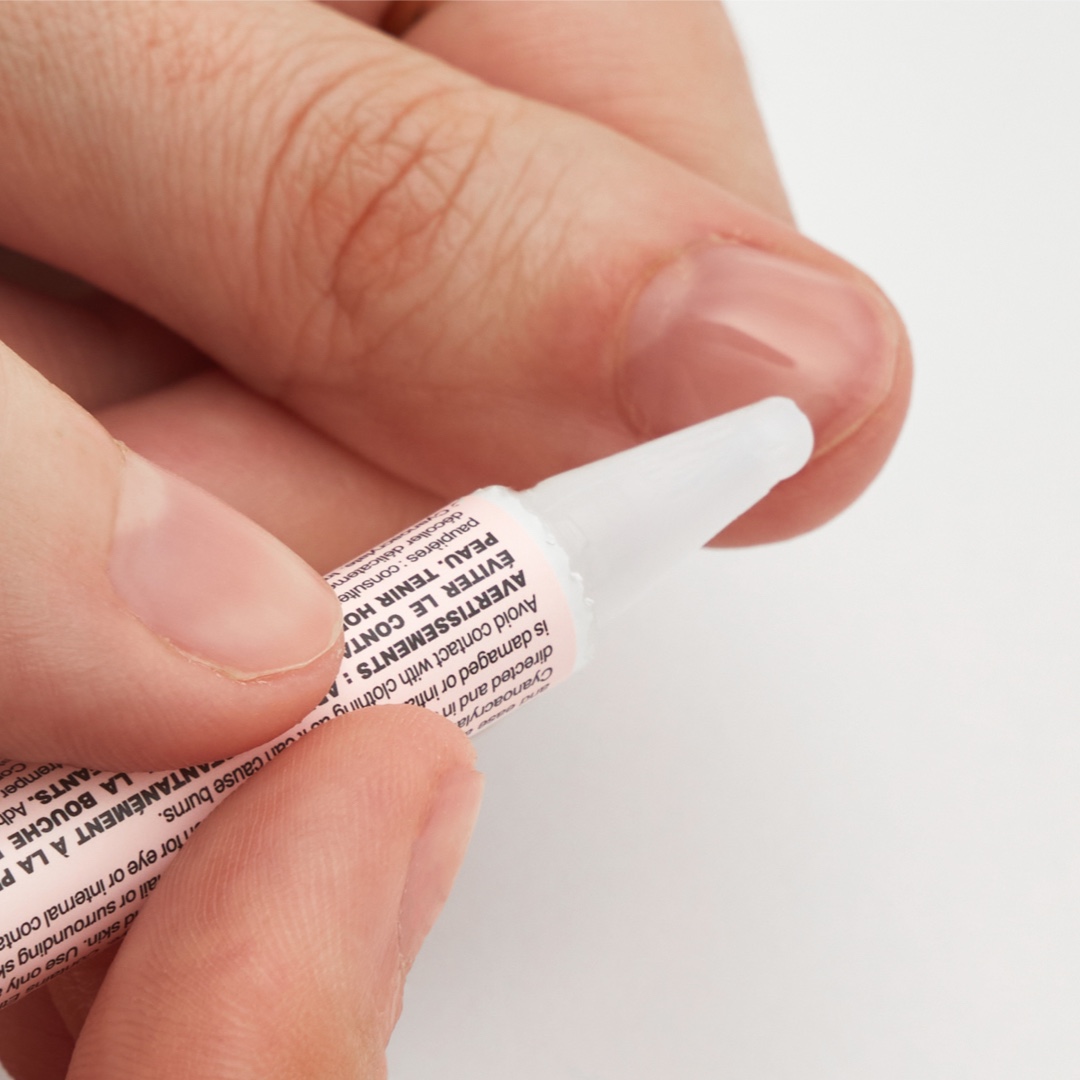
Step 5: Apply adhesive
Apply a thin layer of glue on both the press-on and your natural nail (don’t overdo it, a little goes a long way).
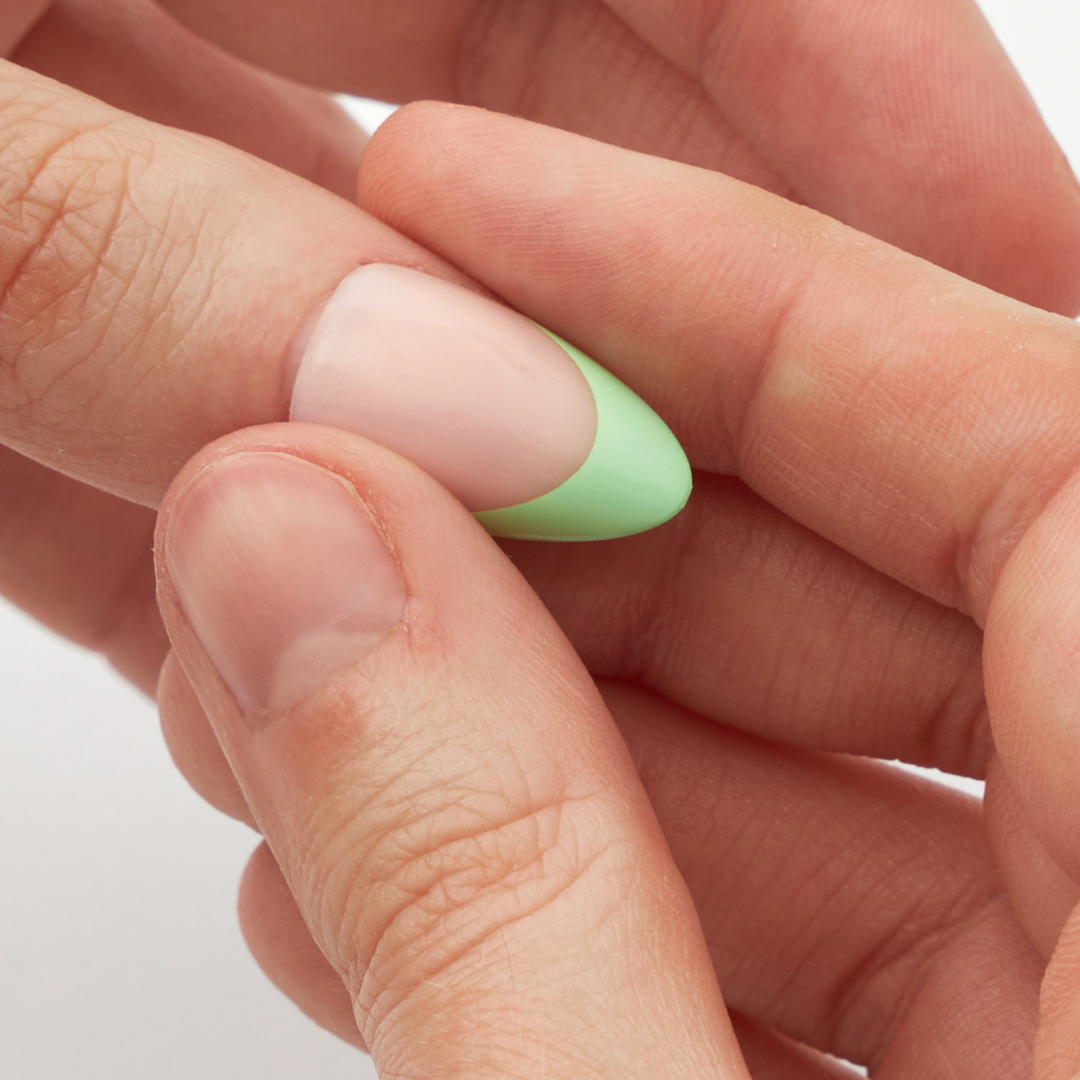
Step 6: Press and hold
Lay the press-on nail onto your natural nail, aligning with your cuticle line, and hold down firmly for 10 seconds. Repeat this process on each fingernail.
Enjoy your shiny new set
Voila! Sit back and admire your flawless, long-lasting manicure.