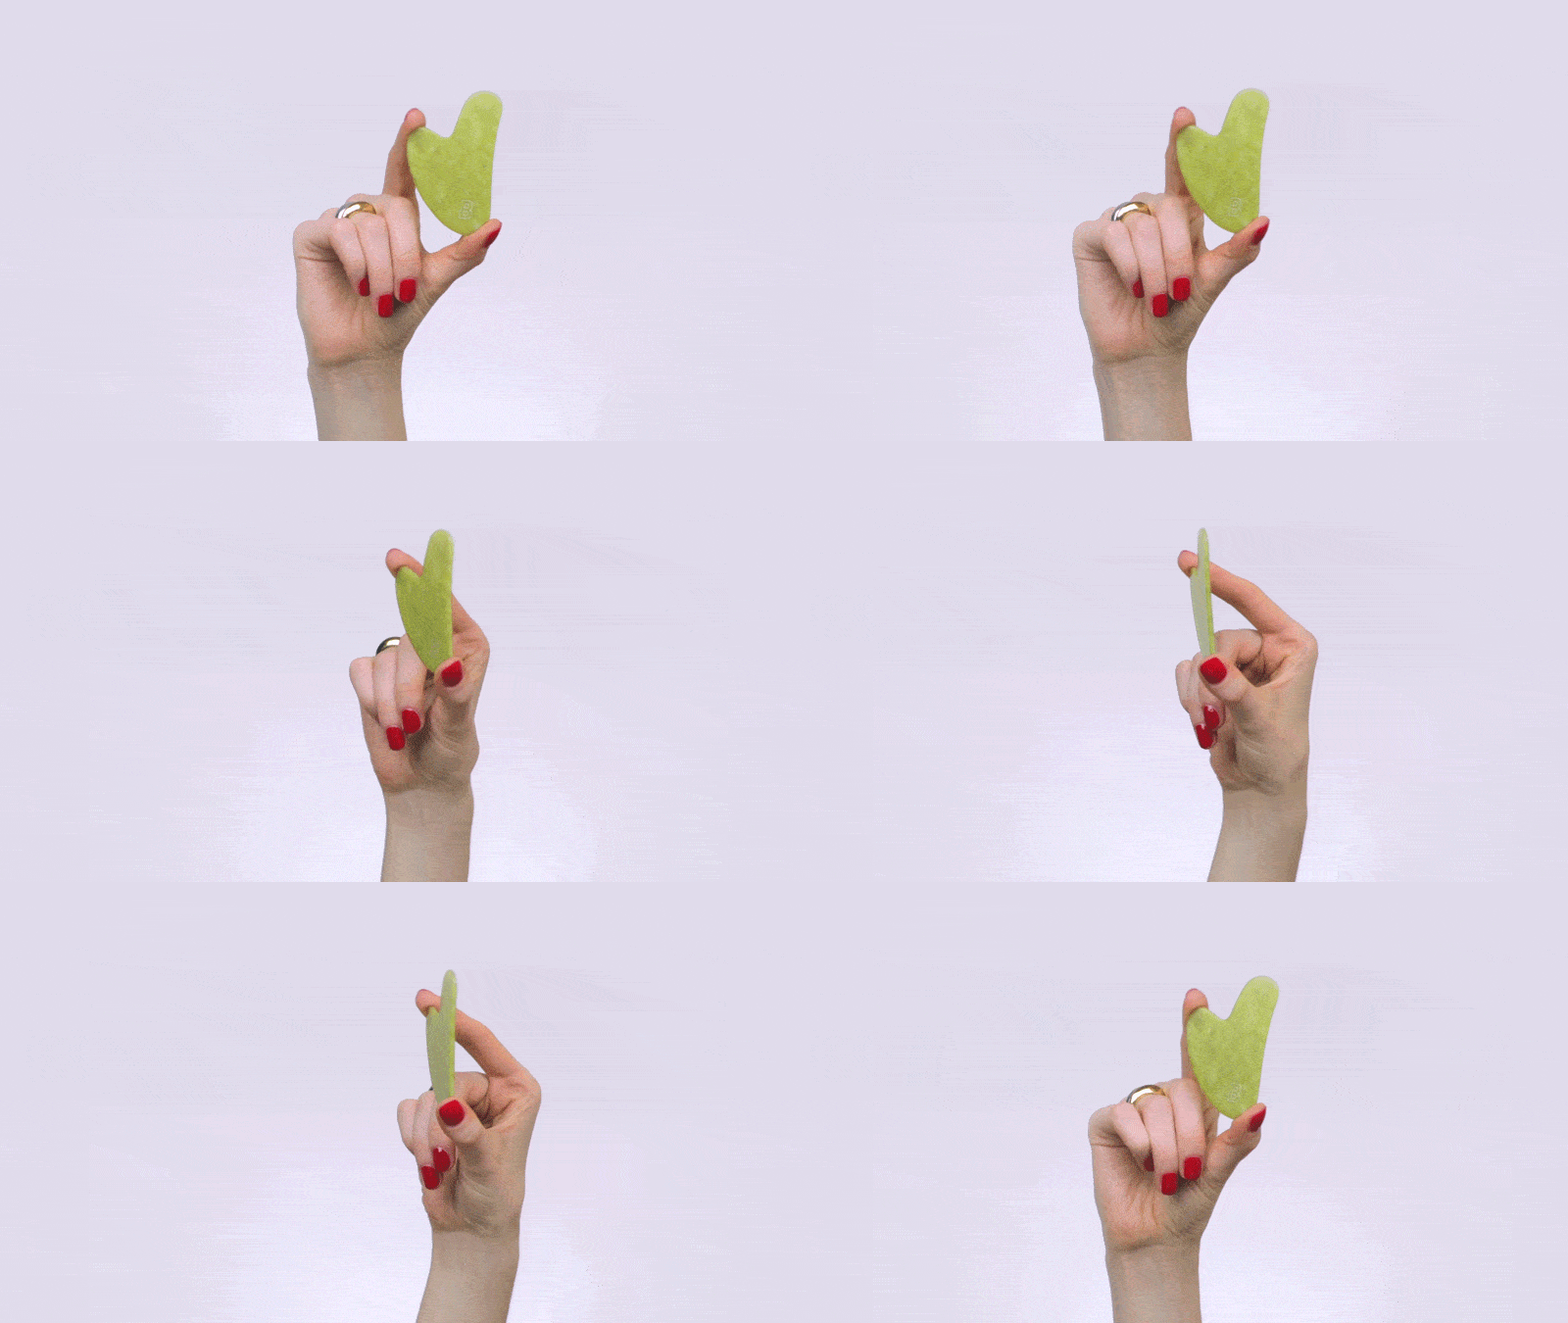
If you’re on the lookout for the magic tool that will change your whole beauty routine, look no further than By BEAUTY BAY’s Jade Gua Sha. Whether you’re a first time gua sha user, or you’re wondering what a gua sha is, you’ve come to the right place. We’re here to break down this beauty essential for you and teach you how to use a gua sha to get the most out of your skincare routine.
So, grab your gua sha, a serum or sheet mask, and follow our step-by-step guide in collab with @allyoucanface for a gua sha tutorial.
What is a gua sha?
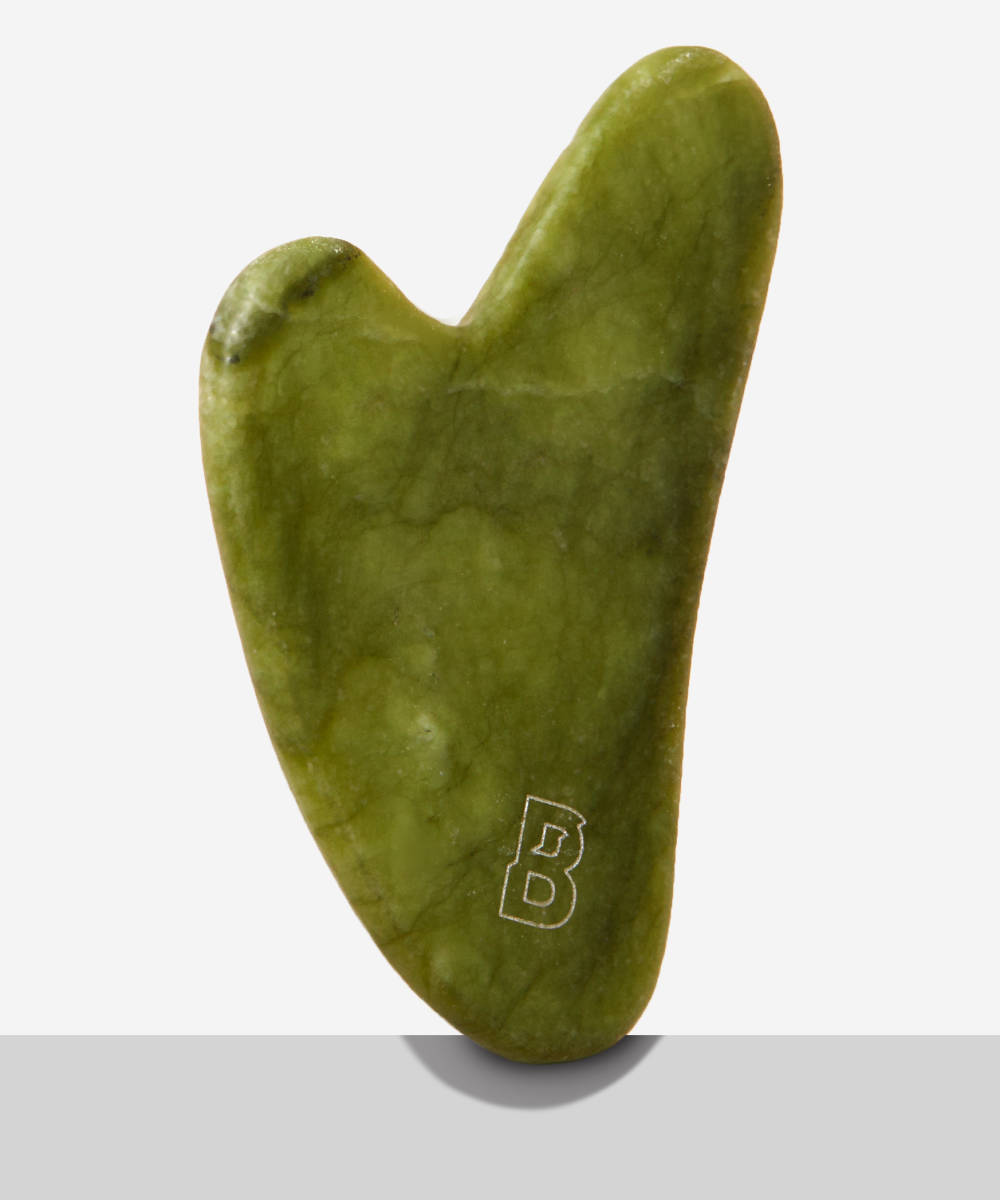
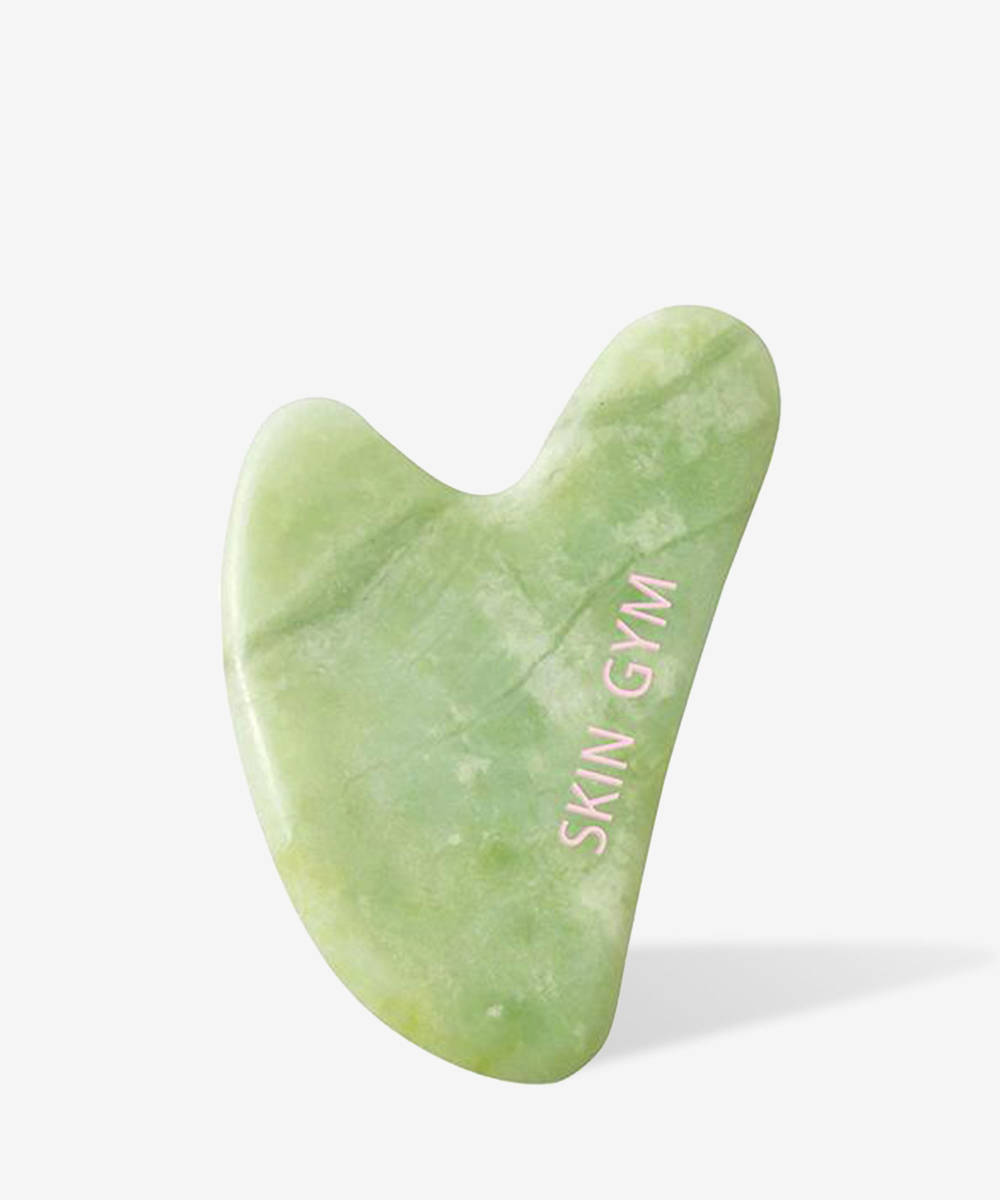
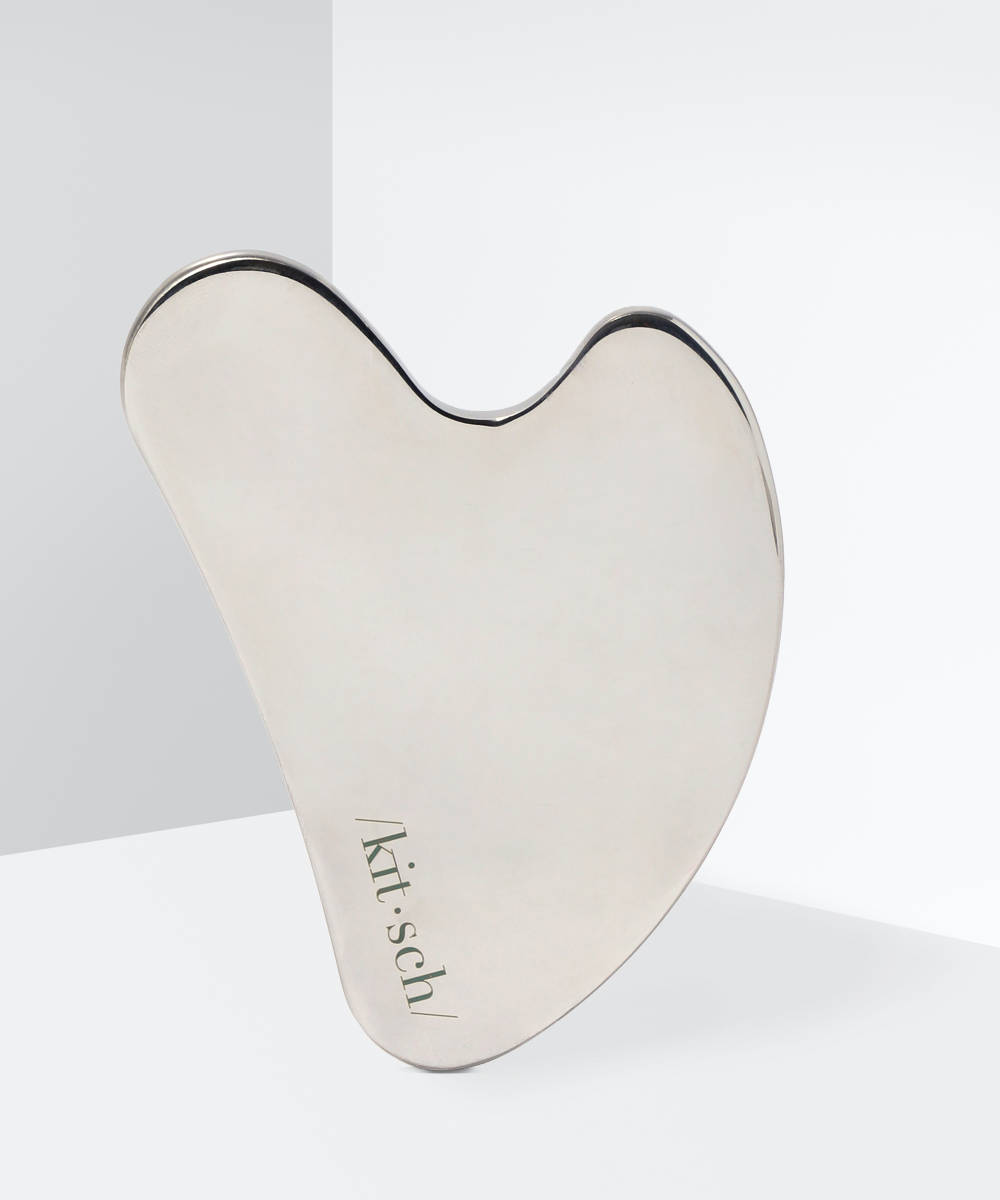
Used in Chinese medicine for thousands of years, gua shas have been dubbed ‘the Botox of the Far East’ thanks to their firming and brightening benefits. Made with 100% naturally sourced jade, a stone which is thought to soothe the mind, release negative thoughts, and bring harmony, the gua sha is your next skincare and wellness hero. The heart shaped skincare tool has been designed to not only enhance your daily beauty ritual but to help you relax and unwind when you’re in need of a spa-worthy treatment.
What does a gua sha do?
Known to promote circulation and release muscle tension, a gua sha routine is the workout your skin needs. The technique involves gently gliding a gua sha over the skin, which can help to reduce inflammation, lift and firm the skin, aid with lymphatic drainage, and increase the absorption of skincare ingredients. Thanks to the calming, massage-like action of using a gua sha, it’s also a great way to unwind and improve your overall mental wellbeing. Whether you’re looking to relax tight muscles, enhance the skin’s natural glow, or simply have a relaxing pamper-session, a gua sha is the perfect natural, non-invasive solution.
How to use a gua sha
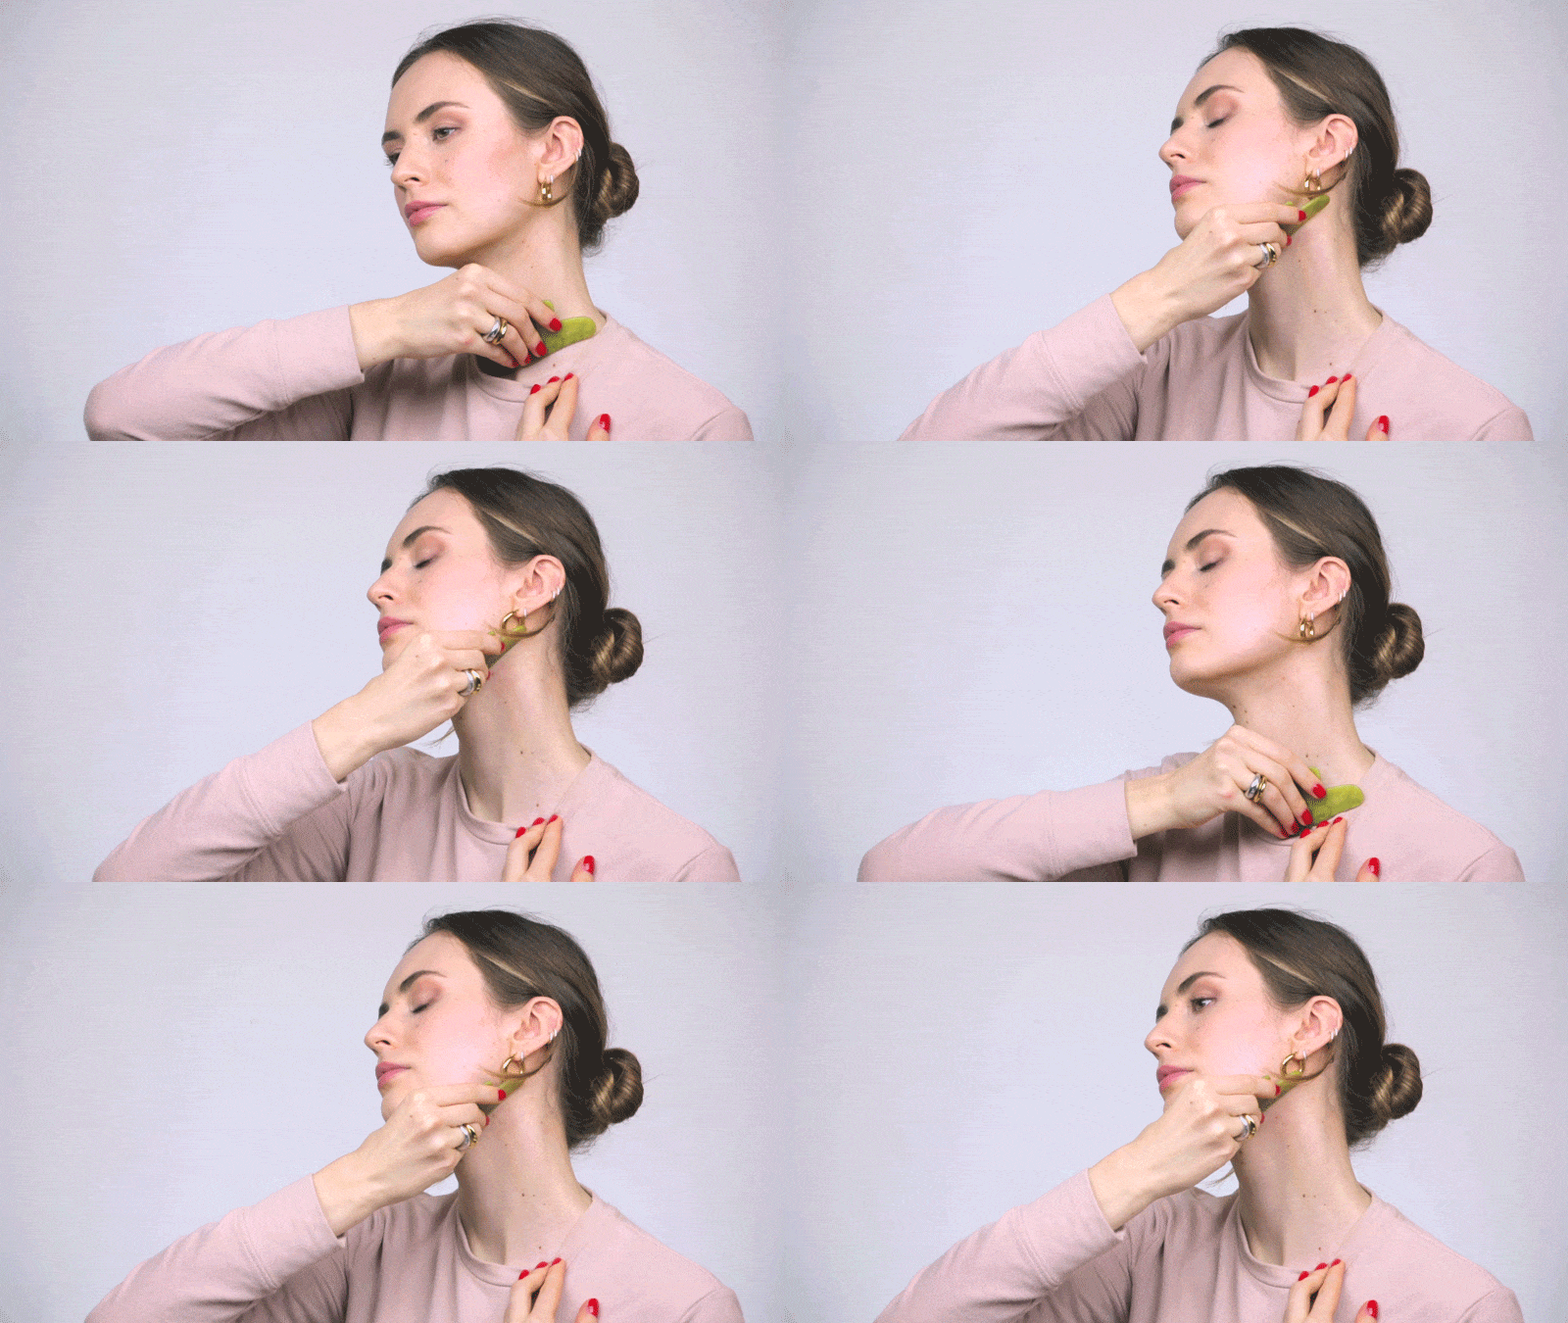
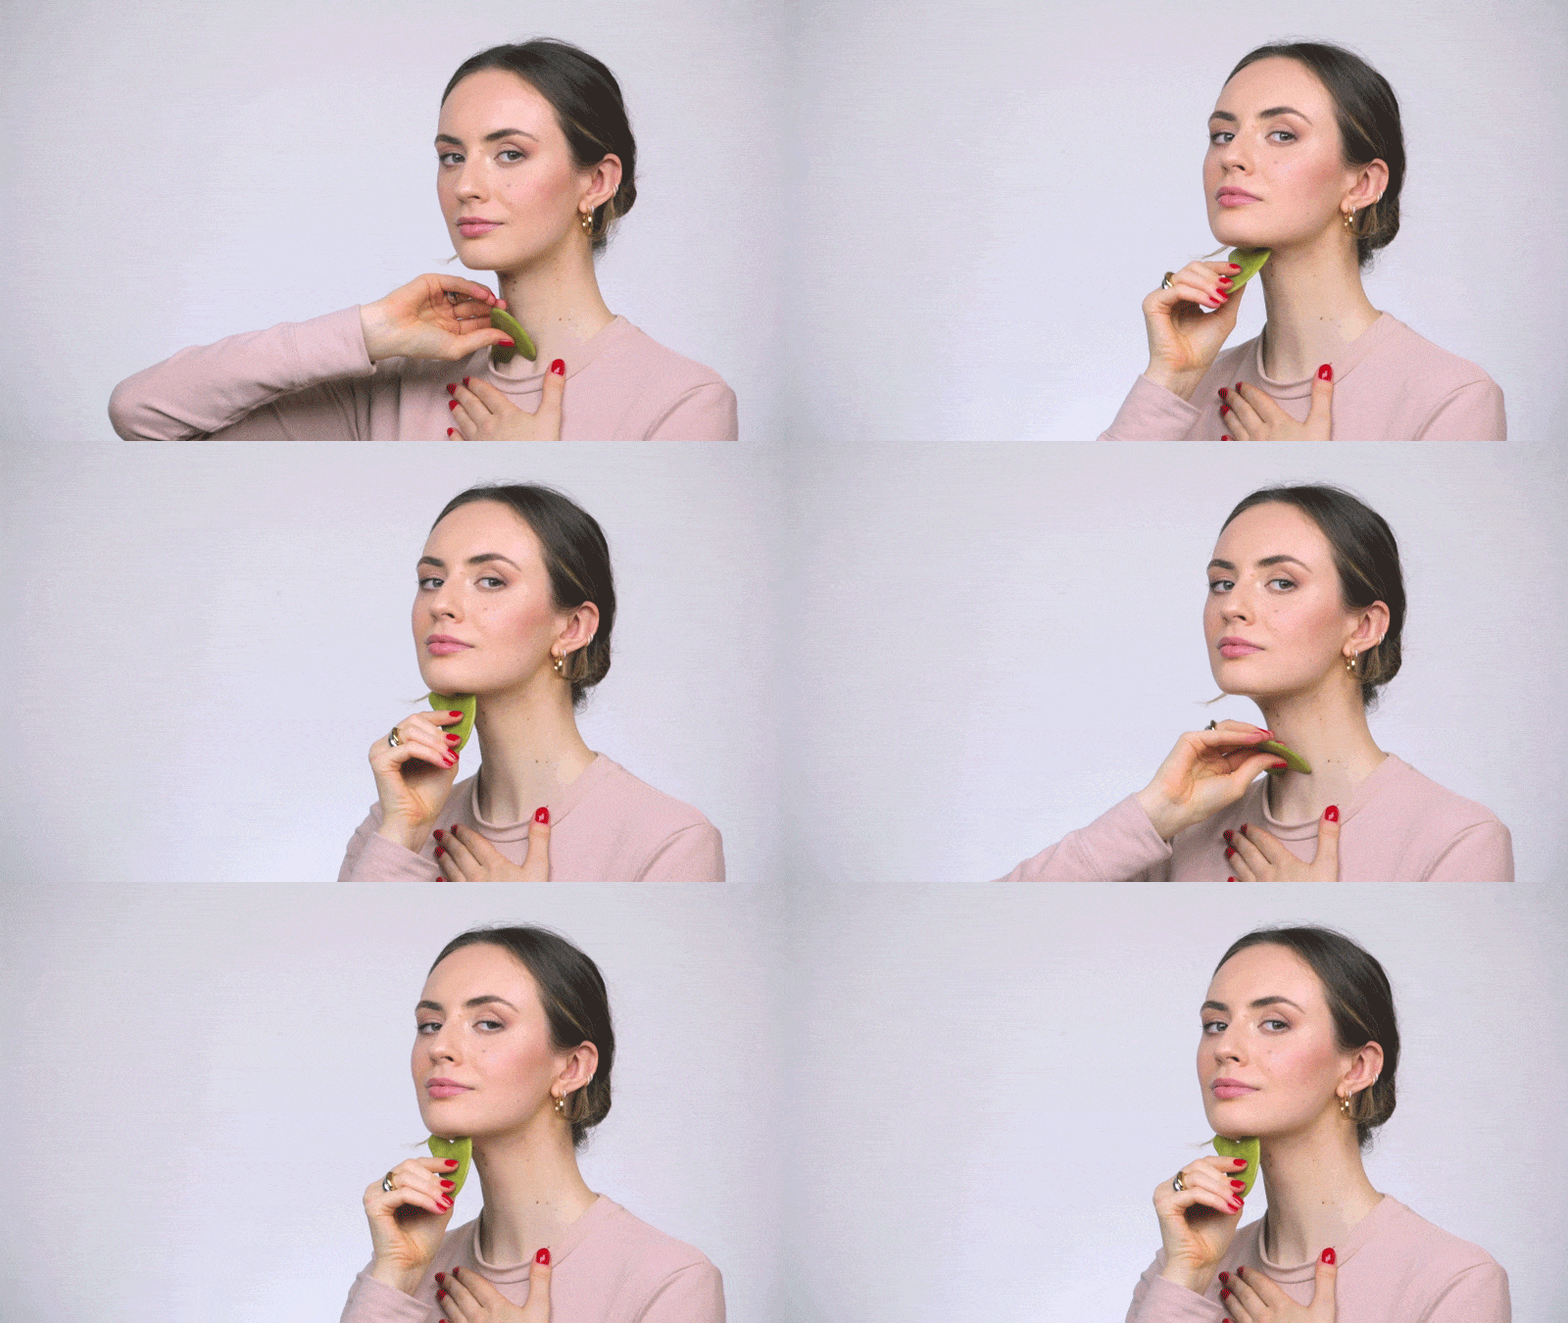
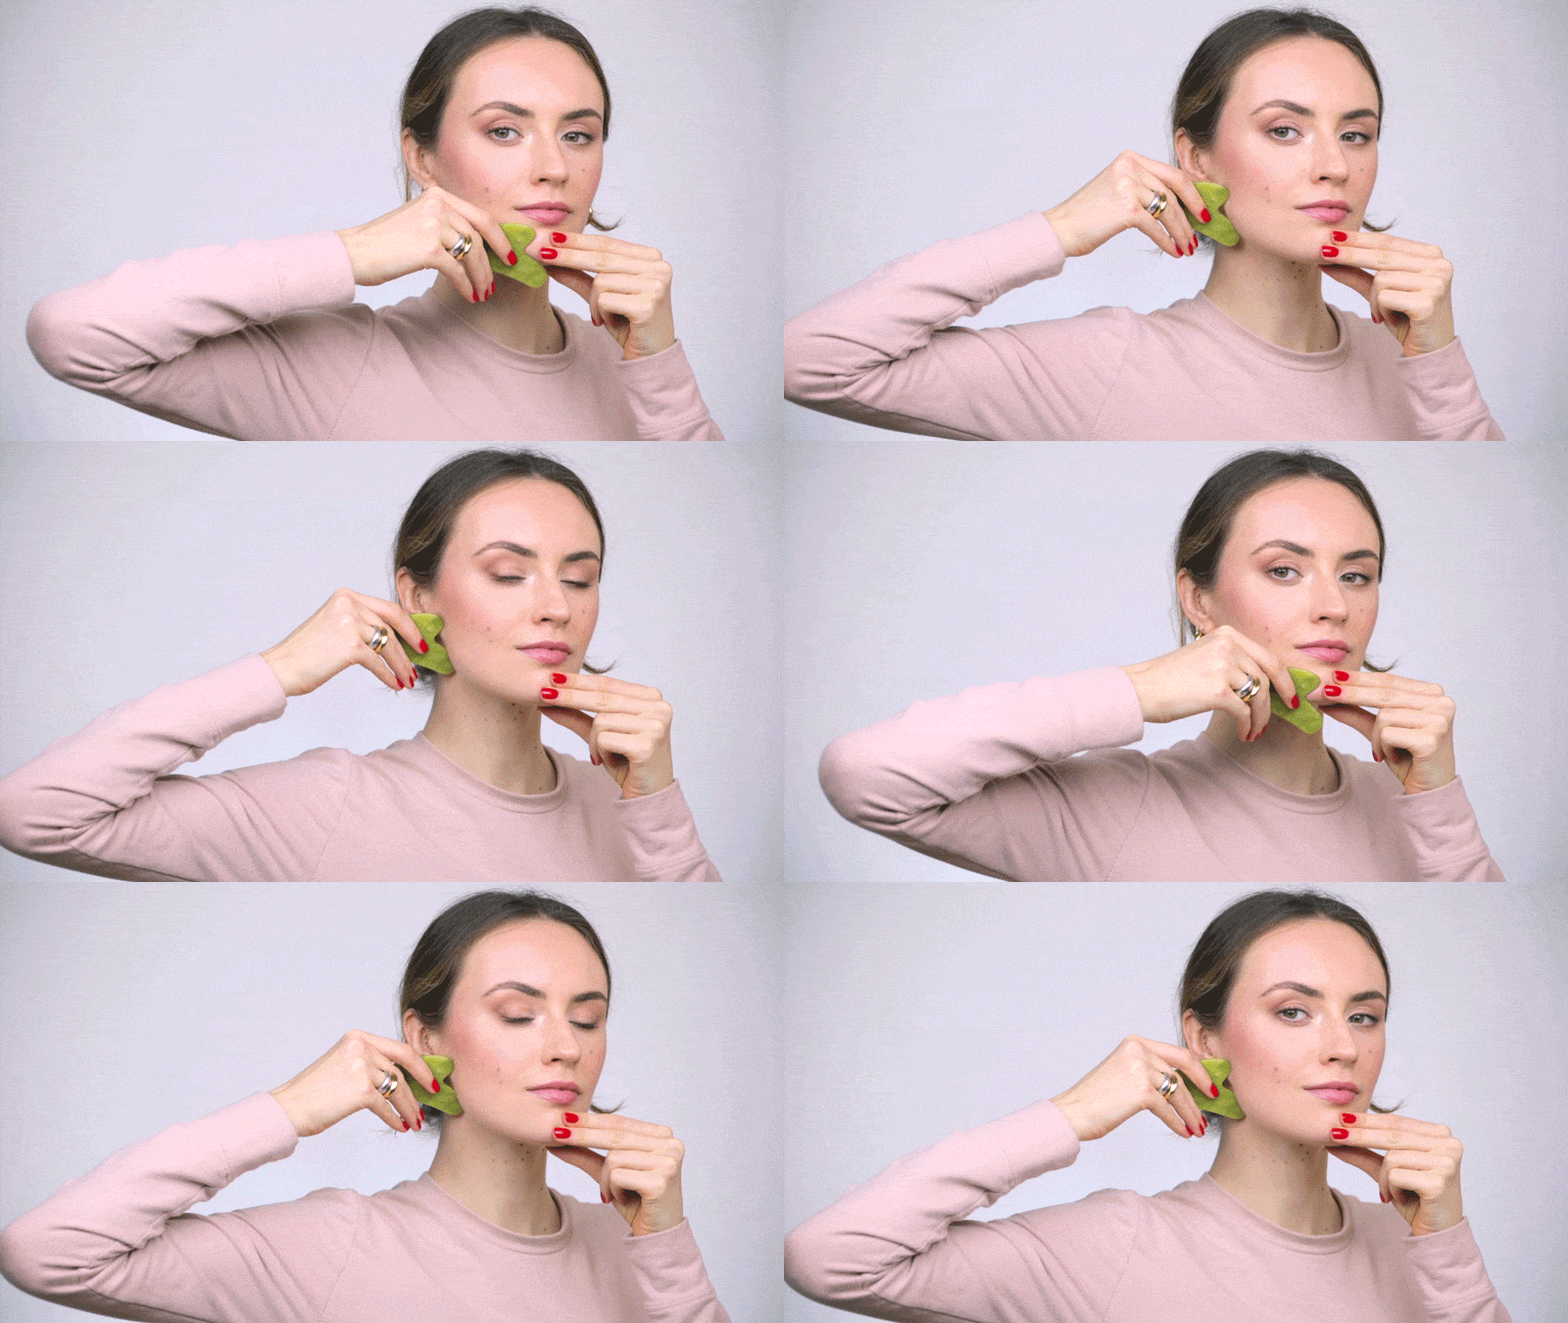
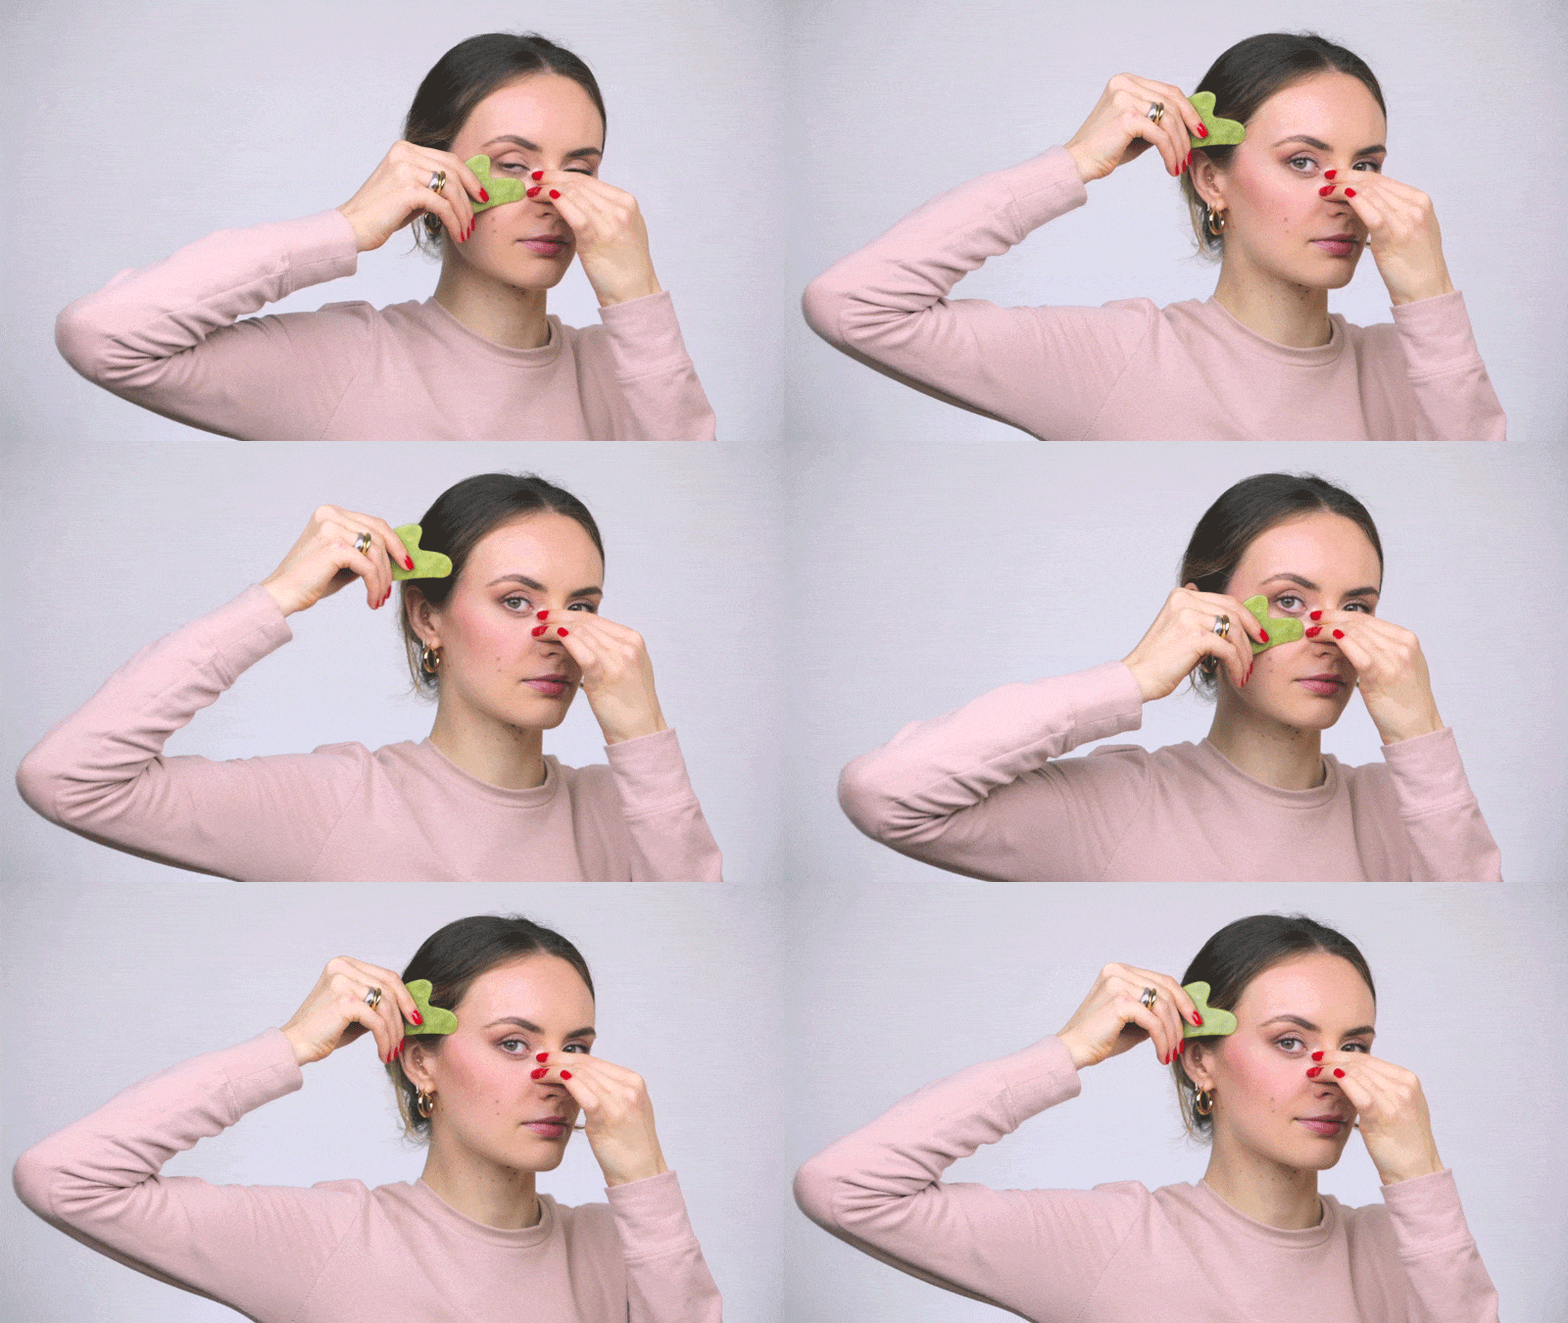
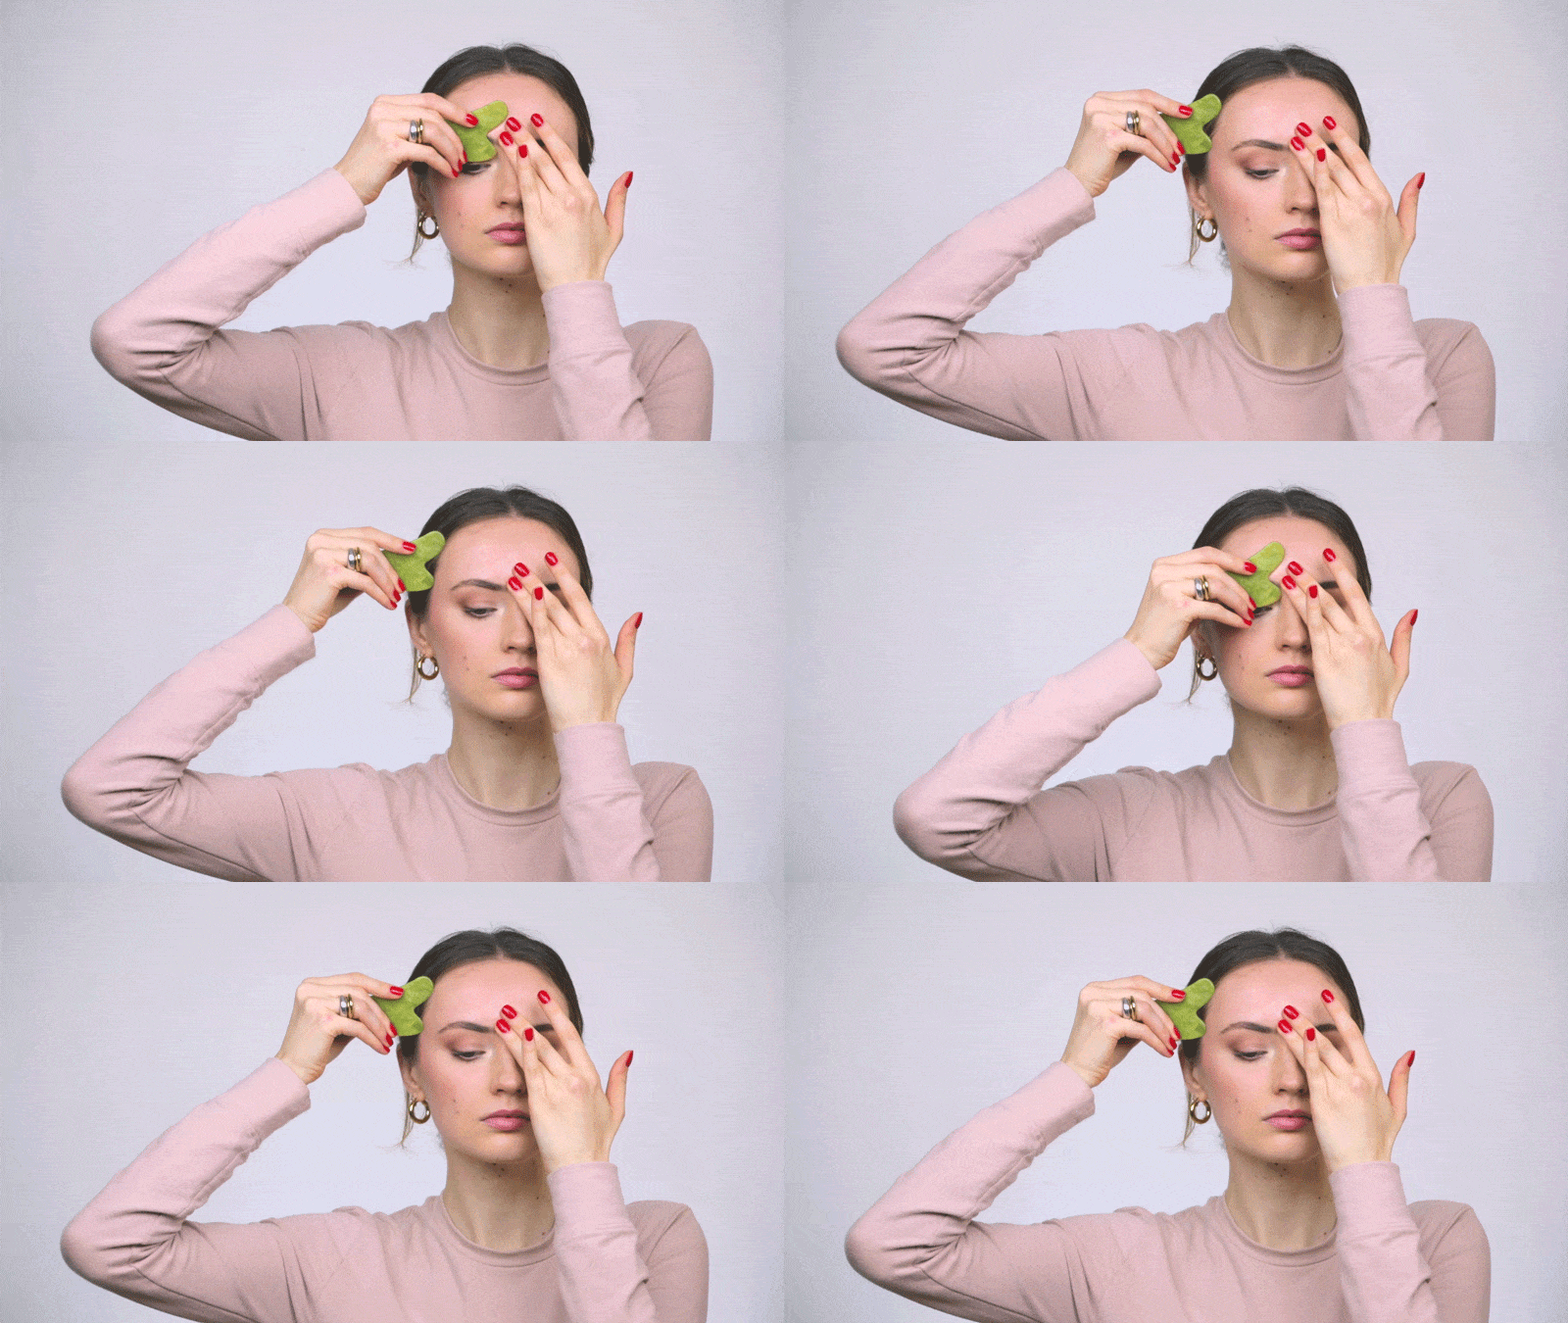
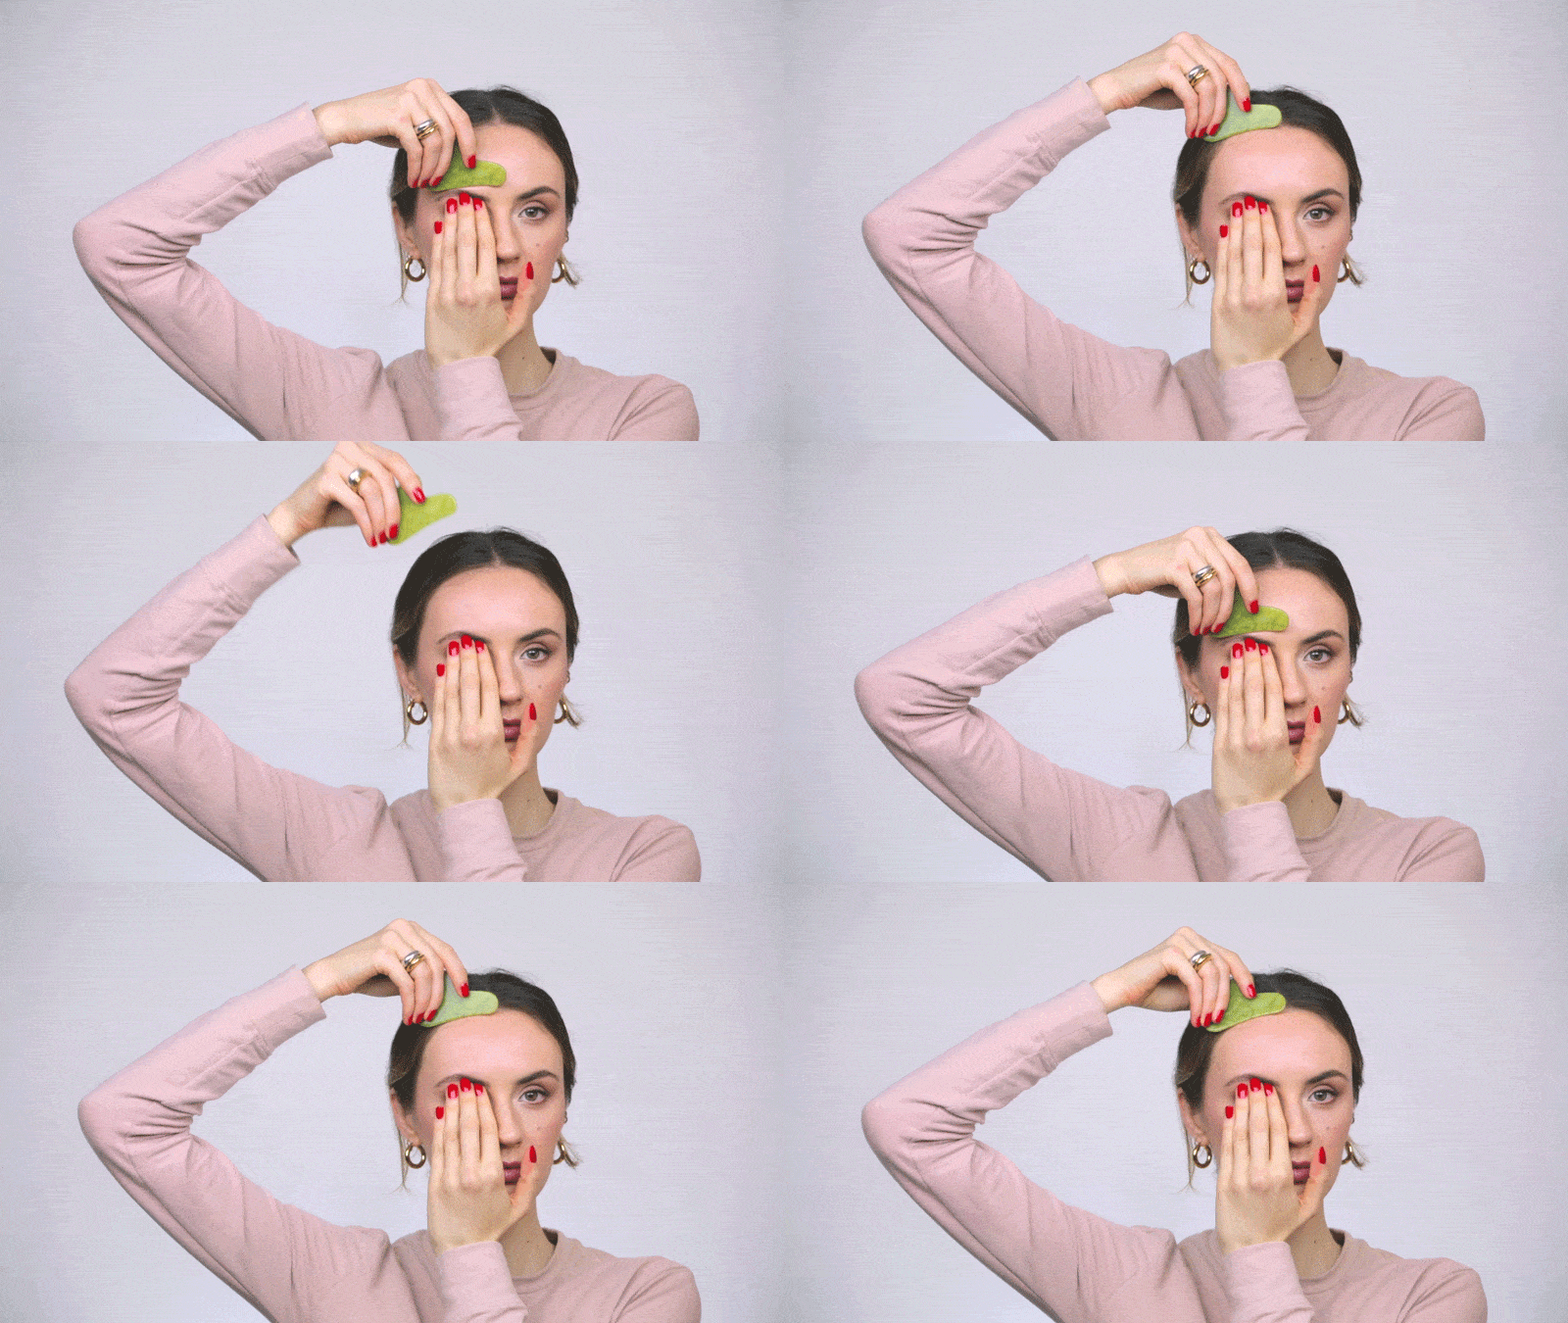
There’s lots of different ways to use a gua sha to gain different benefits, like gliding across your cheeks, eyebrows, and even your neck for a tension-relieving treatment like no other. For the best results, pair your gua sha with a serum or oil for smoother movement, before sweeping over the skin in upward and outward strokes using light to moderate pressure. Follow our step-by-step guide below to gua sha like a pro.
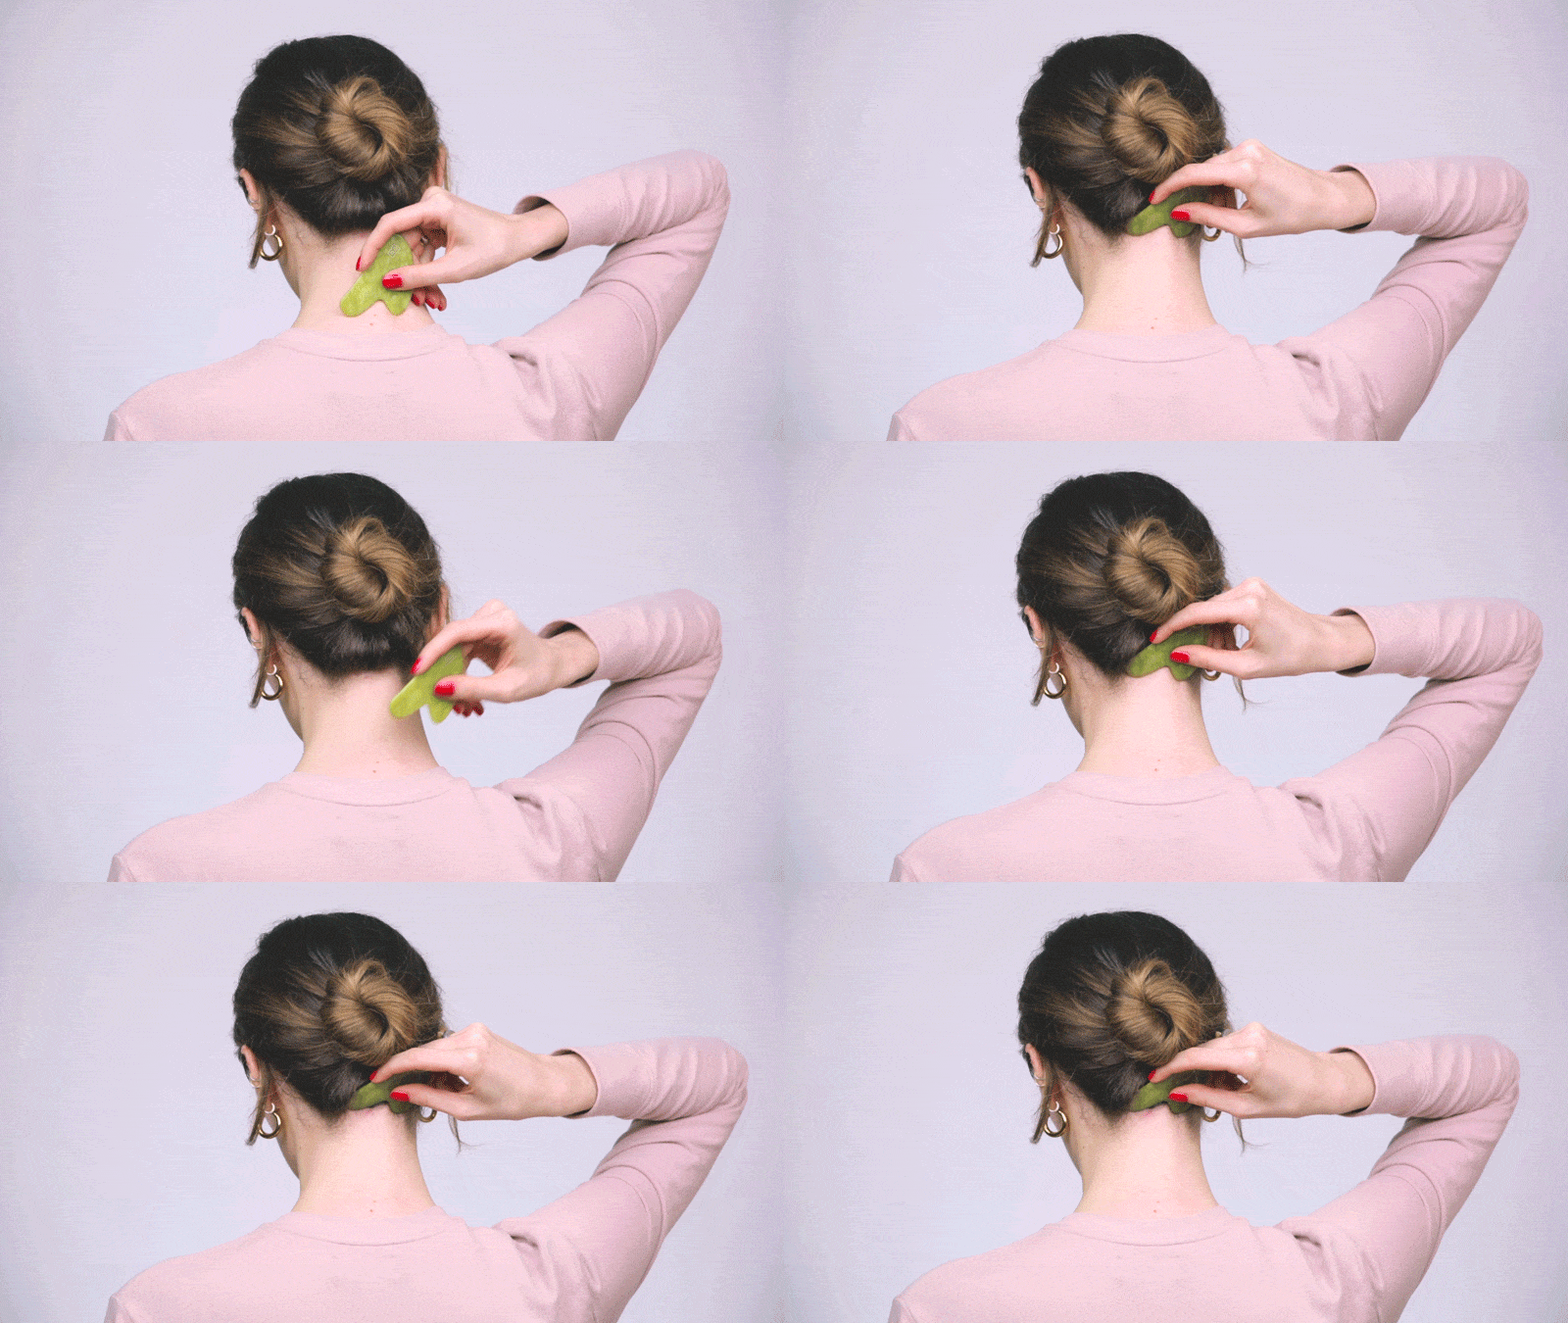
THE BACK
Before your massage, you can apply your favourite serum, oil, moisturiser, or sheet mask. The roller will help with the absorption of vital ingredients. The roller can also be stored in the fridge prior to use for an extra cooling effect.
Using the upper side or ‘top of the love heart’, drag the gua sha up the back of the neck using firm pressure. When you reach the hairline, use pressing motions on the area of the neck which feels most tense. Repeat this sequence.
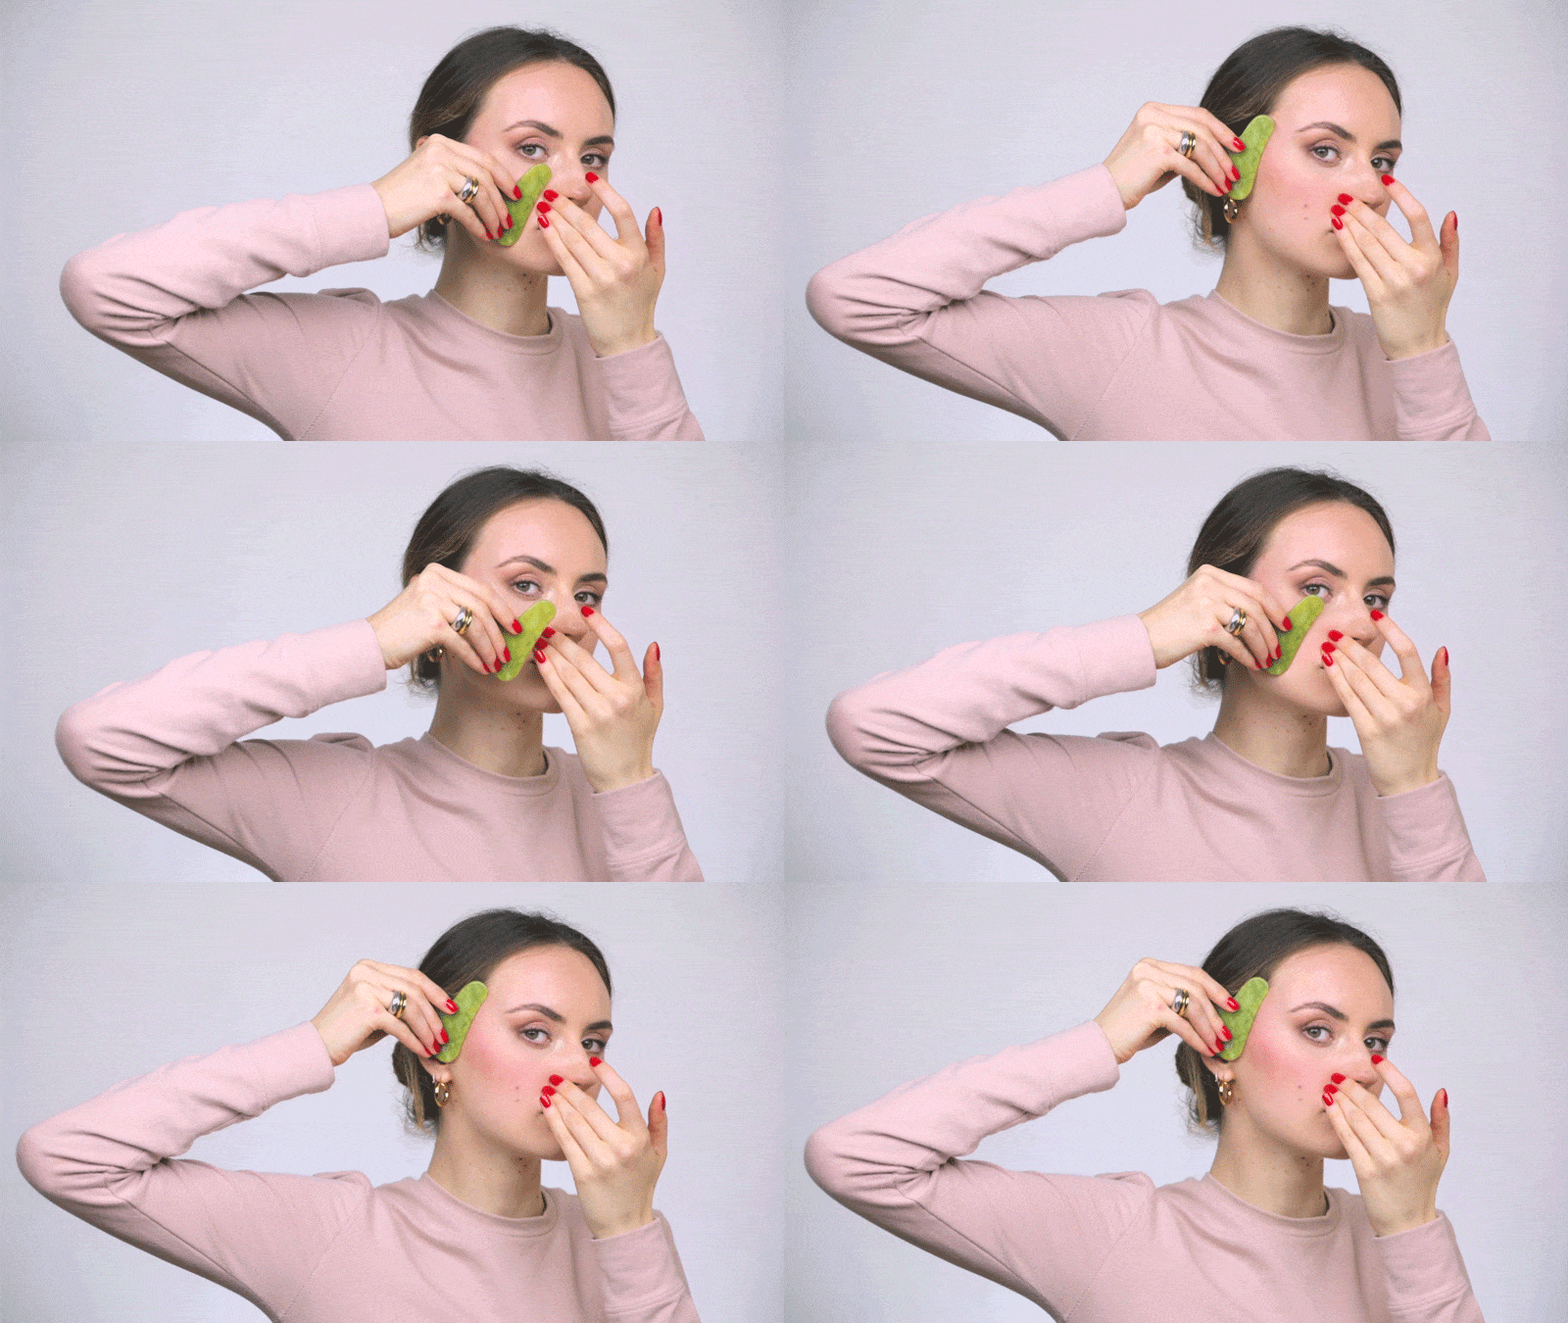
THE CHEEKS
Using the longest side of the gua sha, to massage the cheekbones. Start just above the mouth and to the side of the nose and drag the tool upwards, following the contours of the cheekbones, towards the hairline using medium pressure. Repeat this sequence before moving to the opposite side.
