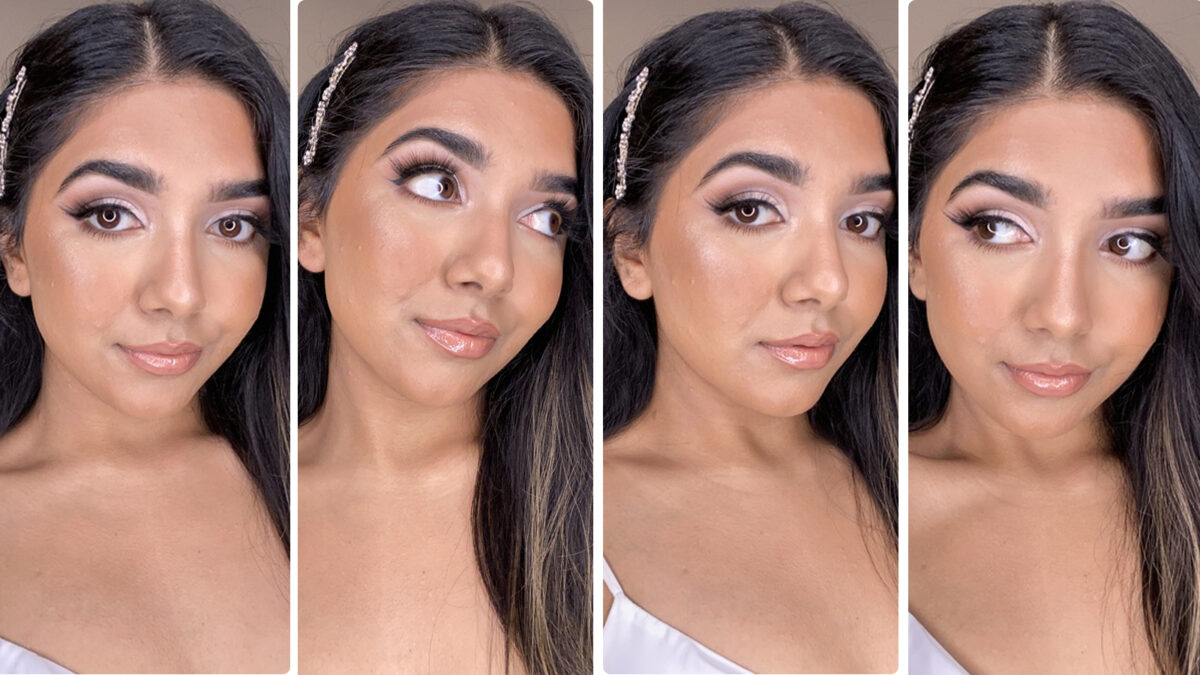
Your wedding day is likely to be one of the most memorbale days you’ll have, so it’s important to feel your best and love how you look. While many brides rush to book in with MUAs for the perfect bridal glam, doing your own wedding makeup can have a range of benefits. Though it may feel daunting, taking your wedding day beauty into your own hands allows you to have full control of how your makeup is applied and the freedom to experiment with multiple trial looks until you find the one you’re obsessed with.
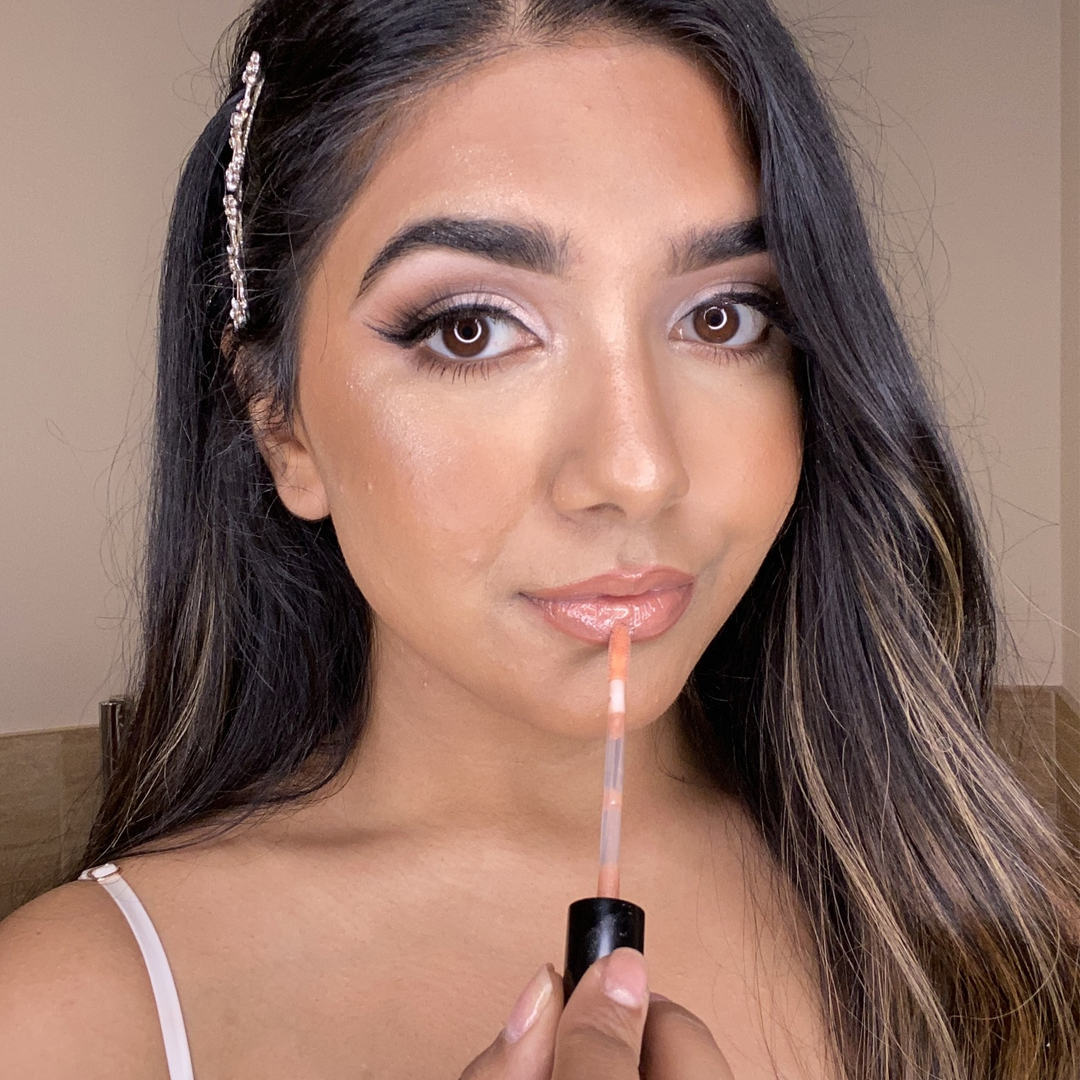
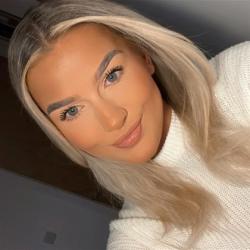
If you’re wondering how to do wedding makeup, @lovefromtasha has created the ultimate soft glam that will leave you admiring your wedding photos forever. Scroll on for the tips, tricks, and steps you need to prep for (and eventually nail) your wedding day look, using only our By BEAUTY BAY must-haves.
Is it okay to do your own wedding makeup?
Of course! Doing your own wedding makeup is a great way to make sure you’re happy with your final look, as long as you give yourself enough time to practise. No one knows your face, preferences, or colouring as well as you do, meaning you can choose the products you use and how you apply them. This will allow you to add a personal touch to your wedding look and ensure it feels authentically you.
In terms of practicality, doing your own bridal makeup is much more cost-effective, sparing you the expense of MUA trials if you’re not satisfied with their first attempt. It also means you can work to your own pace and schedule without the risk of feeling stressed on your special day.
How to do your own wedding makeup using By BEAUTY BAY
Here at BEAUTY BAY, we’re committed to creating products that help you feel and look your best. That’s why our step-by-step features only By BEAUTY BAY bestsellers that you can rely on to see you through your big day in style.
Step 1: Brush and fill your brows
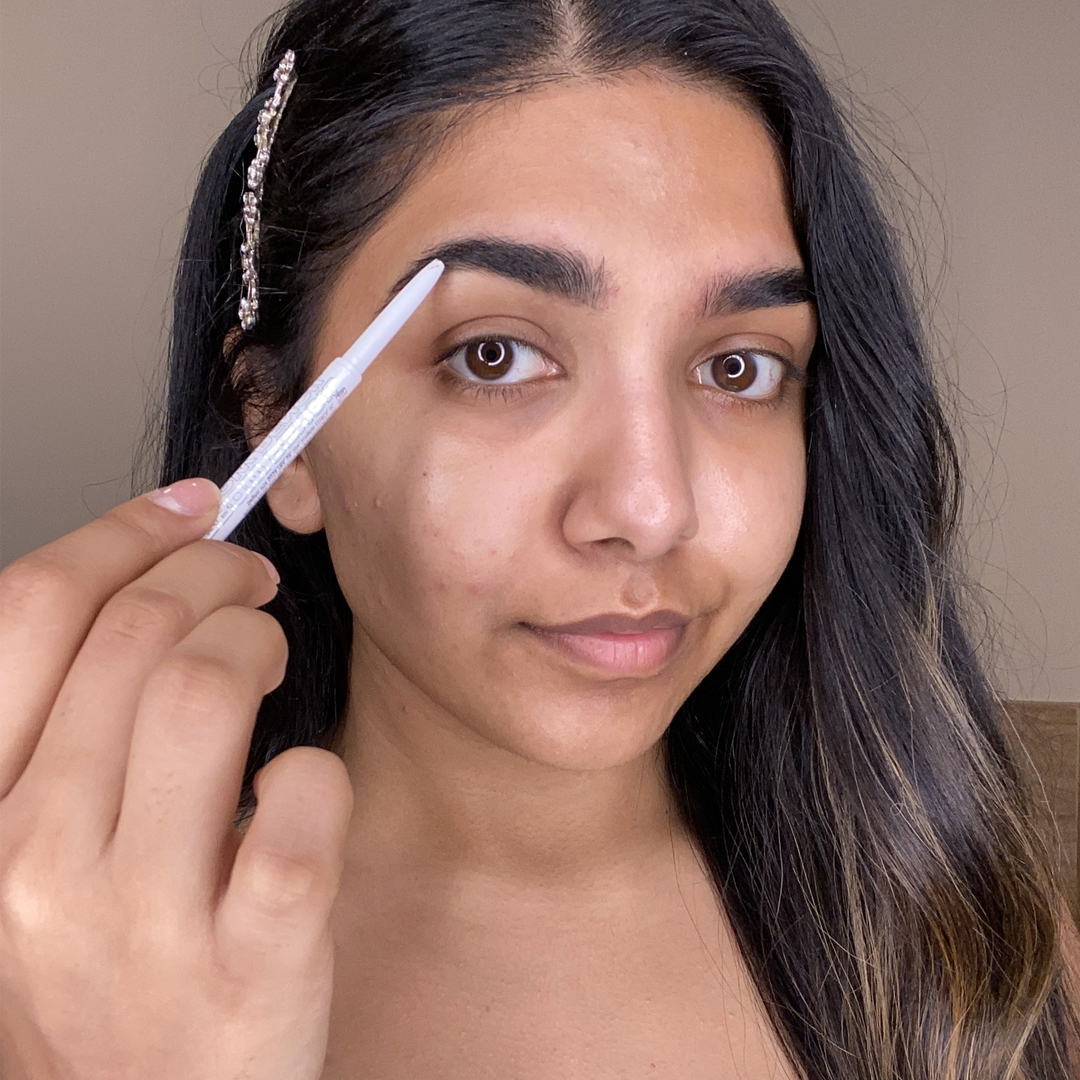
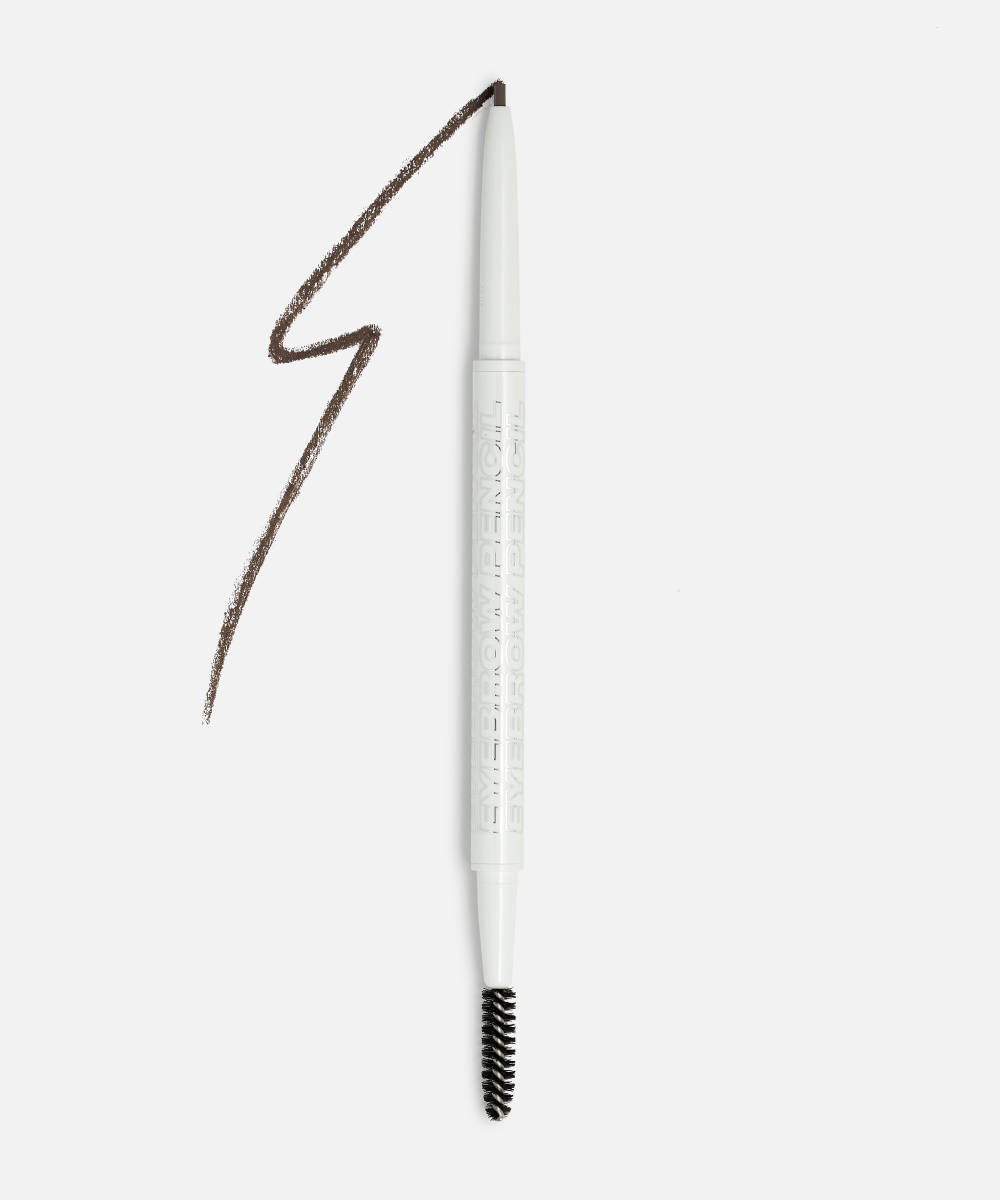
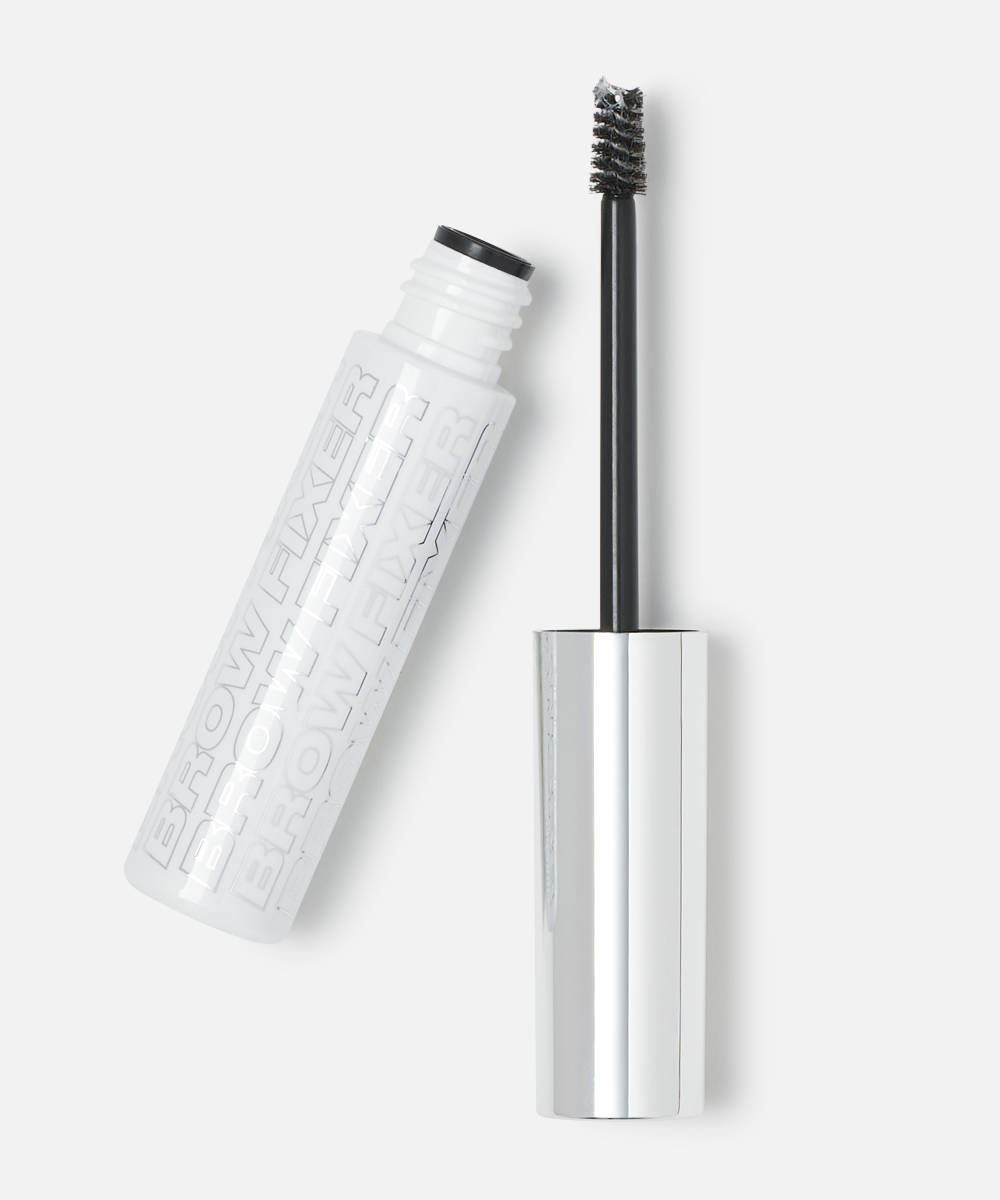
Fuller brows can give the effect of a natural, more youthful appearance. To give yours a boost, brush through them with our Brow Fixer Fibre Gel. For extra definition, follow by filling in any sparse areas with our Micro Sketch Brow Pencil, using short strokes in the direction of your hair growth.
Step 2: Prime your lids
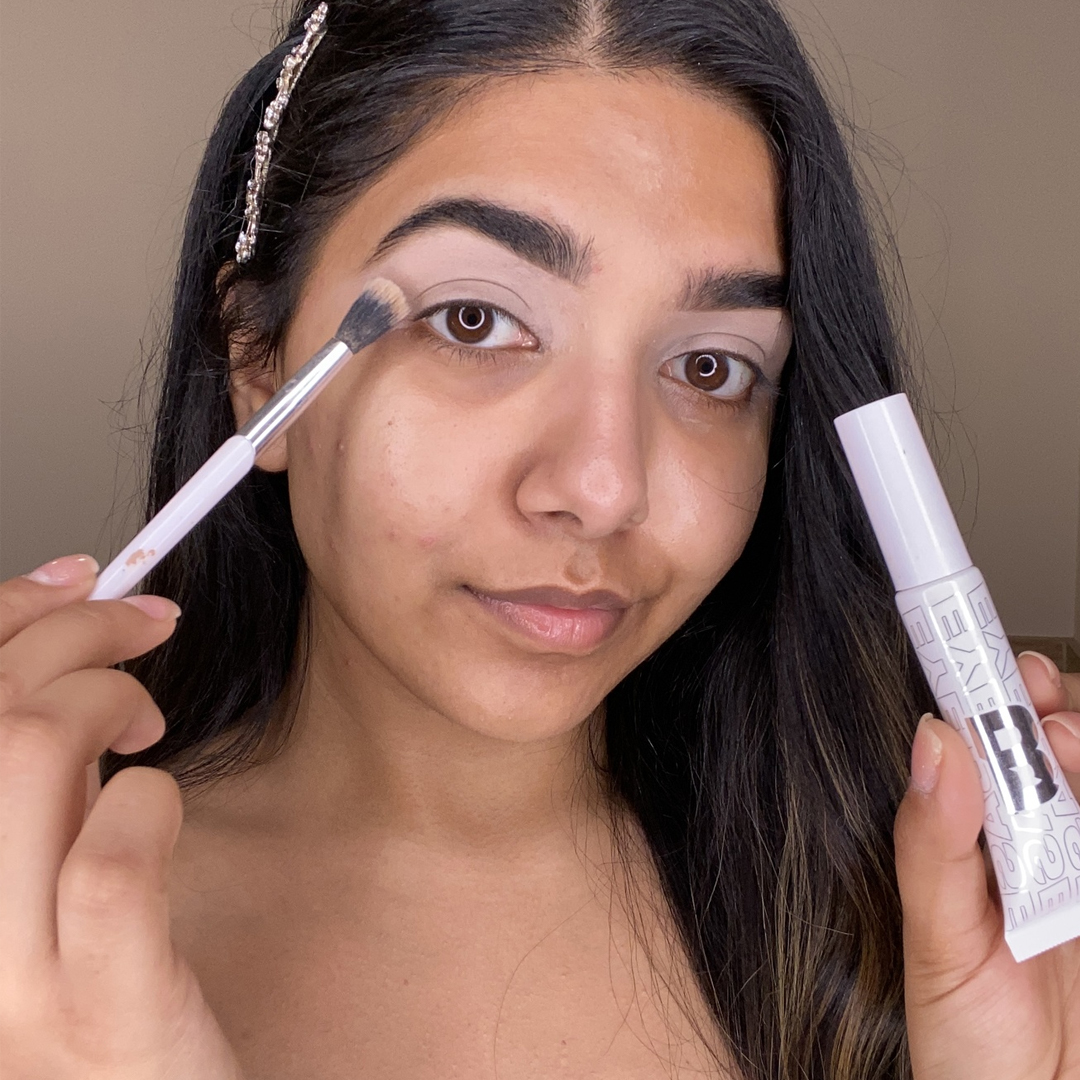
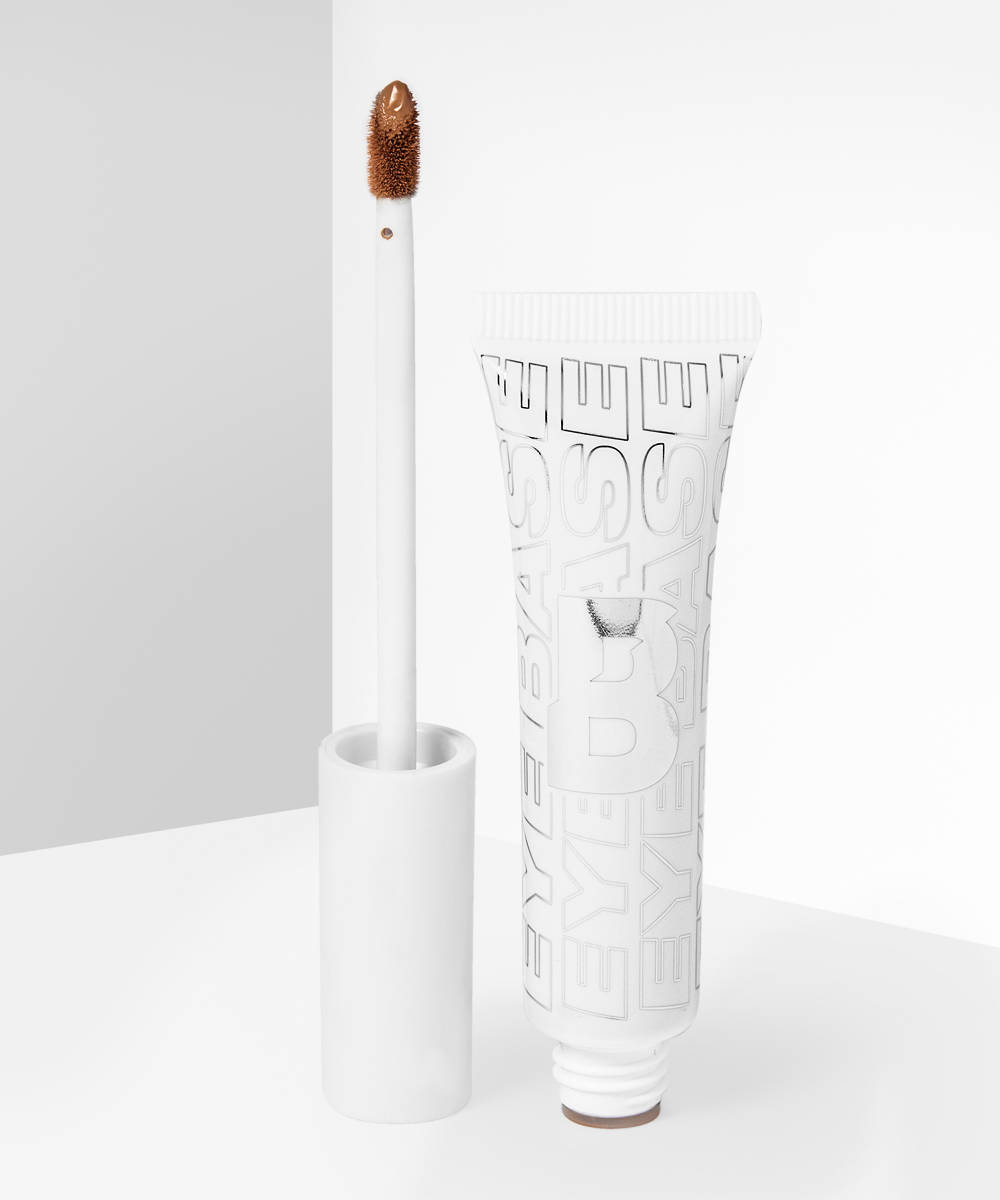
Eyeshadow primer will give your eye looks the ultimate staying power and create a blank canvas for your eyeshadow. Using a flat brush, apply our Eye Base onto the crease of your lid and carve out your brows. Buff the product out at the edges for a seamless effect.
Step 3: Define your crease
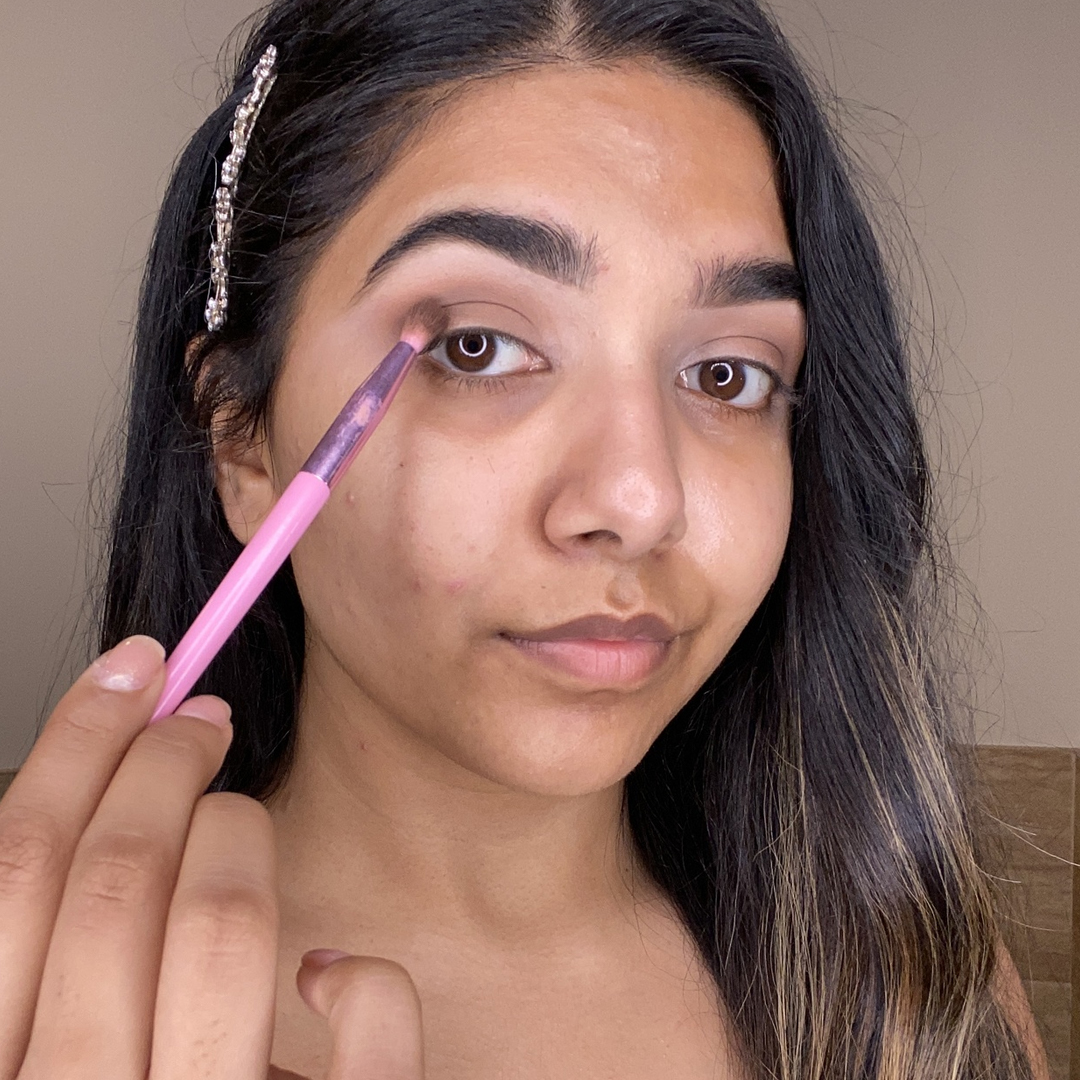
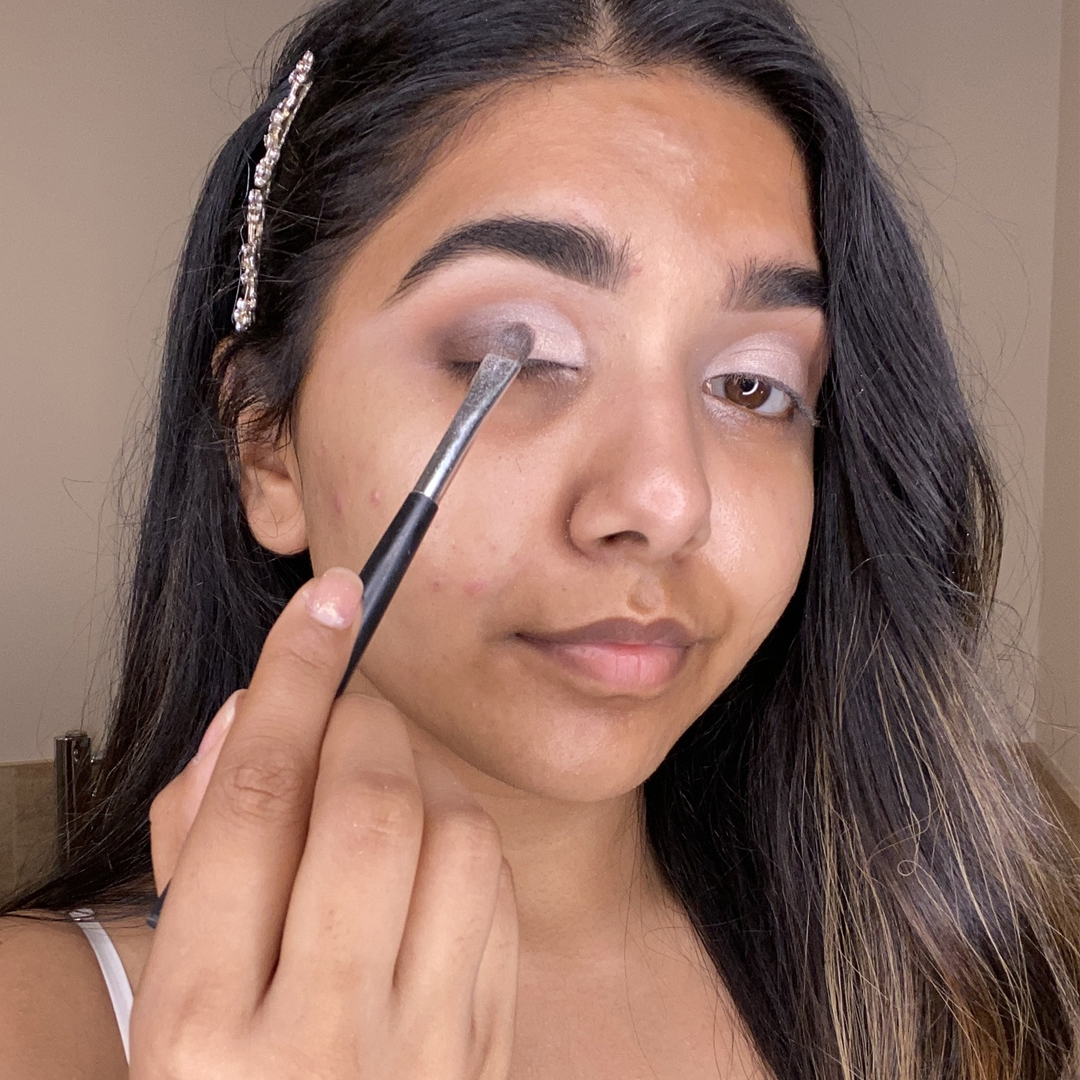
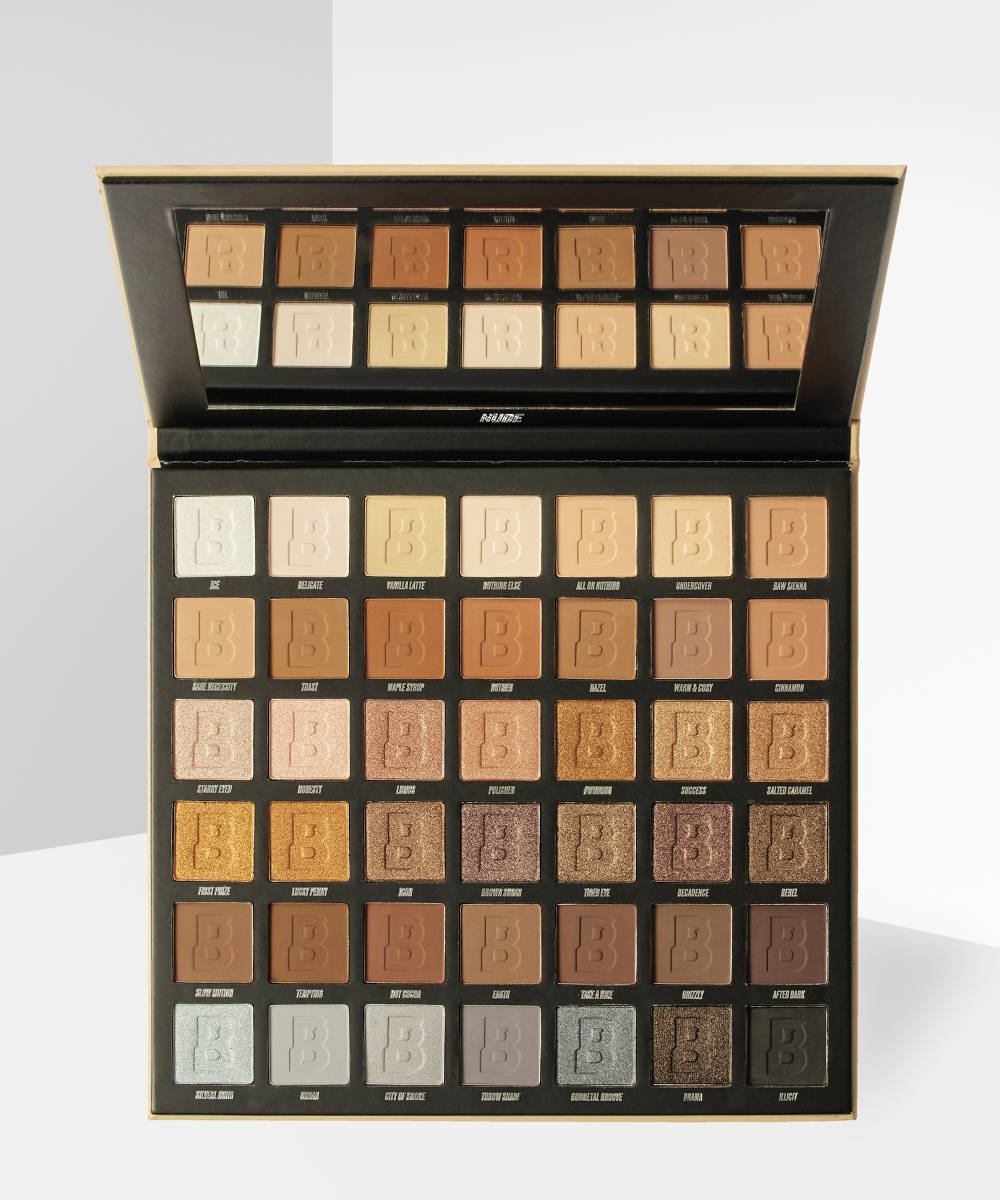
Using a fluffy brush, define your crease with the shade Cinnamon from our Nude 24 Colour Palette. Follow this with the shade Slow Motion to deepen the outer edges and buff out until it’s all blended.
Step 4: Create a cut crease
Using a flat brush, apply the shade Starry Eyed from our Nude 42 Colour Palette to the inner section of the lids and create a cut crease shape. Blend out the colour using a fluffy crease brush.
Step 5: Line your lids
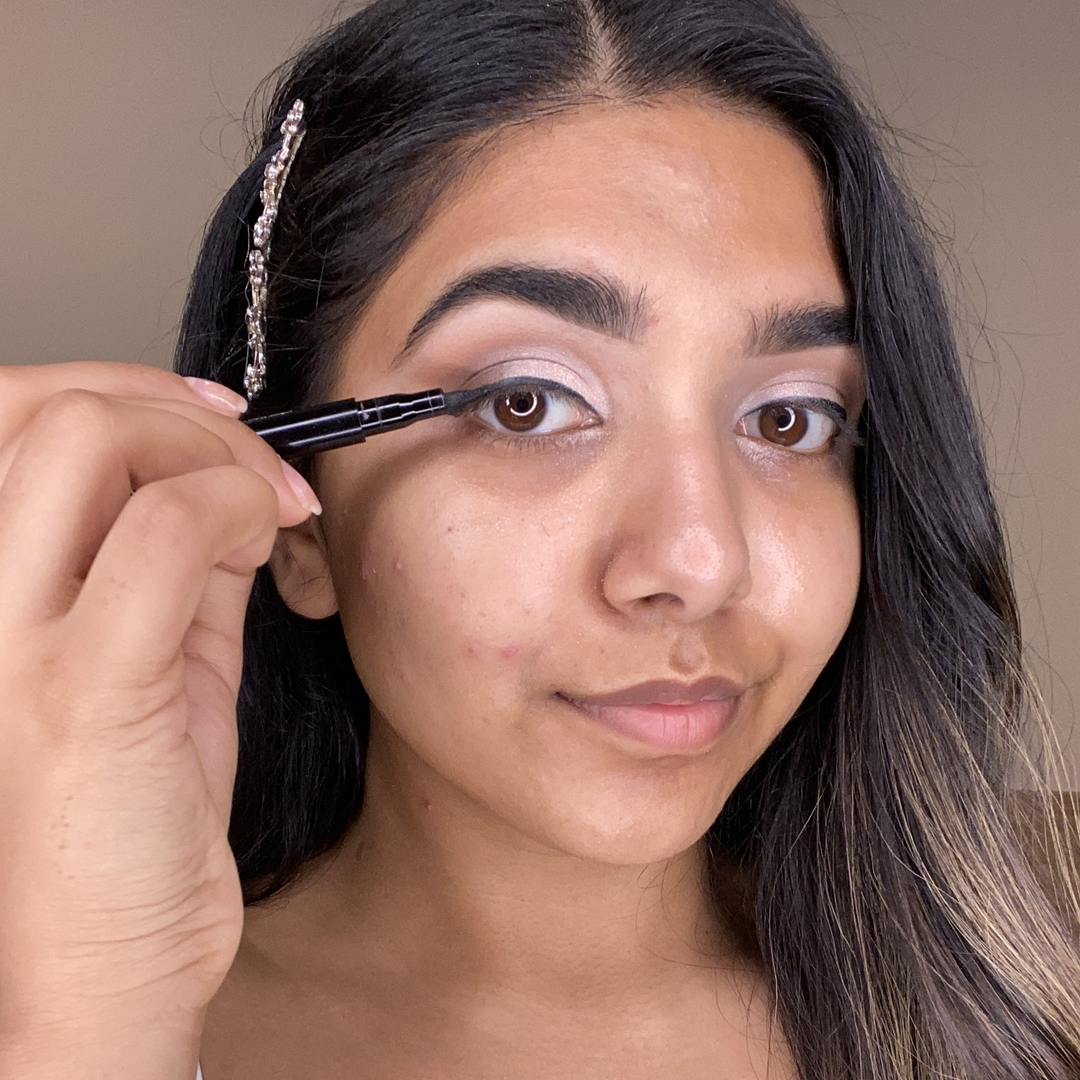
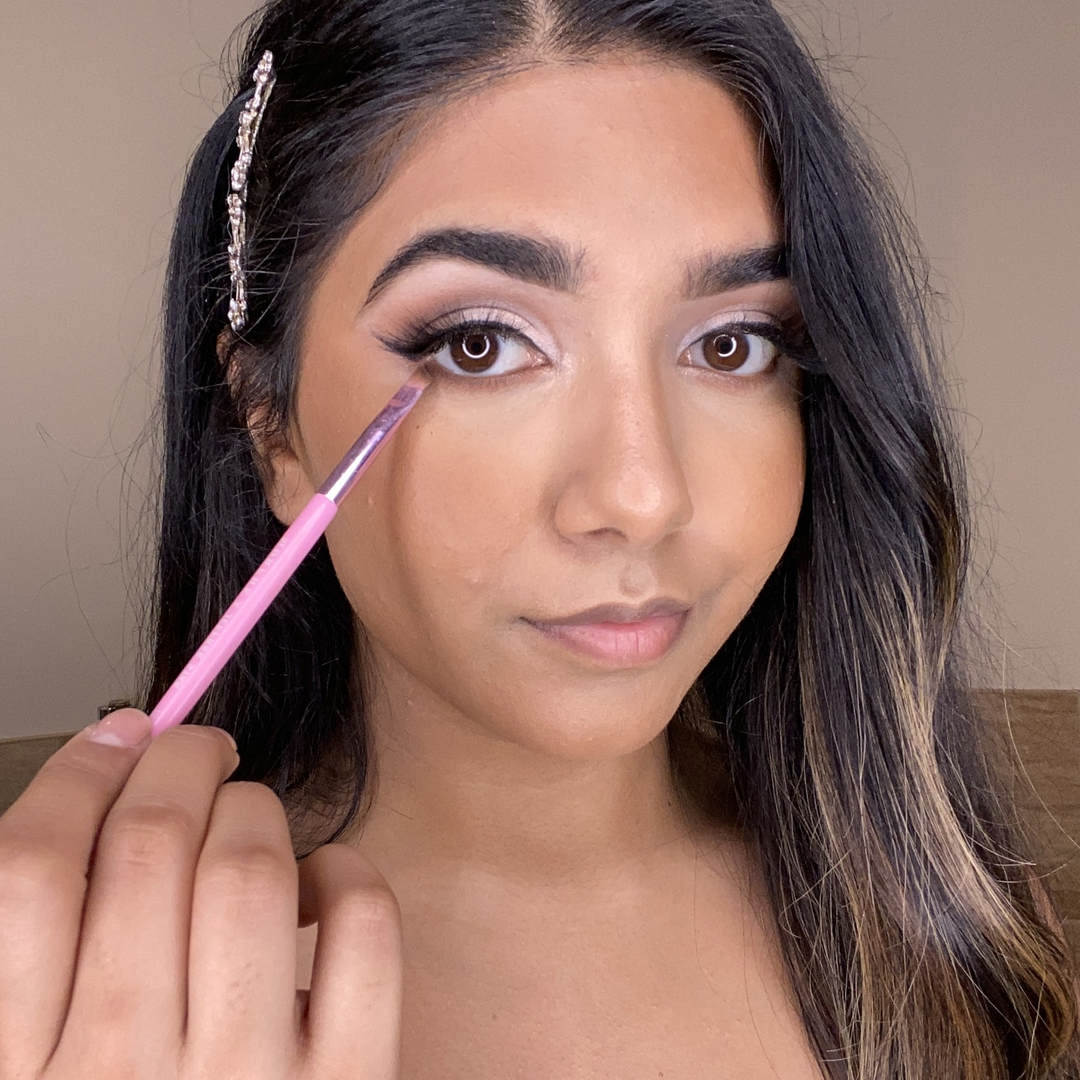
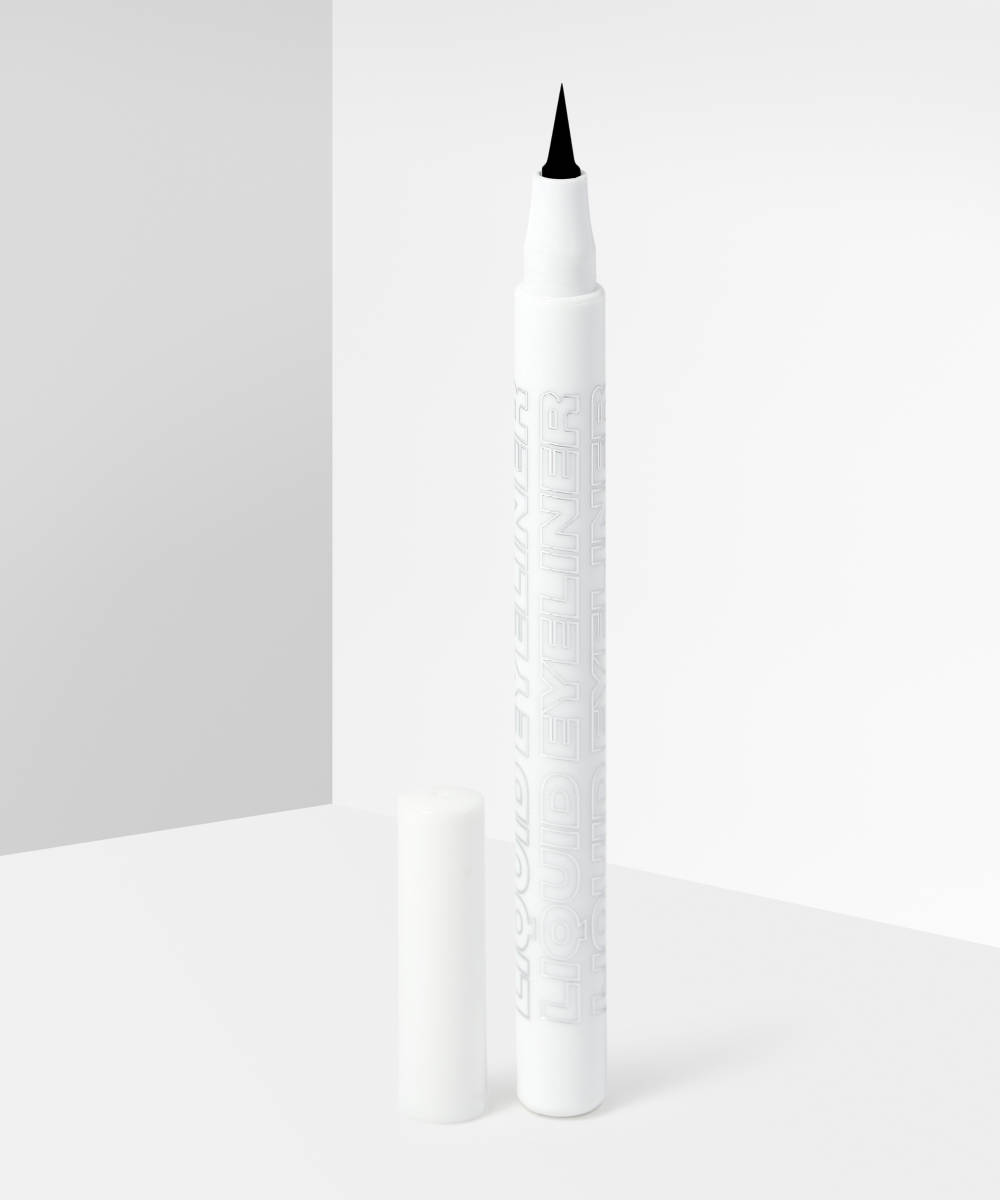
Using our Felt Tip Liquid Eyeliner, create a winged line starting at the inner corner of the eye and working out to the edge until you form a flick. To make your wing super sharp, clean up your flick with a concealer brush.
Step 6: Add lashes
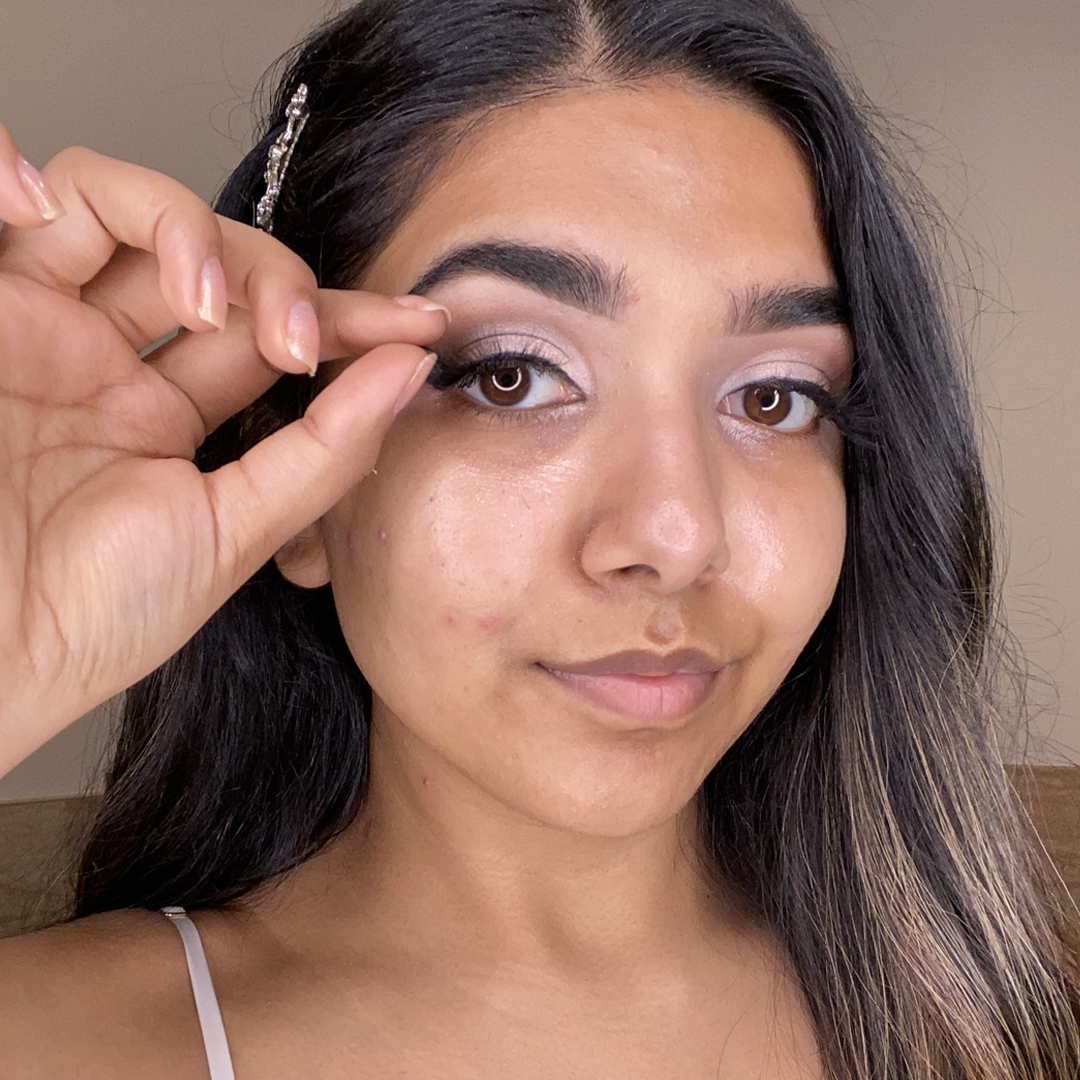
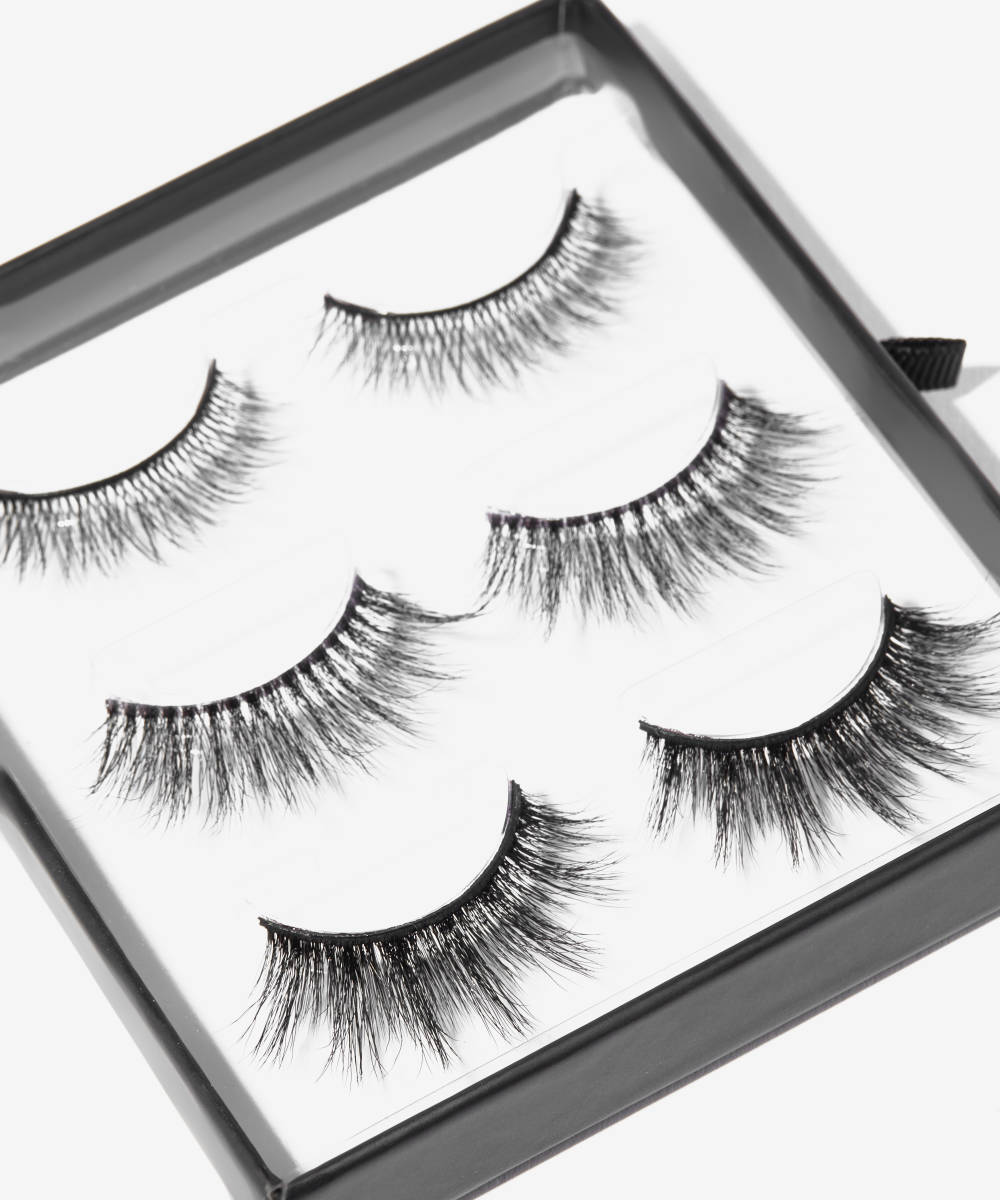
Give your look the ultimate finishing touch with a pair of lashes (we recommend one from our Faux Eyelash Trio). Trim the eyelashes to fit your eye shape, and then apply lash glue along the band. Leave it to dry for 30 seconds or until it becomes tacky, before pressing along the lash line to secure.
Step 7: Layer your base products
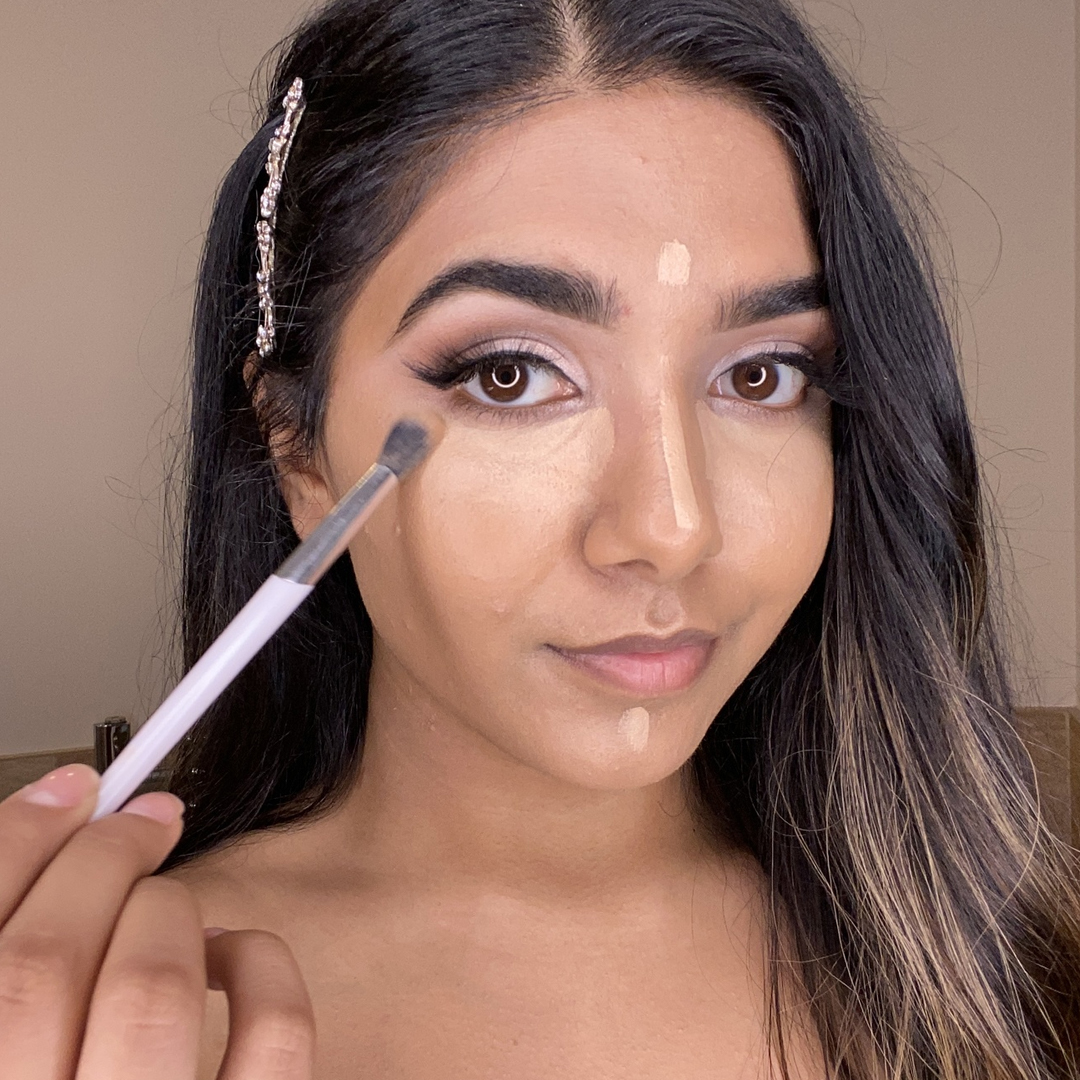
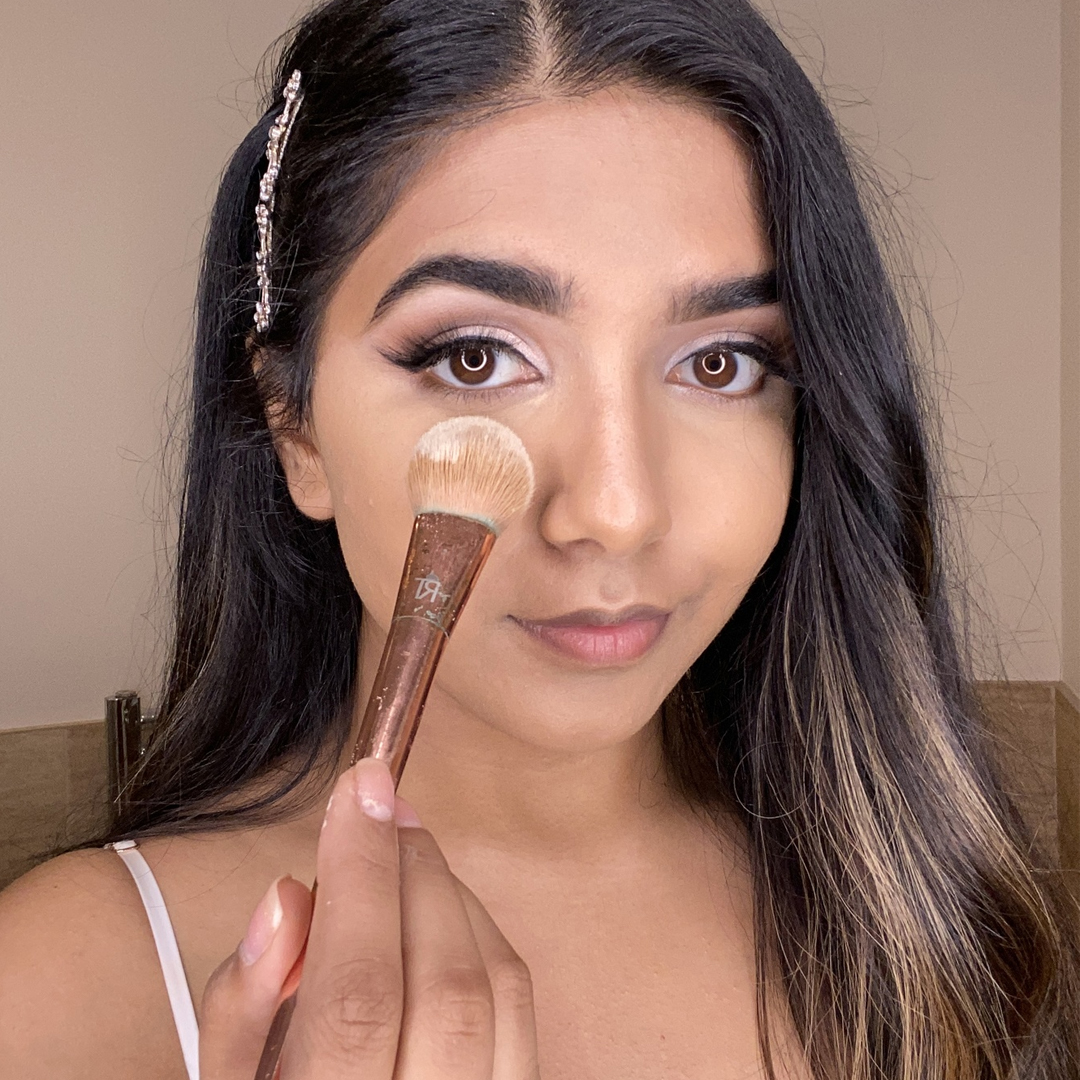
To create a flawless, fresh-faced base, apply foundation to the skin using a brush or sponge. Follow with concealer, applying to the areas of your face that you want to highlight, including under the eyes, the bridge of the nose, the forehead, and the chin.
Step 8: Set your look with powder
Sweep your favourite powder over your skin to set your base products in place. For extra staying power and definition on your big day, place your powder under your eyes, on the sides of the nose, and under the cheekbones in a thick layer and leave to sit on the skin for a few minutes before sweeping away.
Step 9: Add extra definition to the eyes
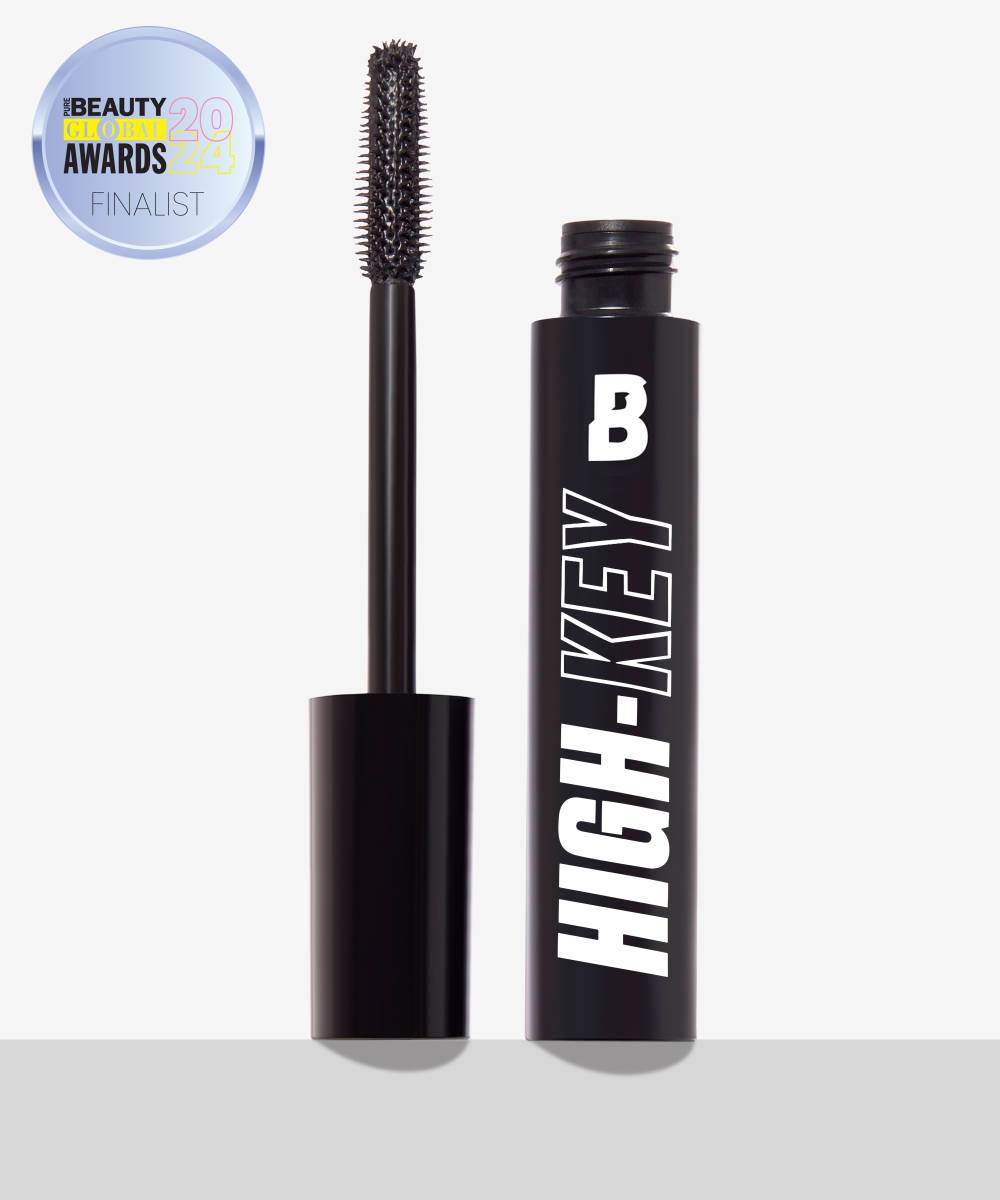
To tie your eye look together, take the shade Slow Motion from our Nude 42 Colour Palette and place underneath the lower lash line. To accentuate your eyes further, add a light layer of mascara to the lower lashes.
Step 10: Warm up your look
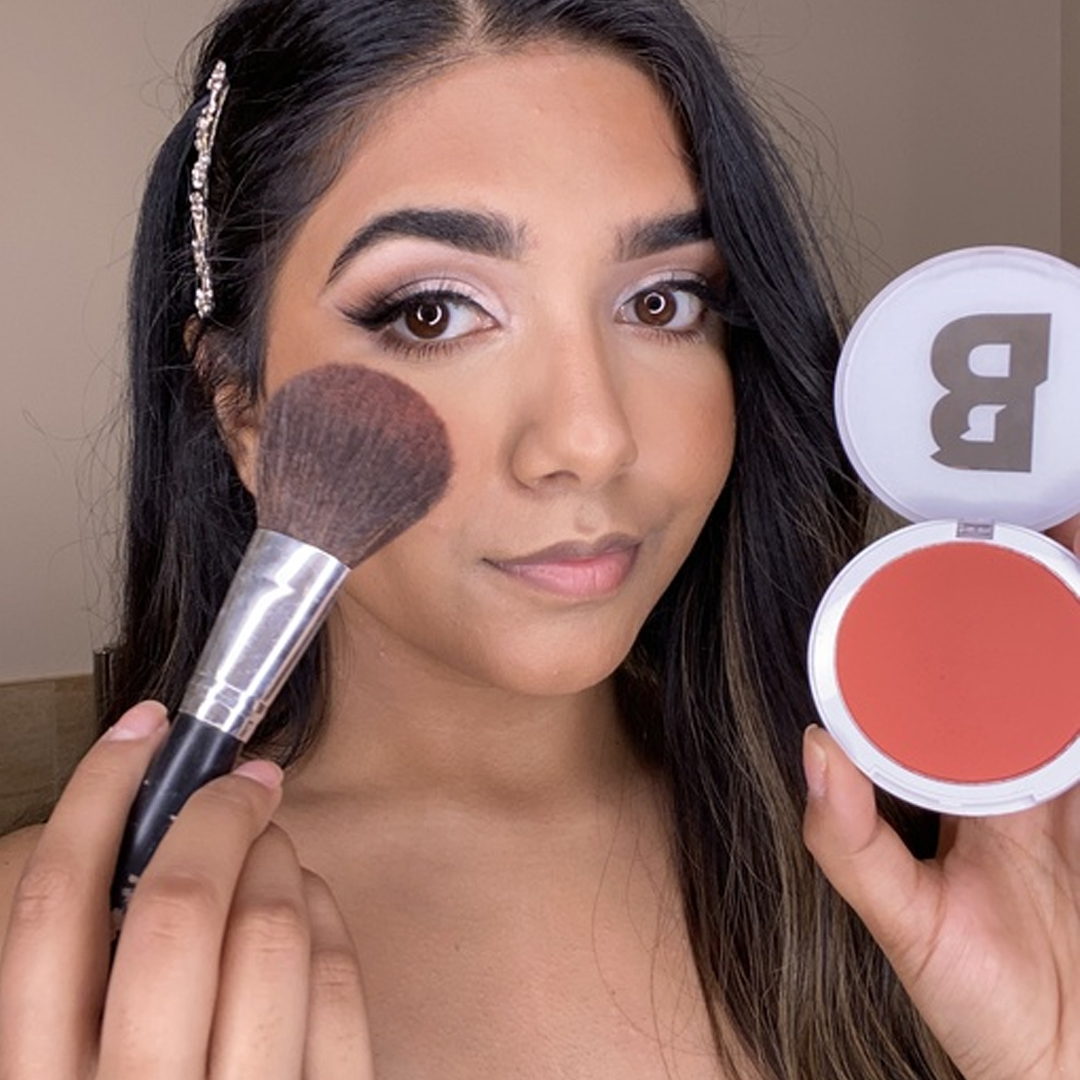
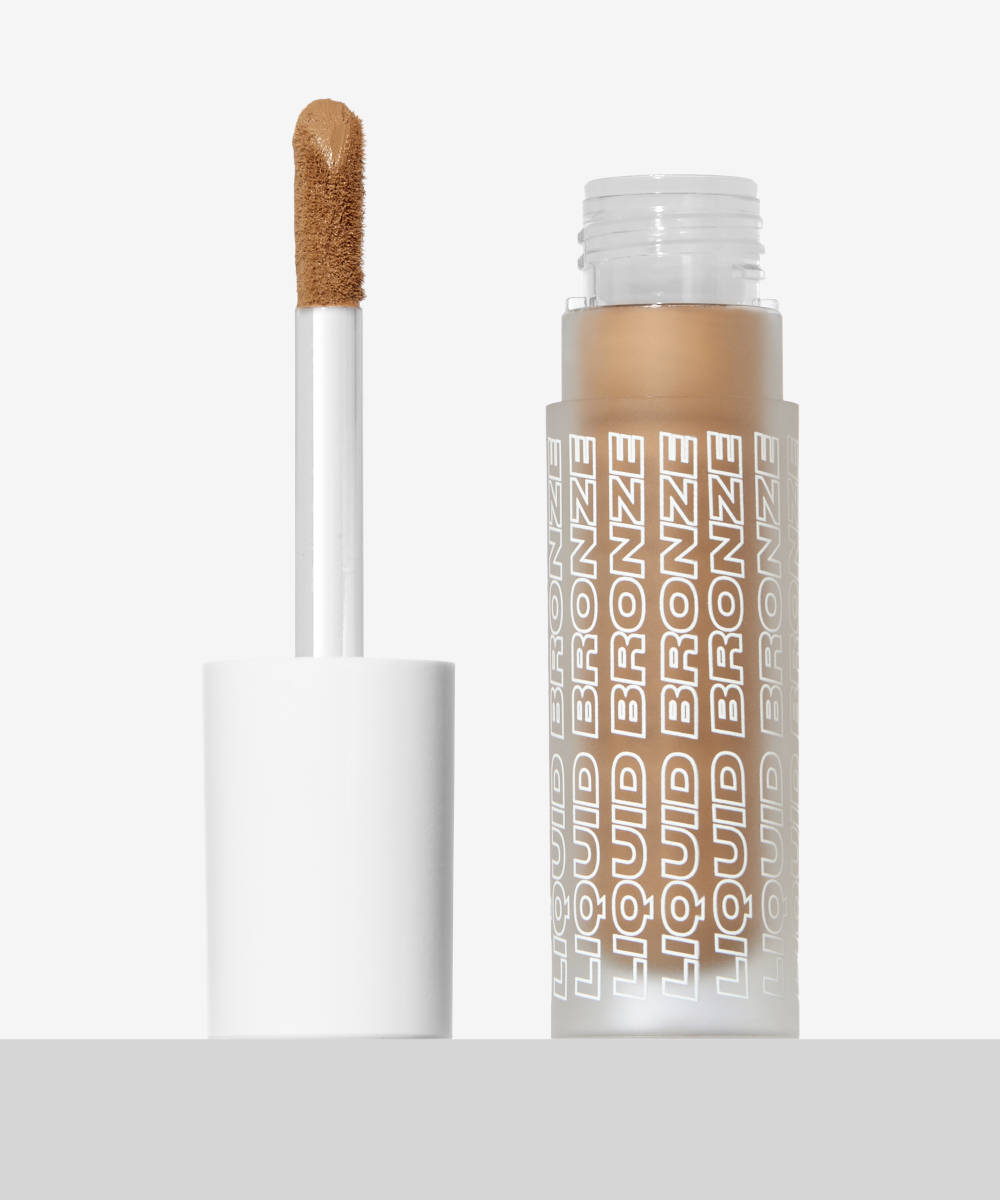
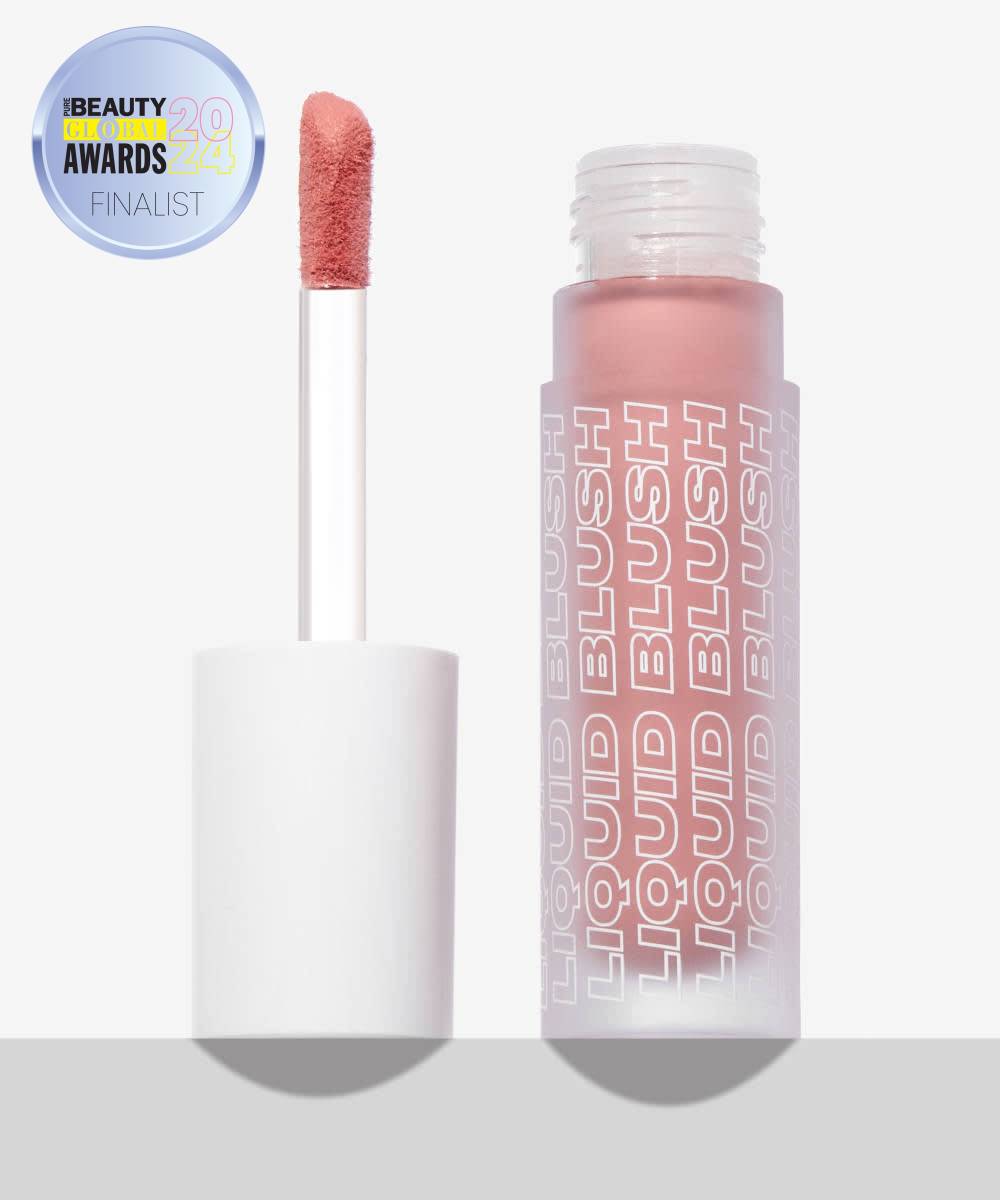
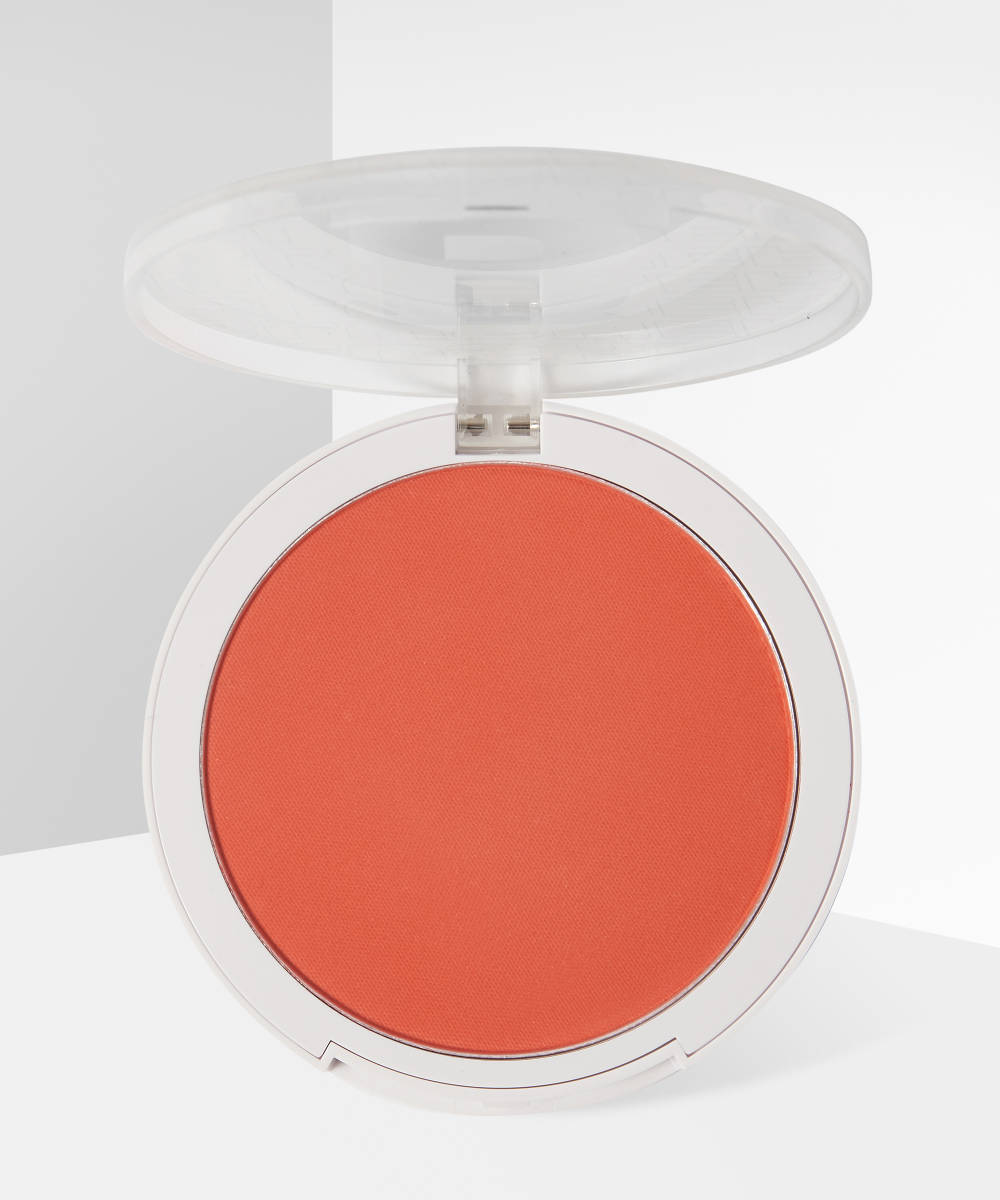
Give your look a healthy flush of colour with bronzer and blusher. Starting with our Liquid Cream Bronze, dab over the high points of the face (where the sun would naturally hit) and blend out with a sponge or brush. Next, dab our Liquid Cream Blush onto the apple of your cheeks, adding more depending on your desired intensity. Complete your rosy glow by dusting our Powder Blusher over the apples of the cheeks with a fluffy brush.
Step 11: Grow your glow with highlighter
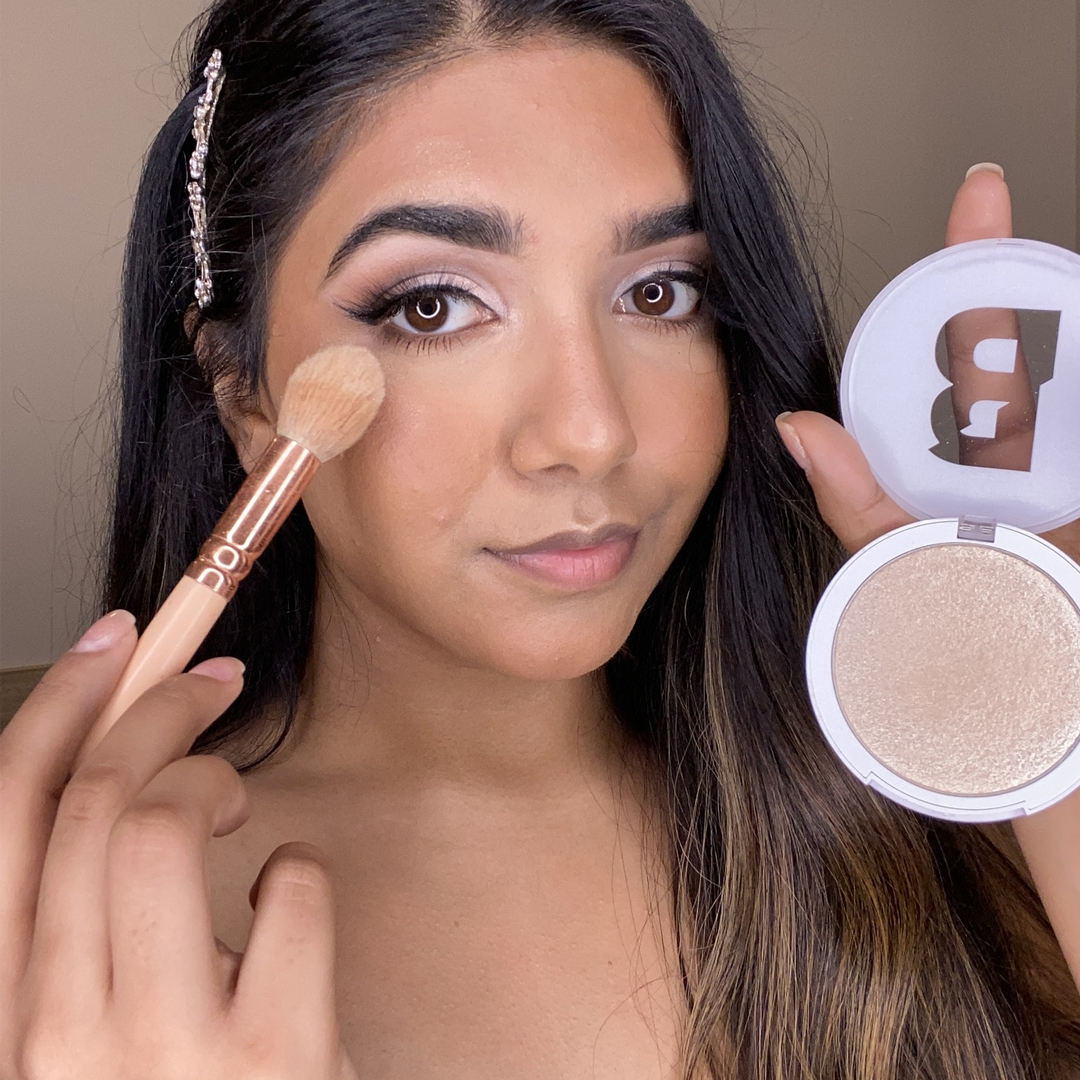
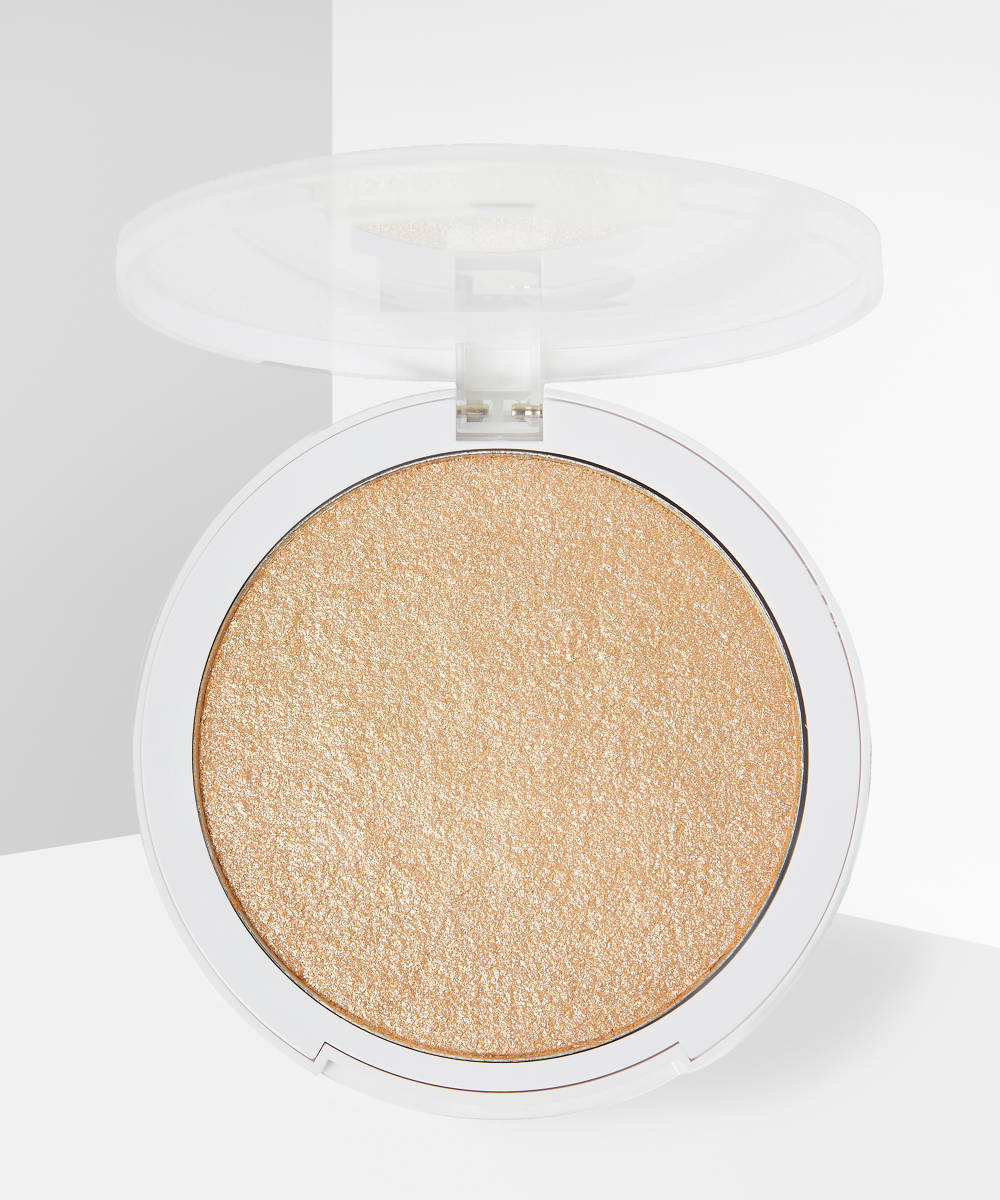
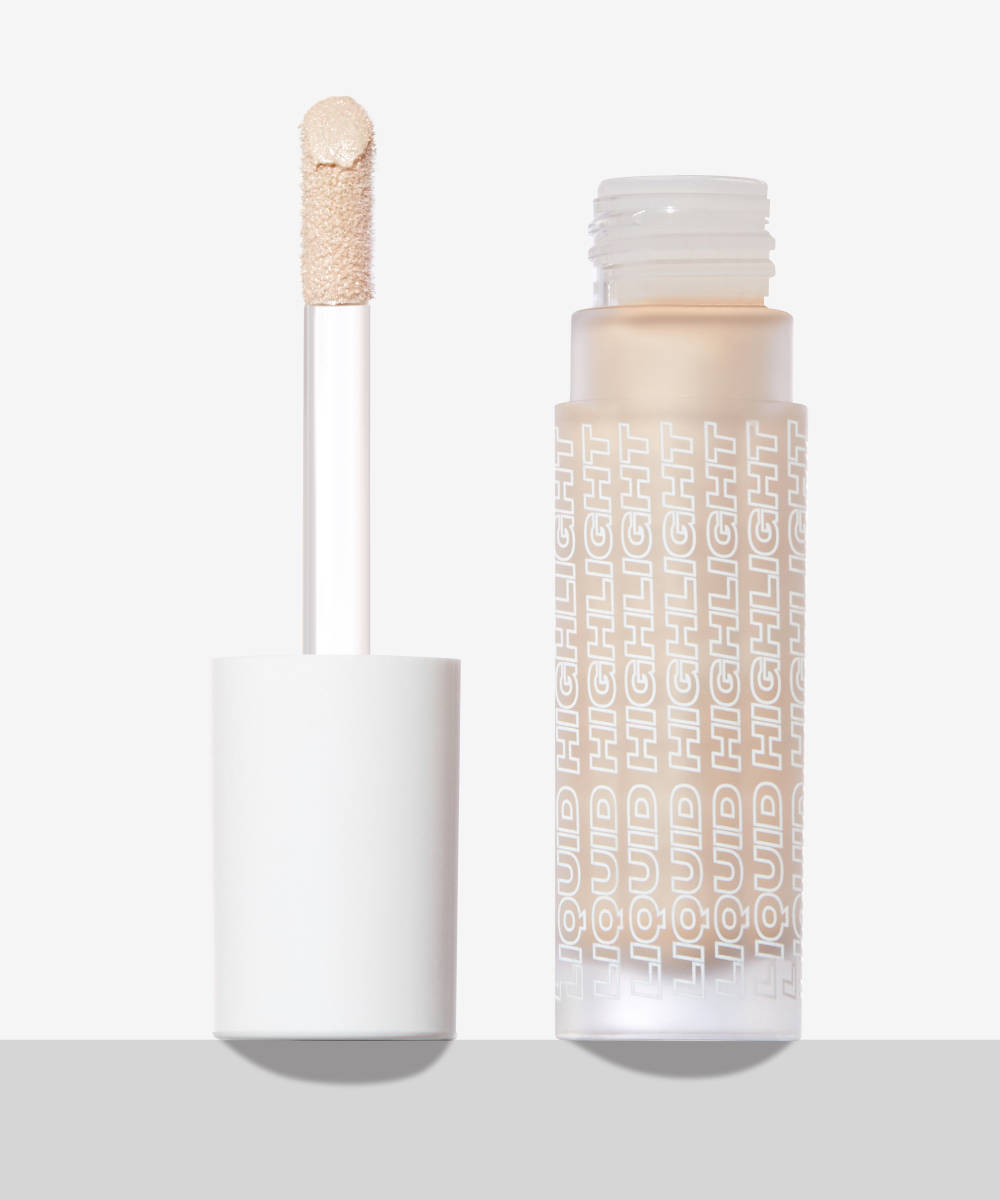
Complete your base by dabbing our Liquid Cream Highlighter to the high points of the face and blend out with a sponge or brush. Next, take our Powder Highlighter and dust over the cheekbones, the nose, the chin, and the forehead with a fluffy brush. To brighten your eyes, add some highlighter to the inner corner of your eyes, too.
Step 12: Line and gloss your lips
Finish your final look by lining the lip with our Lip Liner in a soft pink shade (we recommend Toast). Next, swipe our Super Plump Lip Gloss in the shade Fizz over the lips for an ultra-glossy, plumped effect that leaves a warm nude hint of shimmer.
