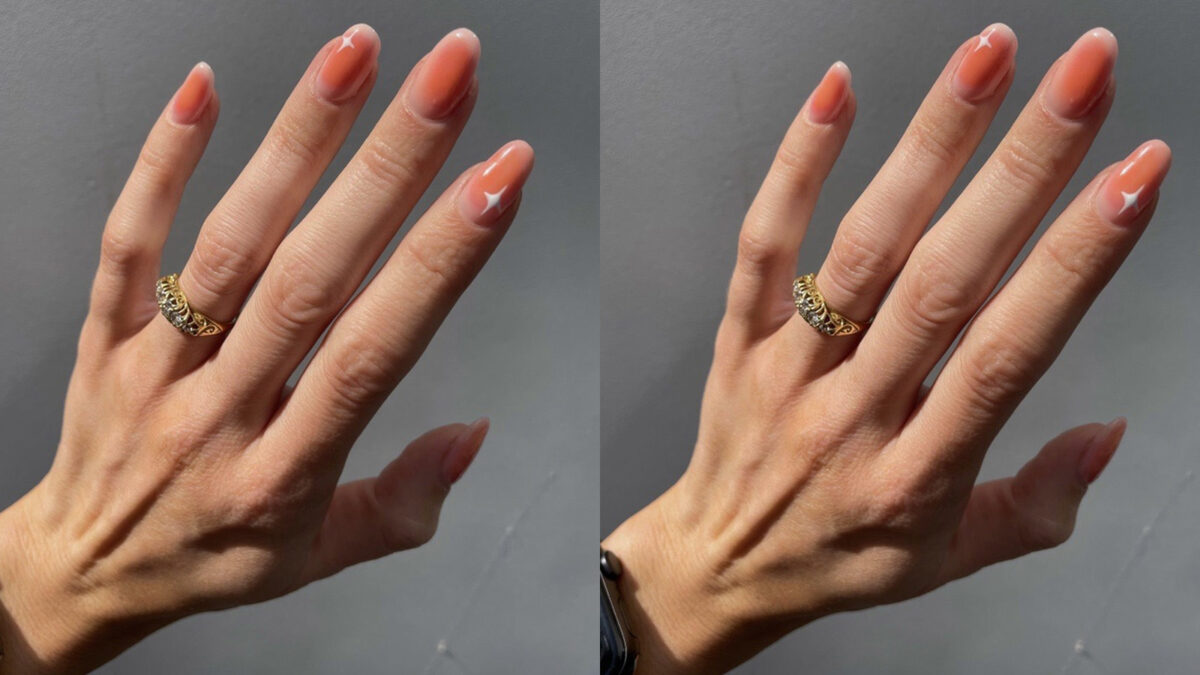
One scroll on Instagram and all we’re seeing is aura nails. According to Google, the word aura means a coloured energy field around a body (or object), and that’s exactly the vibe of these glowing ombre nails. While it may look complicated at first glance, it’s actually super easy, making it a firm favourite amongst beginners and nail tech pros alike.
If you’re desperate to jump on this trend and are wondering how to do aura nails, you’re in the right place. We’ve put together an aura nail tutorial so you can recreate this super-cute design for yourself. Warning: you’re never going to want to take them off.
What are aura nails?
Aura nails are inspired by the concept of an aura, a colourful energy surrounding a person or thing. Otherwise known as airbrush or blush nails, this design features an ethereal blend of colours radiating from the centre of the nail outwards, creating a blurry, gradient effect. They can be achieved using various techniques such as airbrushing, sponging, or carefully blending polishes to create a seamless transition of hues without any harsh lines. The result is a dreamy, hazy look that’s perfect for all occasions.
How to do the aura nail trend
Want to join the aura nail hype but not sure where to start? Scroll down for our step-by-step guide to achieving your trendiest set yet.
Step 1: Prep your nails
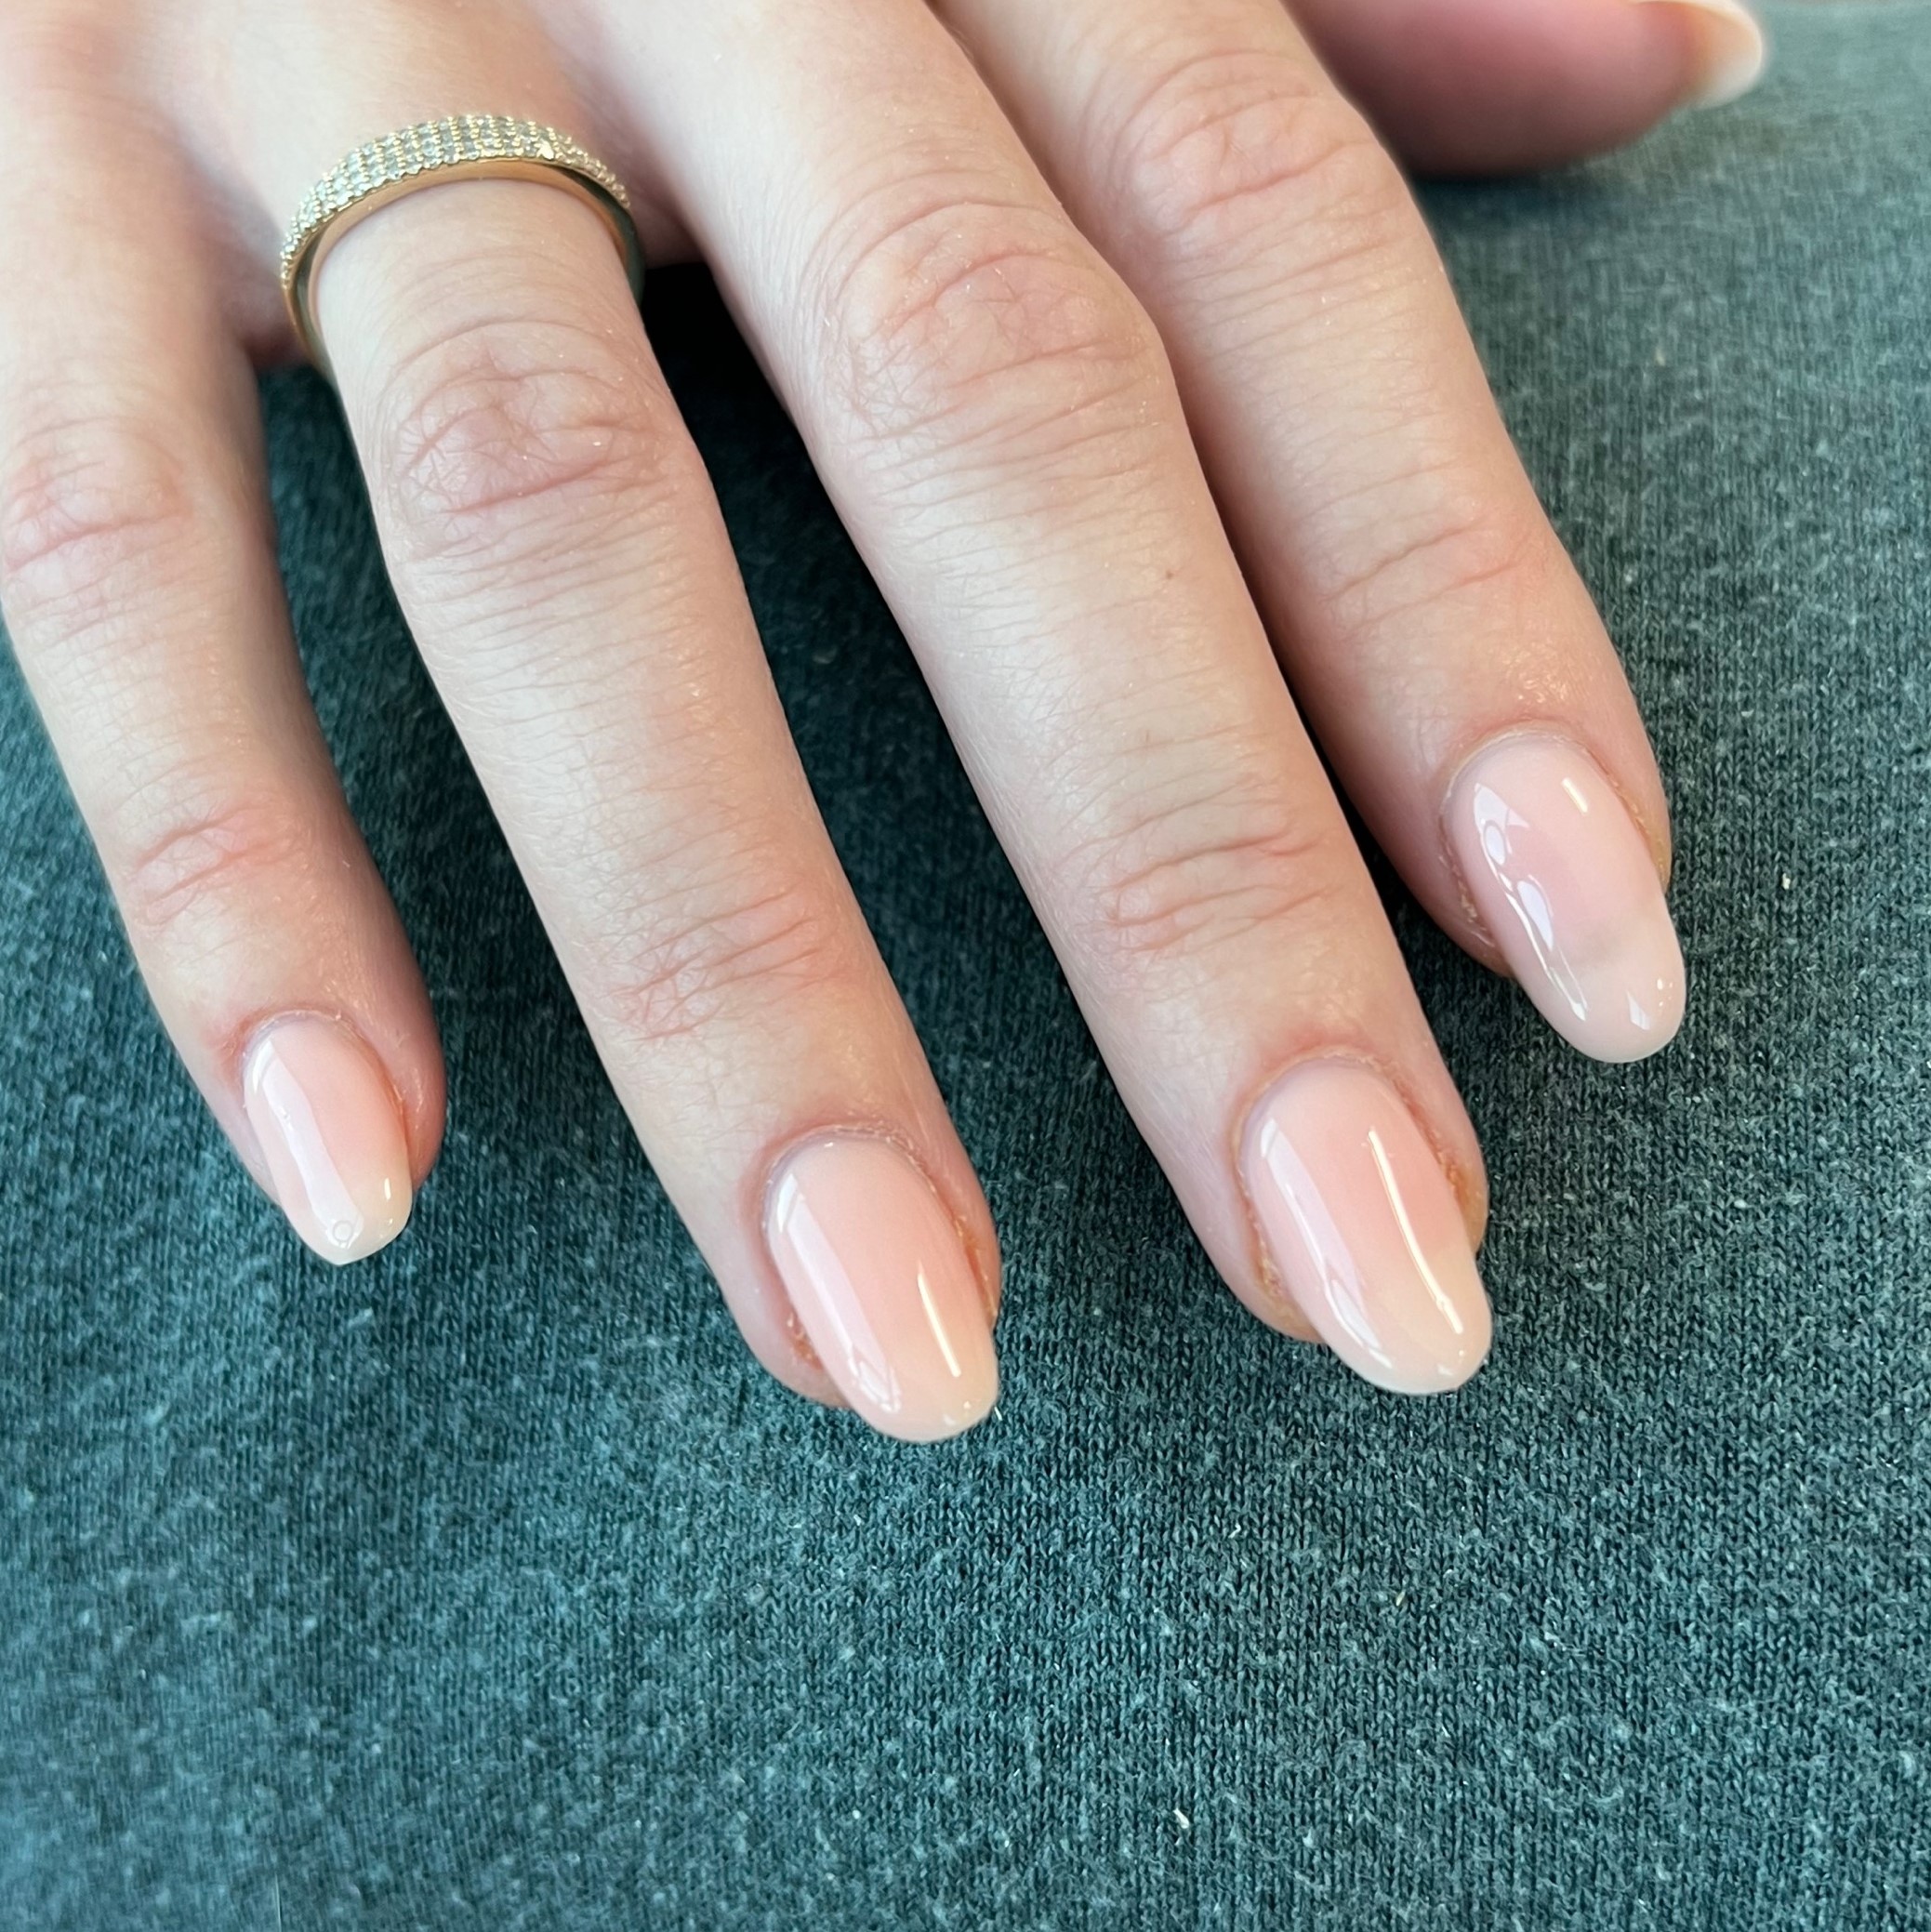
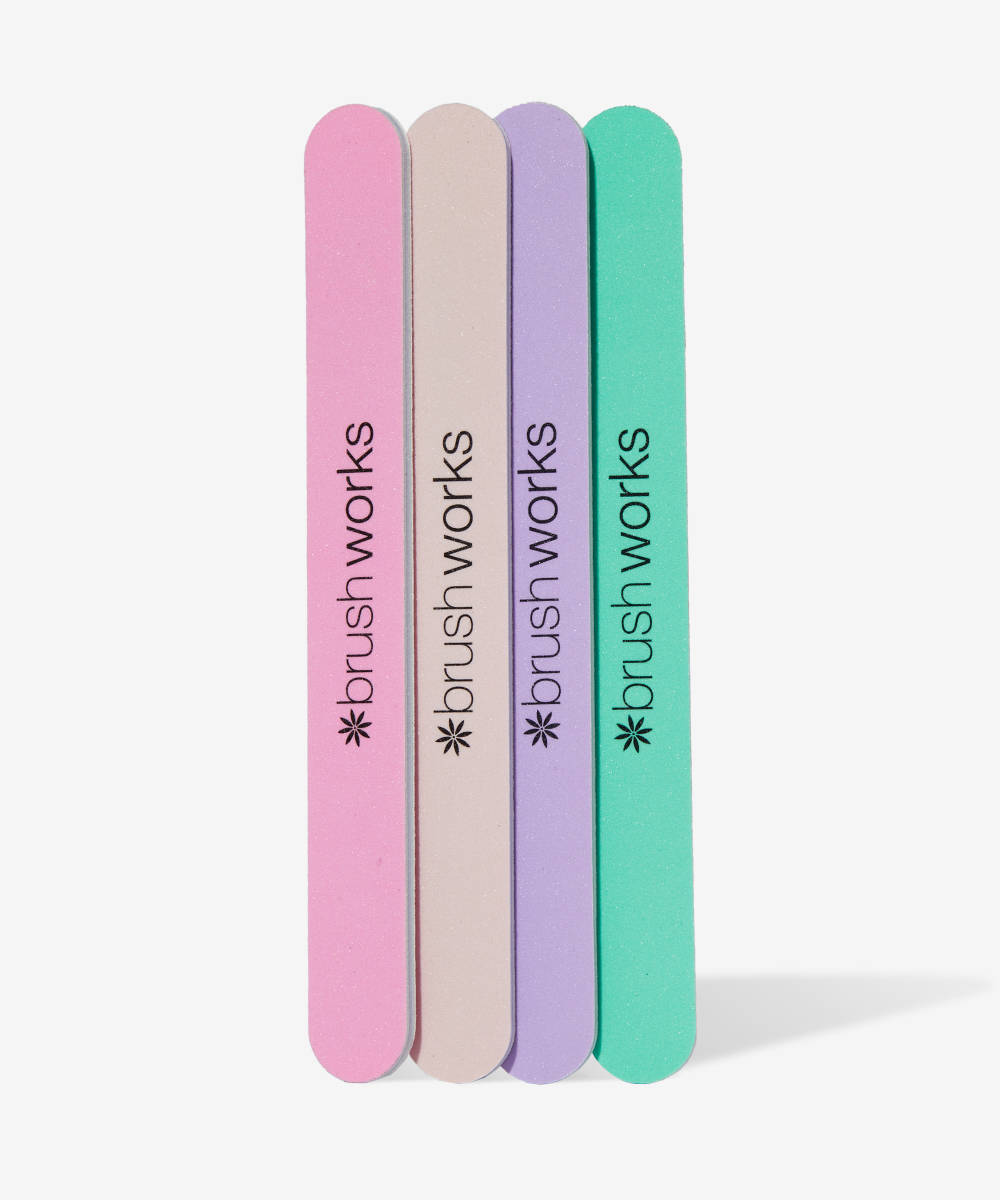
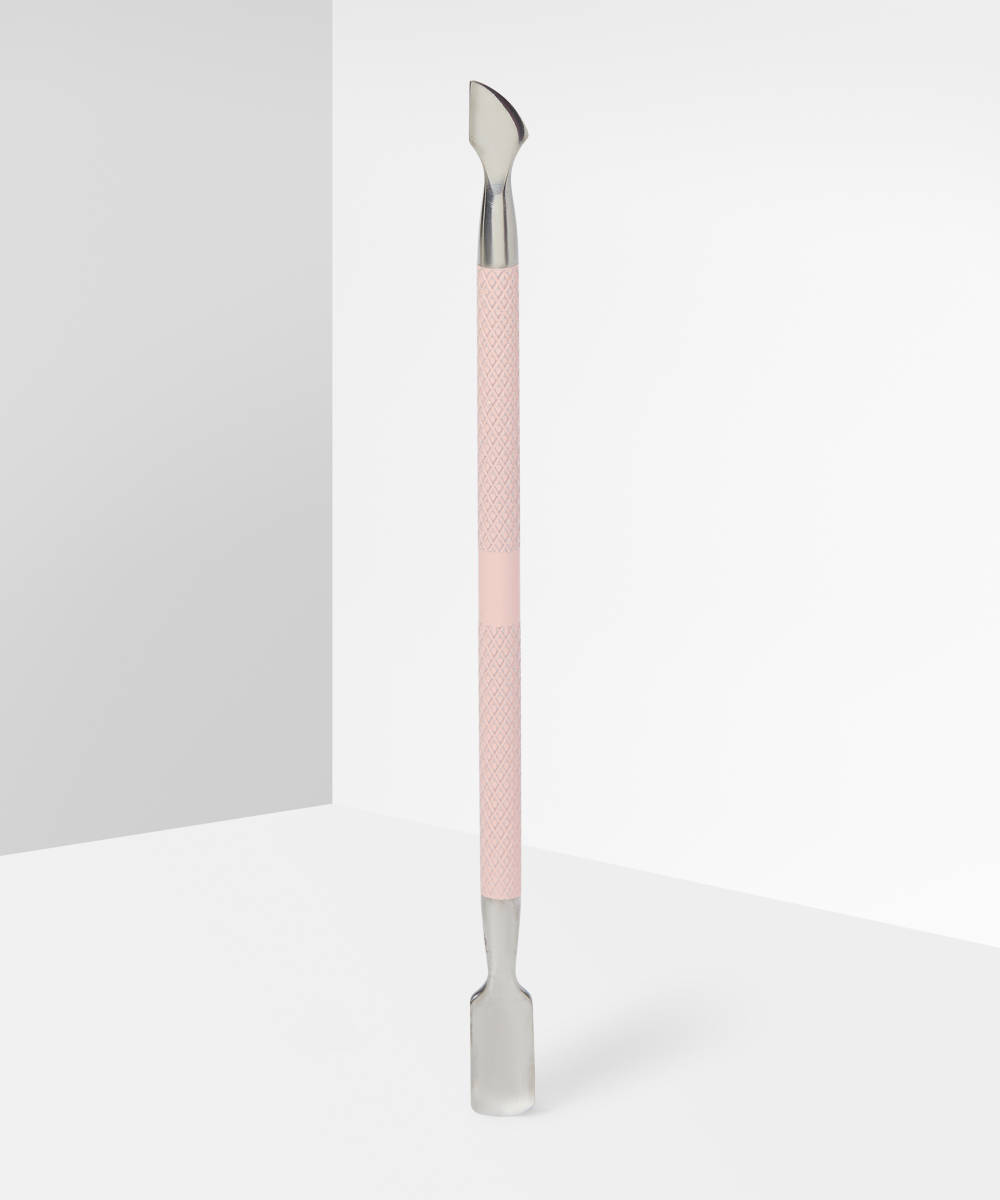
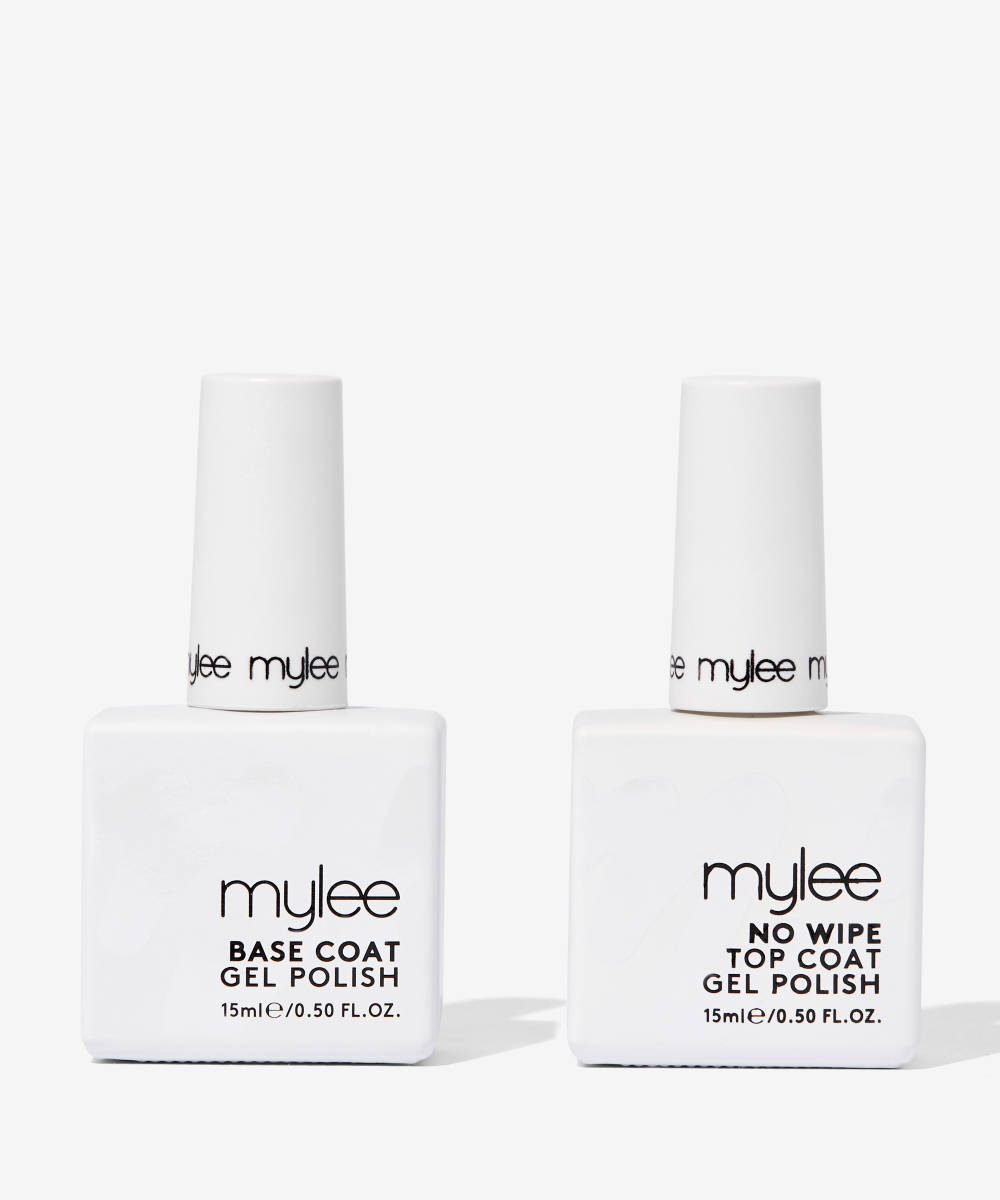
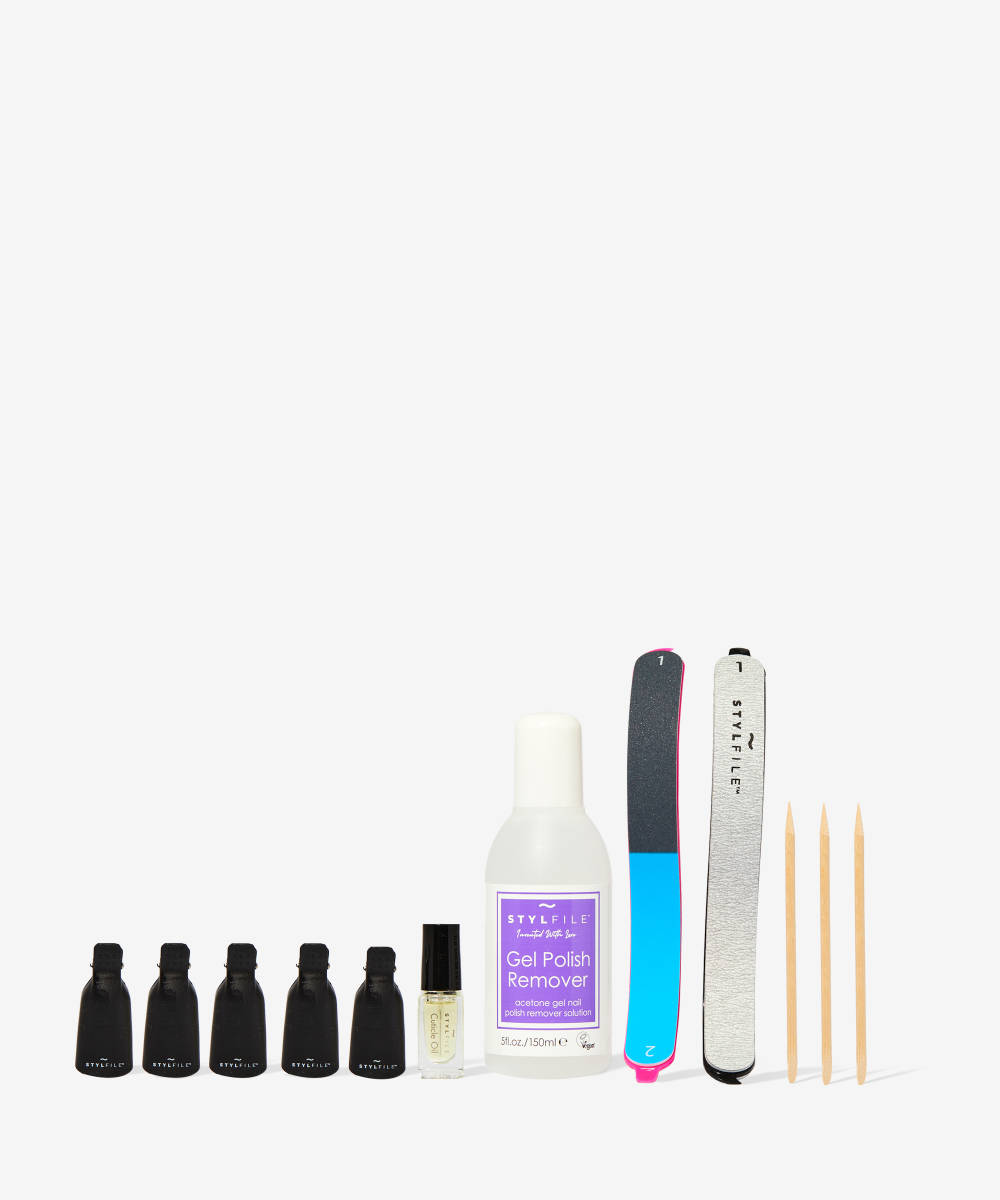
As always, start out by prepping and filing your nails into shape with a nail file and cuticle pusher. We’ve opted for a rounded edge, but feel free to go for a square tip if you wish. Then apply a base coat and a pinky nude base (remember to use thin coats and let them dry in between).
Step 2: Stipple your colour
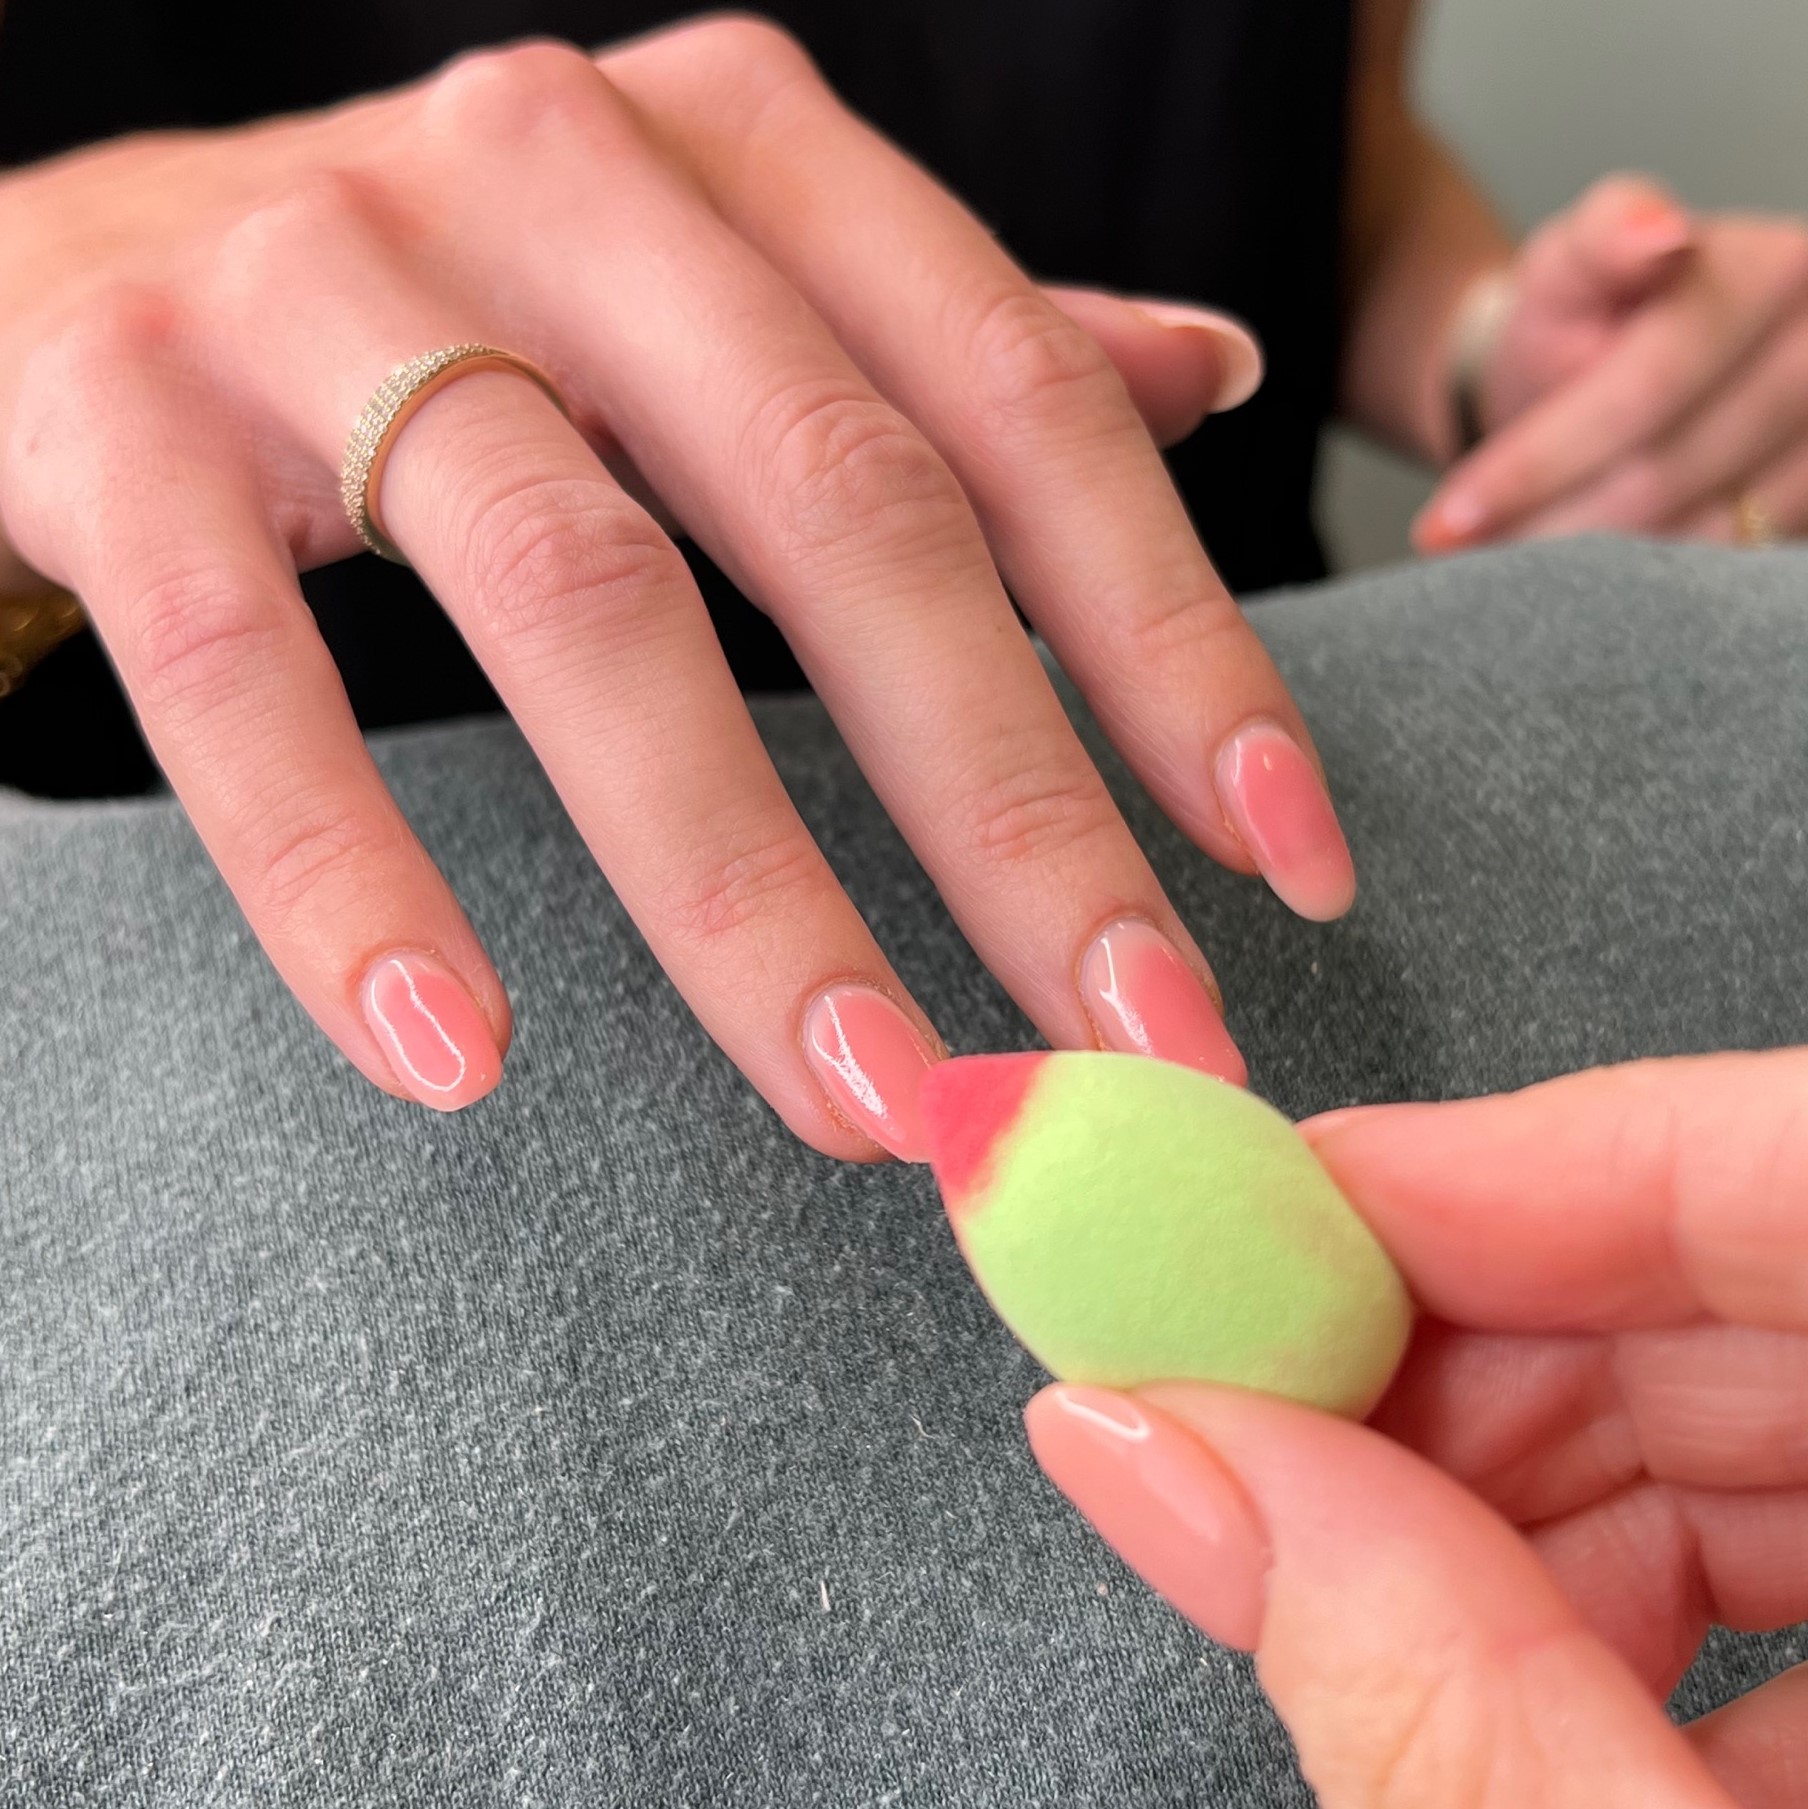
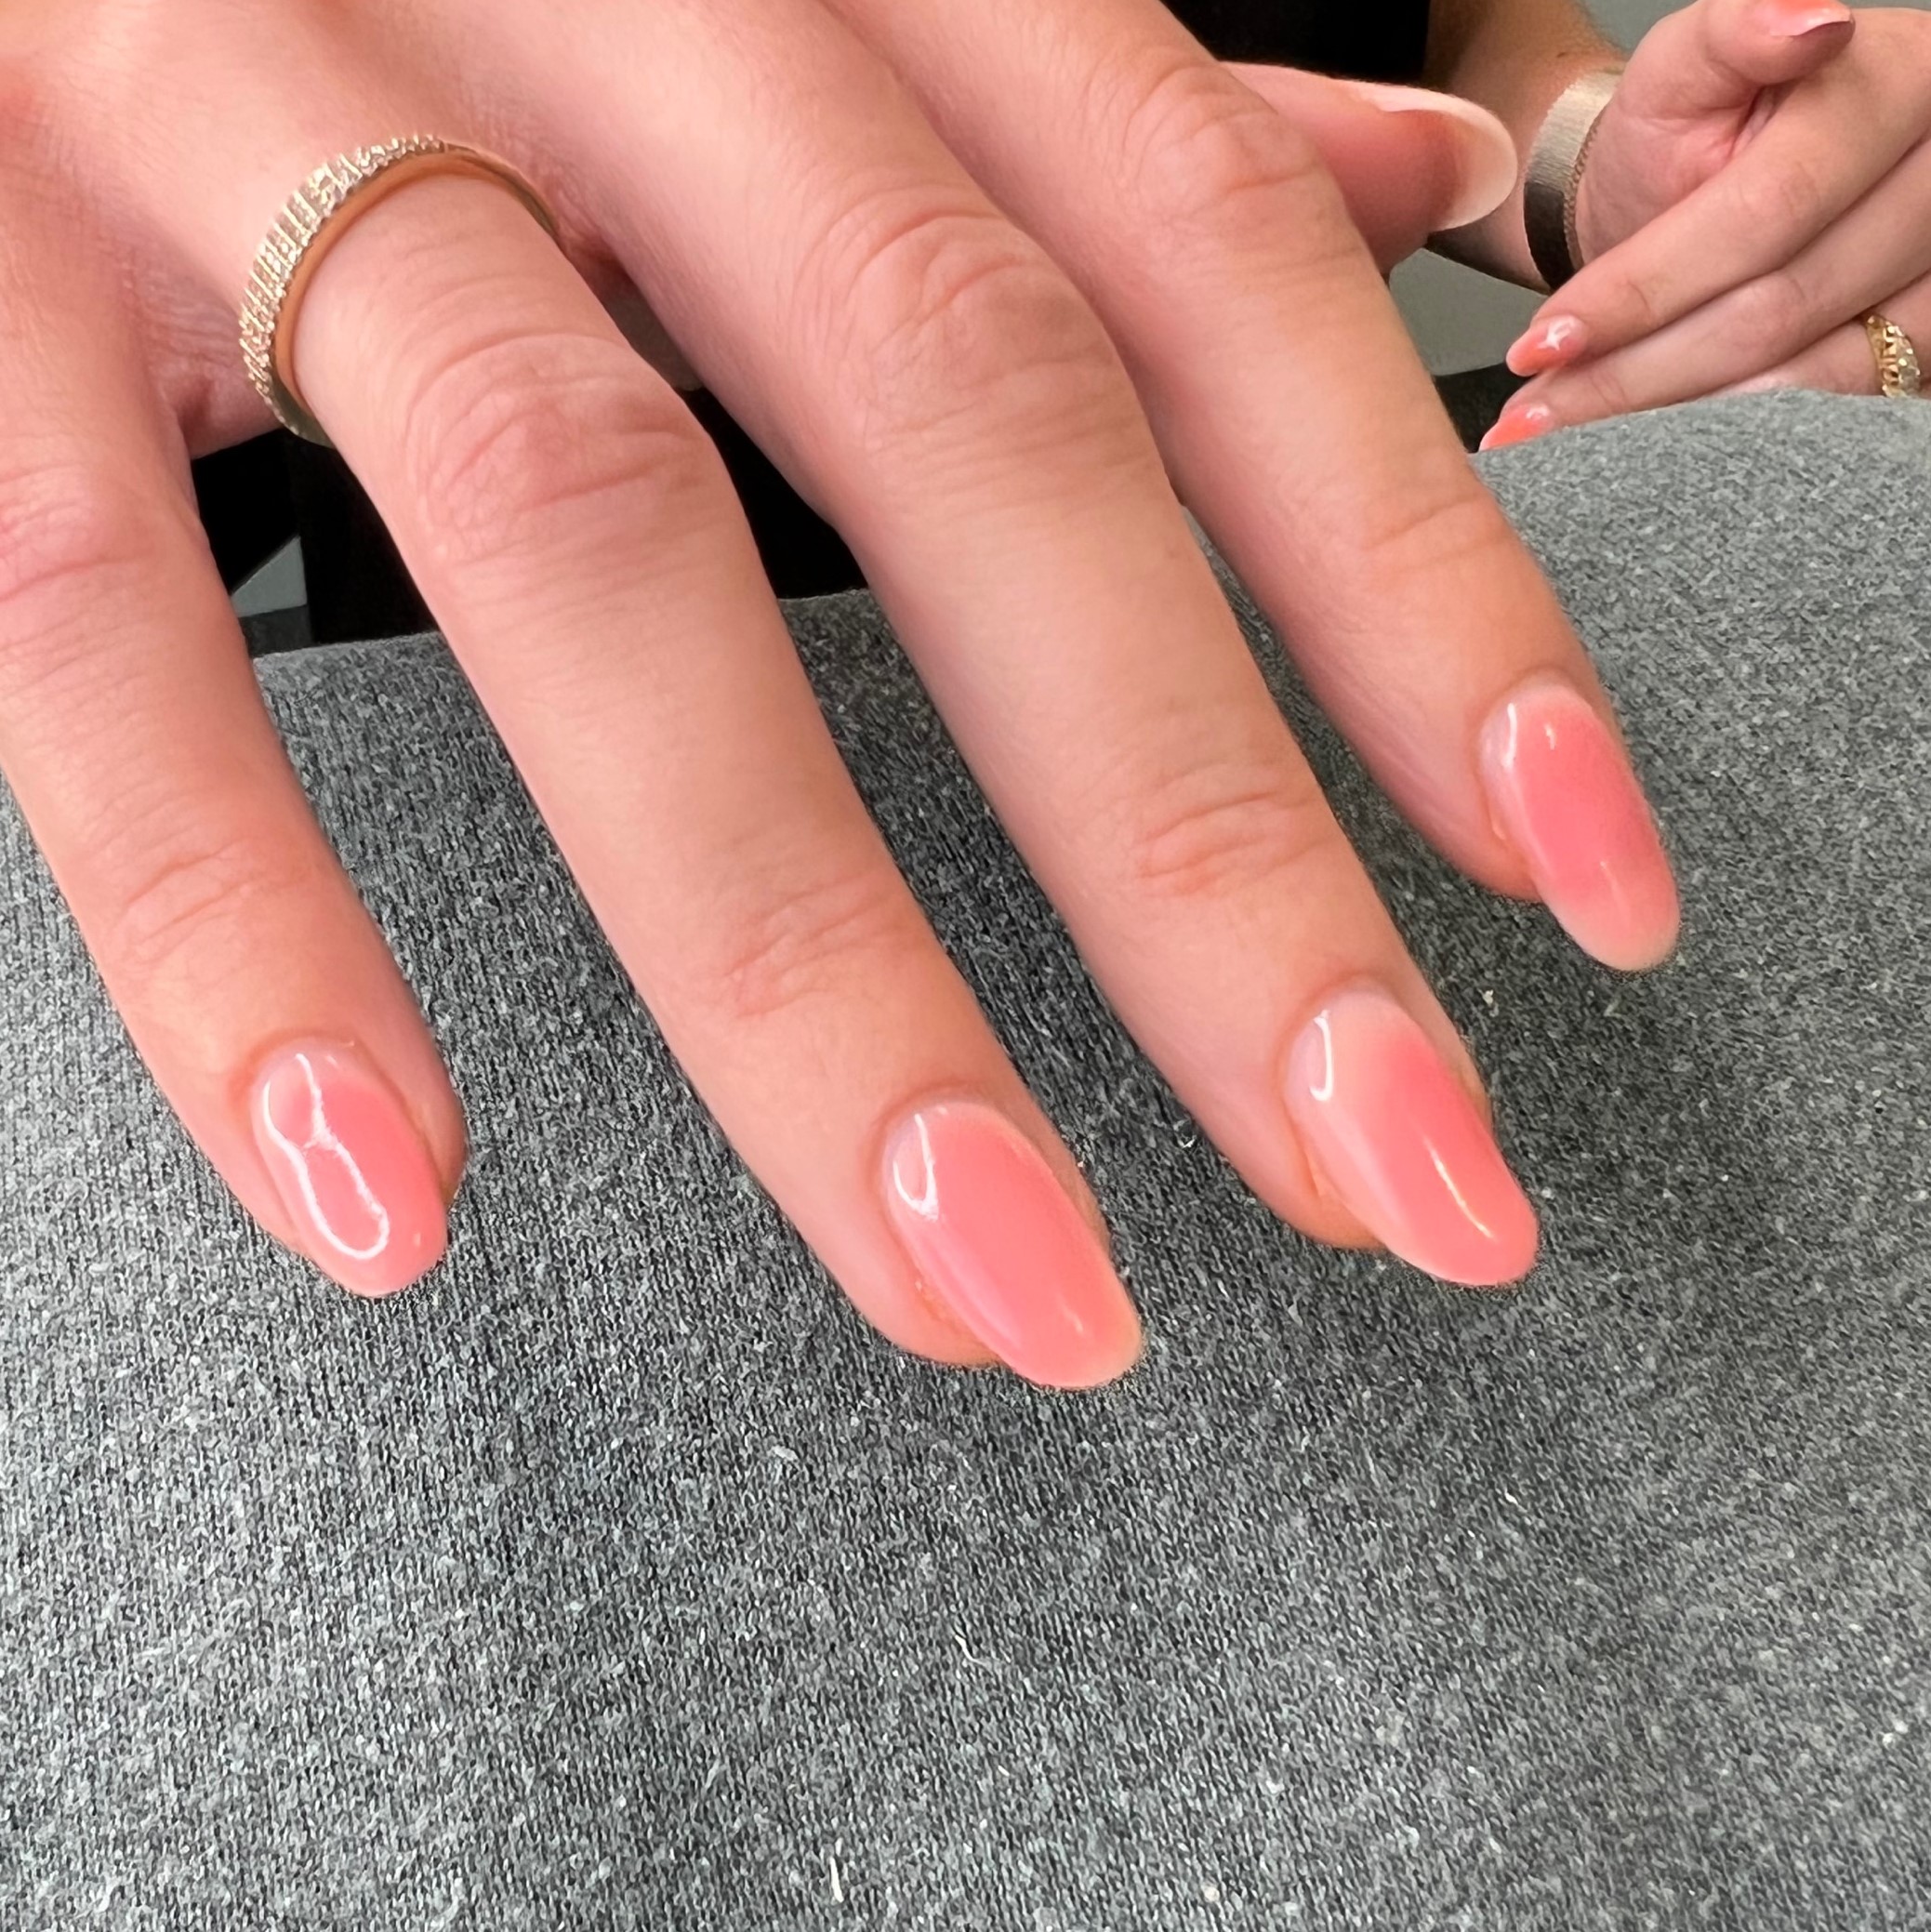
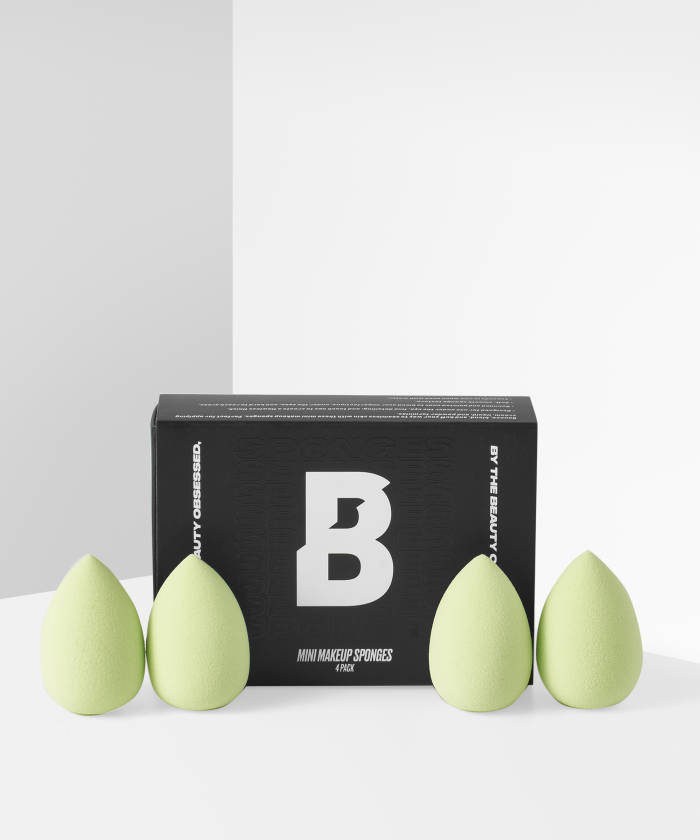
Using a small sponge, (FYI: we used the By BEAUTY BAY Mini Makeup Sponges) start by slowly stippling on your colour, in the centre of the nail. We’ve chosen a pinky red shade.
Step 3: Repeat until the centre is opaque
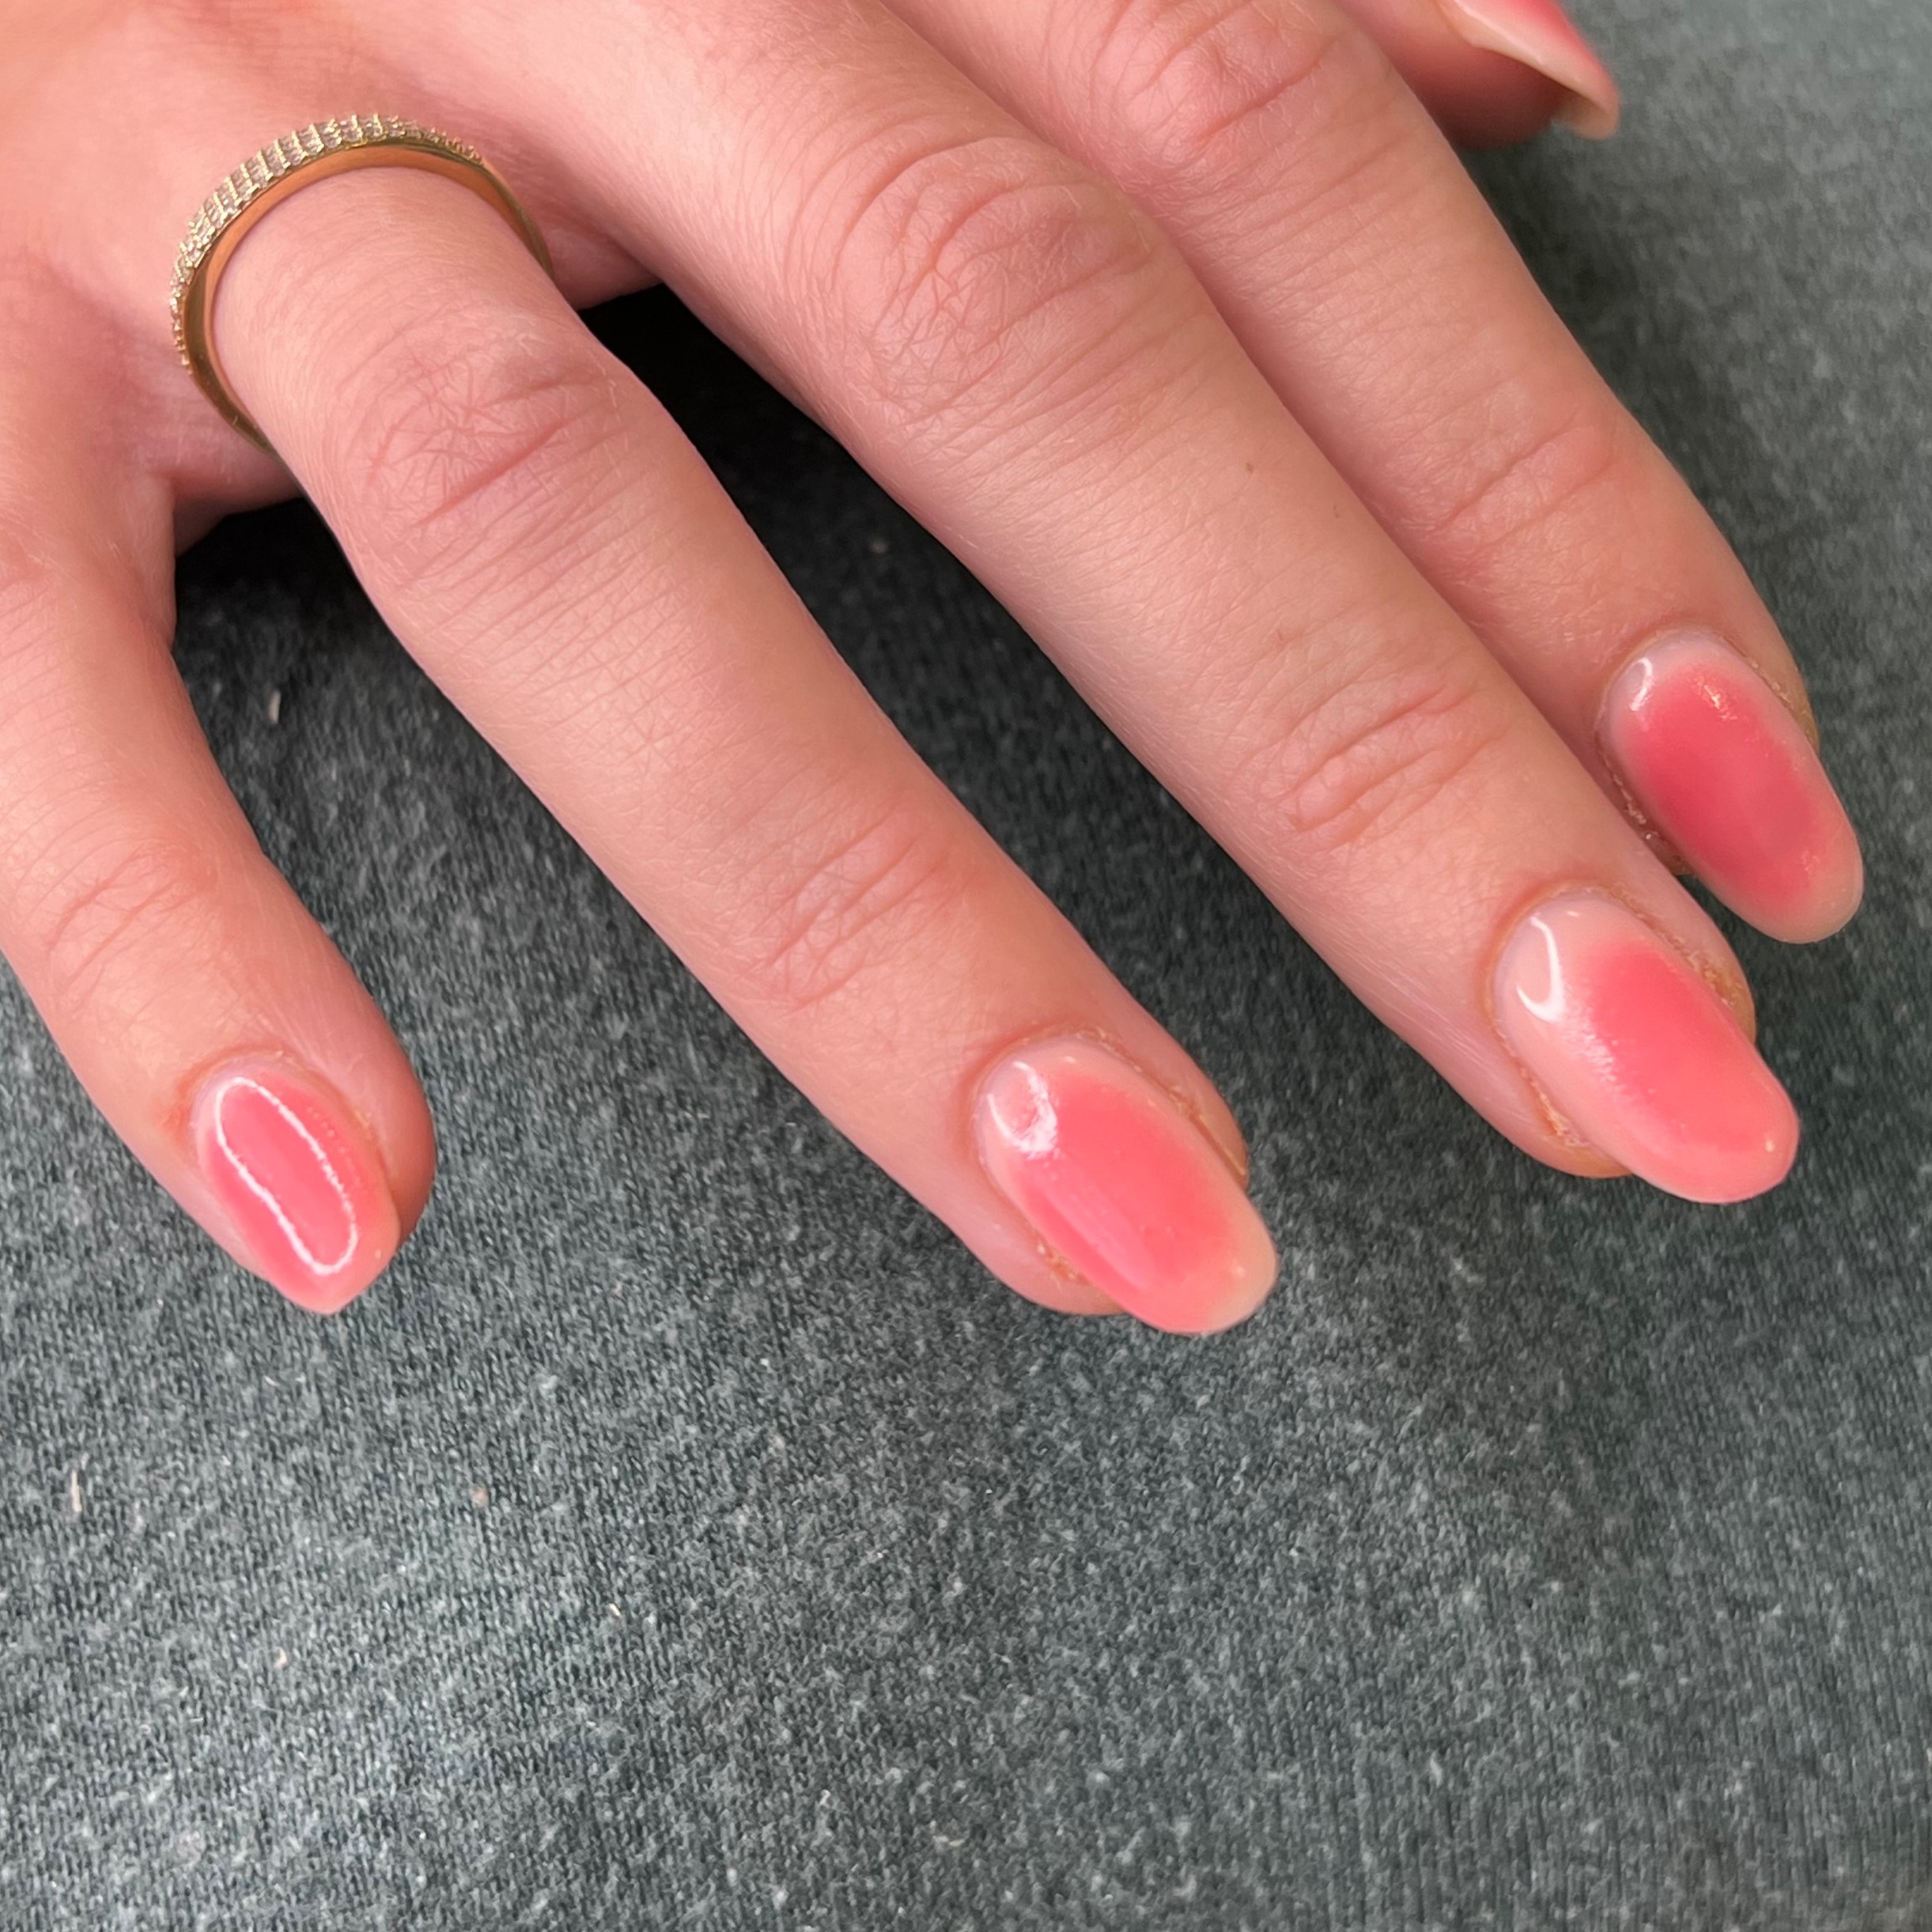
When your first coat is dry (or cured if you decide to use gel polish), repeat that step until the colour is opaque in the centre, but keep the edges blurred, this is how we are going to achieve that ombre blurred effect.
Step 4: Create your ombre effect
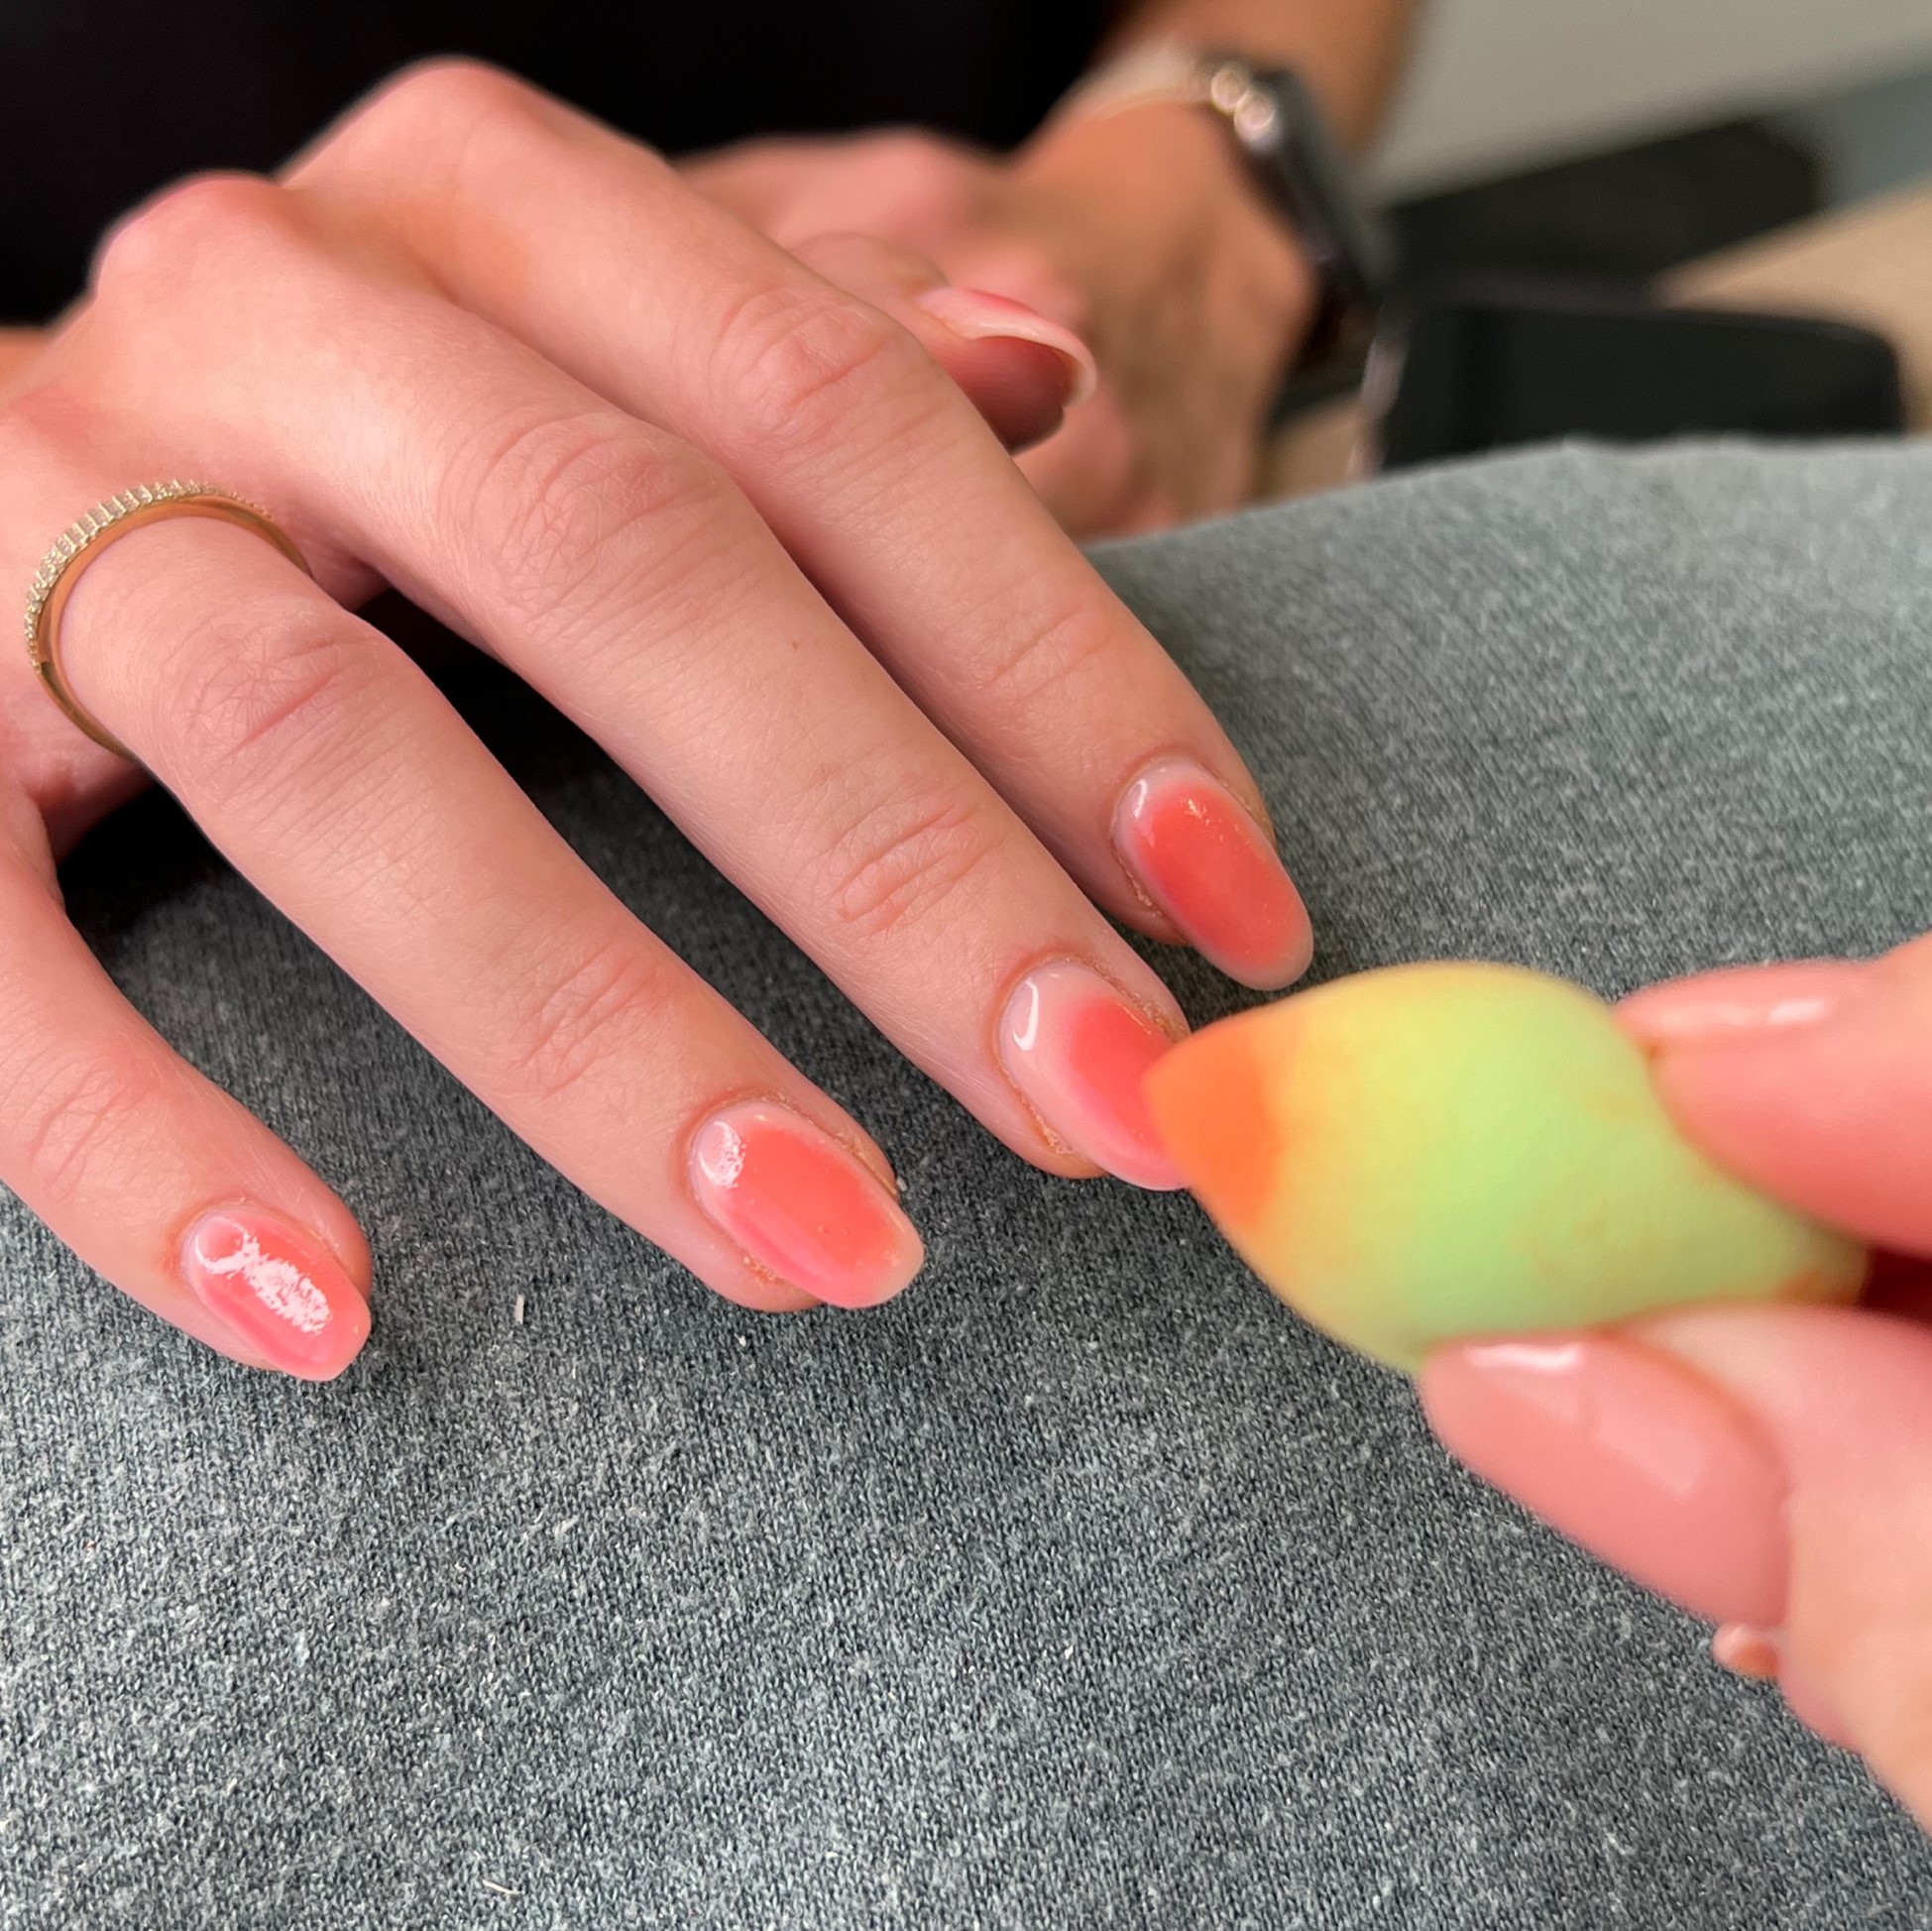
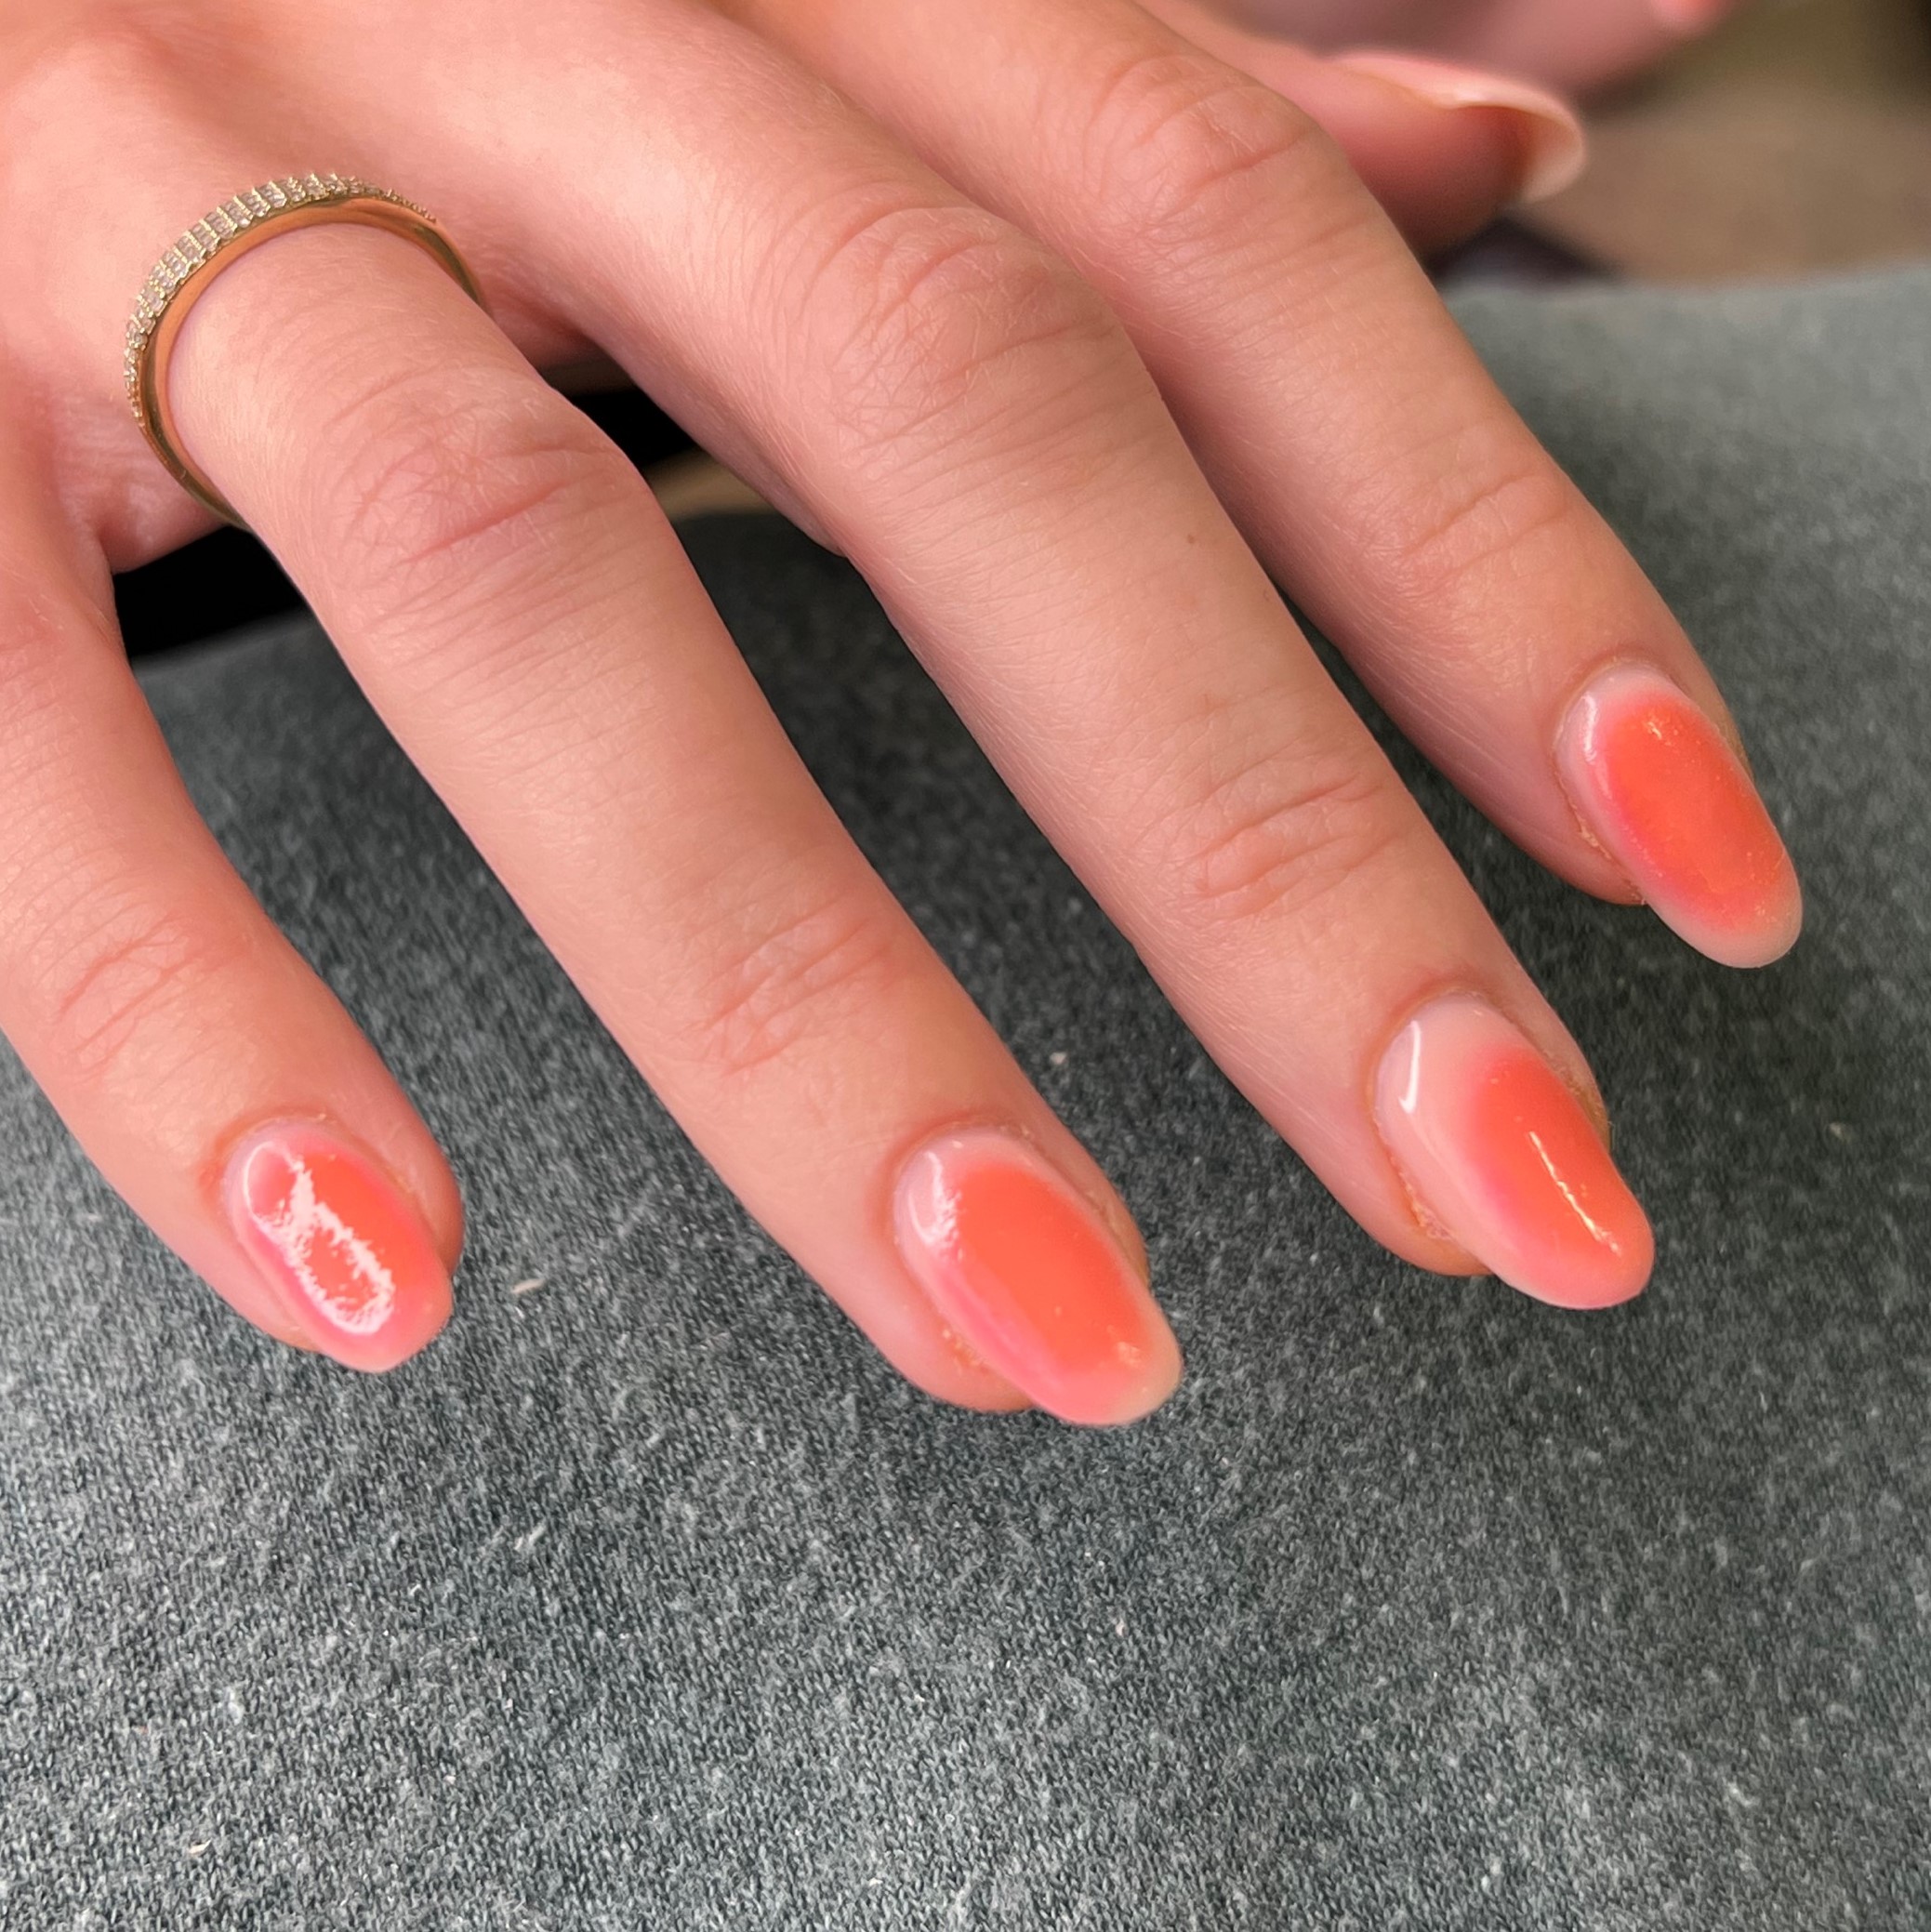
With your second colour (we’ve opted for a sweet orange shade), repeat step two and stipple your colour in the centre with another mini sponge. Try and keep this colour more in the centre and don’t cross too much into your first colour. Remember to always make sure your previous coat is dry before the next. Hello ombré.
Step 5: Add stars
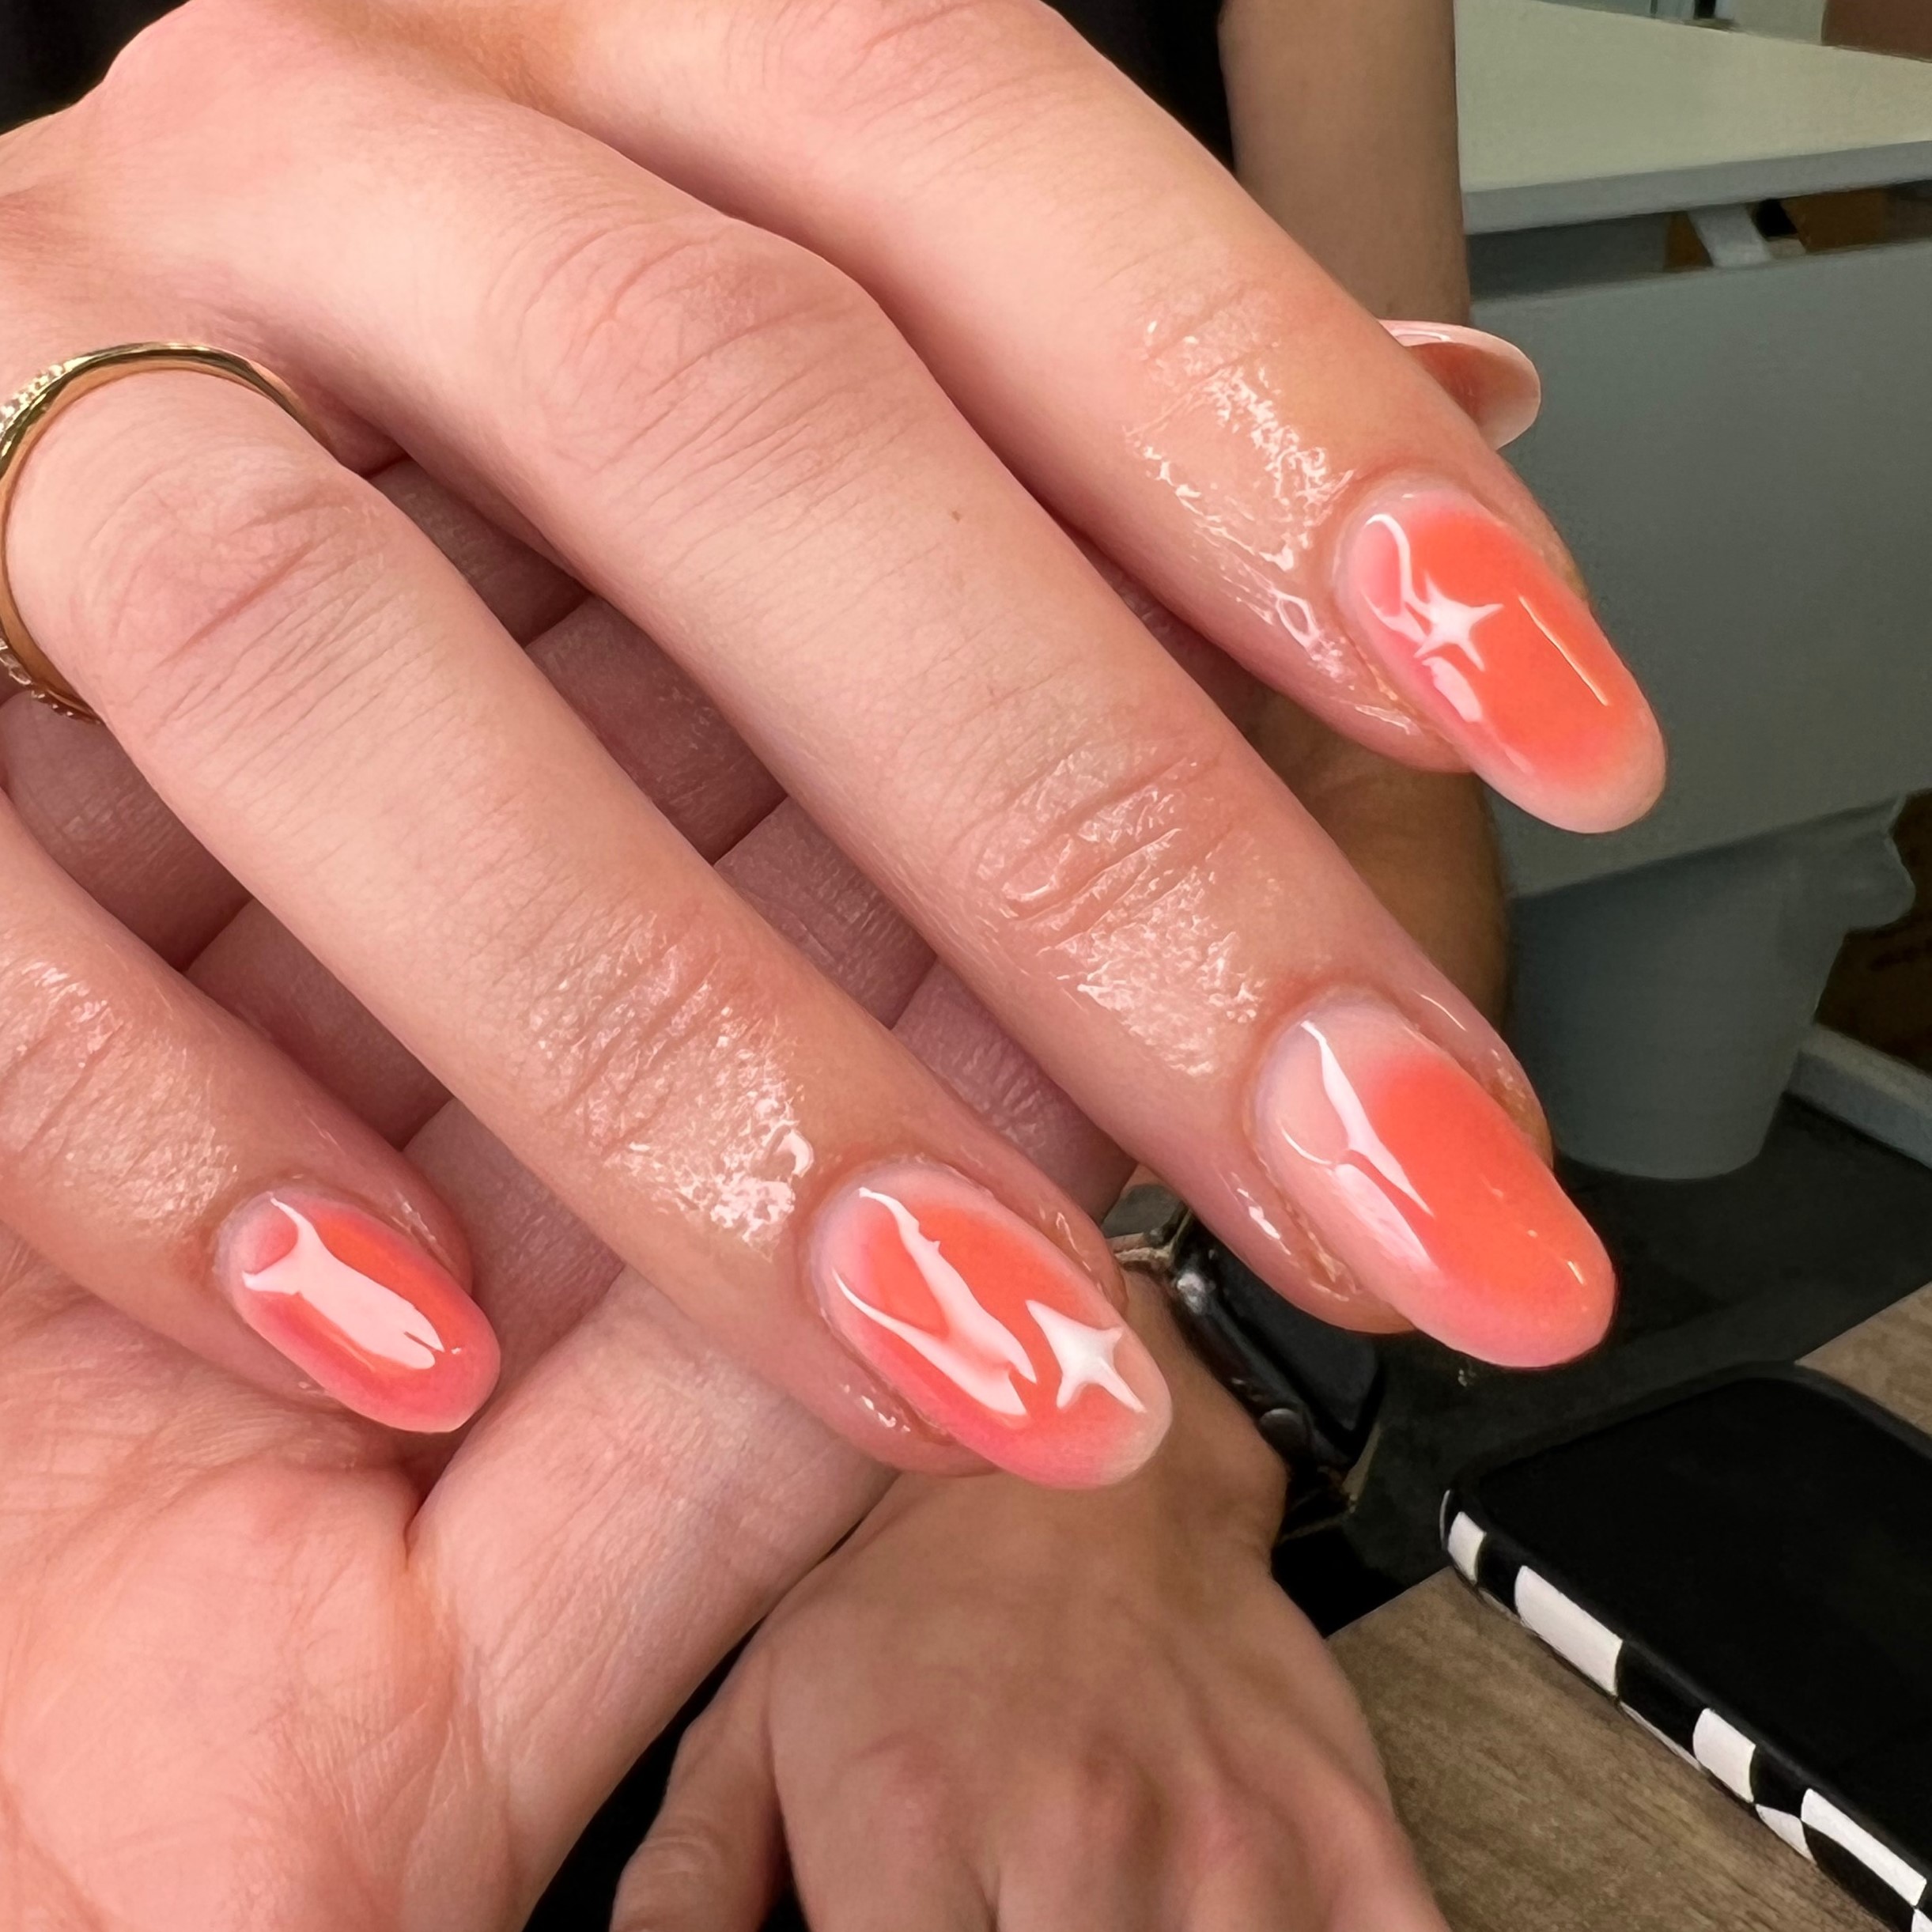
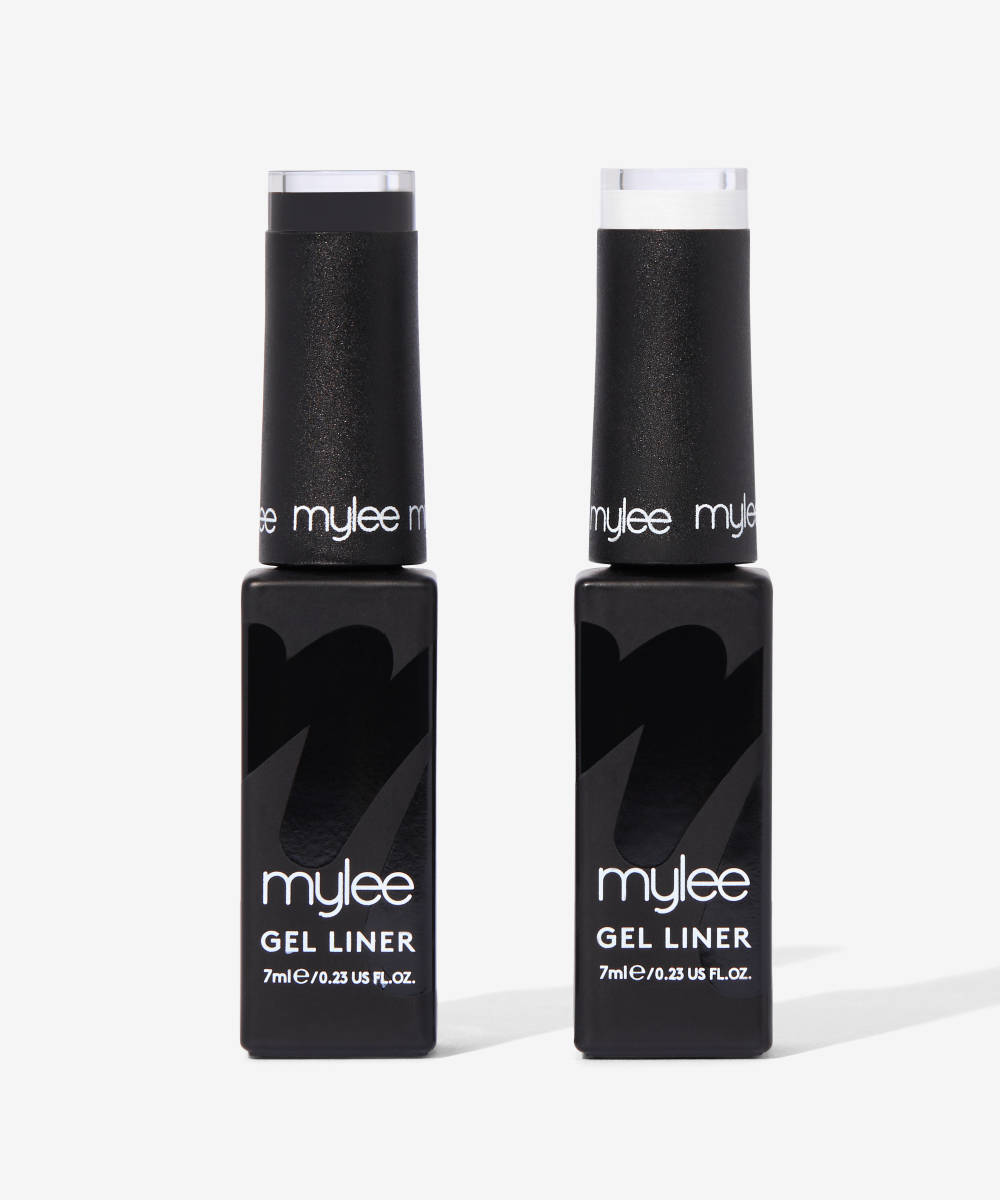
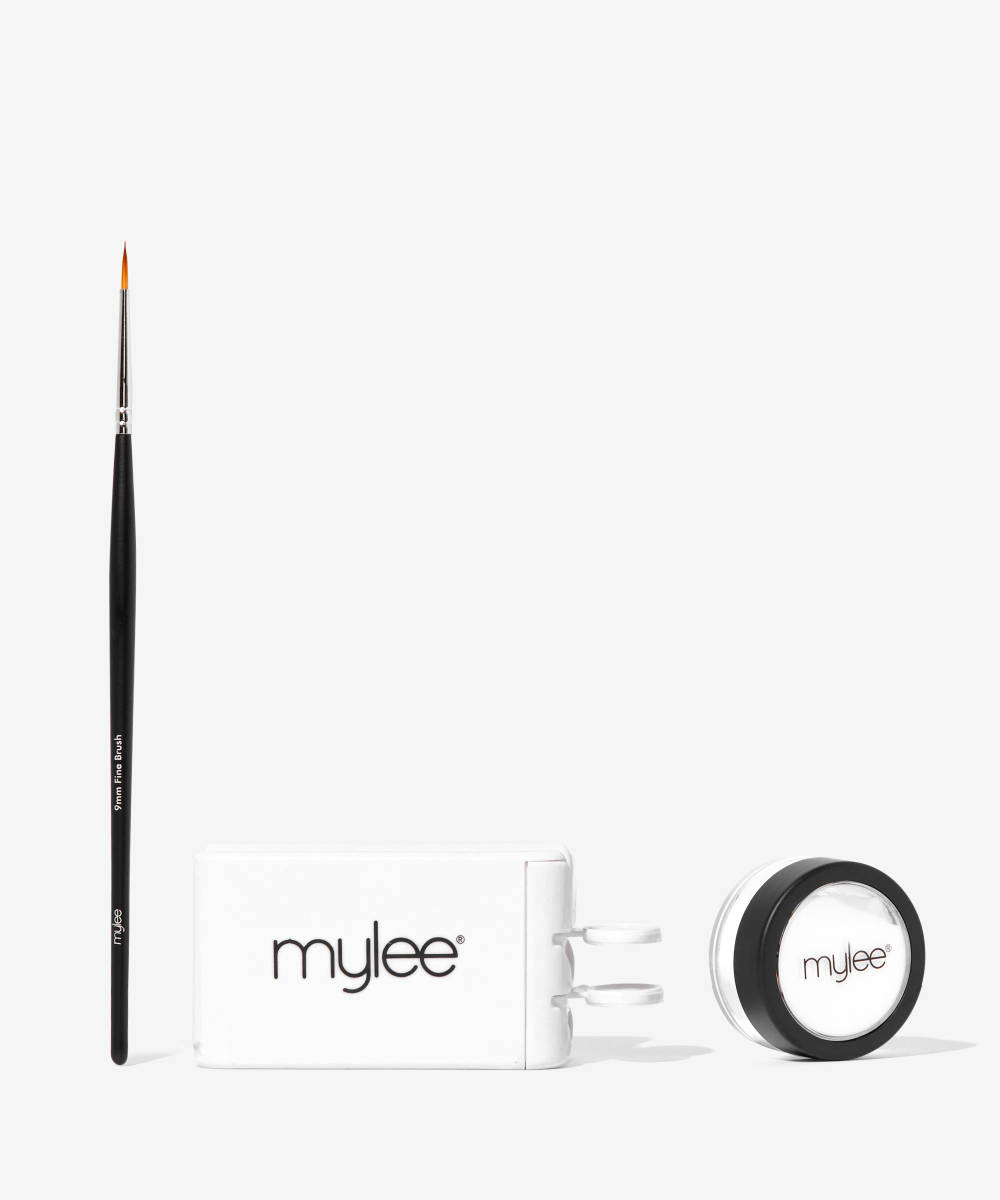
On the index and ring finger, use a white polish to draw on two stars. Don’t worry, we have the tutorial for that right here.
Step 6: Apply your top coat and oil
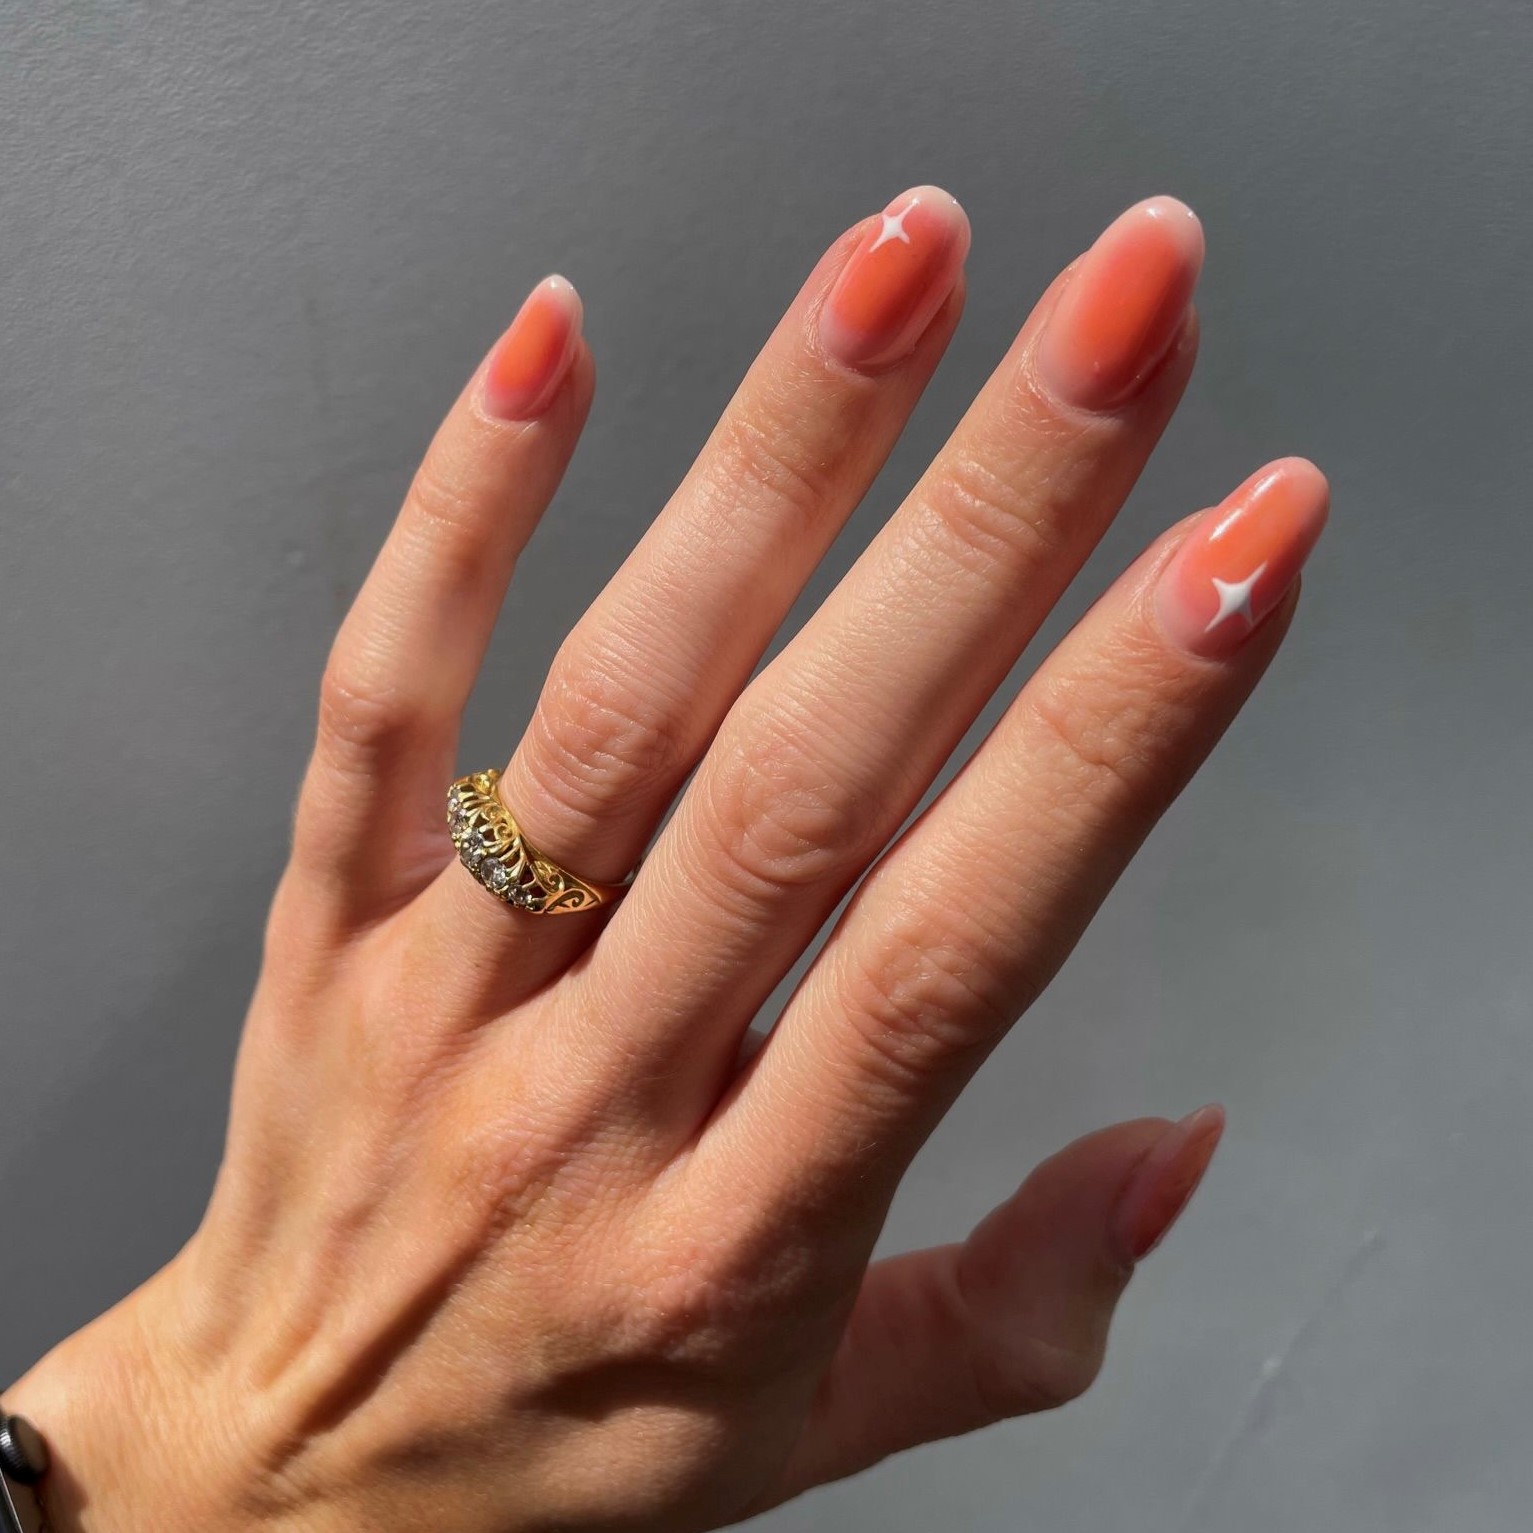
Once your polish is dry, apply a top coat to lock your design in and prevent chipping. And once your top coat is completely dry, apply cuticle oil to the cuticles to keep your nails healthy and strong.
