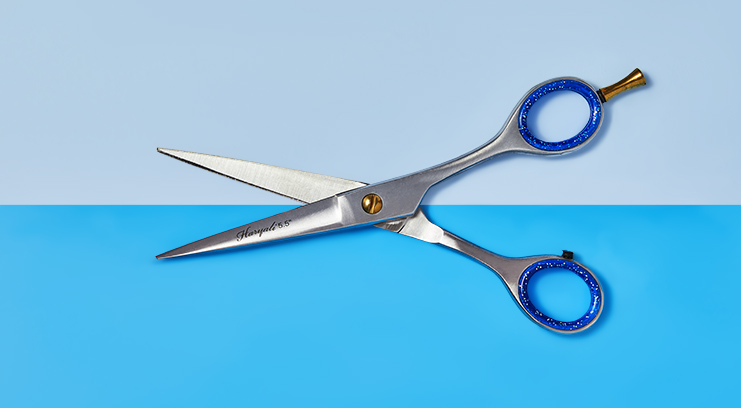
We’d normally recommend saving a fringe trim for the pros – we’ve all seen those viral ‘don’t trim your own fringe’ pictures… But since the current situation offers no alternative but to take matters (and scissors) into your own hands, we tapped into the advice of a hairstyling pro to help you keep your overgrown fringe, split ends, and grown out layers at bay.
“It’s not about attempting to replace your hairdresser” says Melissa Timperley (award winning hairstylist and owner of Melissa Salons), “instead it’s a case of employing simple techniques that will help to keep things in check for the timebeing.”
Grab a comb and some sharp scissors and scroll down for Melissa’s fringe trimming tutorial.
ONE
Start by blowdrying your fringe – to make sure it’s straight, blowdry it from side to side and then smooth over it with the straighteners.
TWO
Section your fringe into three even parts and clip the side two parts out of the way, so that only the centre of your fringe hangs down.
THREE
Comb through your fringe from behind, pausing at the bottom before you remove the comb from your hair and keep it here.
FOUR
Never cut your fringe straight across. Instead point the scissors upwards and use the very tips of the blades to cut in tiny triangles.
FIVE
Unclip the rest of your fringe – make sure you clip back the lengths of your hair so that they’re out of the way.
SIX
Use the same snipping technique on the side sections of your fringe. If you have a rounded fringe, hold your comb at an angle (following the angle of your fringe) and cut away from your face, but if you have a blunt fringe, hold it straight across and cut upwards.
SEVEN
Once you’re happy with the length you can soften the results by using the comb to hold your fringe away from your face and cutting up into the hair. Be careful not to take off big chunks.
EIGHT
Keep combing your fringe through to make sure everything is working together and spot any areas that need levelling.

