Like all events, we like to drag Halloween out. October is a month for spooky vibes, so for anyone who says Halloween nail art is pointless- take those negative vibes elsewhere.
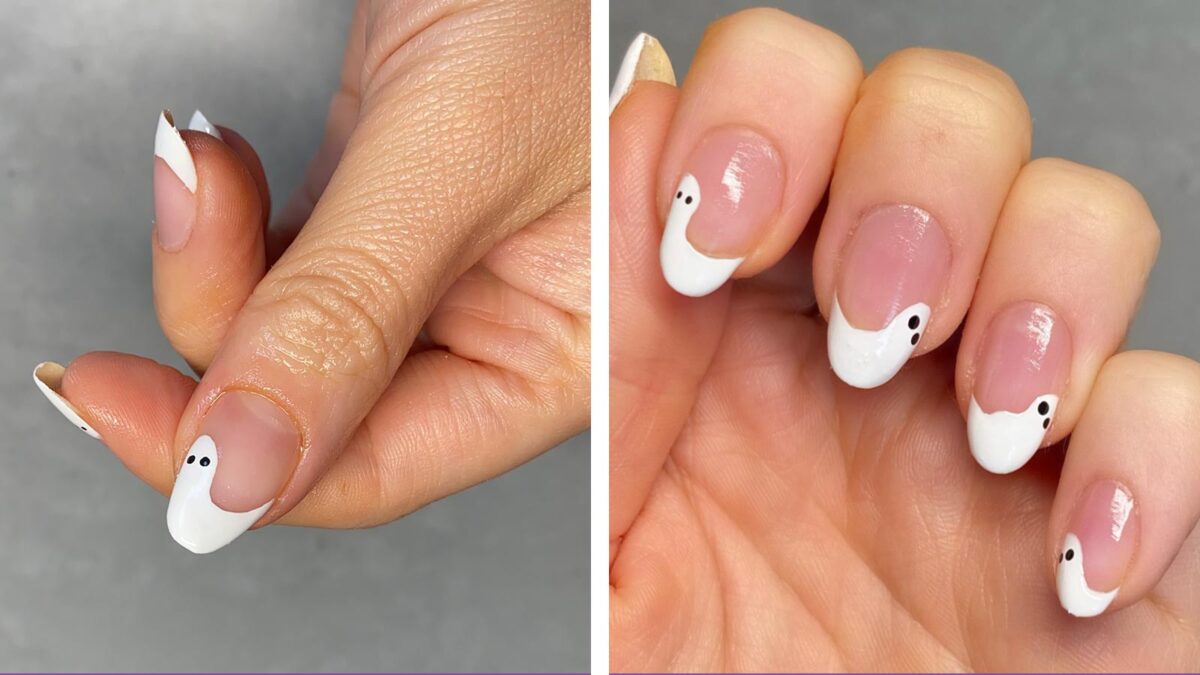
Halloween doesn’t have to be all about blood and gore, we’ve got the proof right here with this fun ghost design, that you can easily replicate at home.
We’ve already covered the basics with our beginner’s guide on How To Paint Your Nails Perfectly, Every Single Time, but for Halloween, we’re moving up a level. Scroll to find out how to achieve this ghost tip design, that’s easy-peasy, spooky-szn ready and most importantly- perfect for beginners.
Step One:
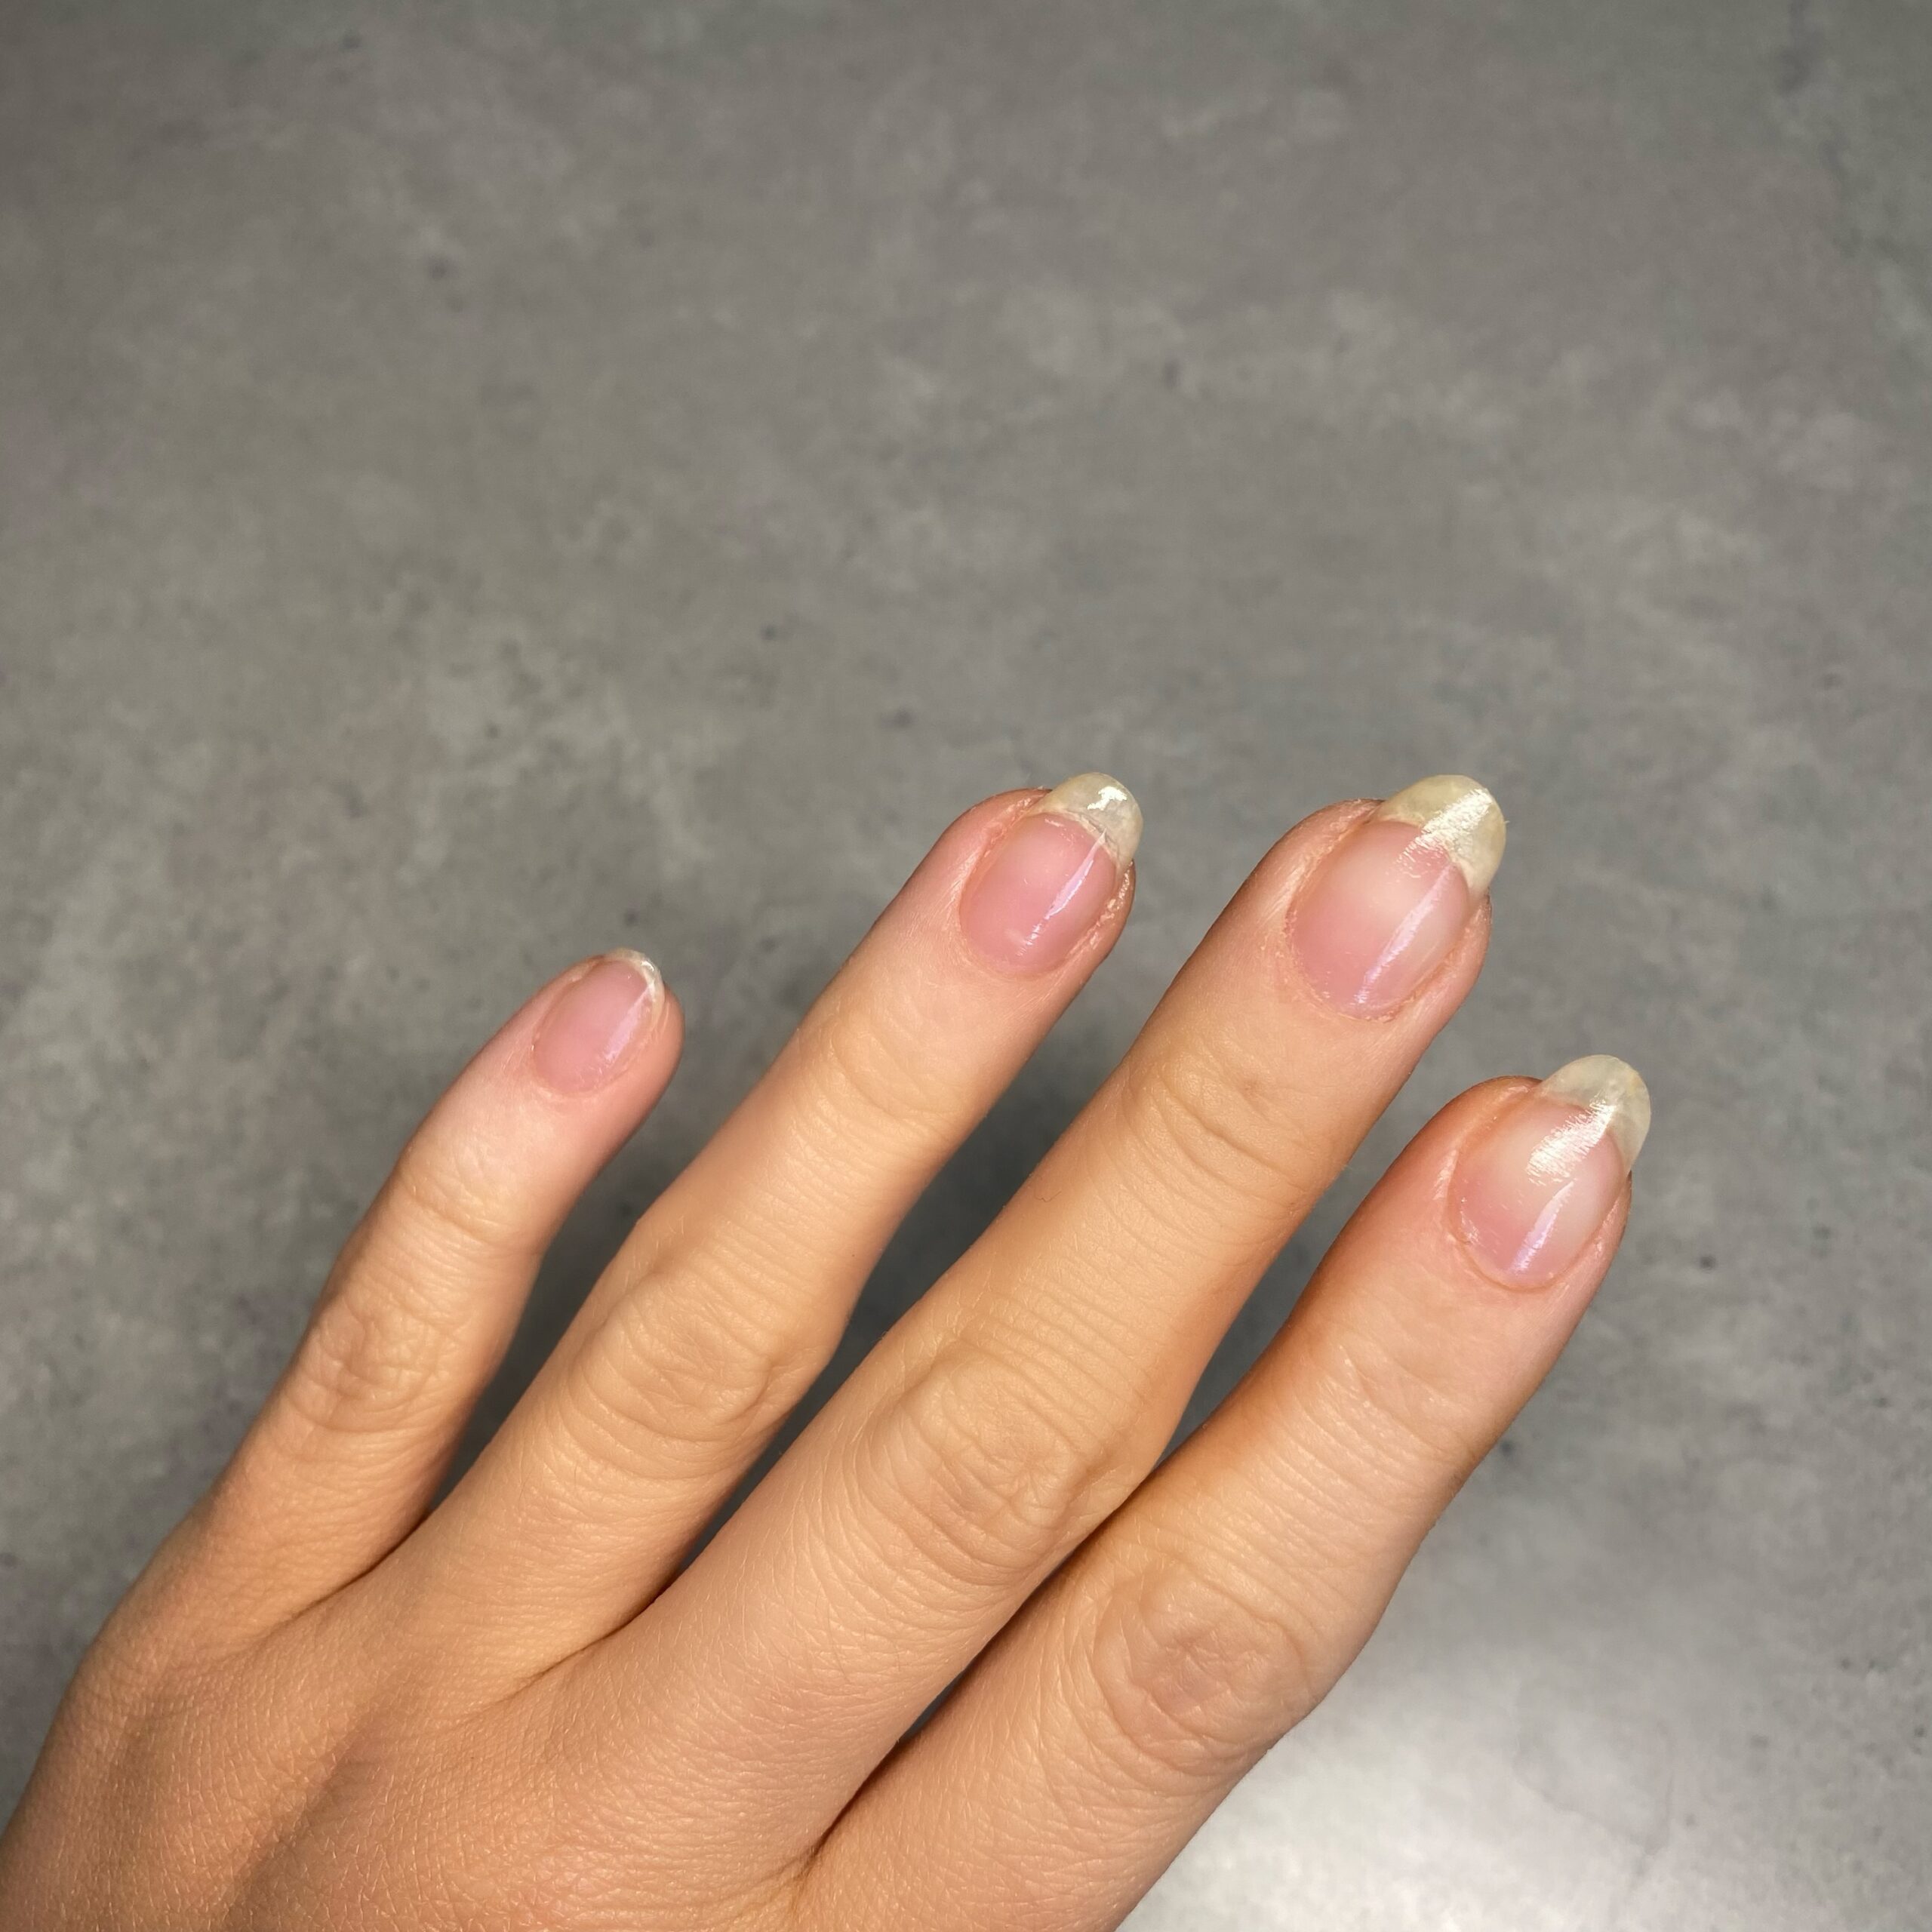
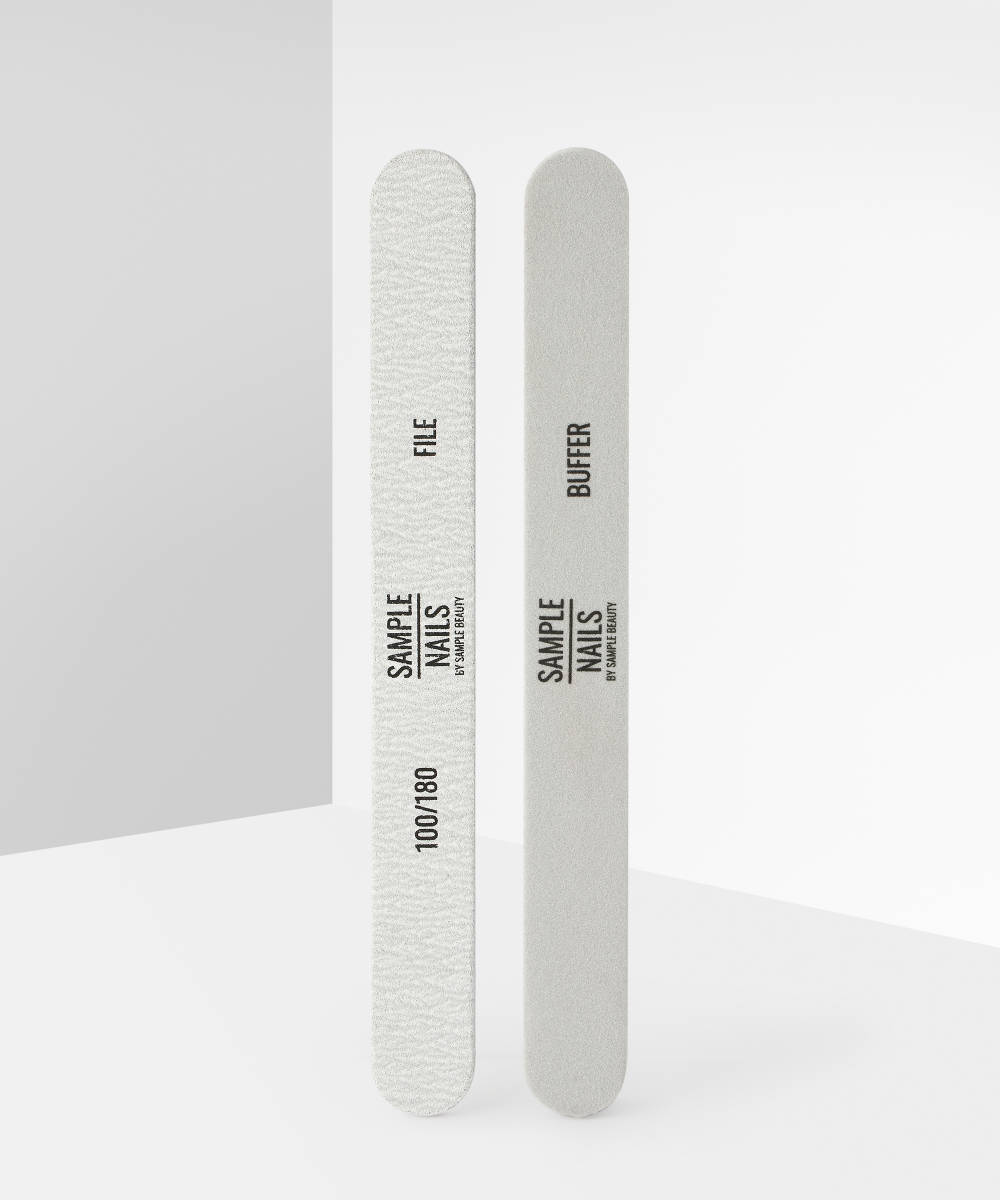
Cut and file your nails to your desired shape with the Sample Beauty Nail File And Buffer Set. We recommend a rounder edge for this design.
Step Two:
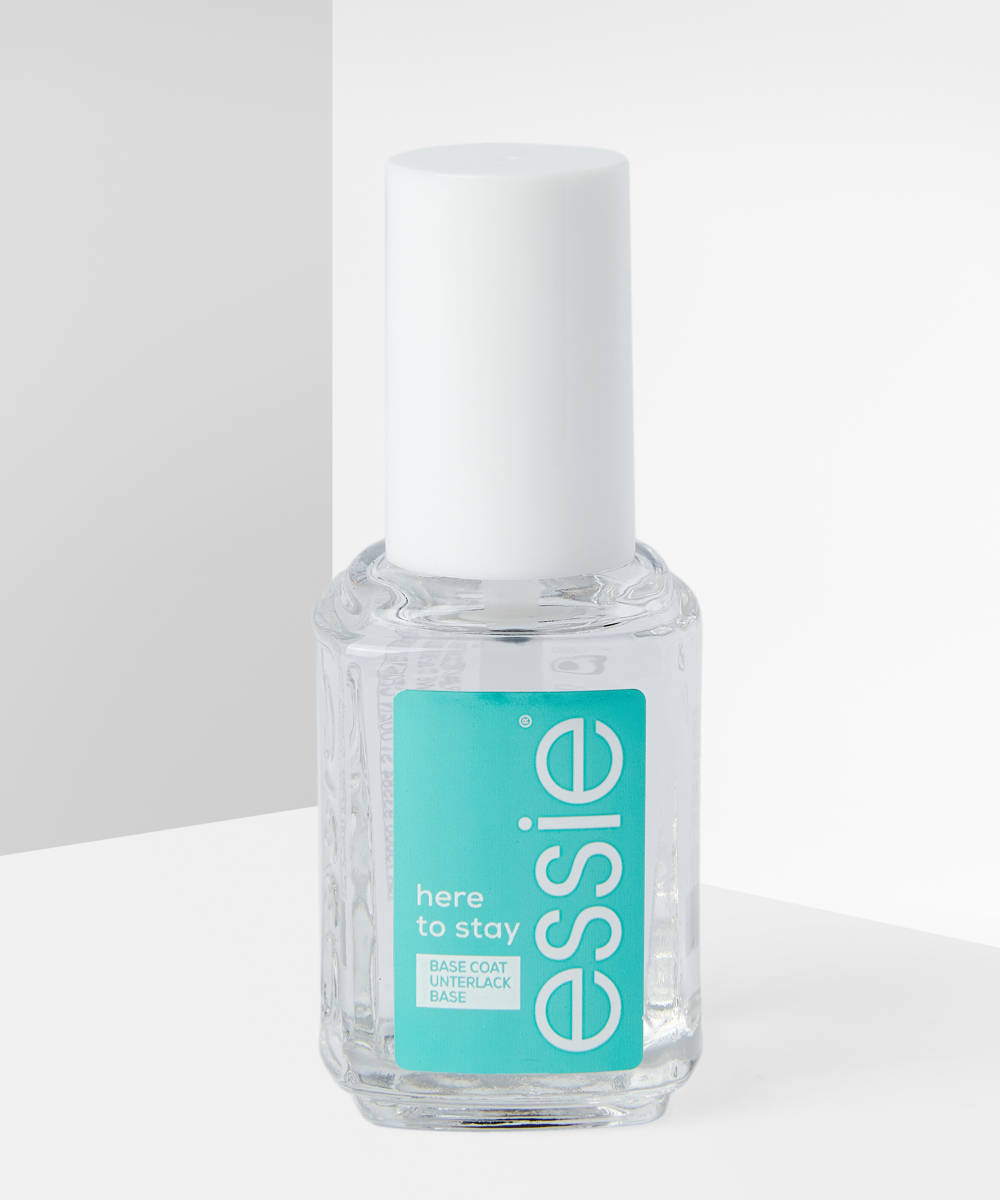
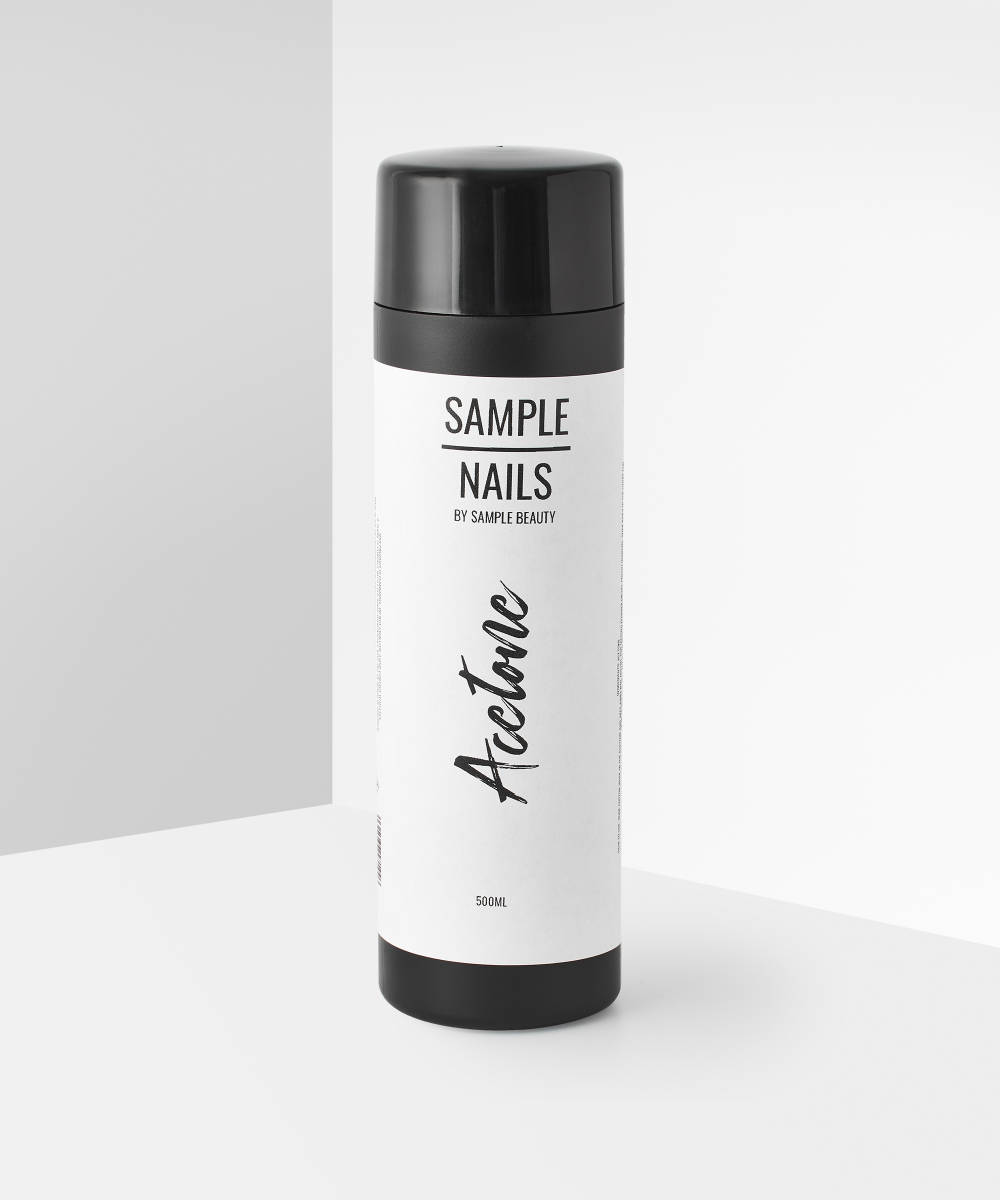
Wipe your nails dust free with an acetone-soaked cotton pad and apply a base coat, we love Essie’s Here To Stay Base Coat.
Step Three:
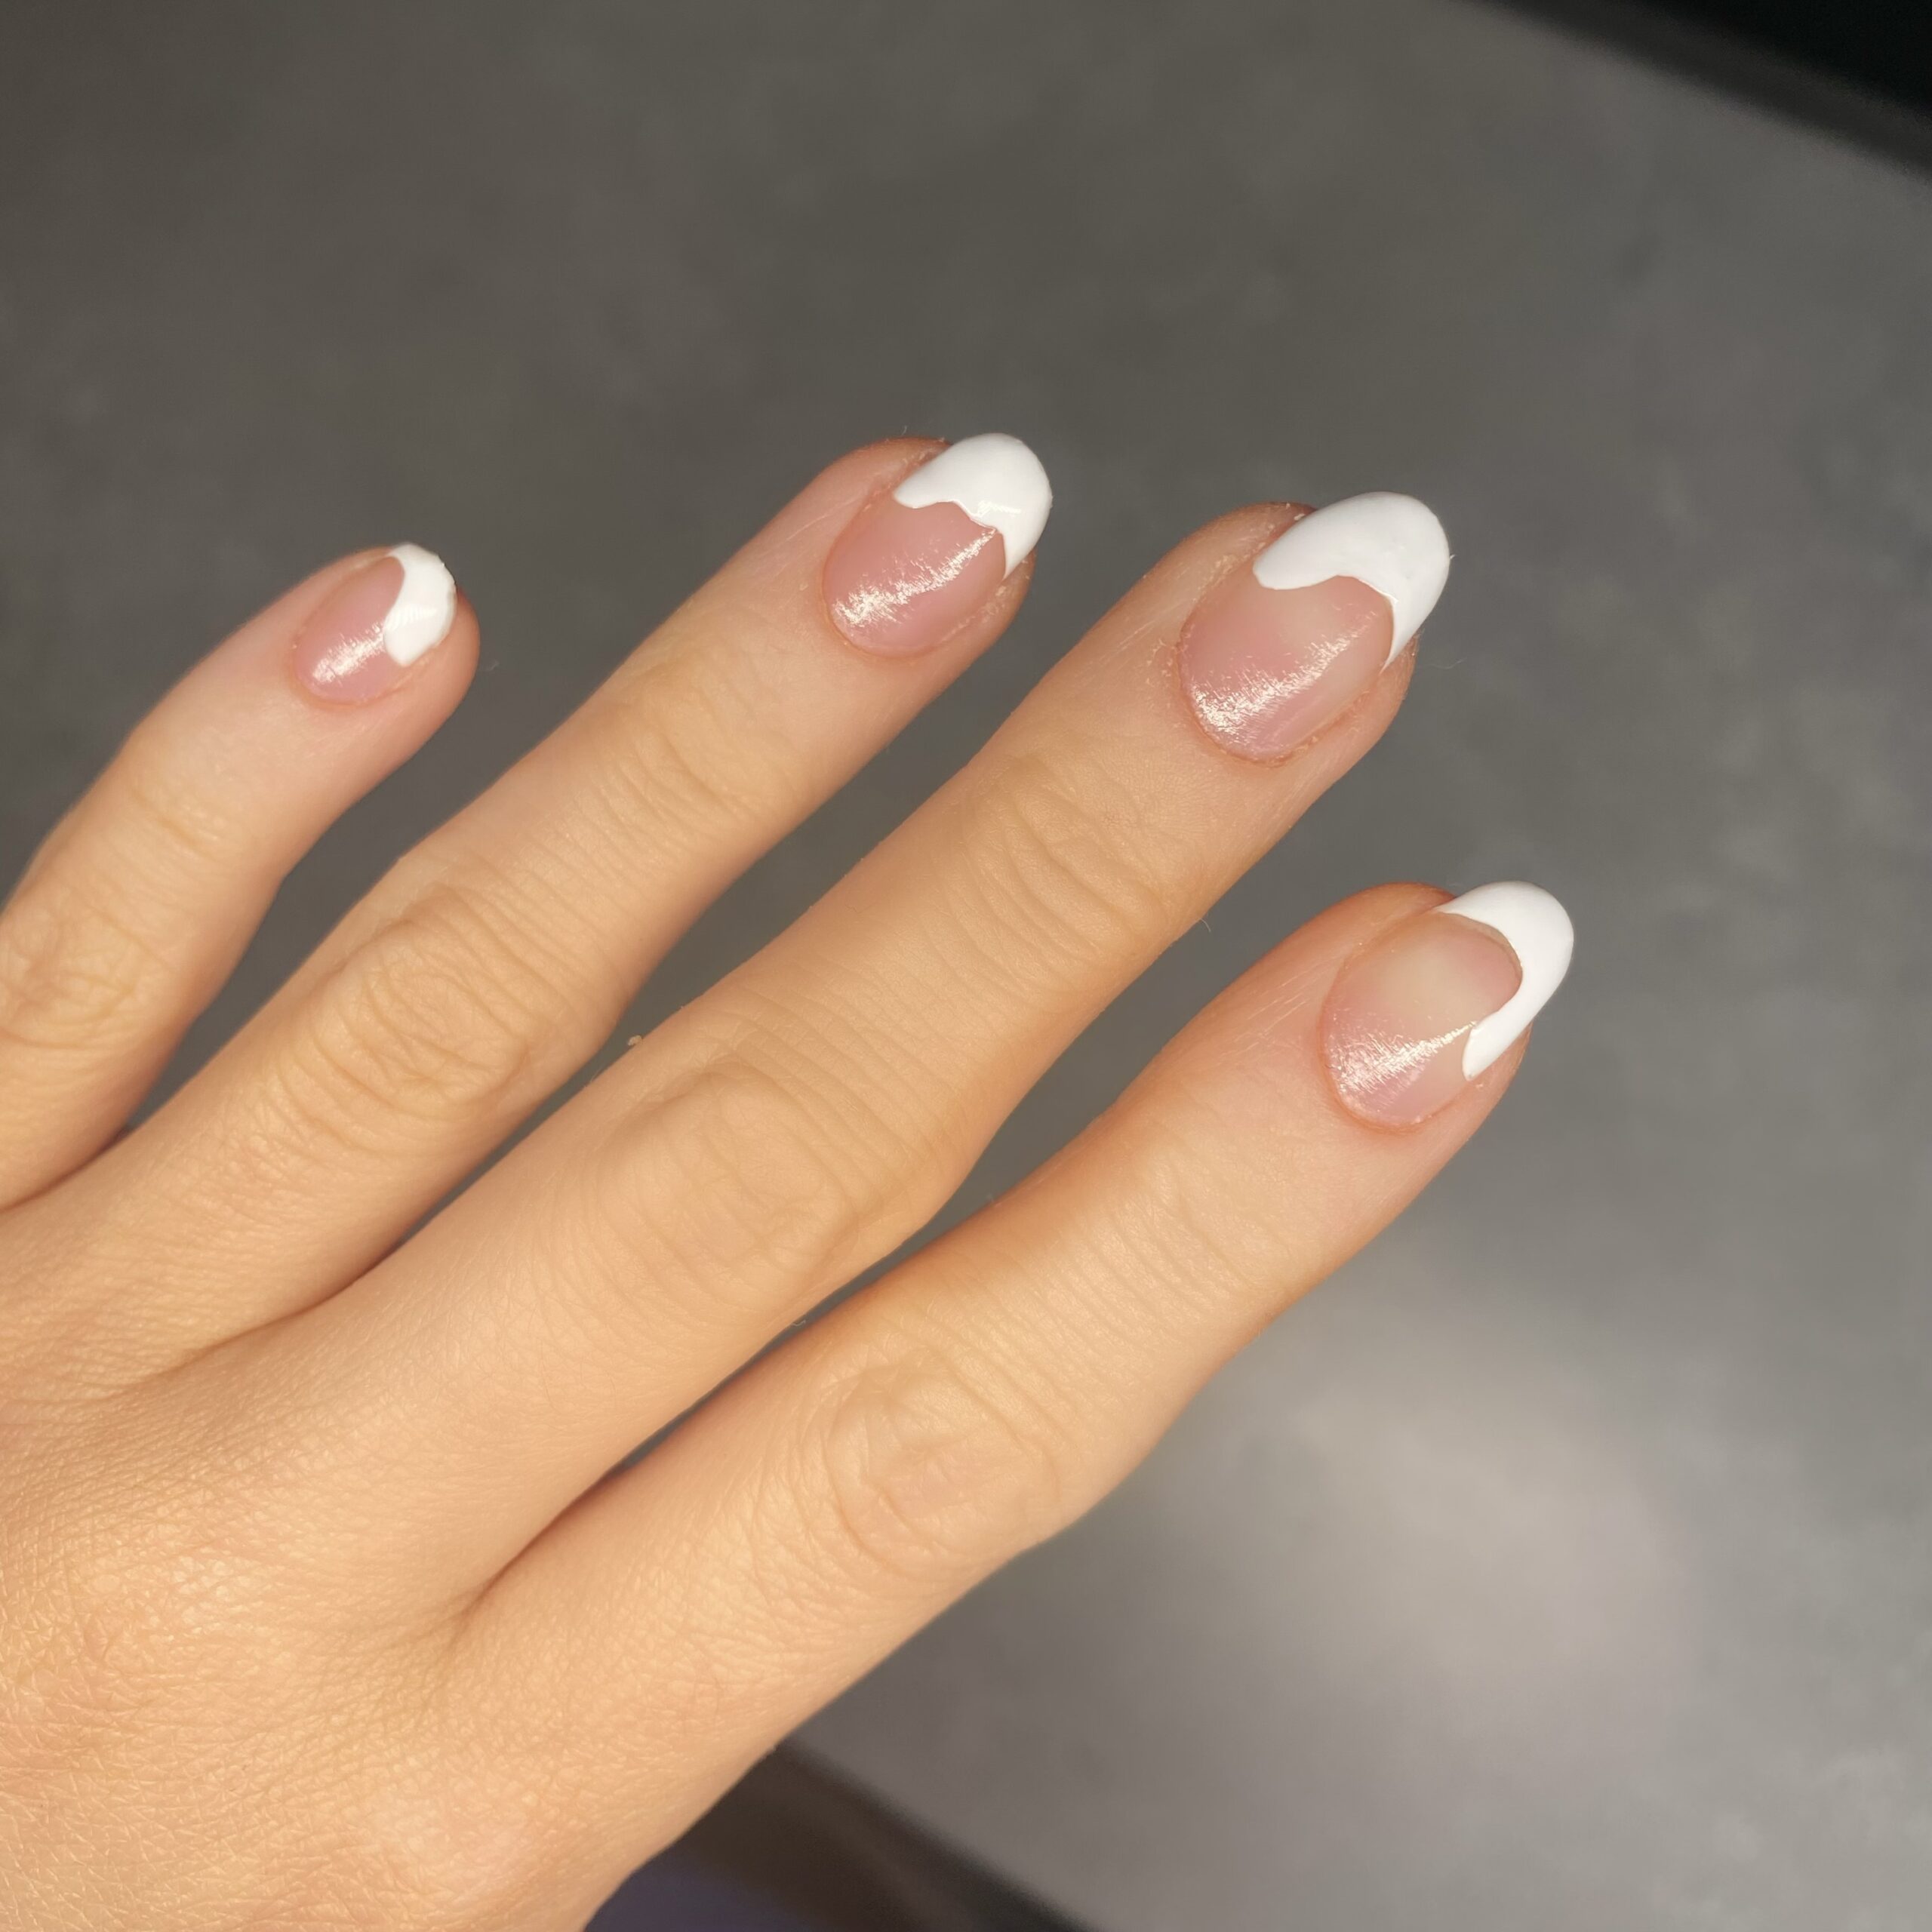
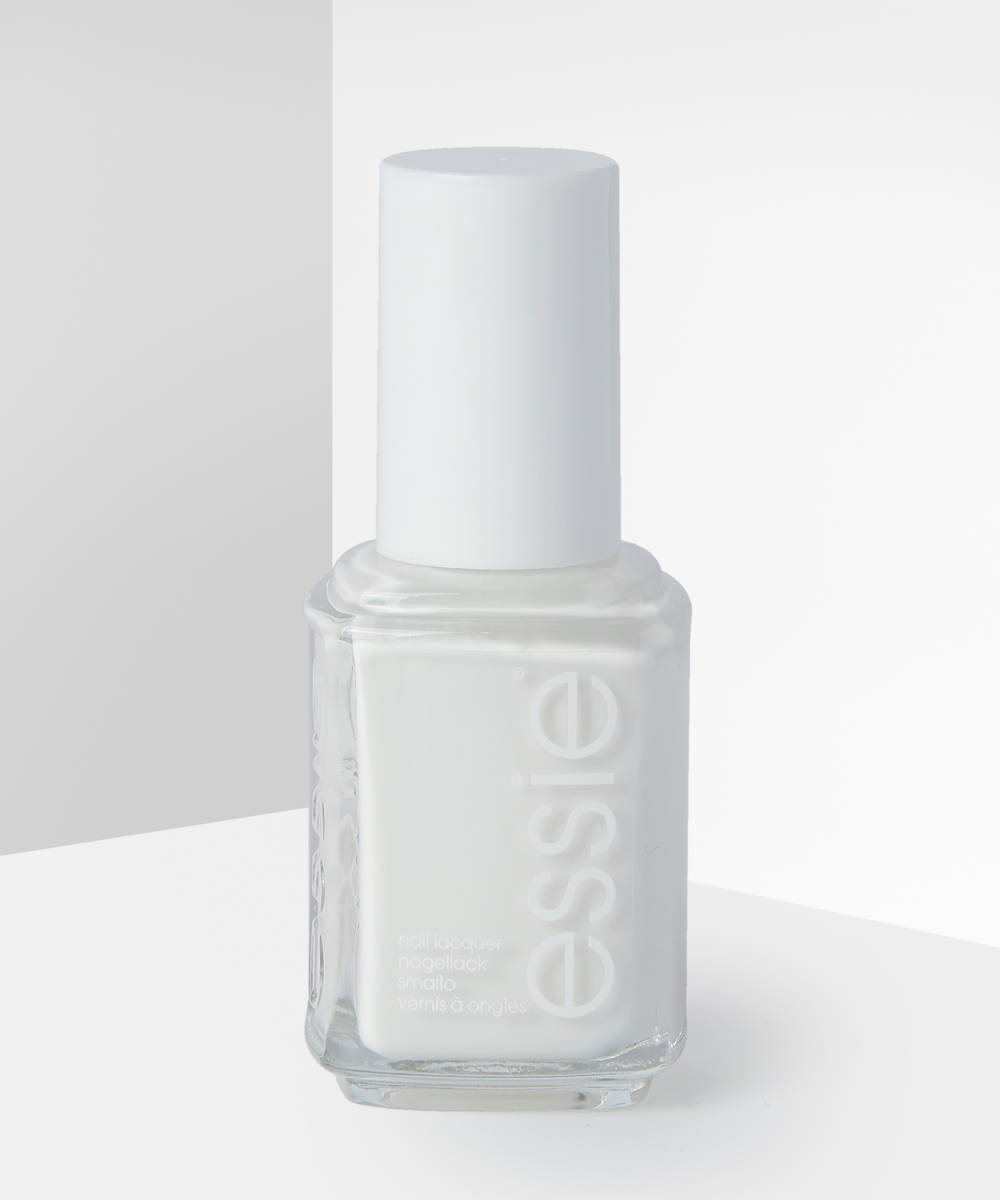
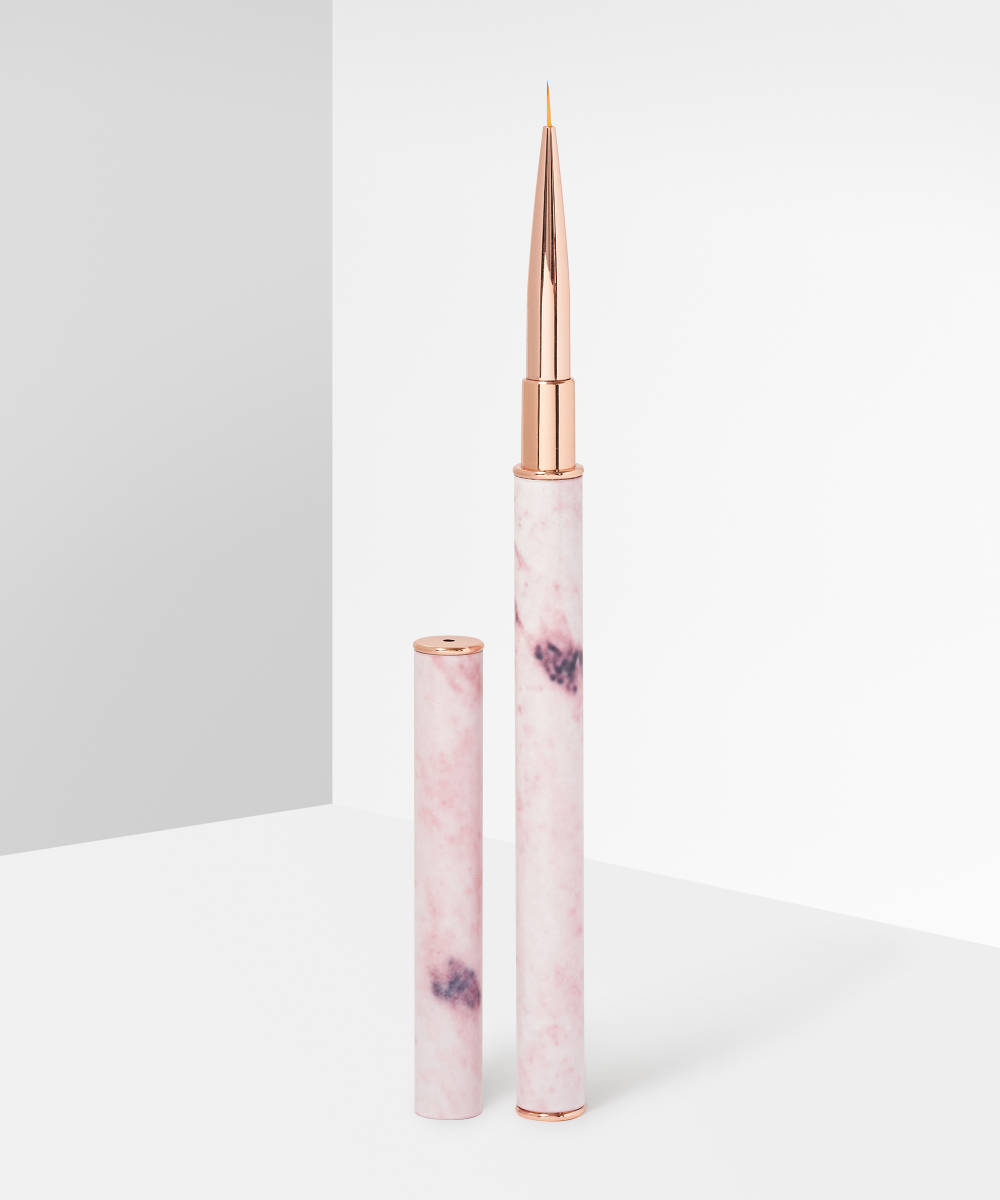
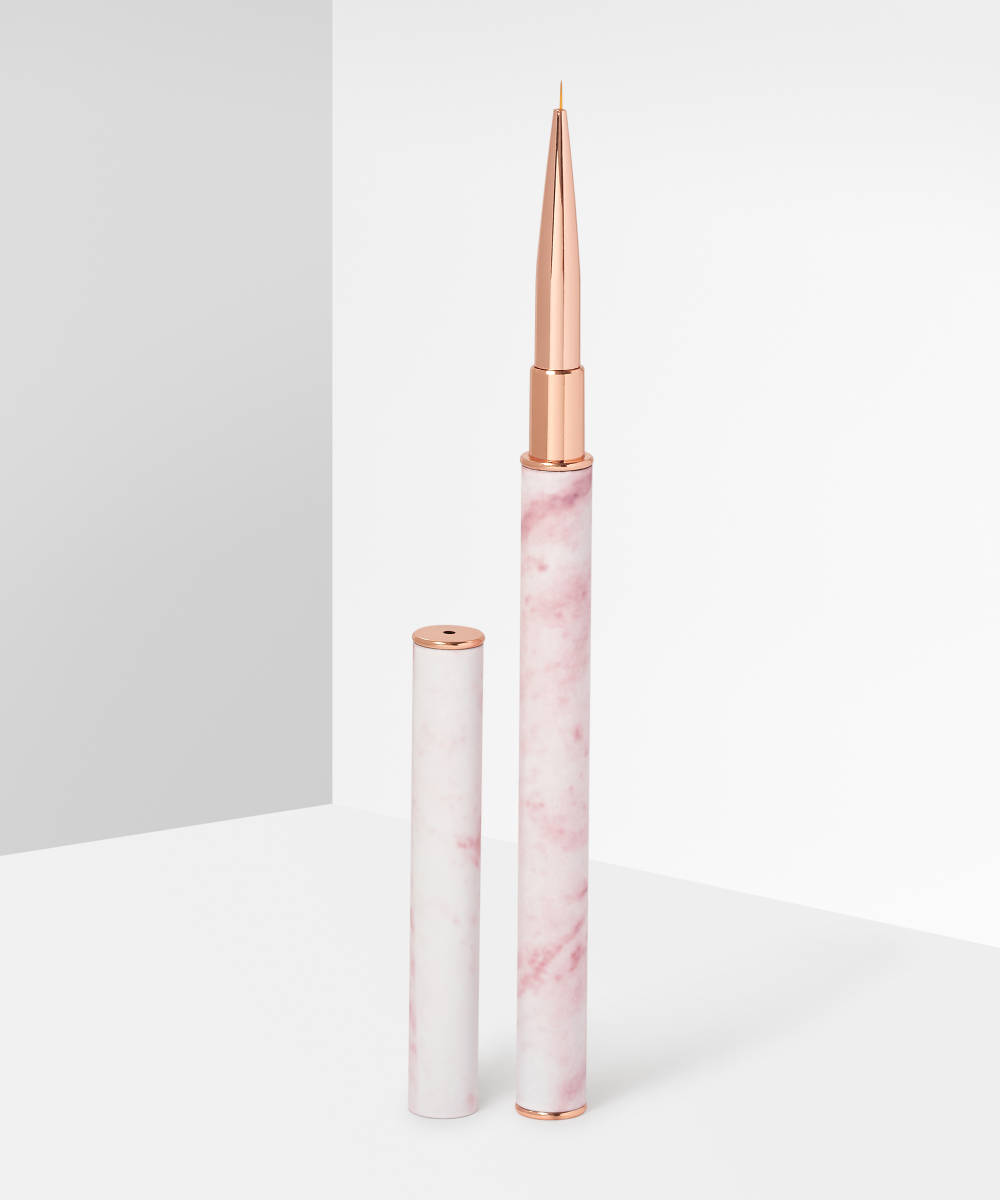
Using a small nail brush, create the outline of your ghosts on each nail. We’re using the Le Mini Macaron Le Liner Brush and Essie’s Blanc White. Then fill each shape in with the same polish. Repeat until the colour is opaque, always using thin layers so they can dry in between, helping you to avoid a gloopy thick mess.
Step Four:
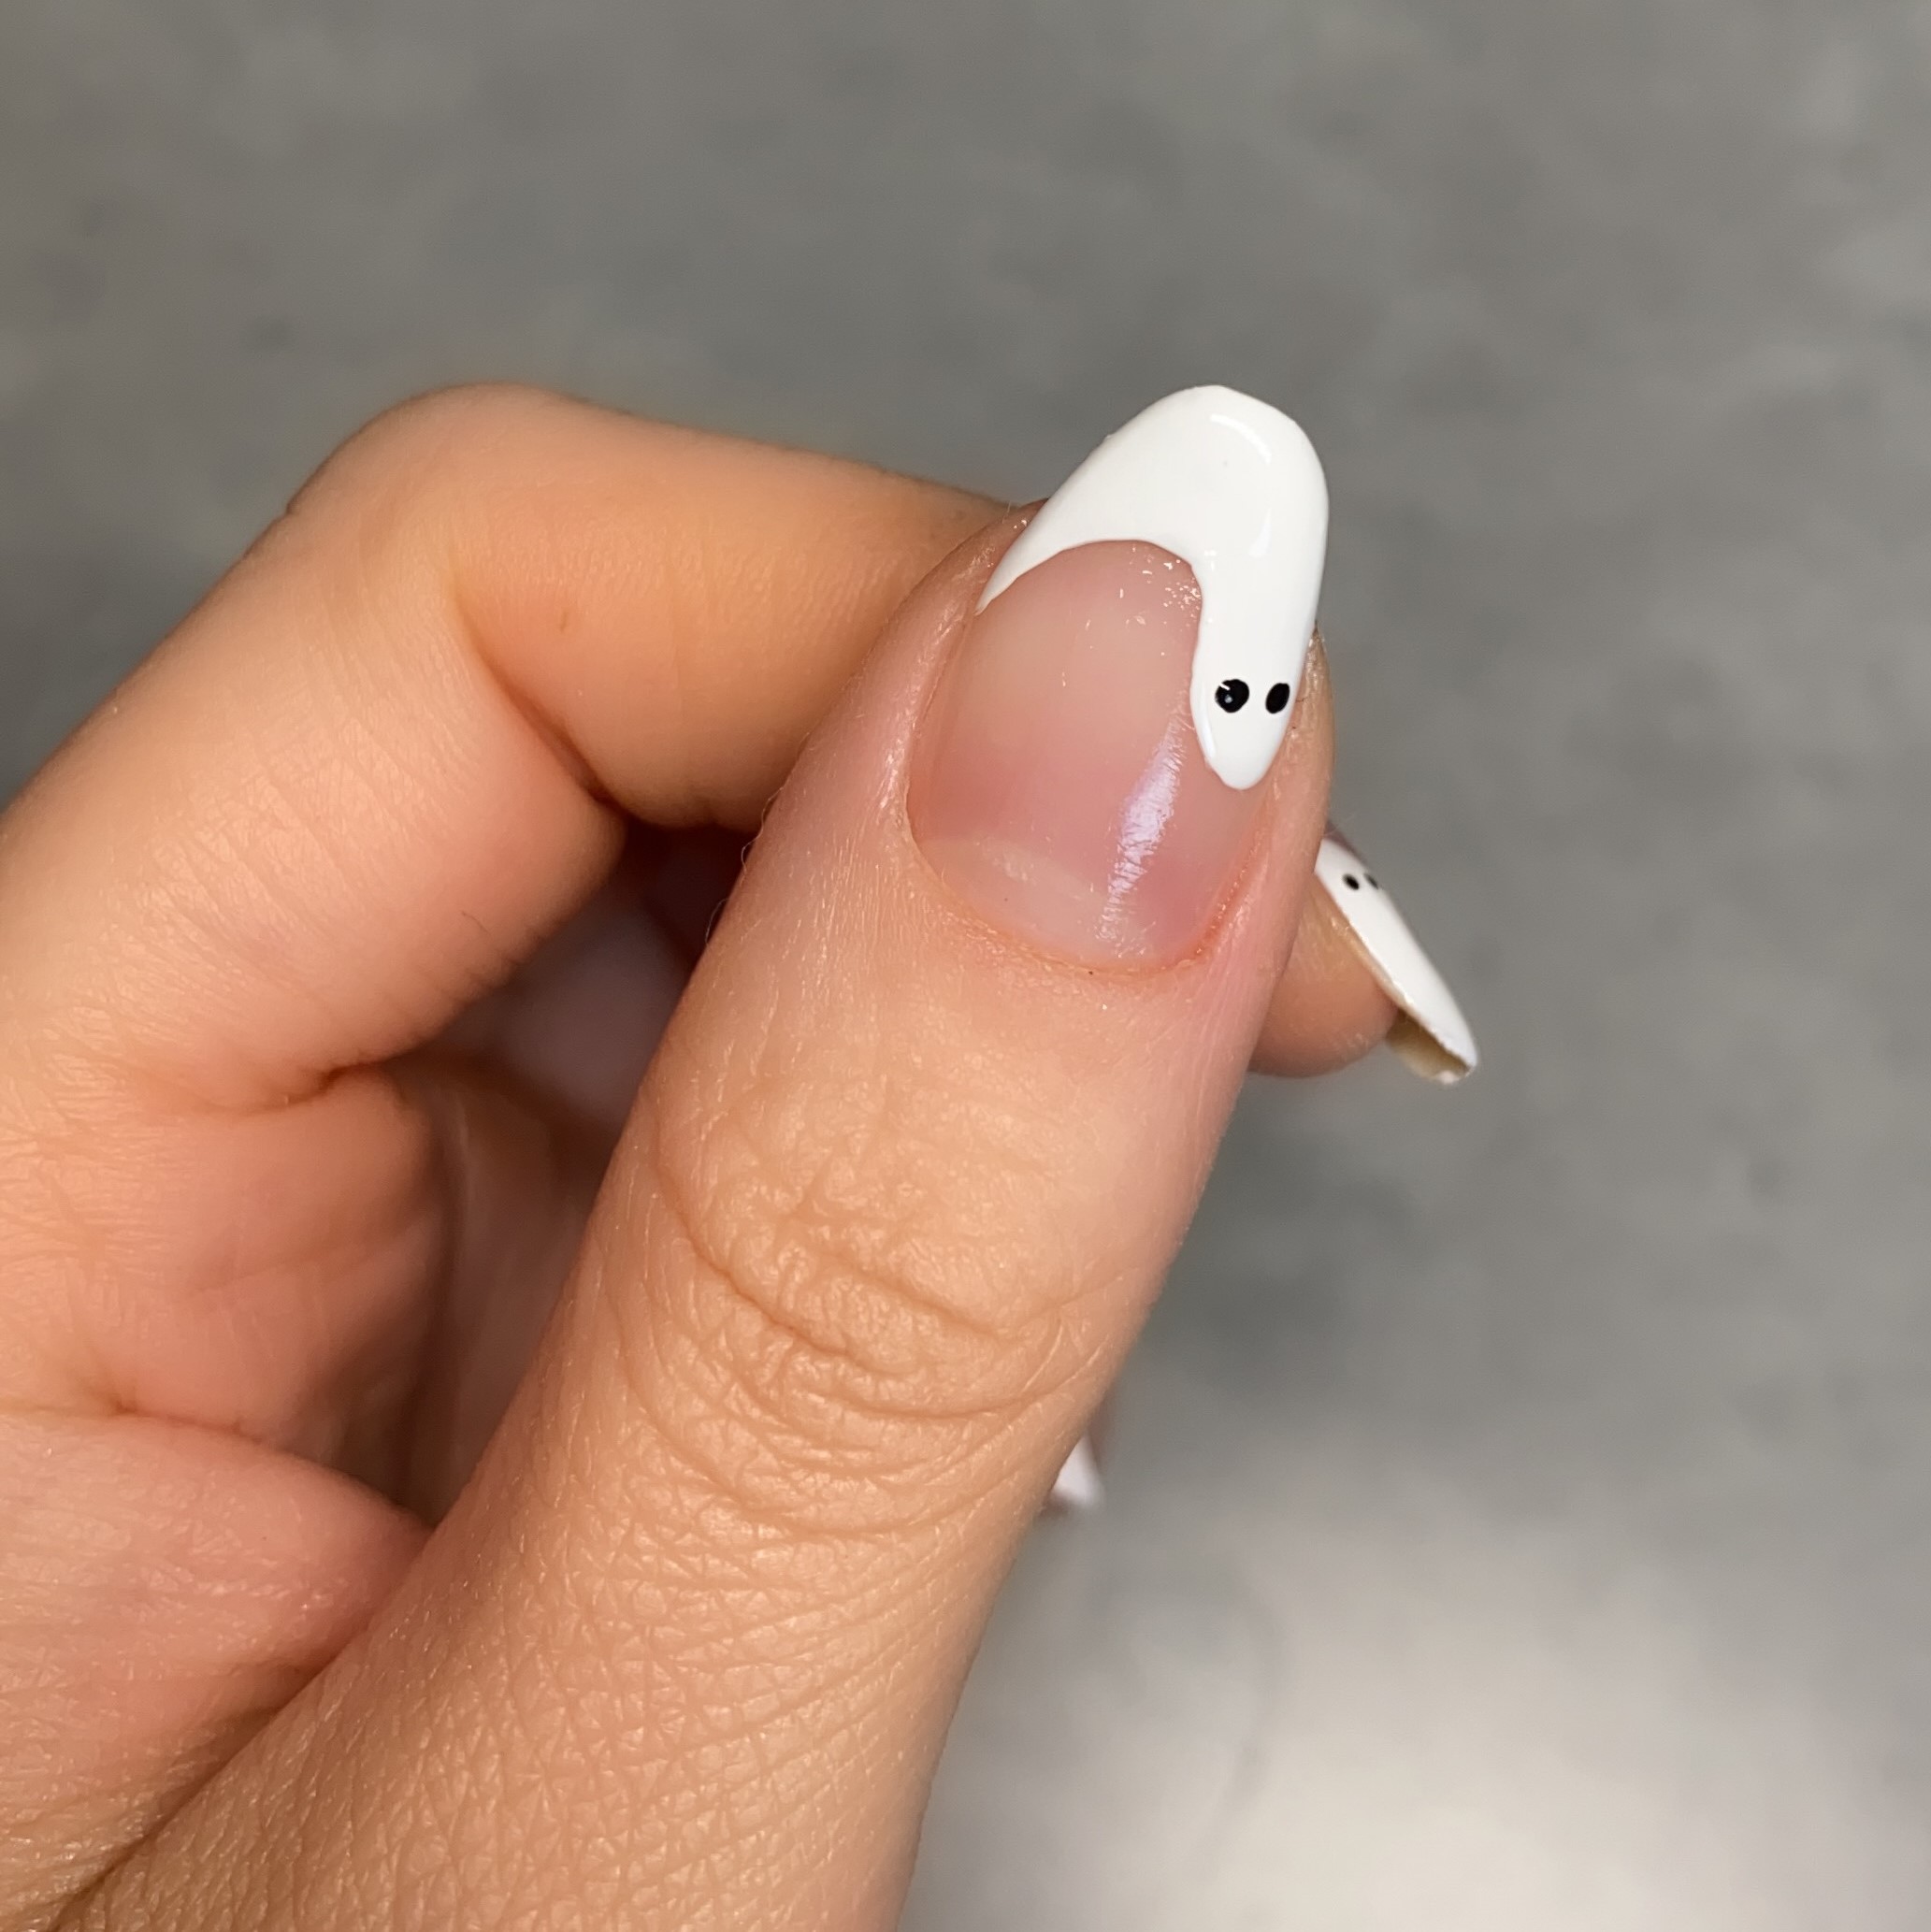
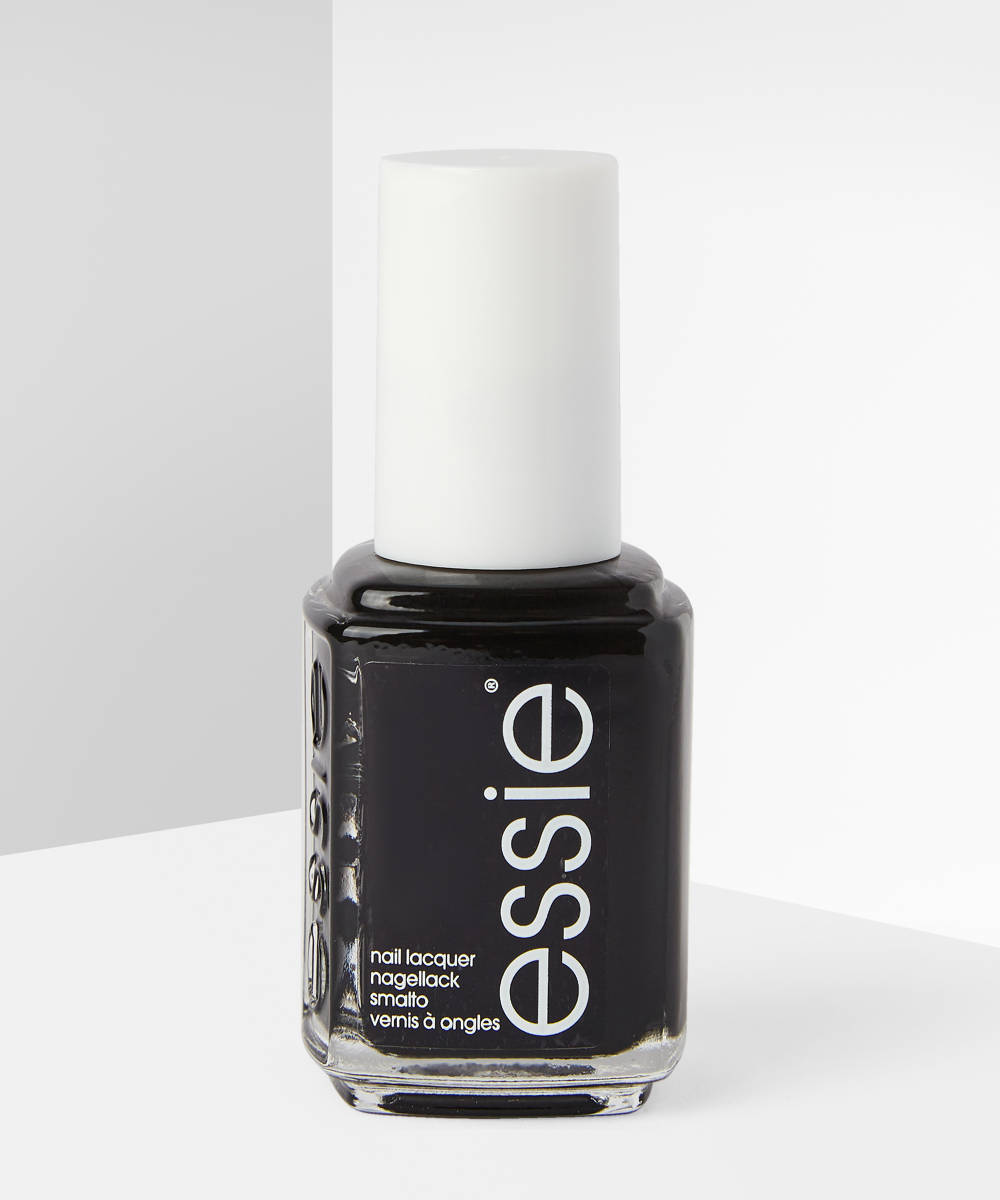
After letting the white polish dry, using the Le Mini Macaron Le Petit Brush and Essie’s Licorice, draw on two dots, these are the eyes.
Step Five:
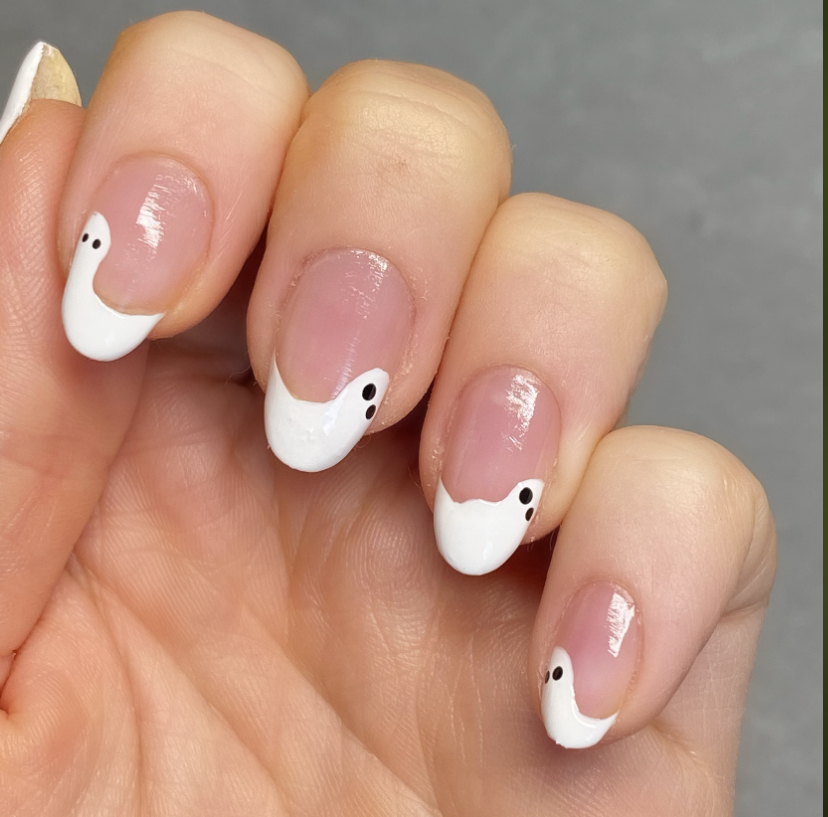
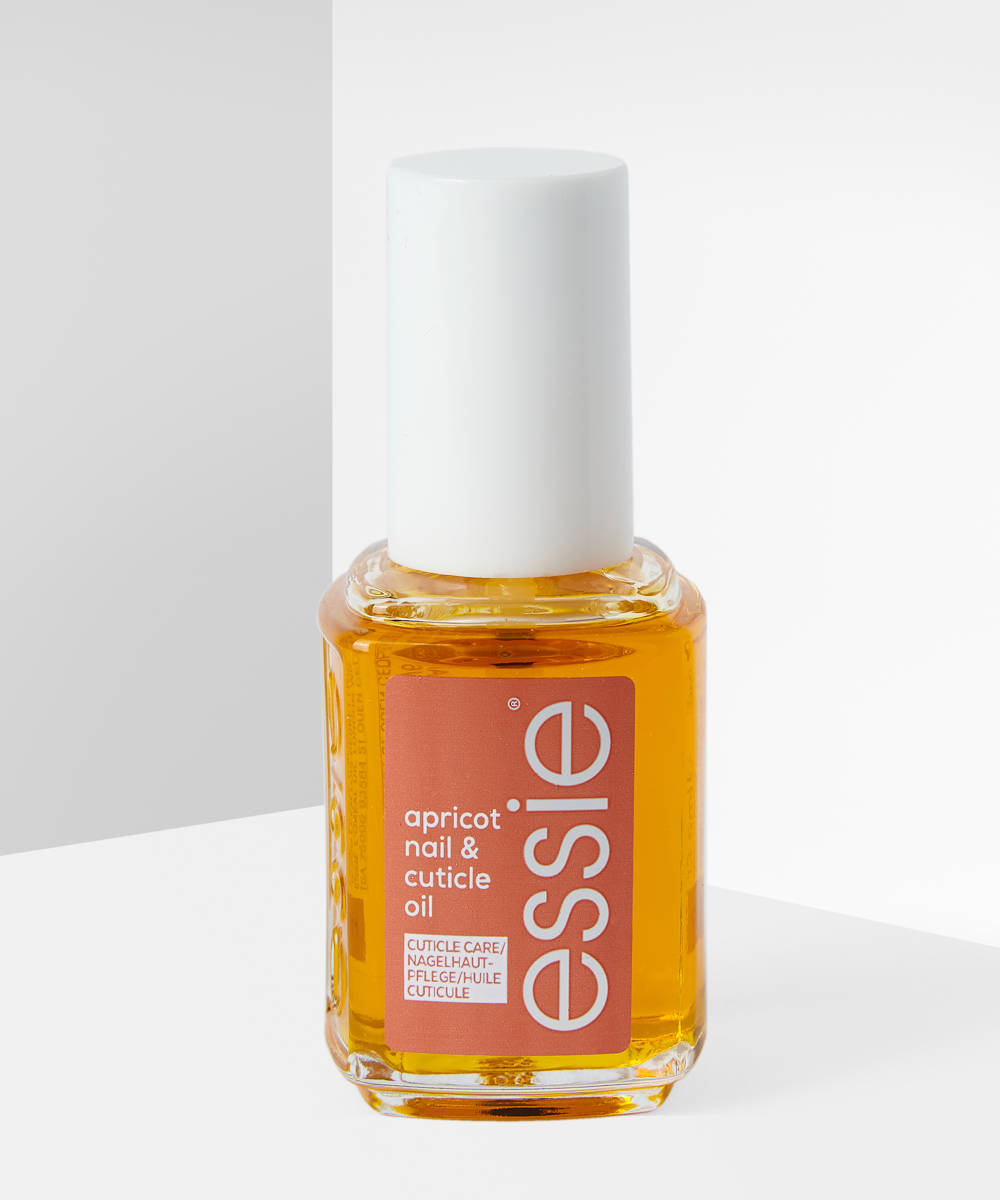
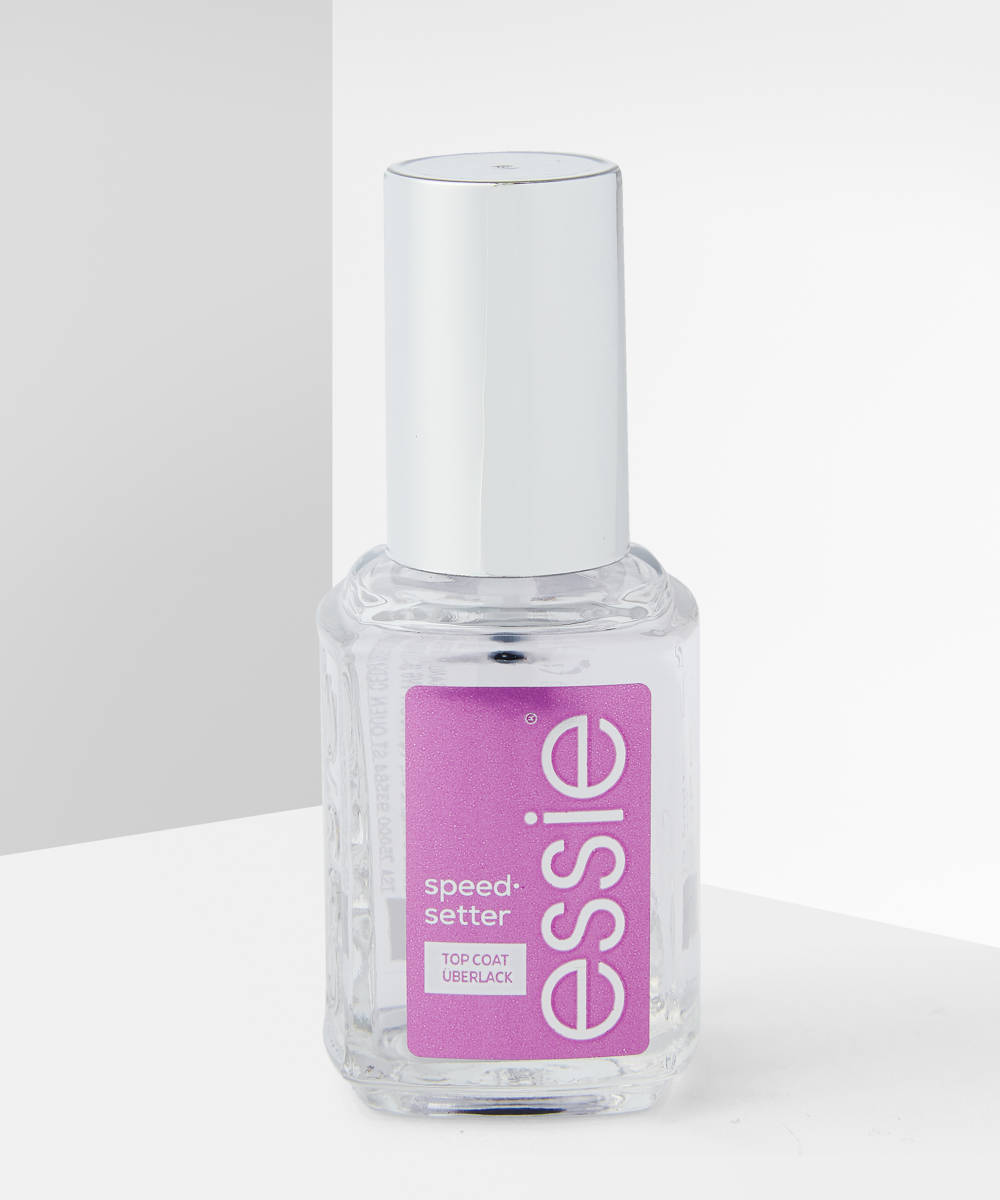
Top off your masterpiece with a top coat, so that it doesn’t chip and stays glossy (we recommend the Essie Speed Setter Top Coat as it dries super-fast) and finish with a cuticle oil to keep your nails healthy and strong.
