Like all events, we like to be prepared. It’s never too early to decide on your manicure for the big day, and by big day we mean Christmas (obviously). The festive season has crept upon us, (seriously how is it here already), and now is the time to get prepared and choose what our nails are going to look like.
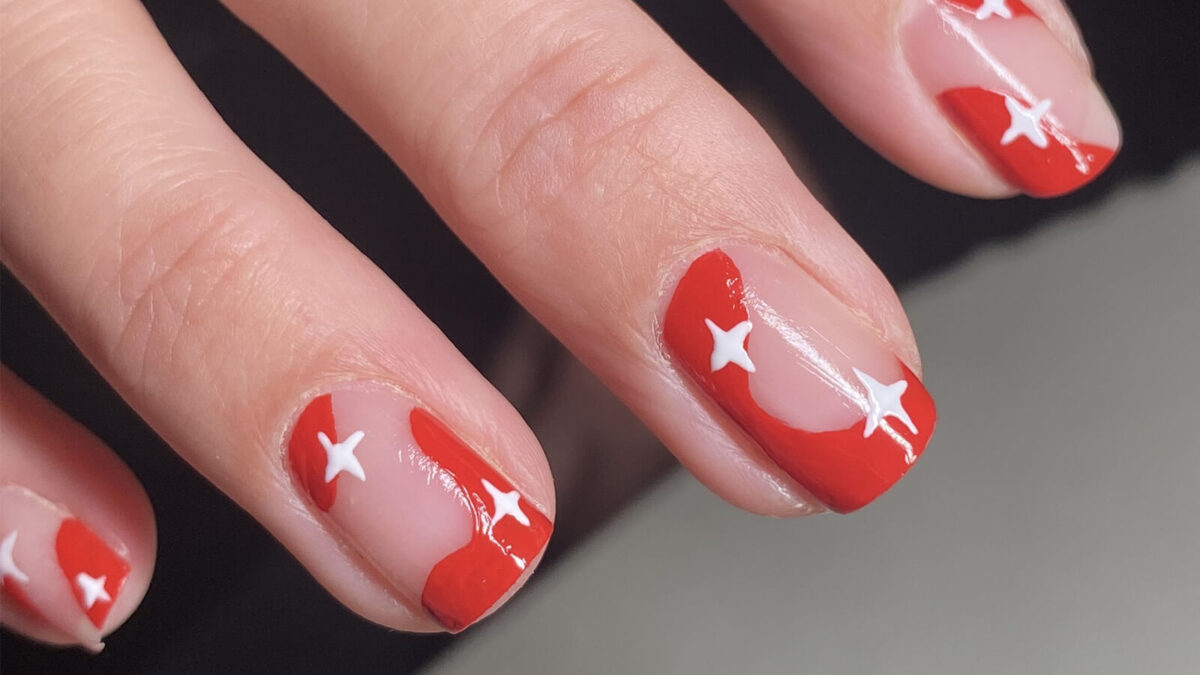
We’ve already covered the basics with our beginner’s guide on How To Paint Your Nails Perfectly, Every Single Time, but for Christmas, we’re moving up a level. Scroll to find out how to achieve this abstract star design, that’s easy-peasy, festive-szn ready and most importantly- perfect for beginners.
Step One:
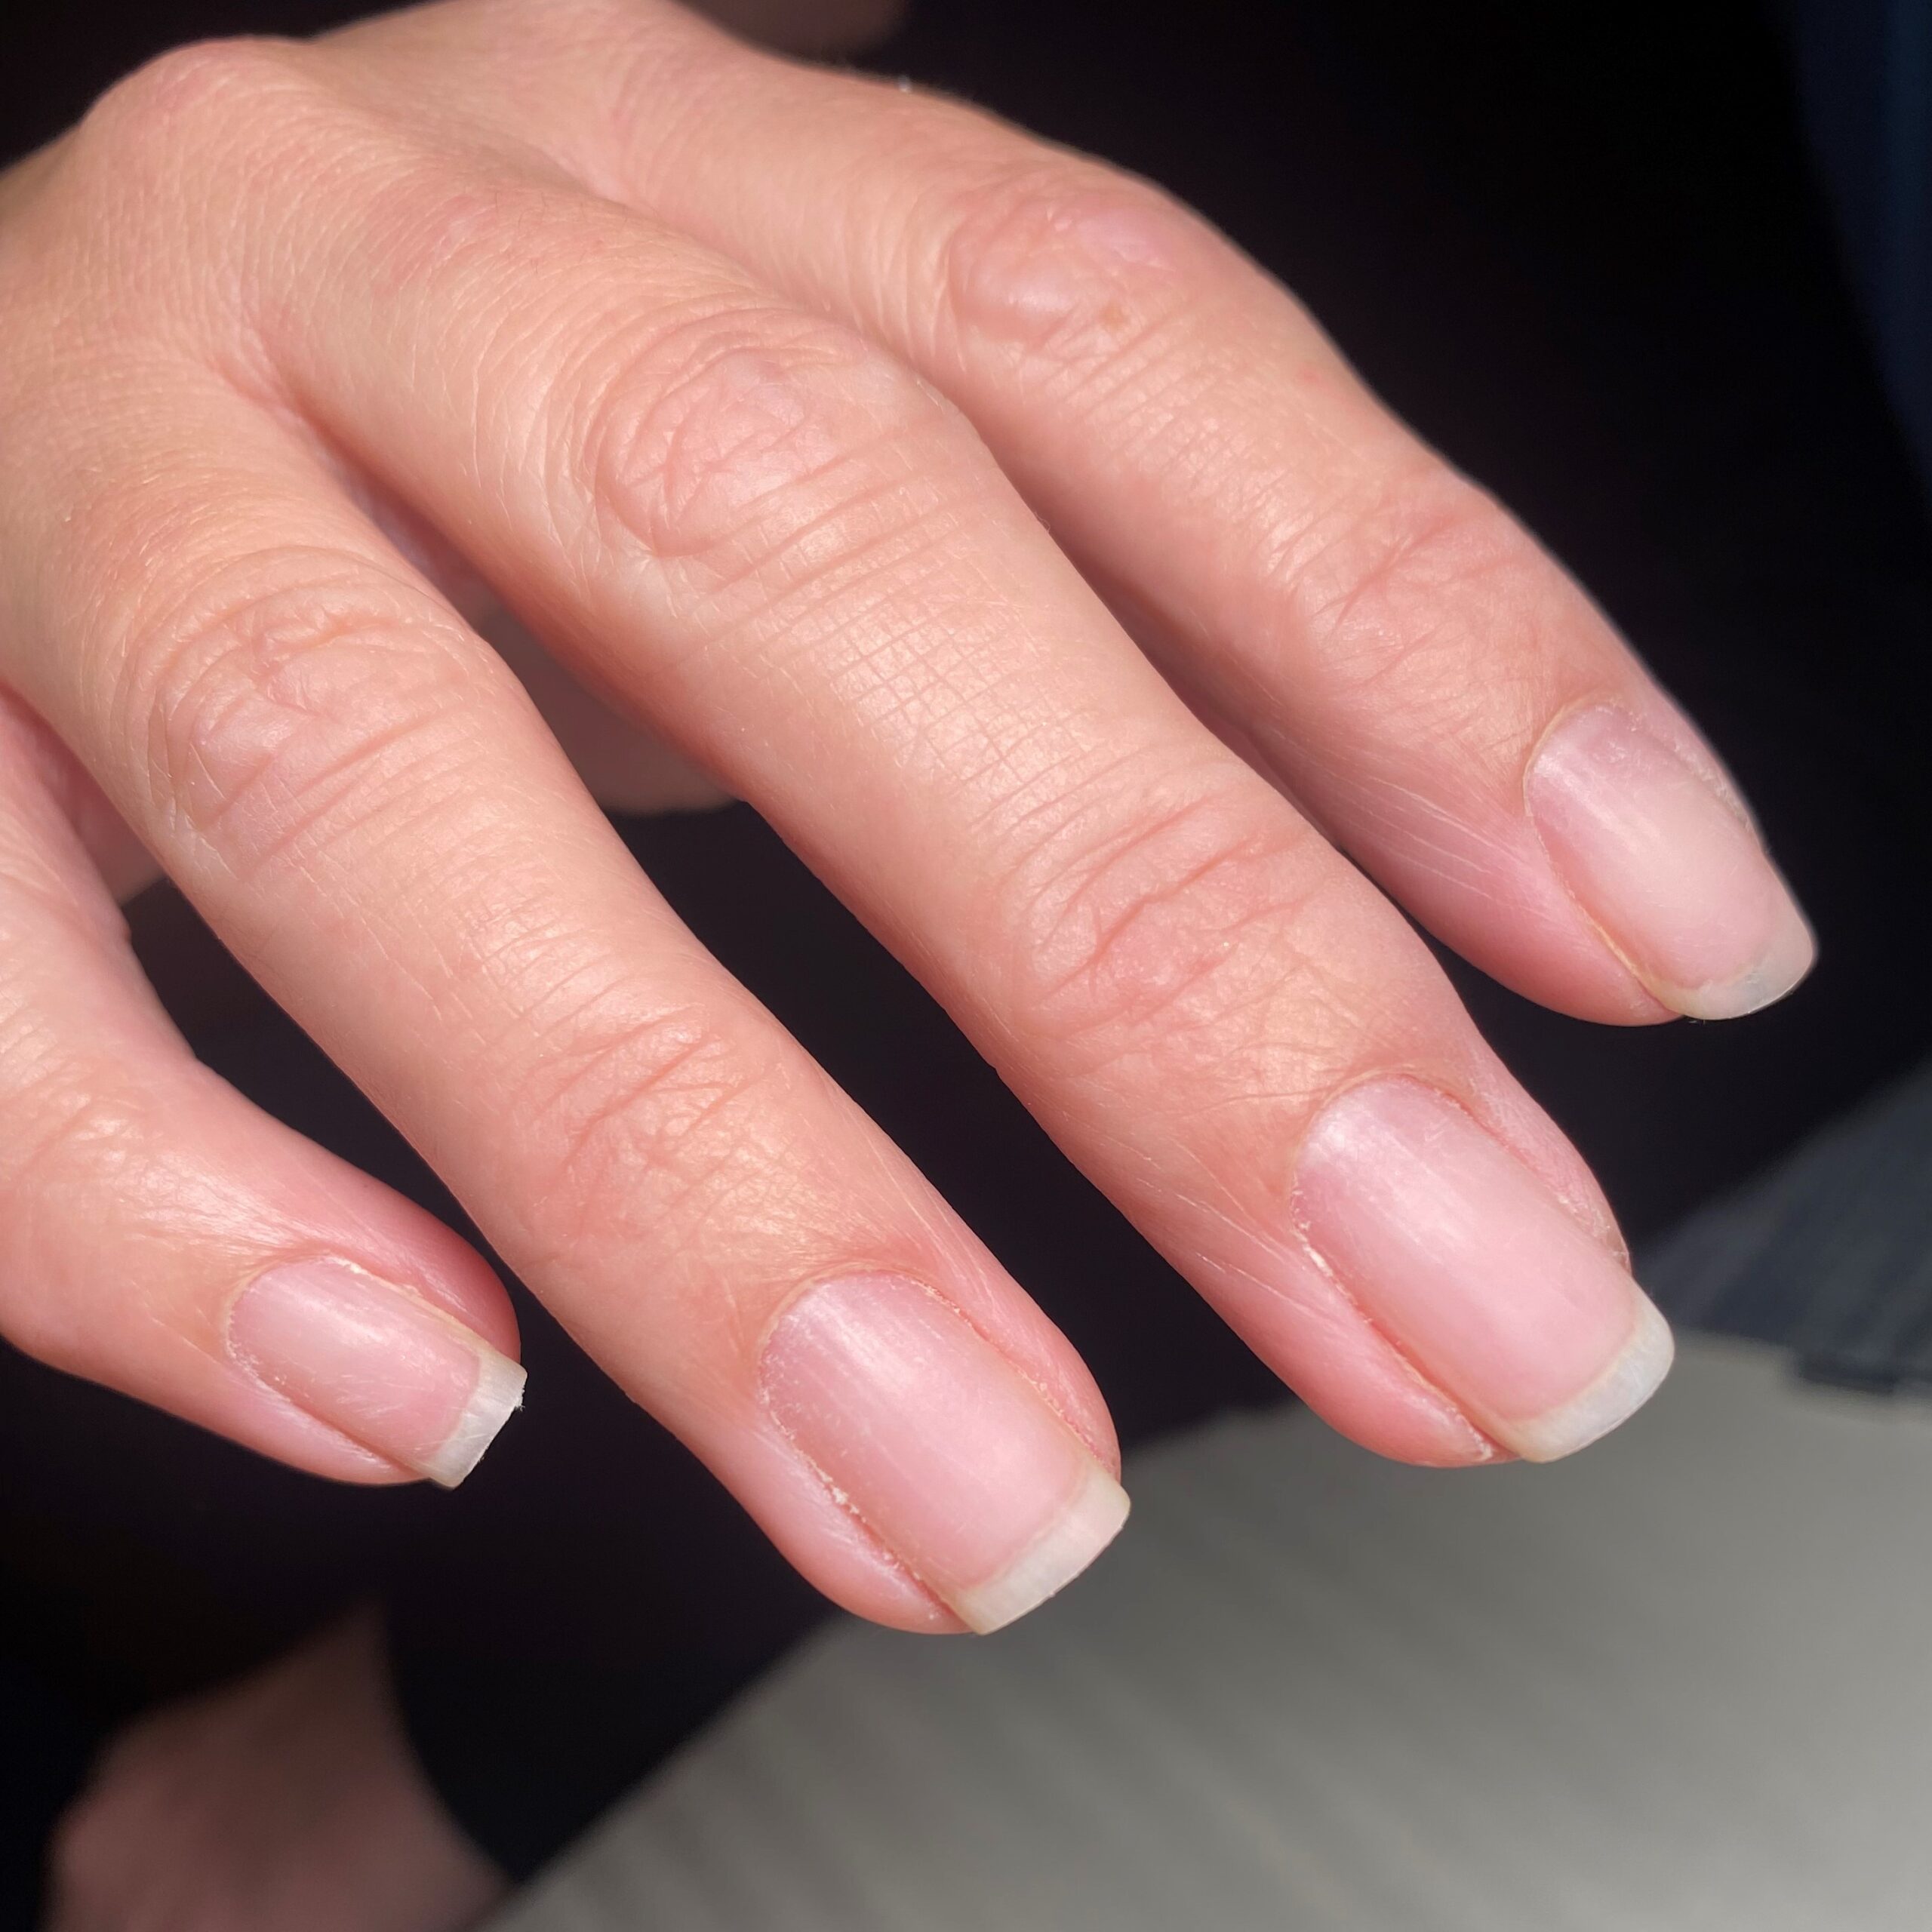
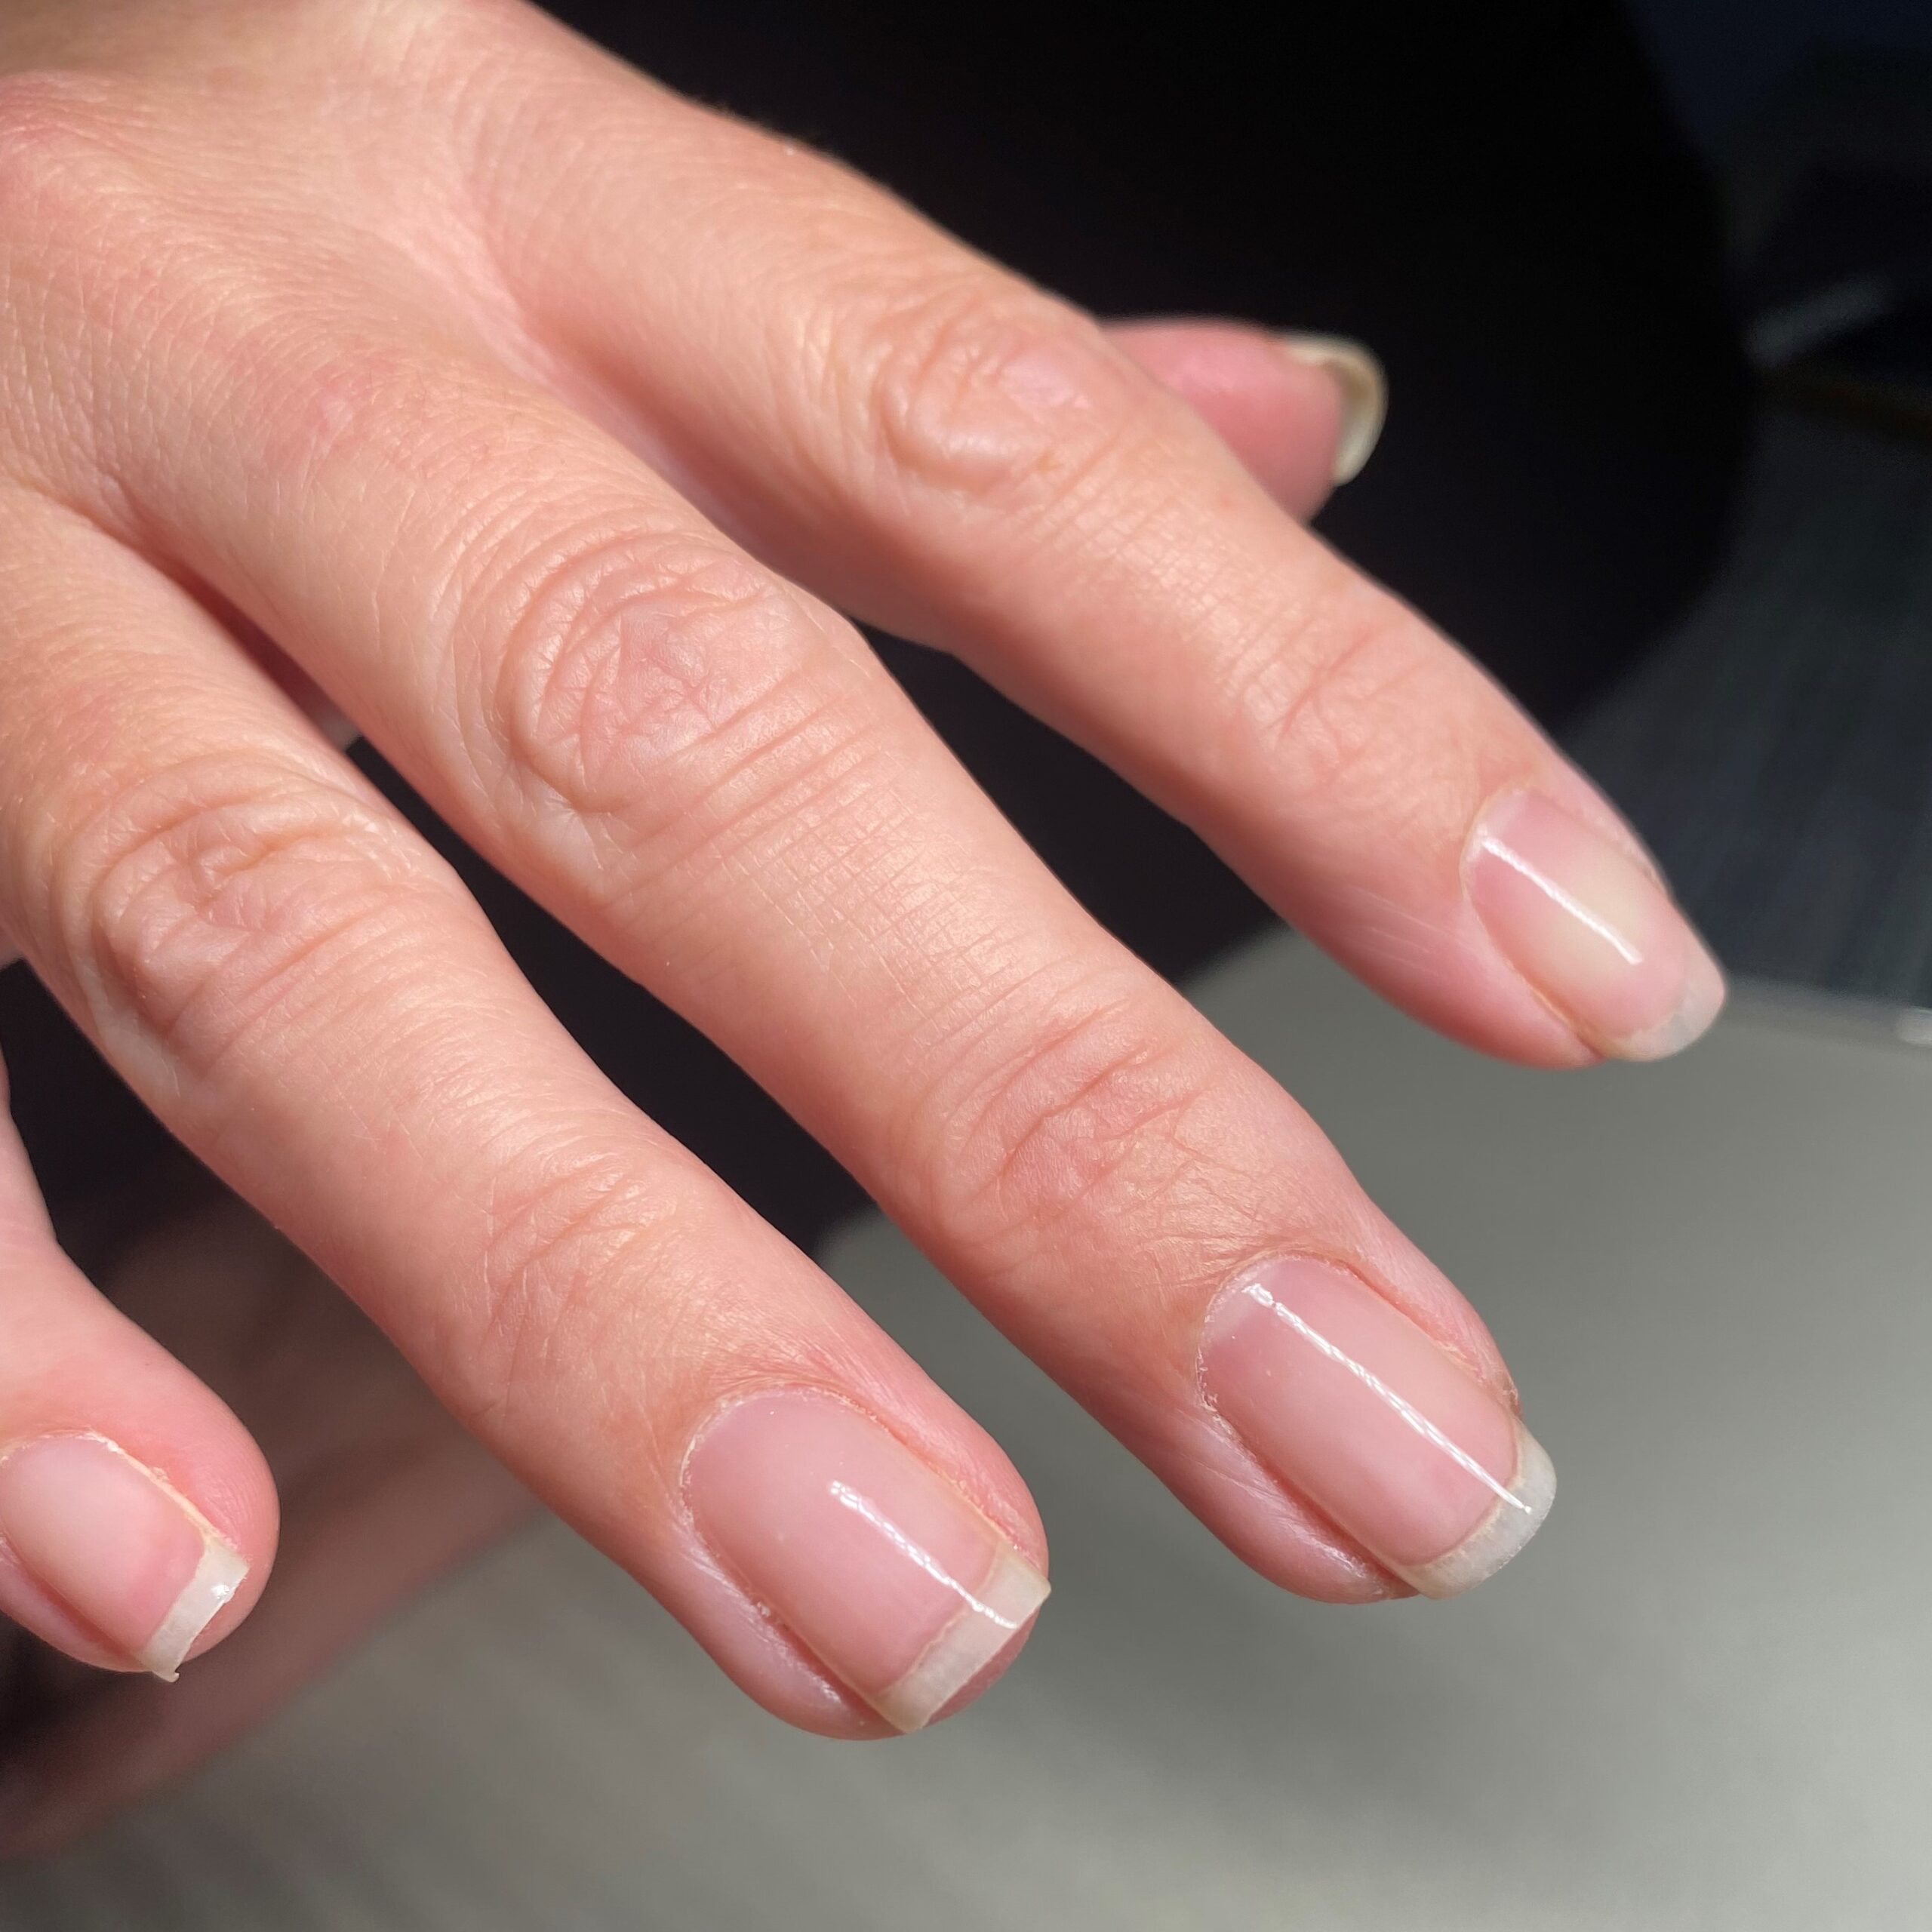
Prep your nails by cutting and filing them to your desired shape with the Sample Beauty Nail File And Buffer Set.
Step Three:
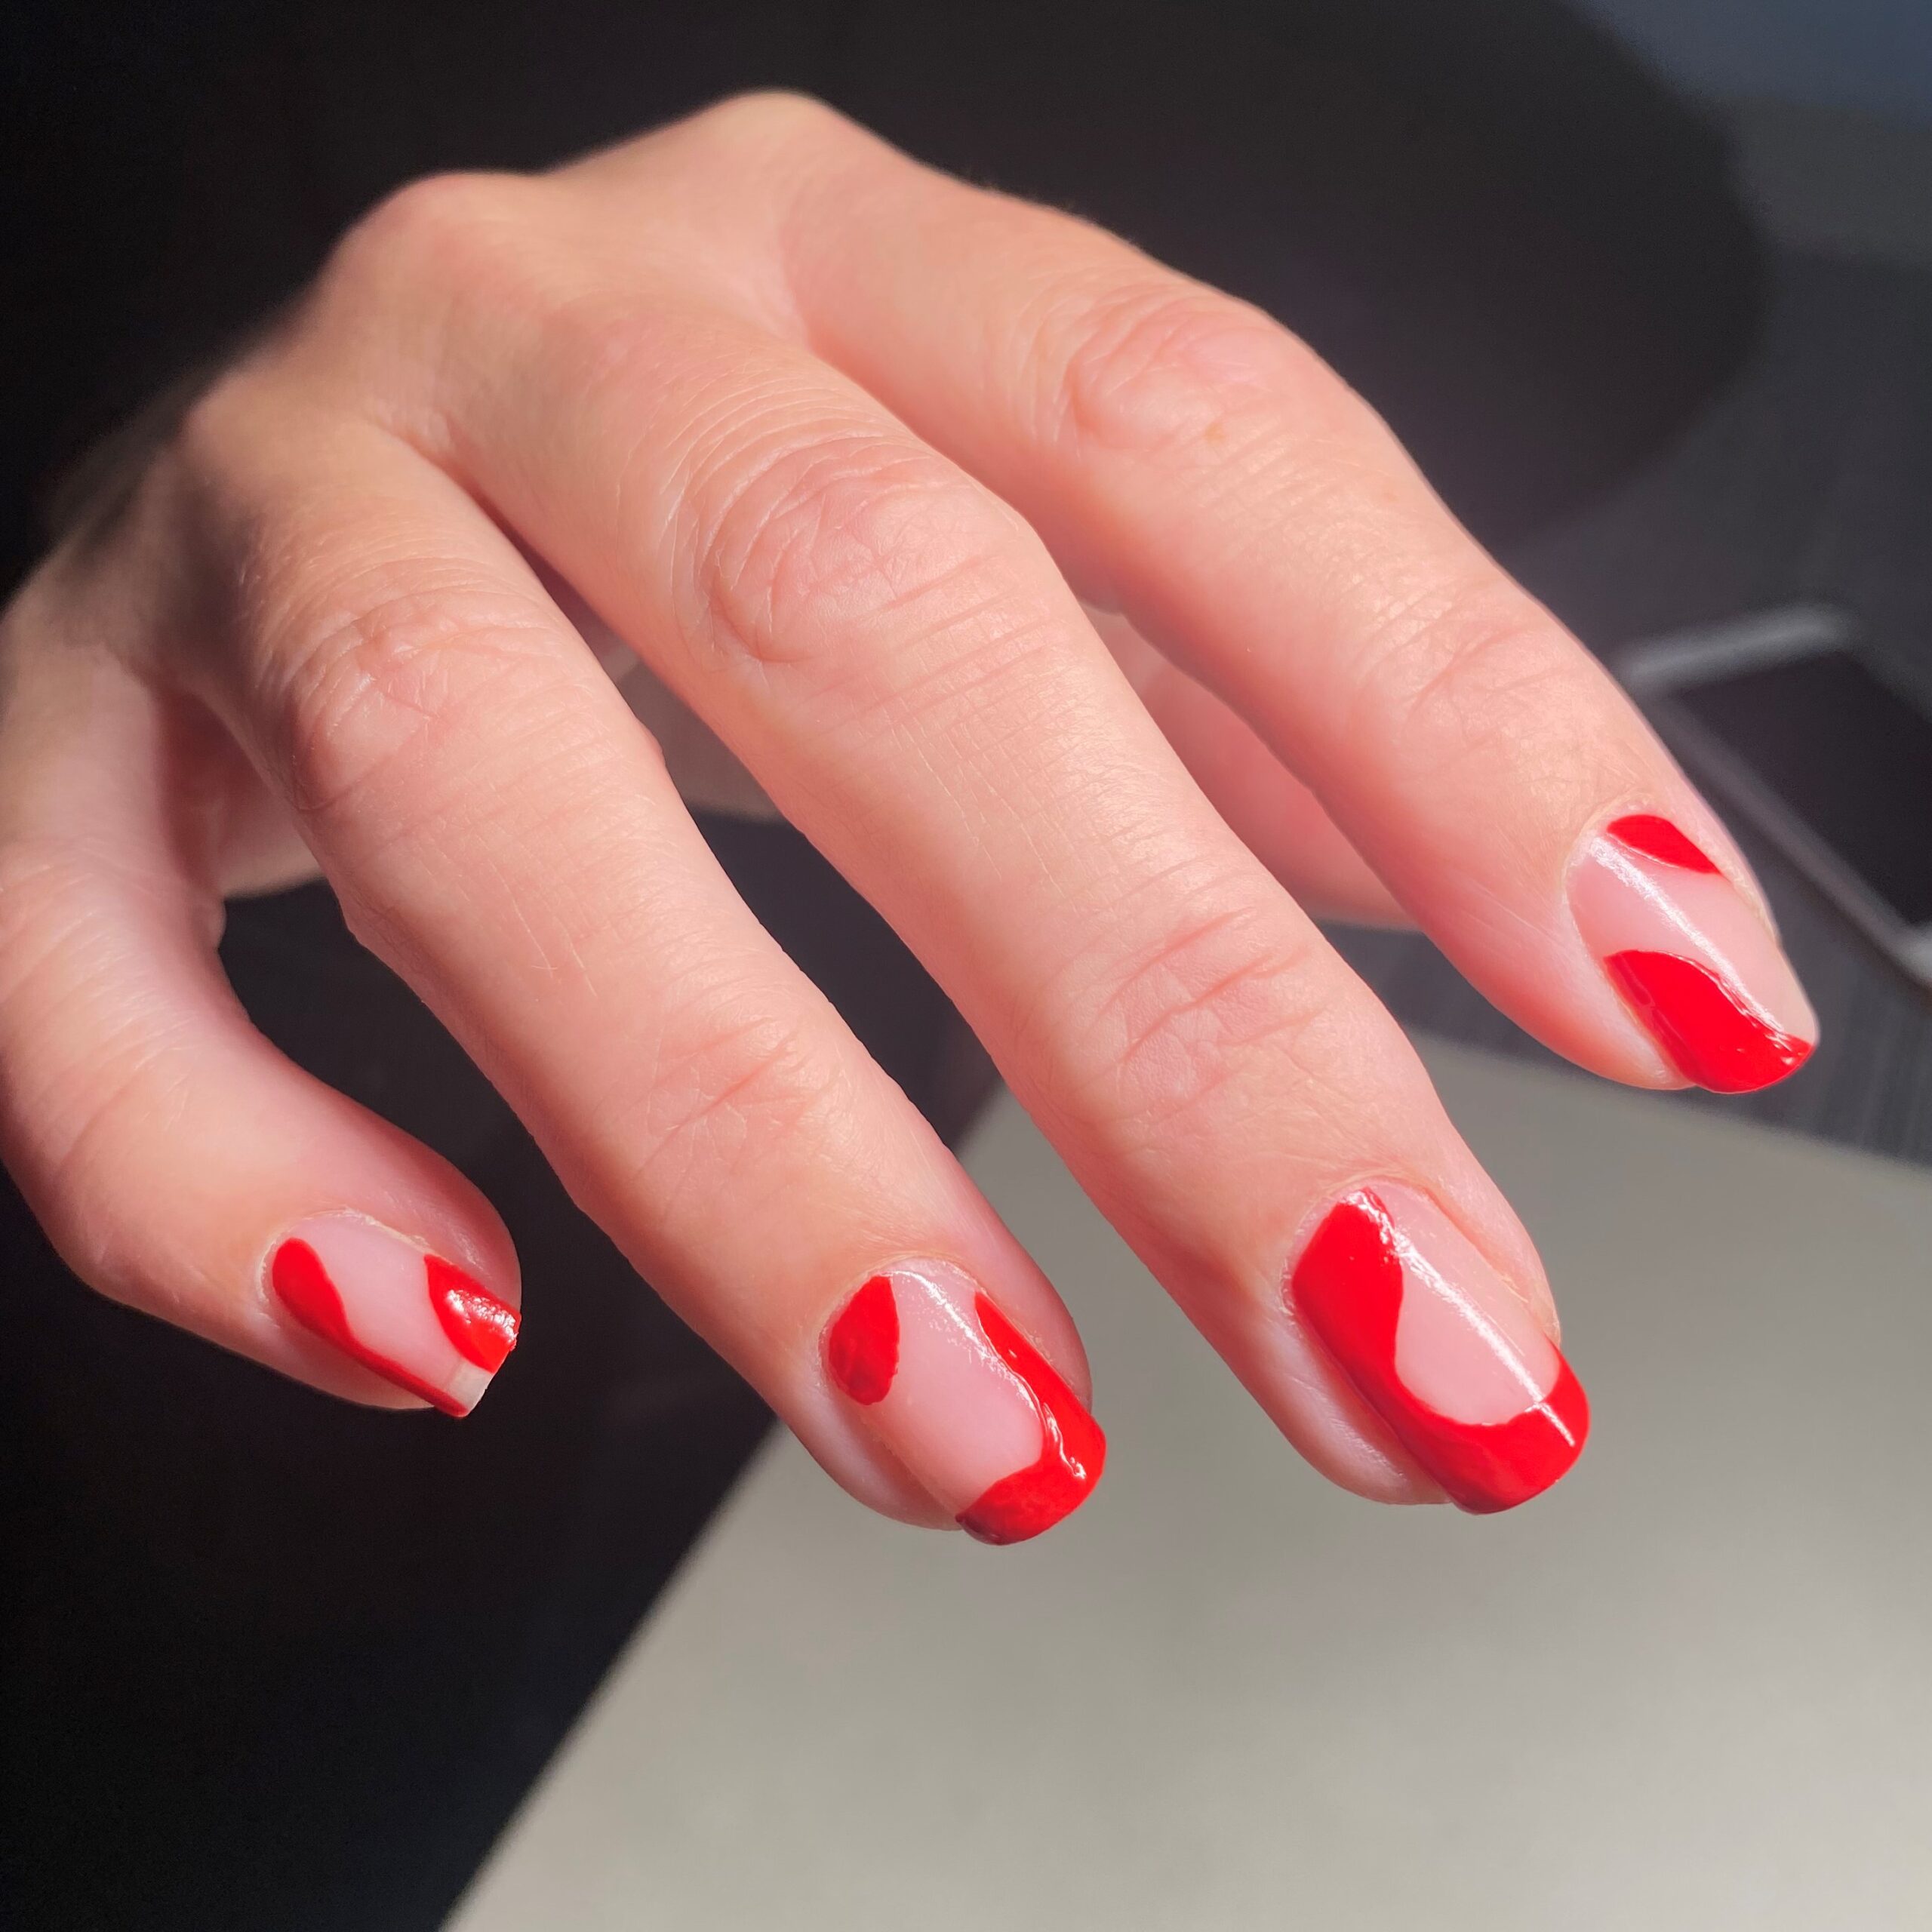
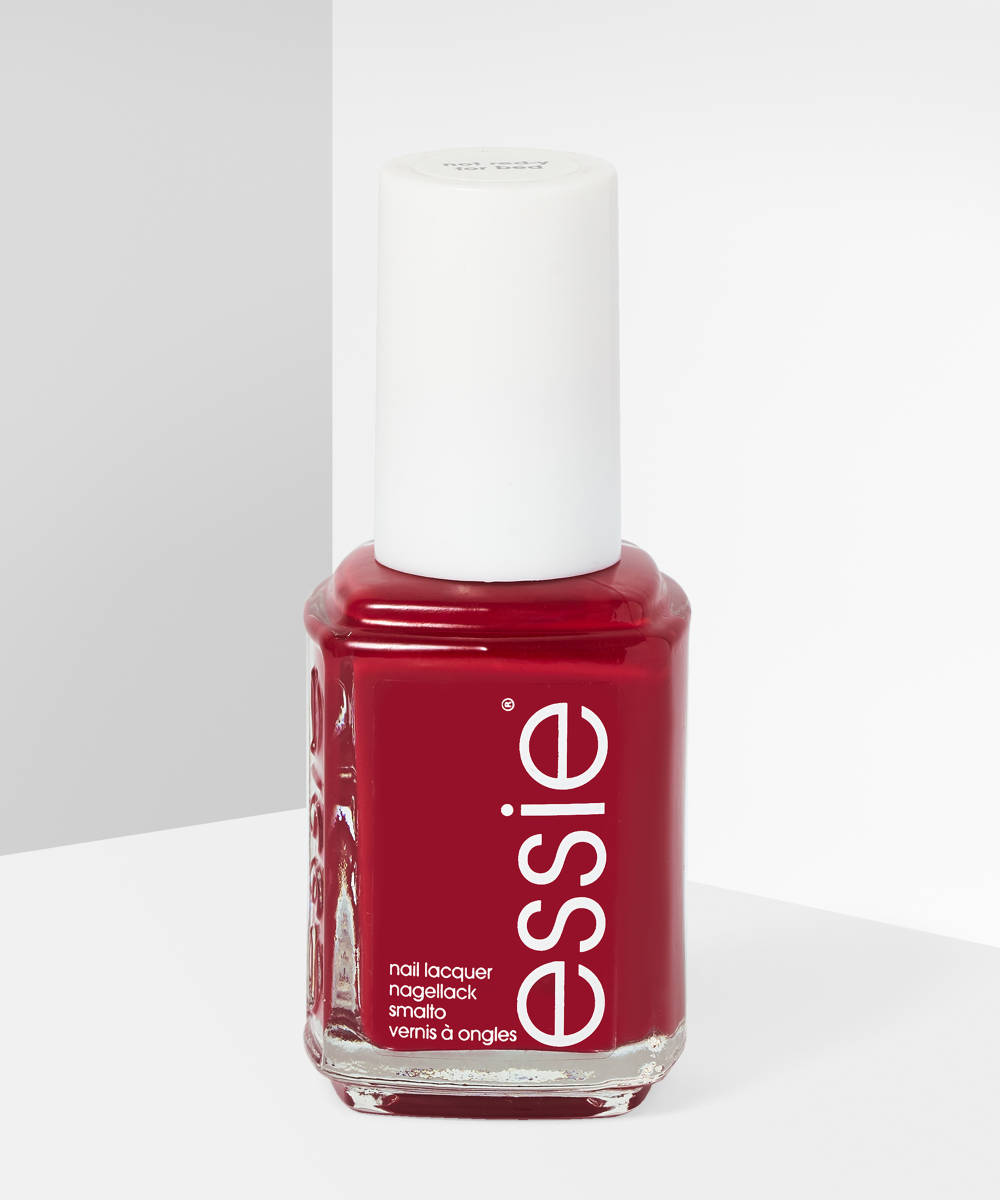
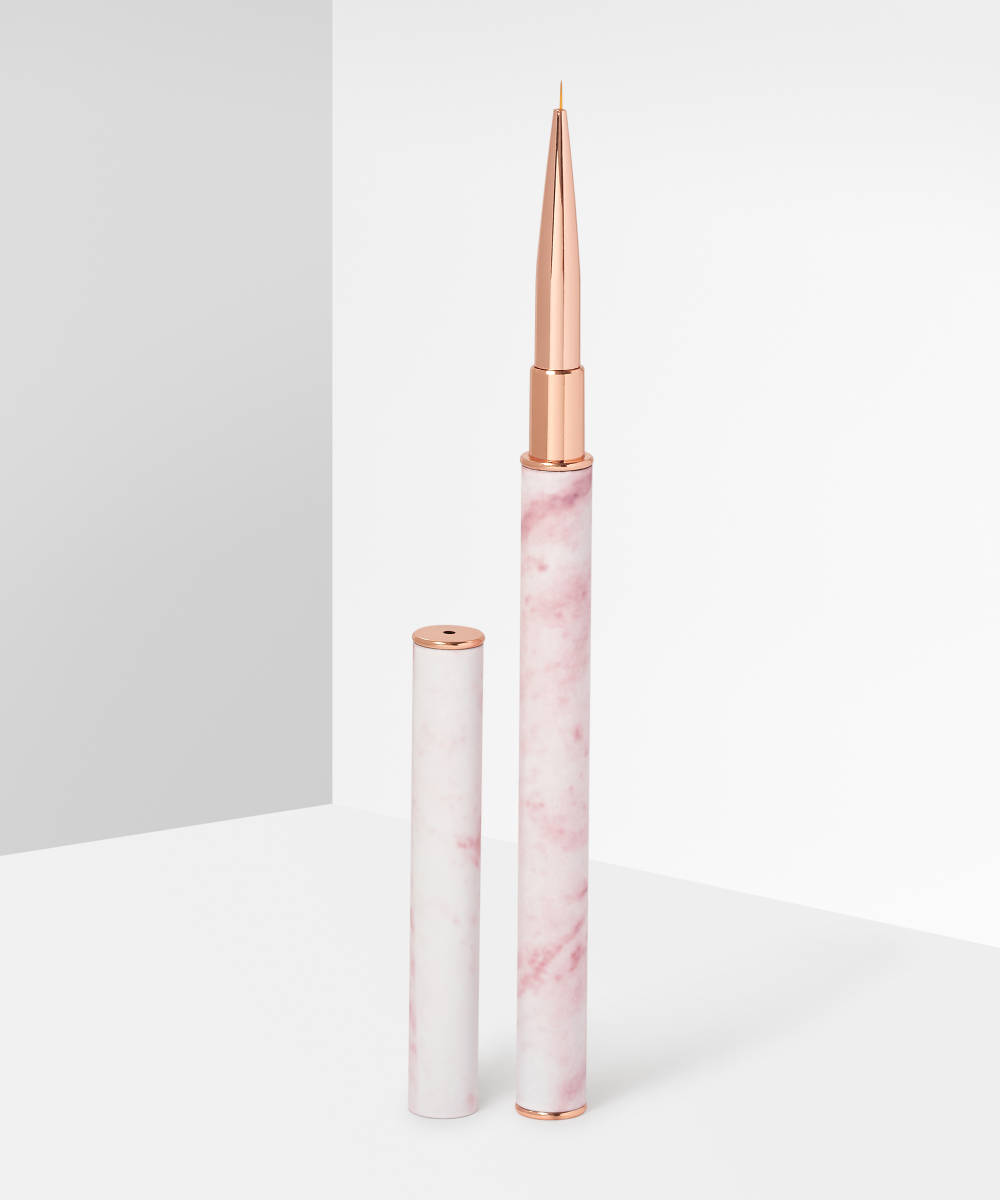
Using a small nail brush, create the outline of your abstract shapes on each nail. We’re using the Le Mini Macaron Le Liner Brush and Essie’s Not Red-Y For Bed. Then fill each shape in with the same polish. Repeat until the colour is opaque, always using thin layers so they can dry in between, helping you to avoid a gloopy thick mess. Don’t worry if each nail is different, not all of your shapes need to look identical!
Step Four:
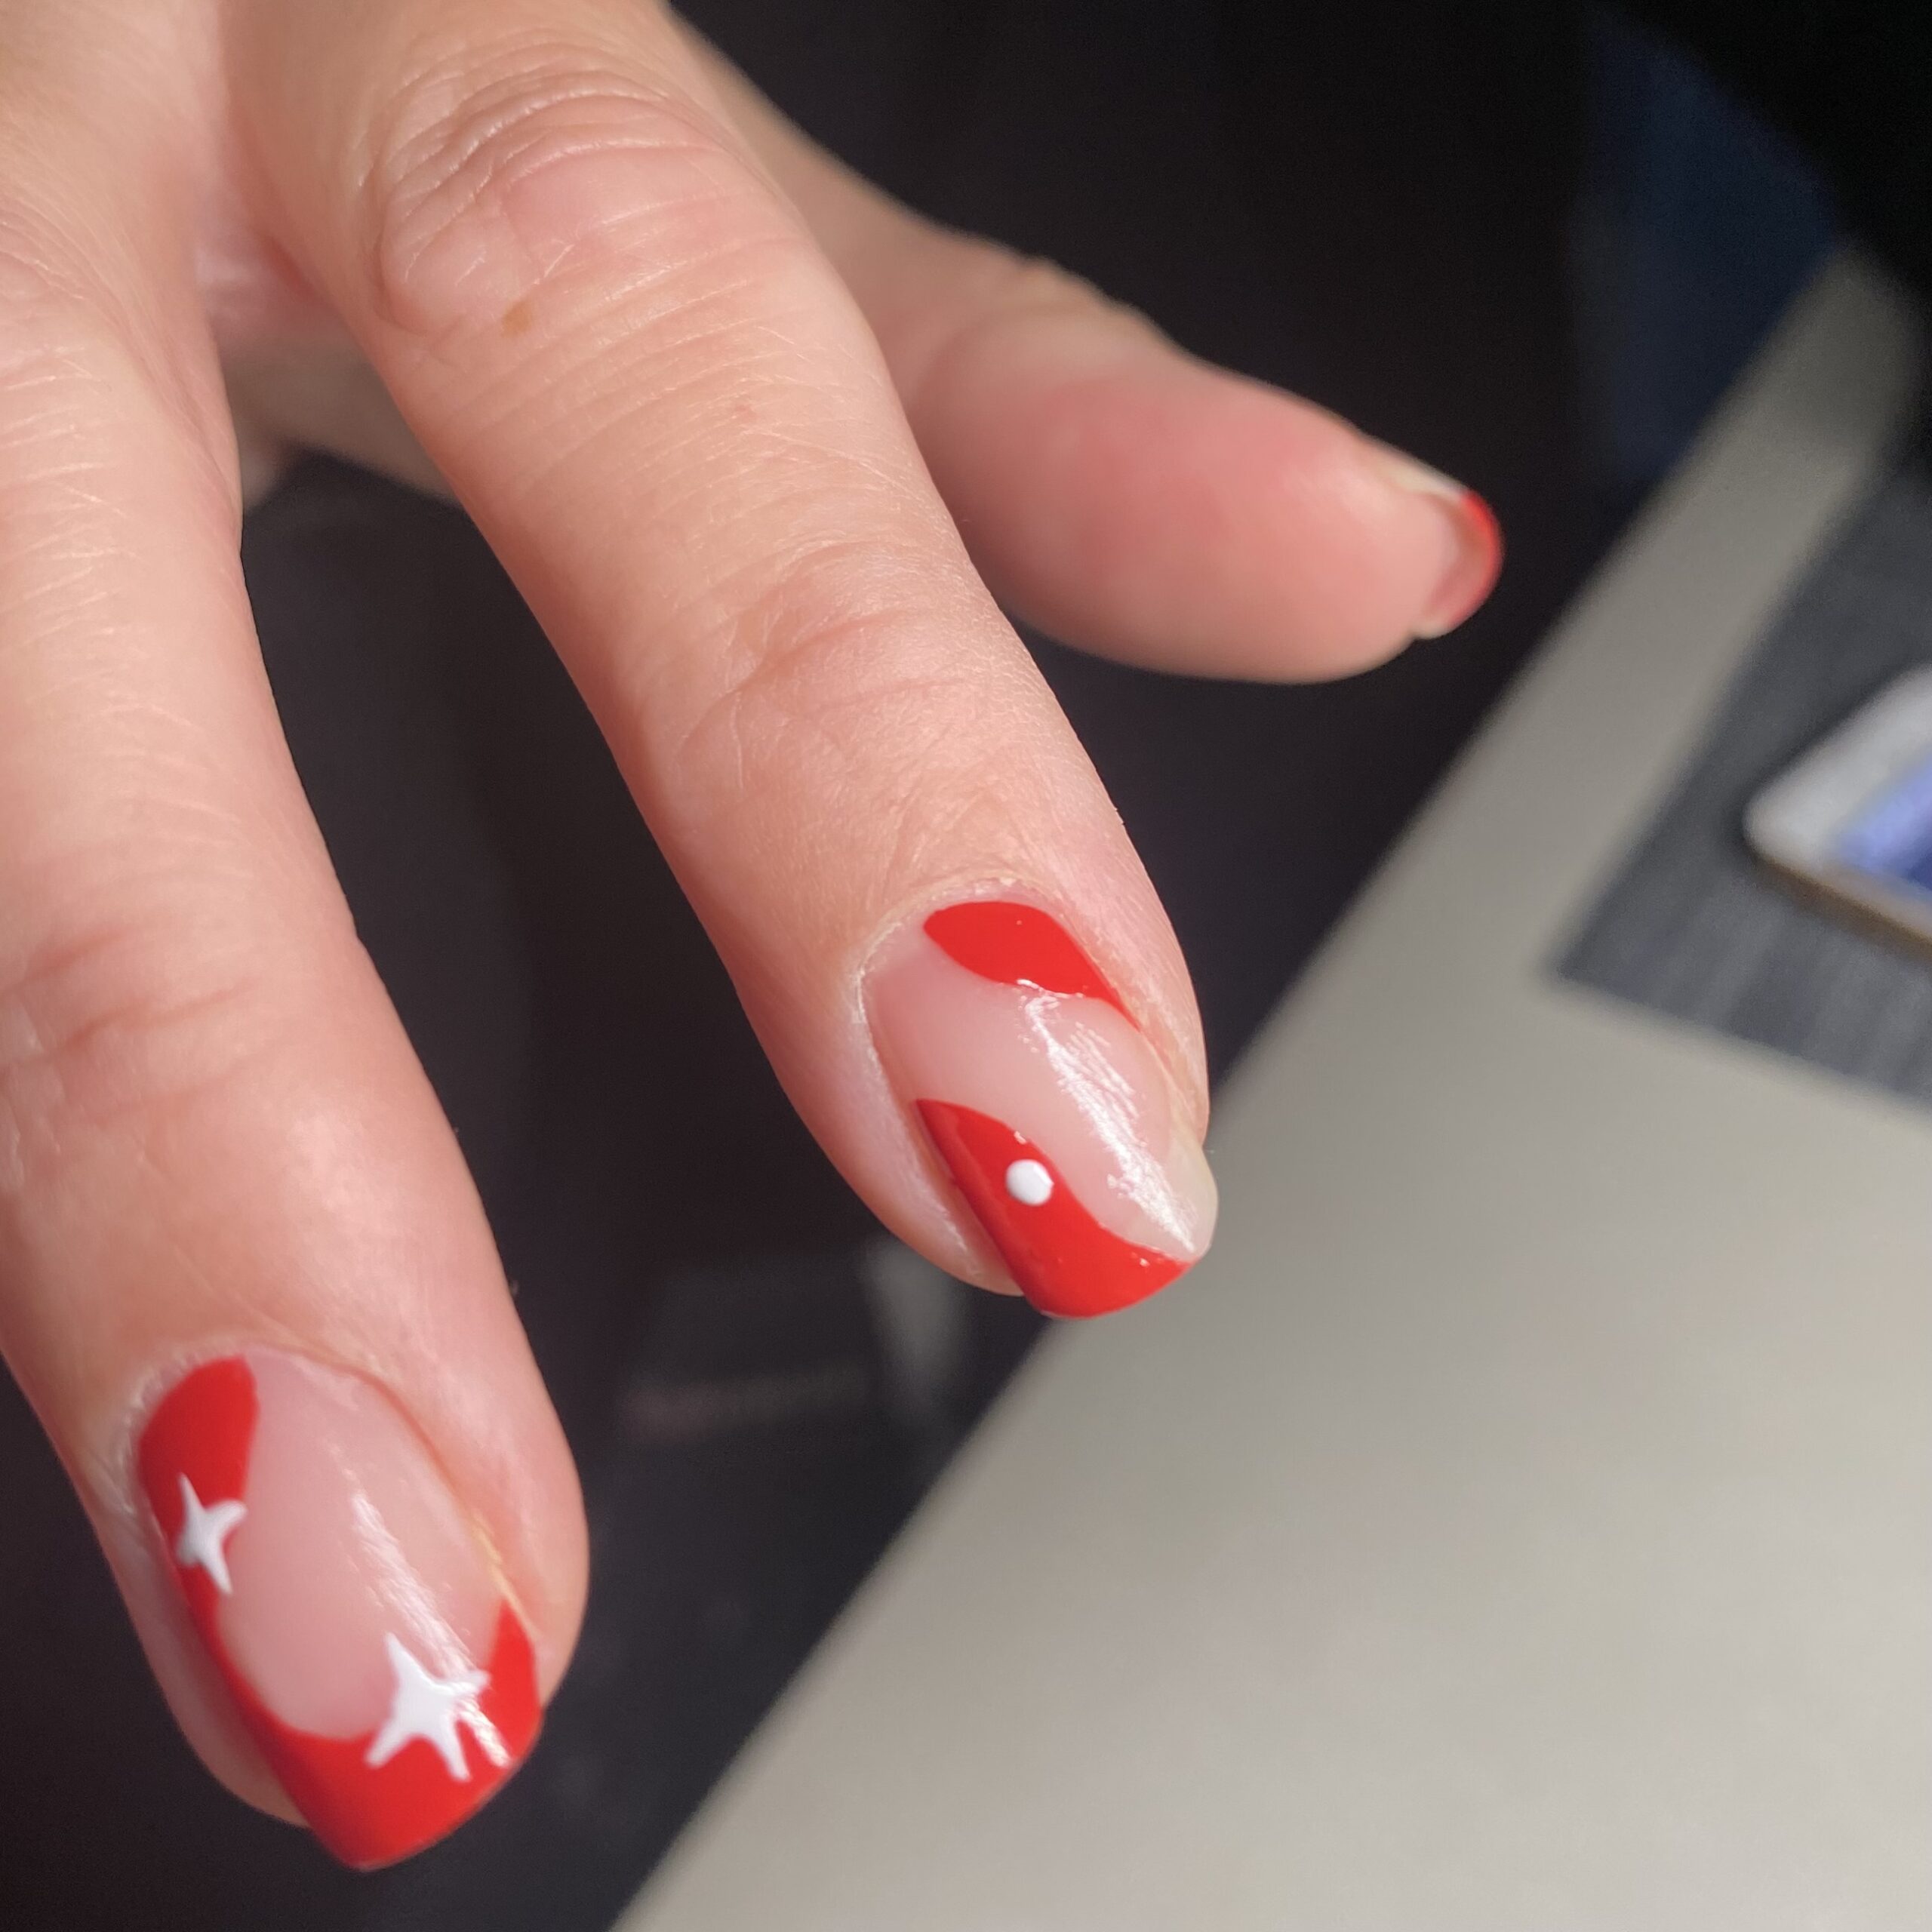
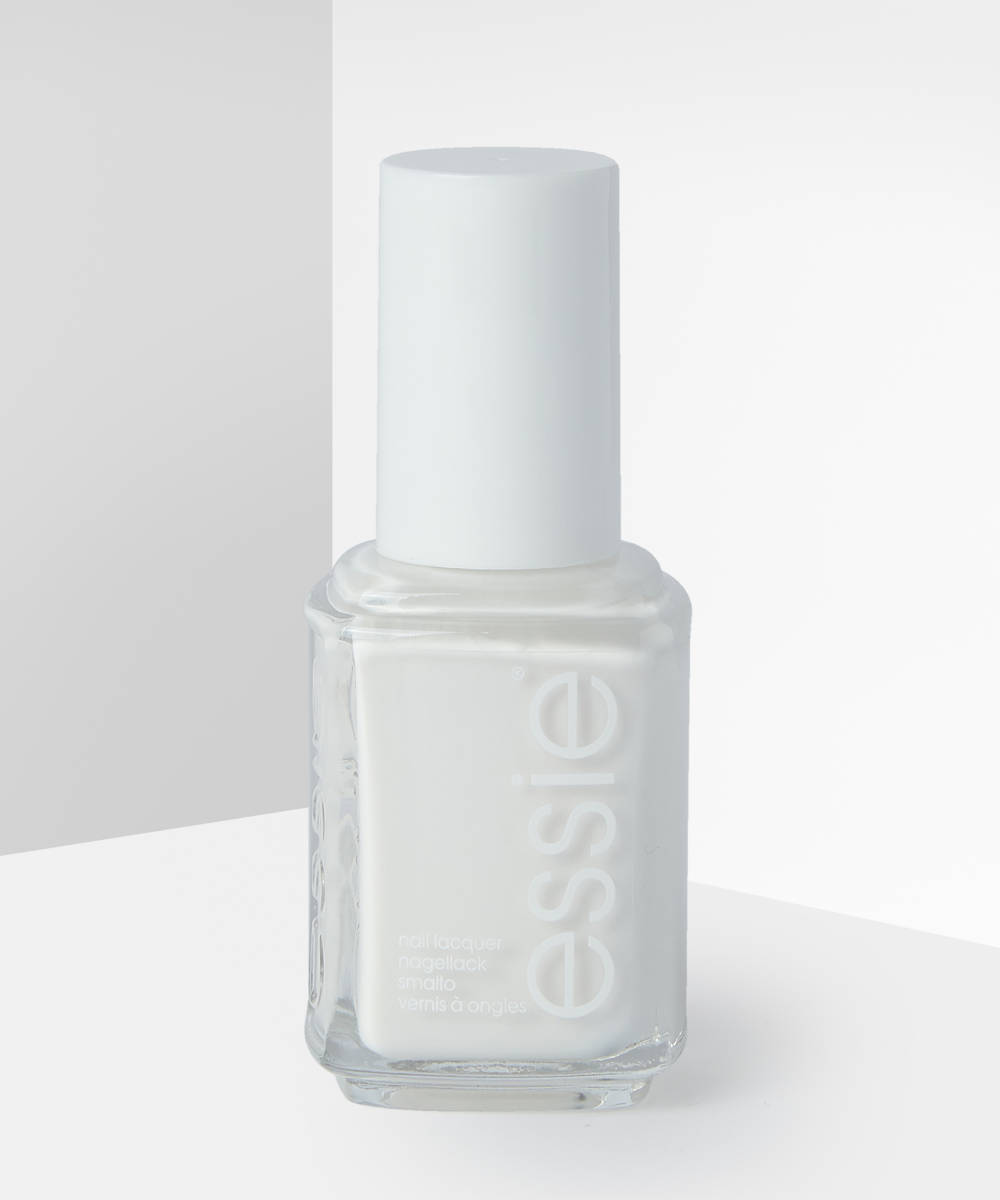
After letting your red polish dry, use a detailer brush to create a dot on the nail, don’t worry about the positioning. Then use your detailer brush to drag the polish in four lines, in an outwards motion from the dot. We used Essie’s Blanc White and the Le Mini Macaron Le Petit Brush.
Step Five:
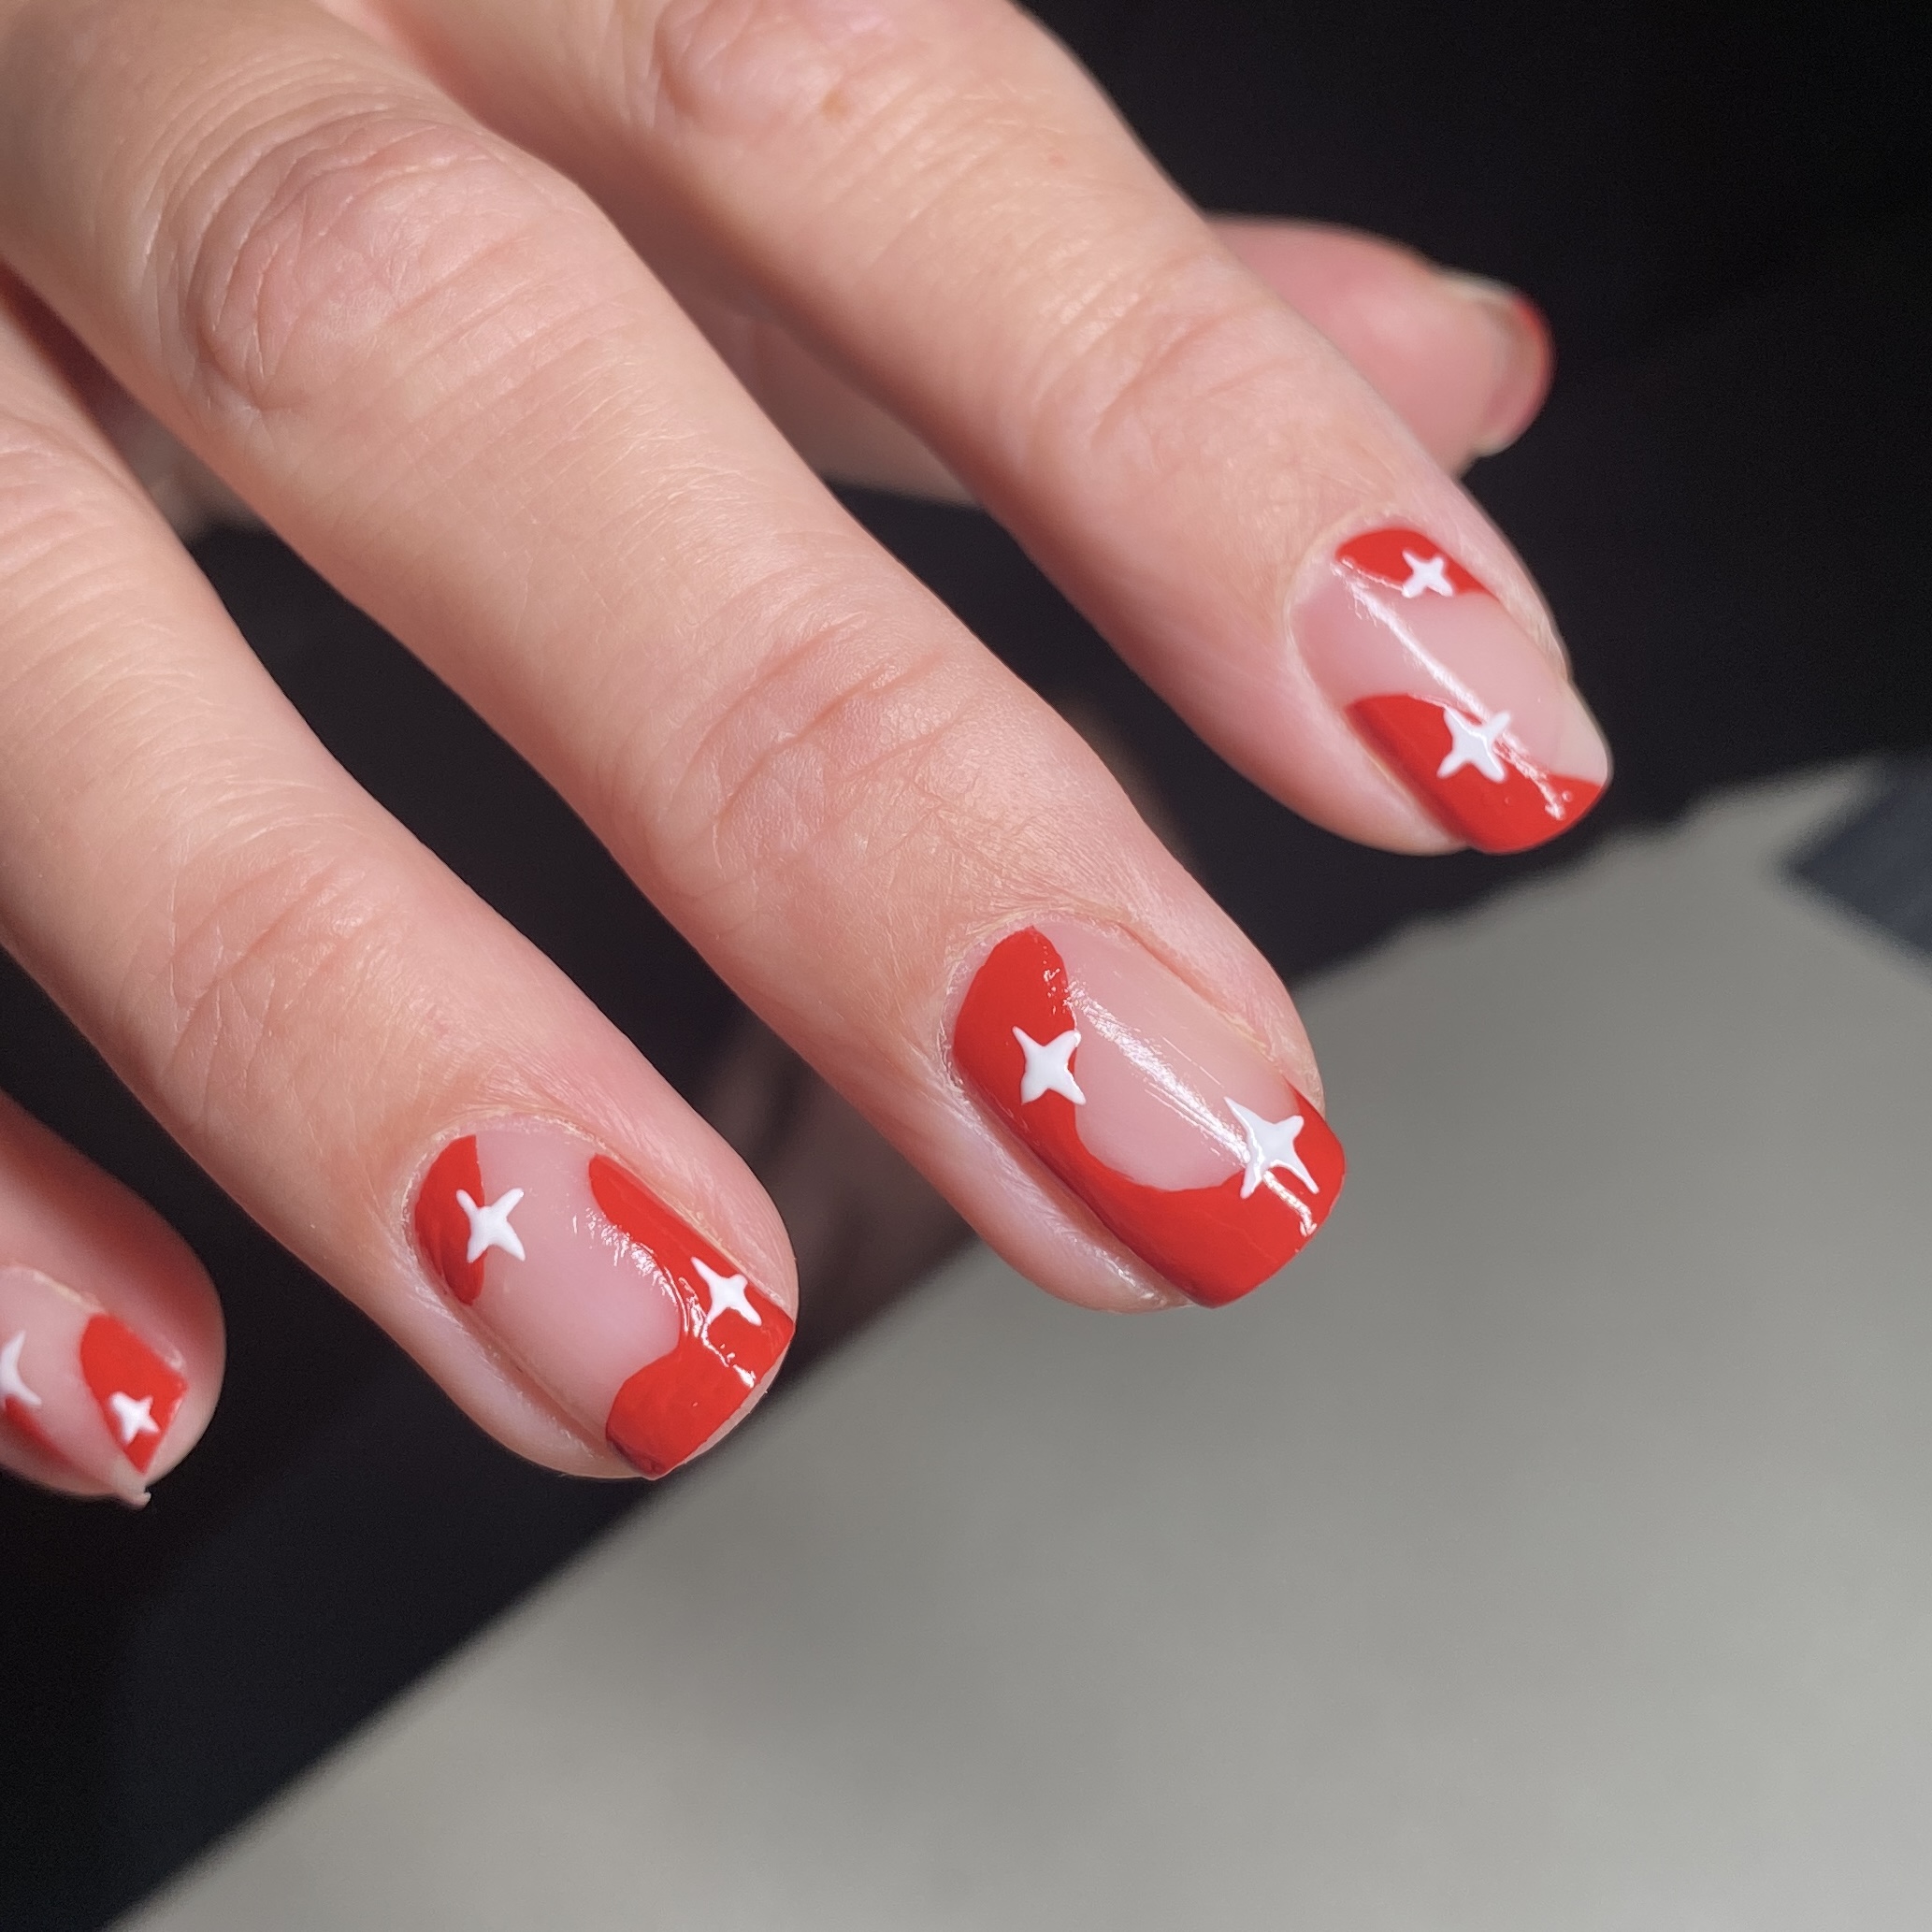
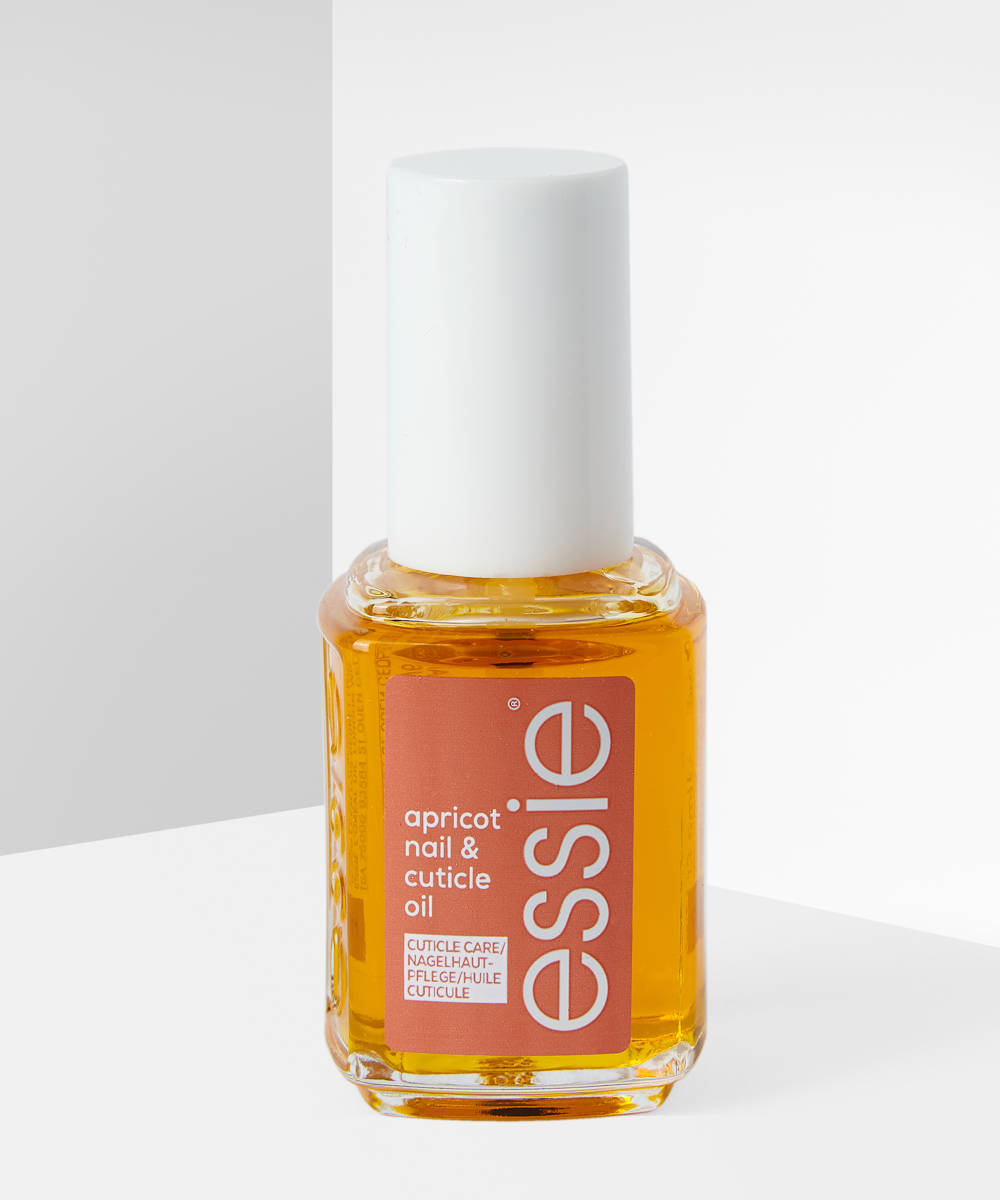
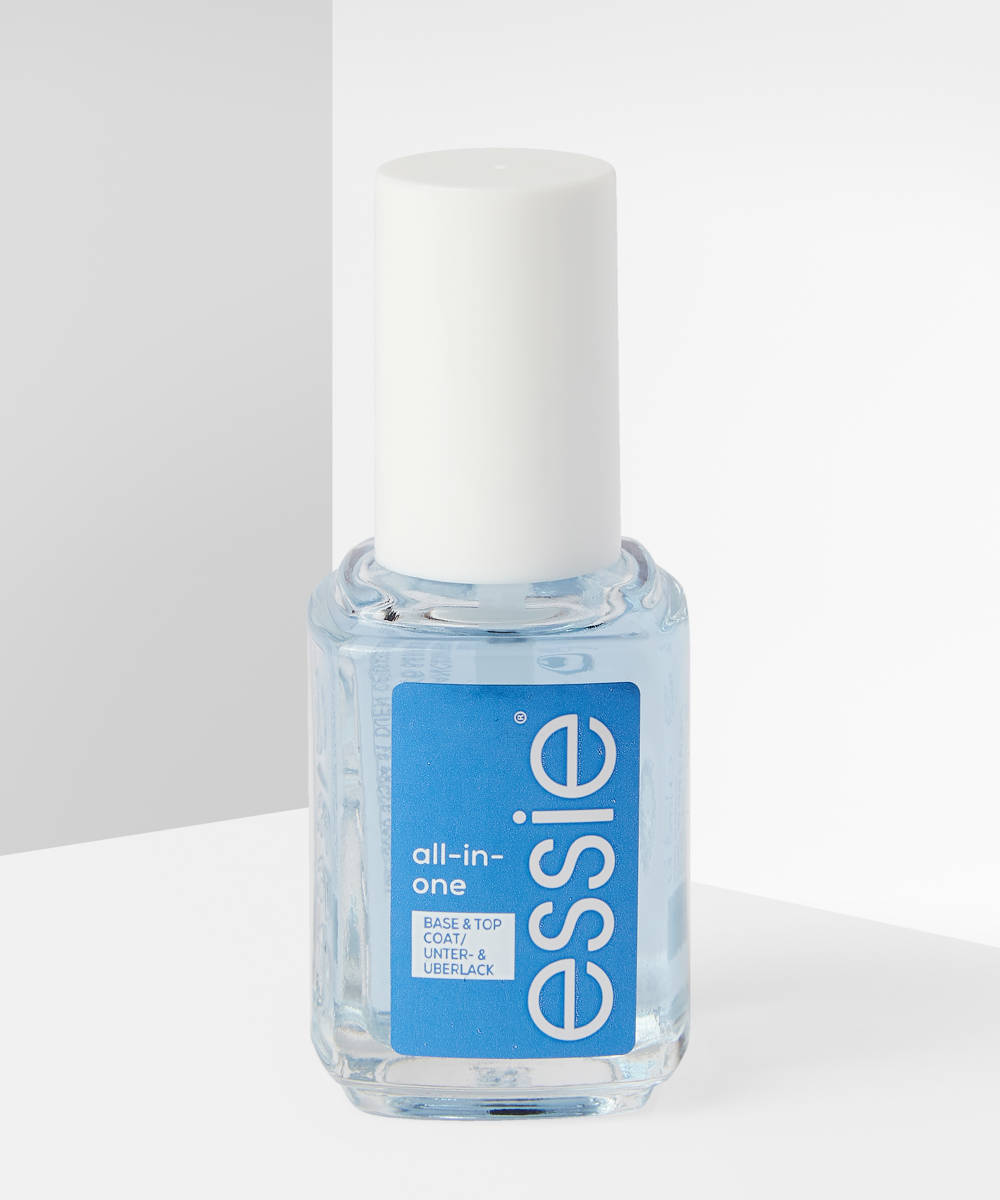
Top off your masterpiece with a top coat, so that it doesn’t chip and stays glossy (we recommend the Essie All-In-One Base & Top Coat as it dries super-fast) and finish with a cuticle oil to keep your nails healthy and strong.
