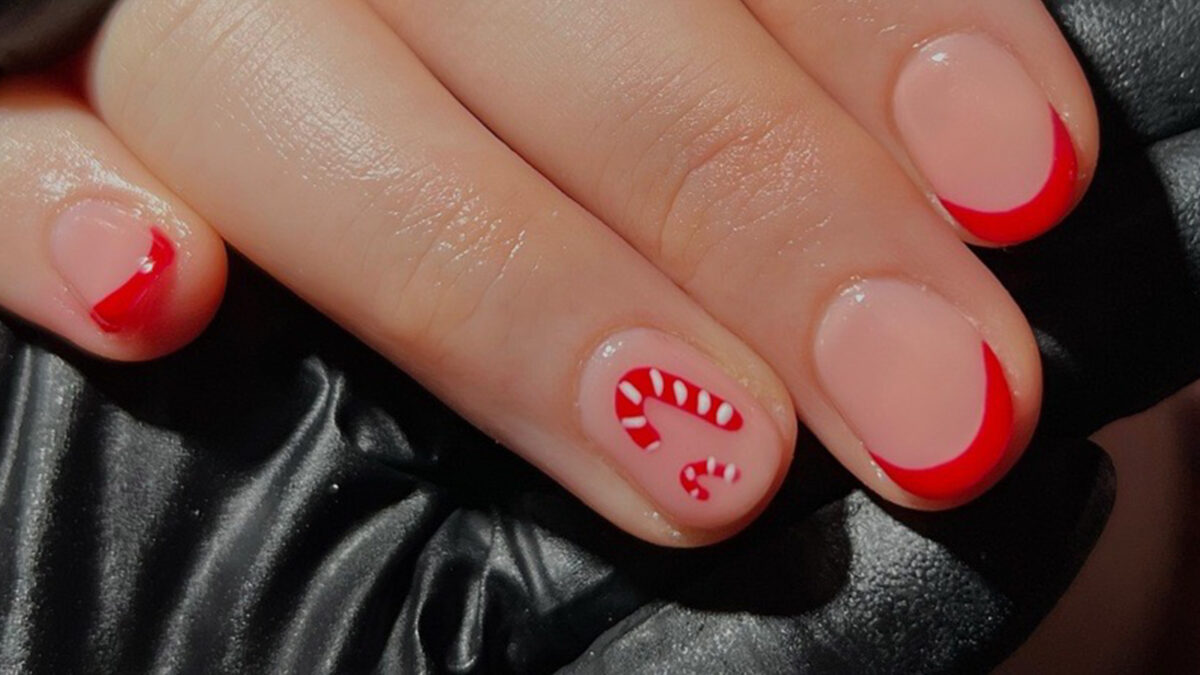
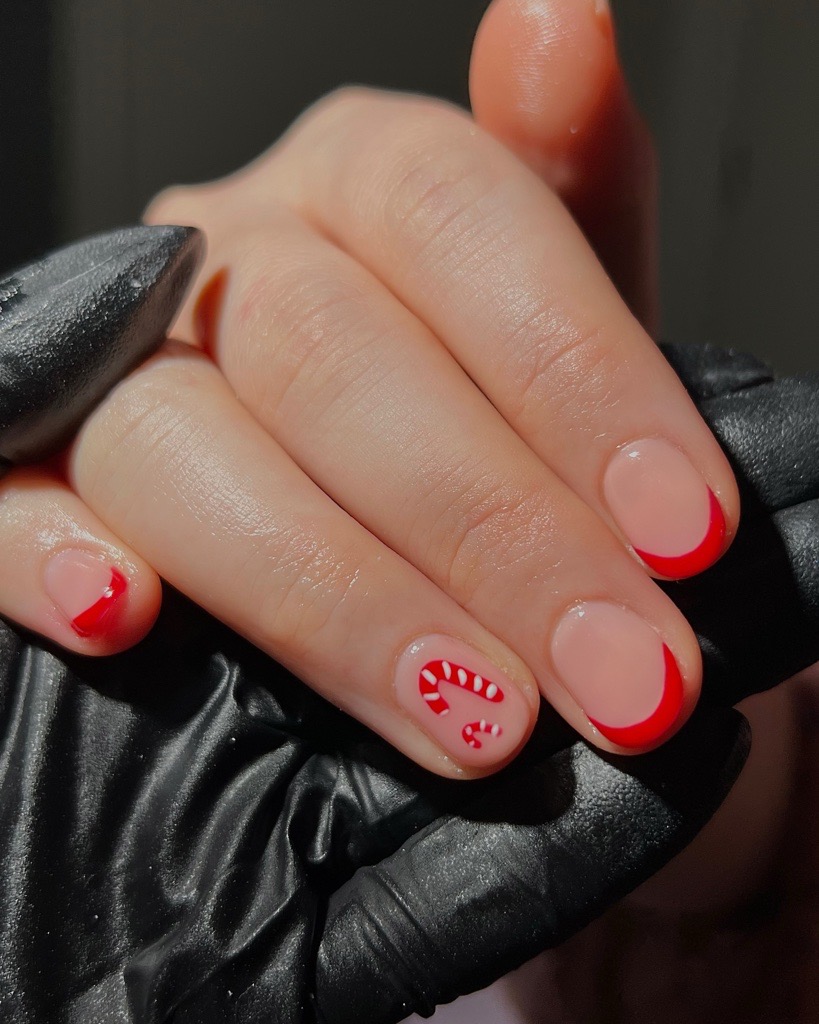
When you think of Christmas, what springs to mind? Does it start with C and end with andy canes? Sweet, festive and super fun, candy canes are an essential at Christmas and this year we’re not only snacking on them, we’re having them on our nails.
Looking for something super festive and super easy for your DIY Christmas manicure this year? You’re in luck.
We’ve got all the goods here on BEAUTY BAY and an easy-to-follow tutorial, on how to get this candy cane nail design, that is sure to deliver all the festive vibes you’ve been looking for. After all, it wouldn’t be Christmas without a red manicure…
Step one:
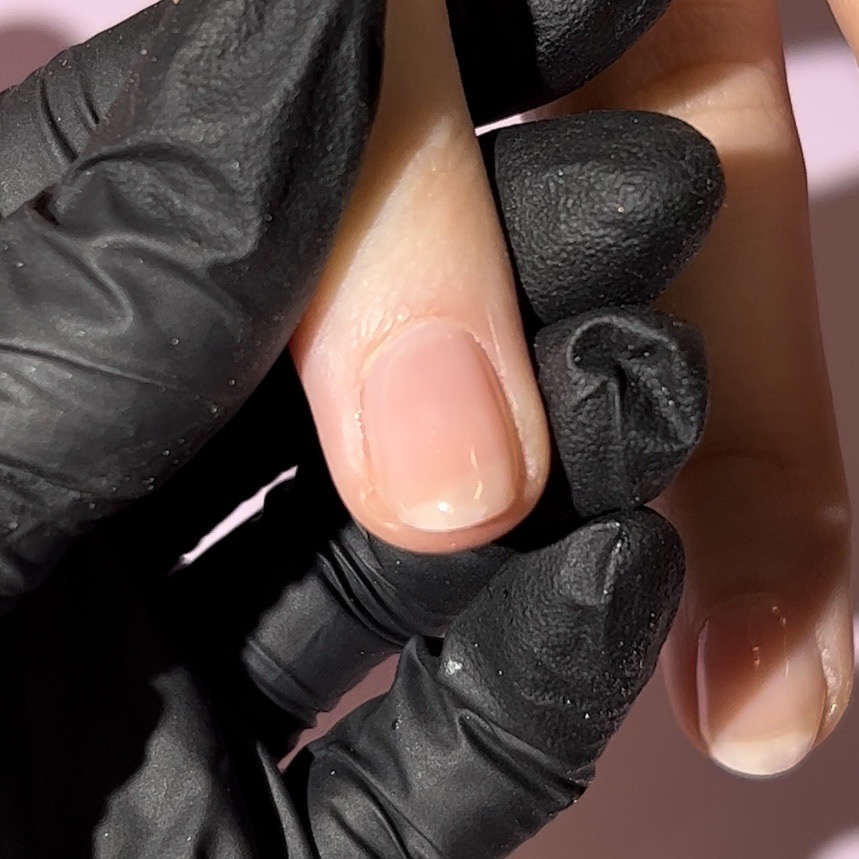
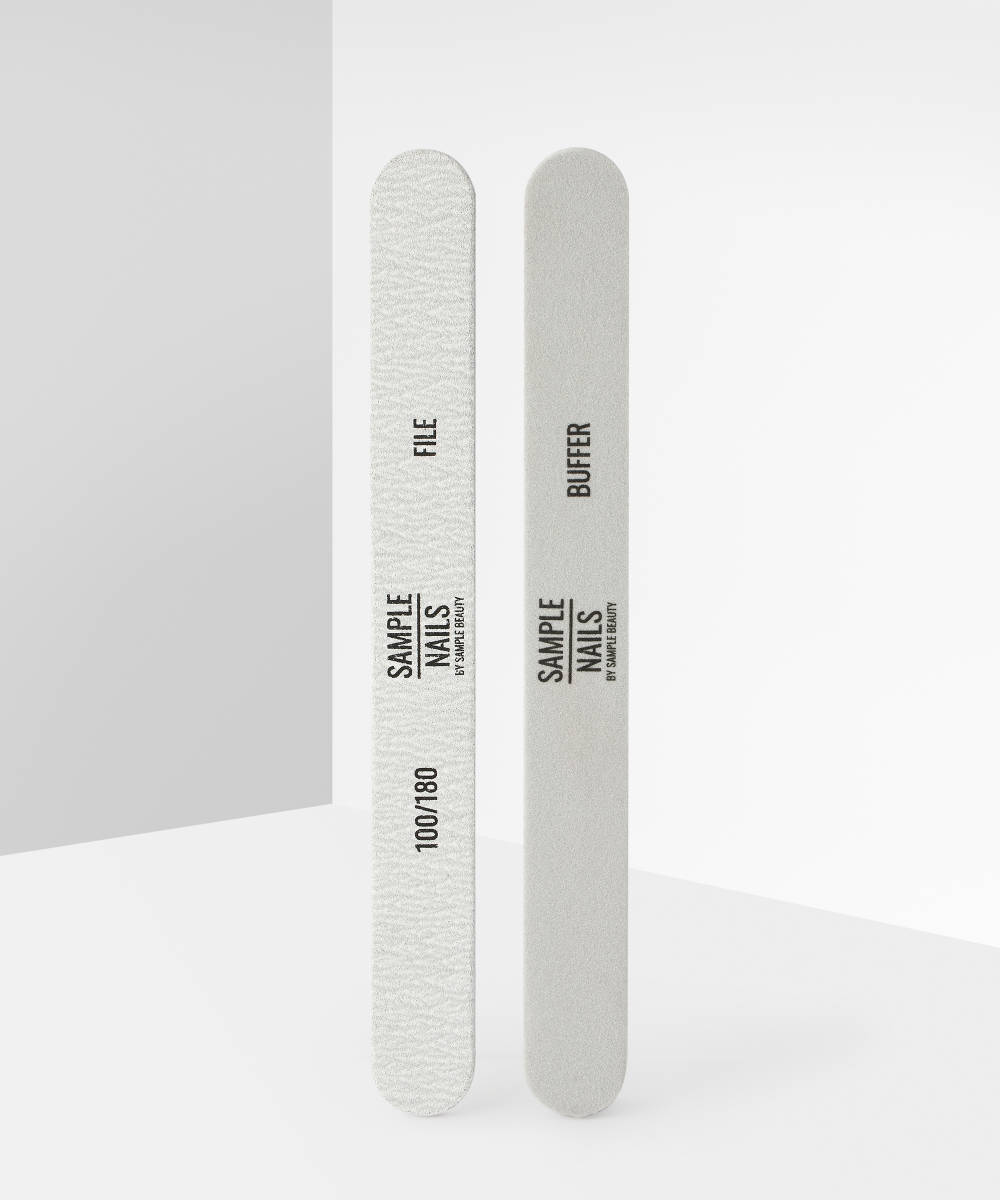
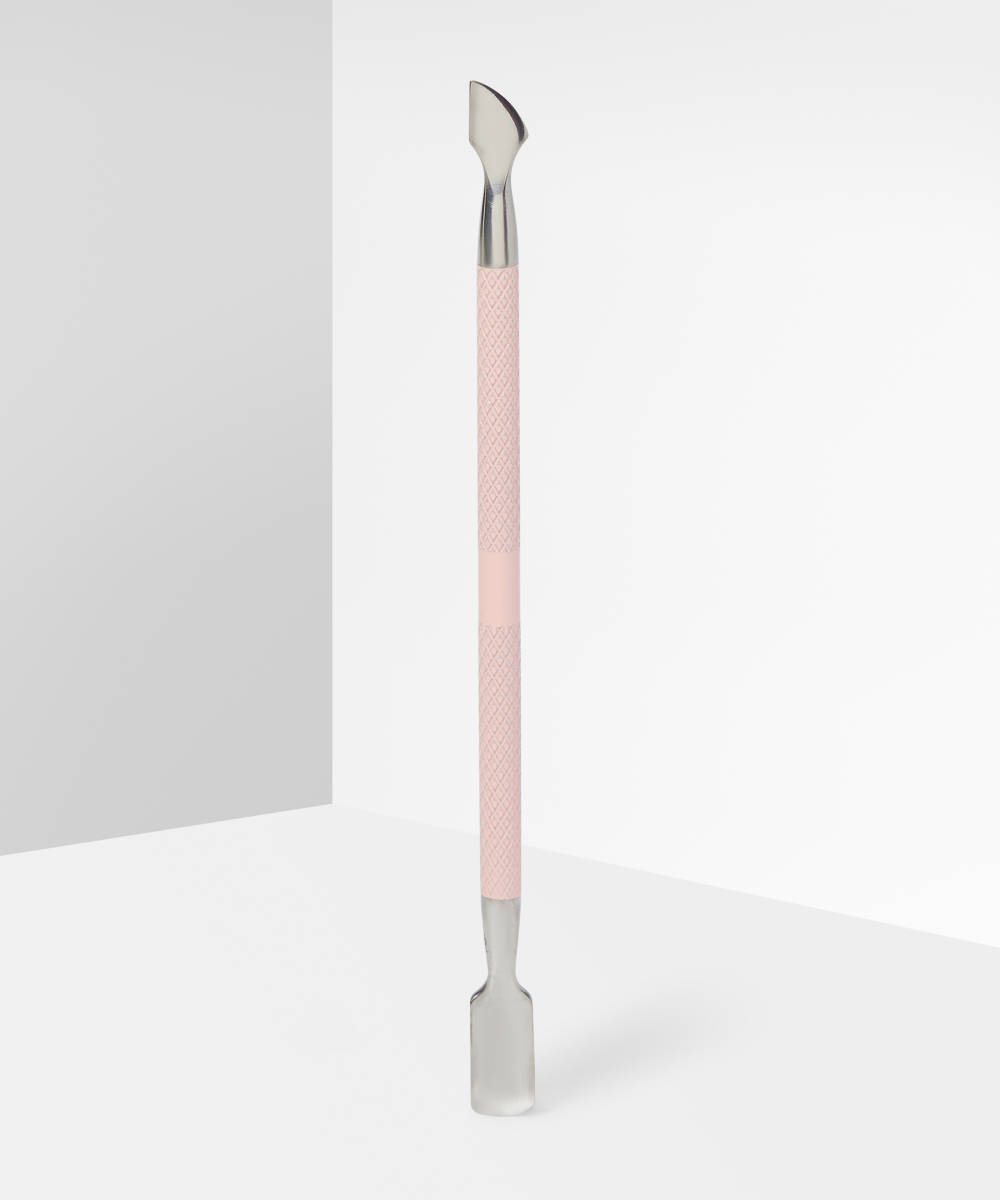
Start out by prepping and filing your nails into shape with a nail file and cuticle pusher. We’ve opted for a rounded edge, but feel free to go for a square tip if you wish.
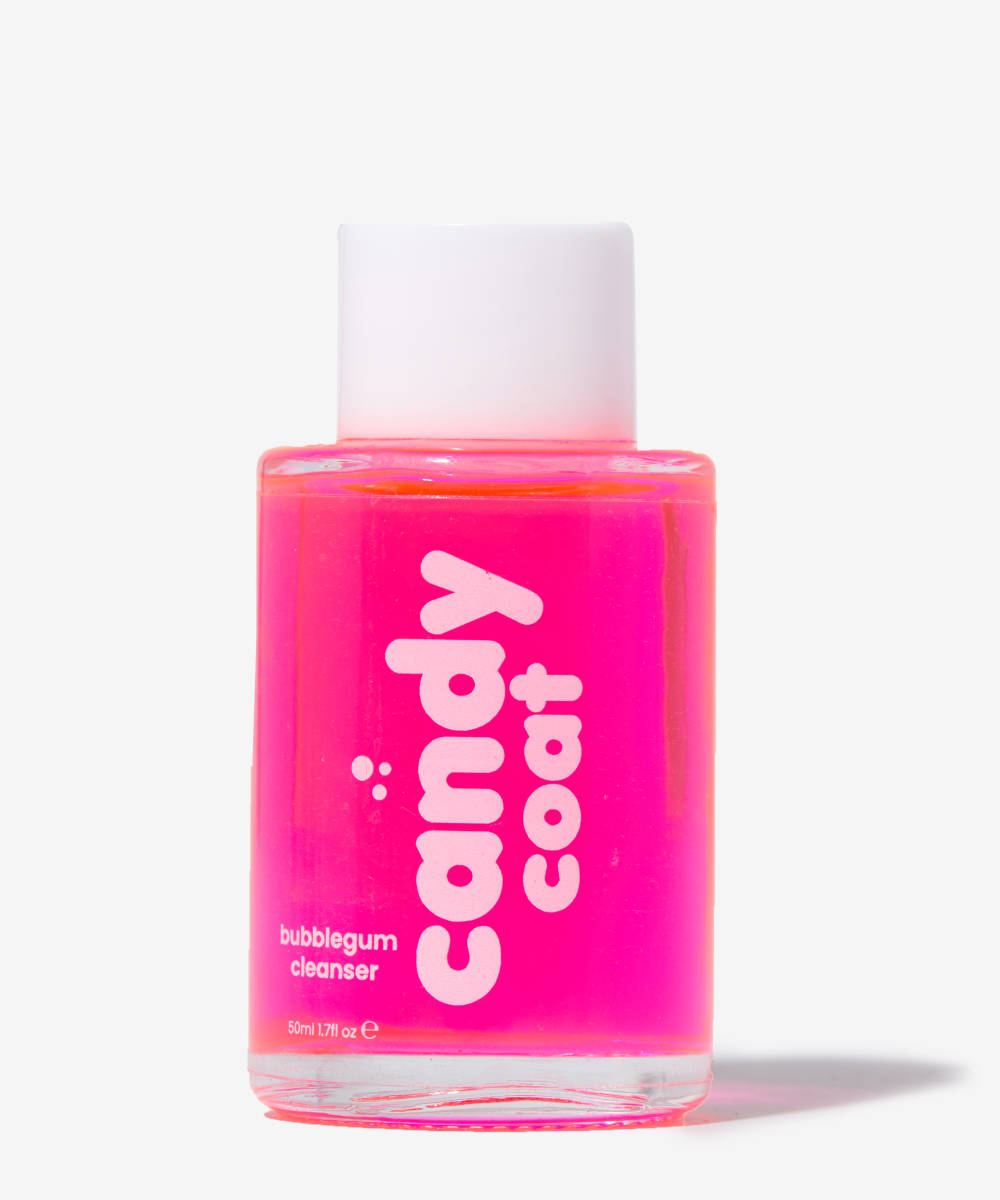
Then, etch the base of your nail plate with your file (so the gel can stick to your nails) and wipe them clean of all dust with a prep solution.
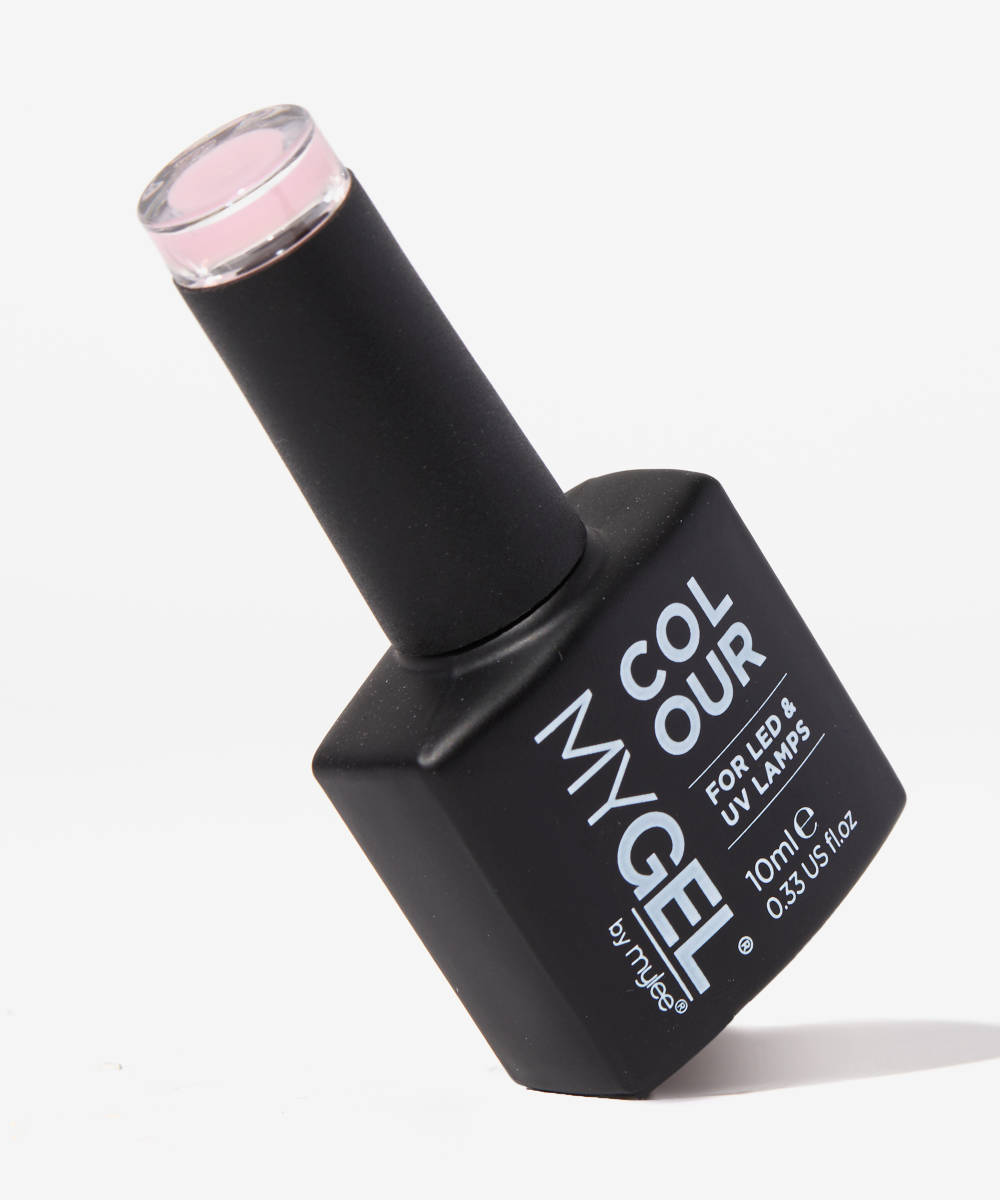
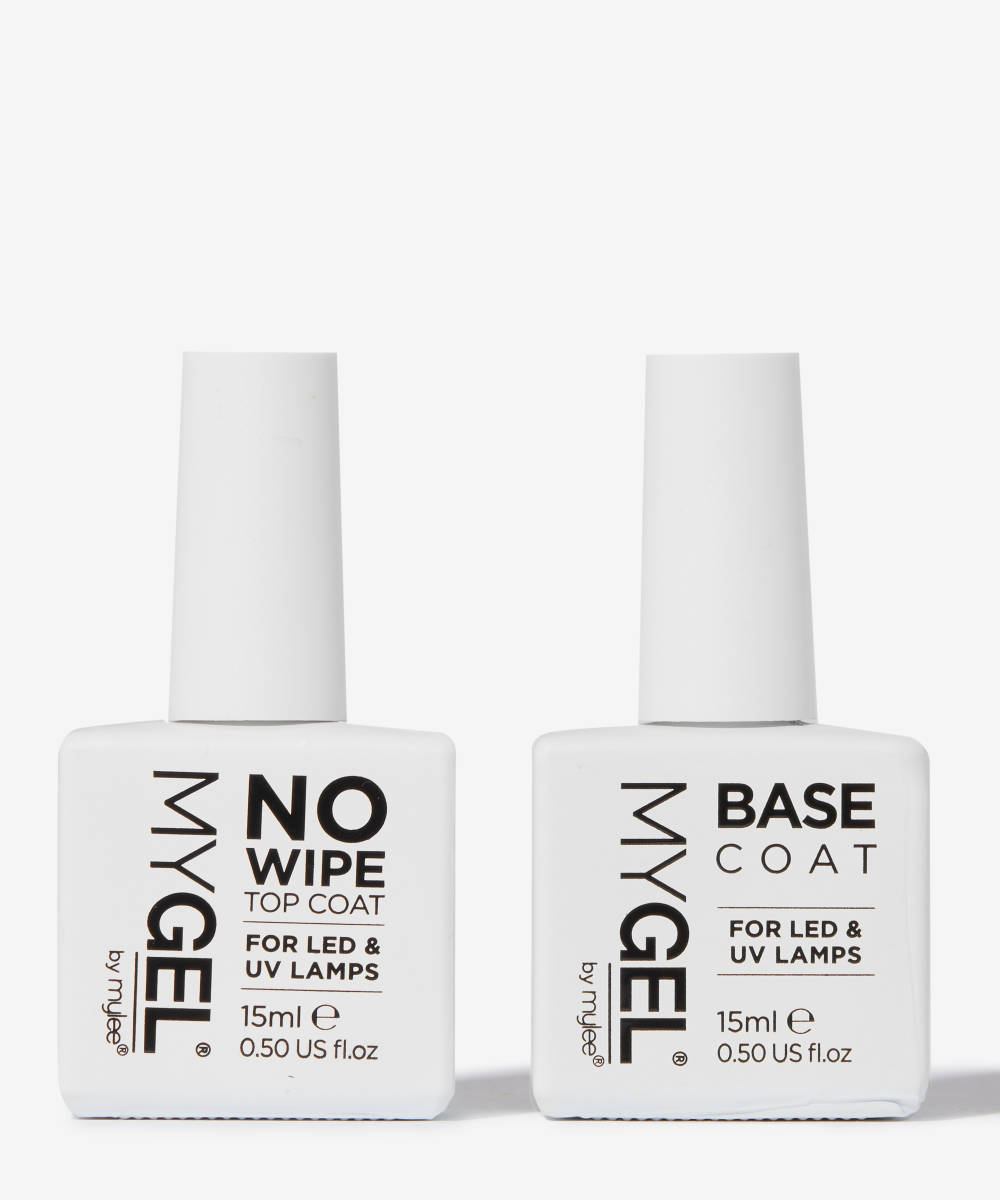
Then apply your gel base coat and cure for 60 seconds, then a layer of pinky-nude gel, then cure again for 60 seconds.
Step two:
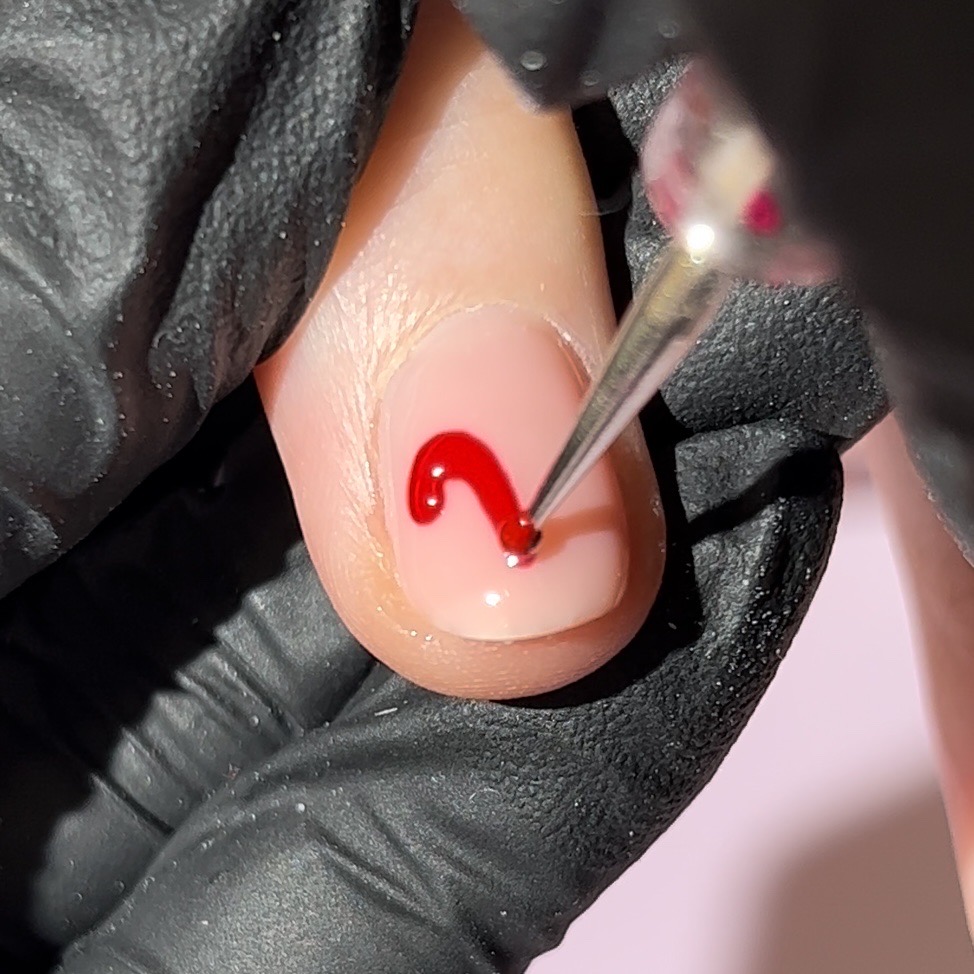
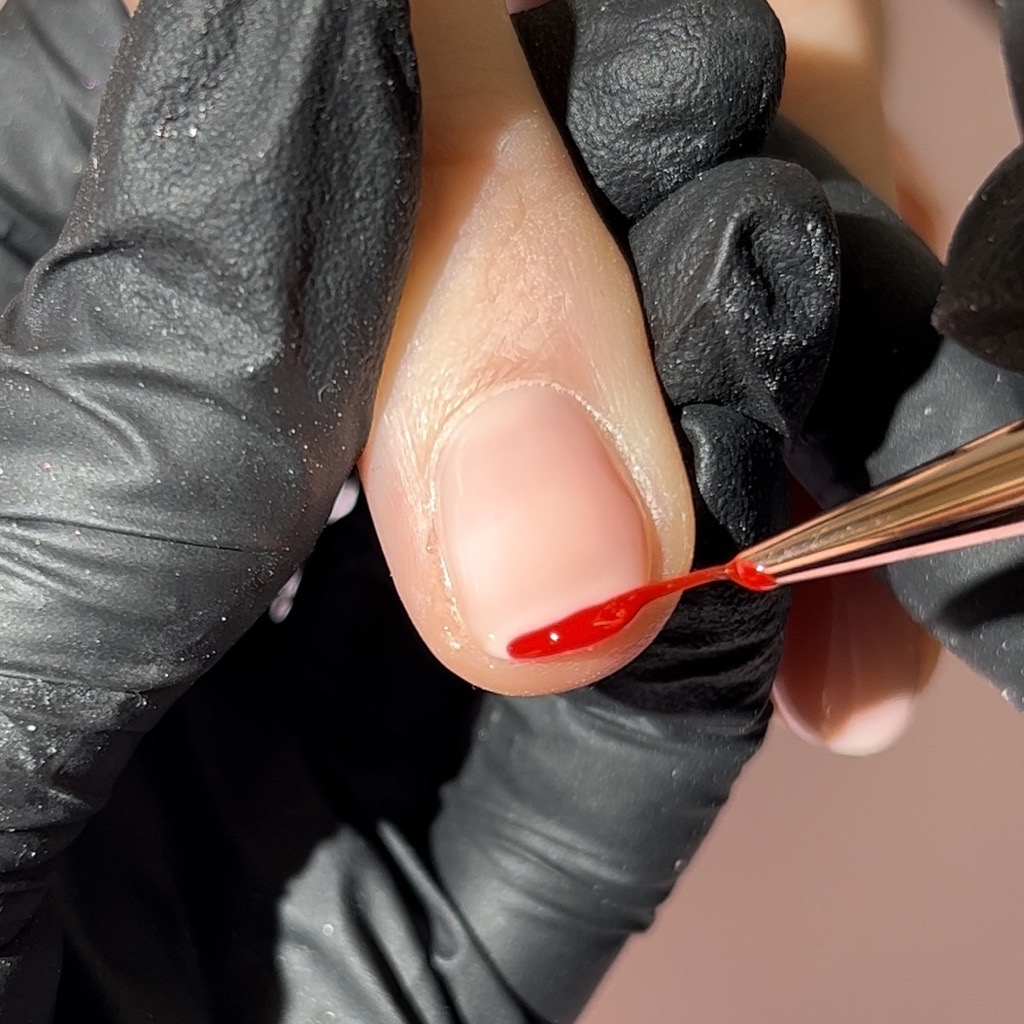
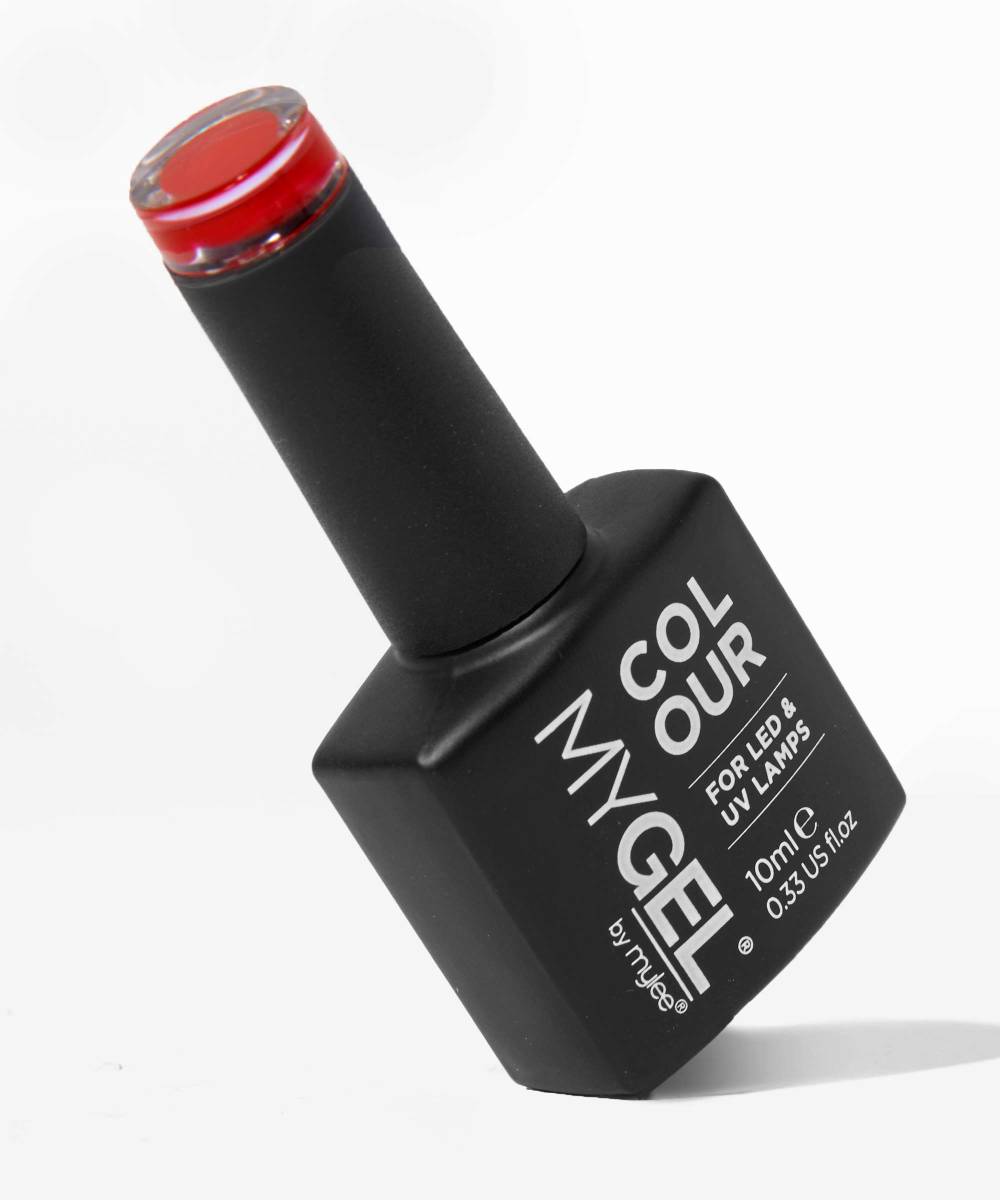
Using a dotting tool or a brush, start by drawing your candy cane shapes with a red gel polish. We’ve opted for two candy canes on each nail, in different sizes. Once your happy with your shapes, cure for 60 seconds.
Step three:
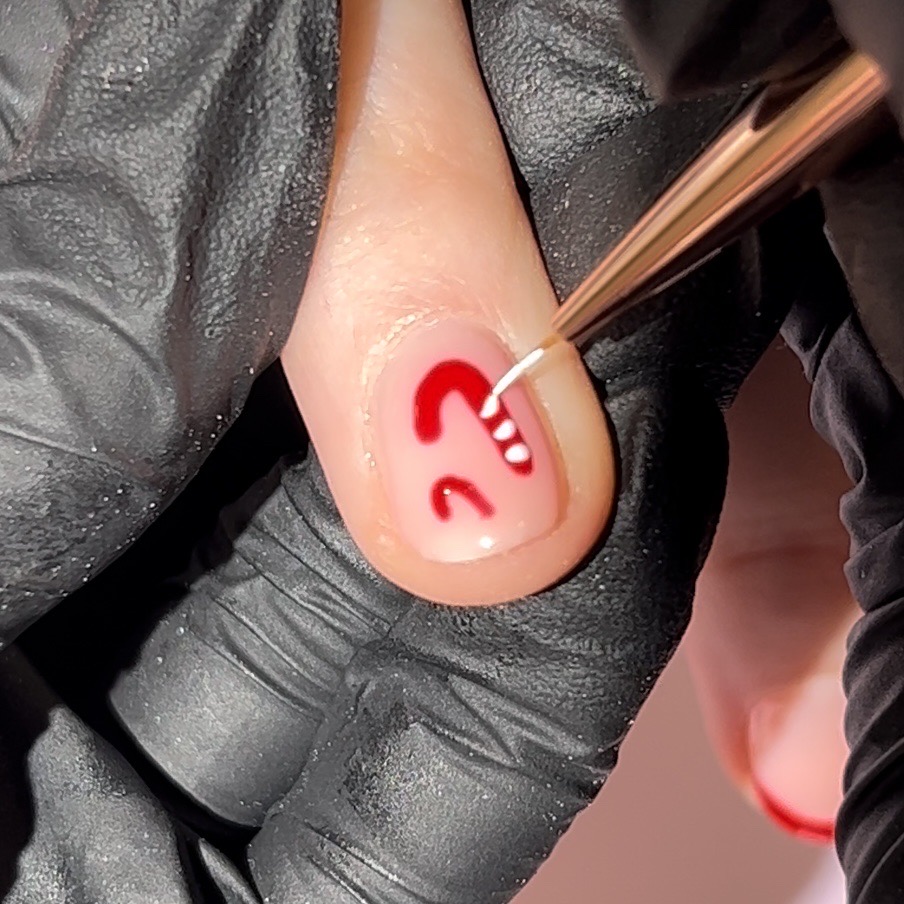
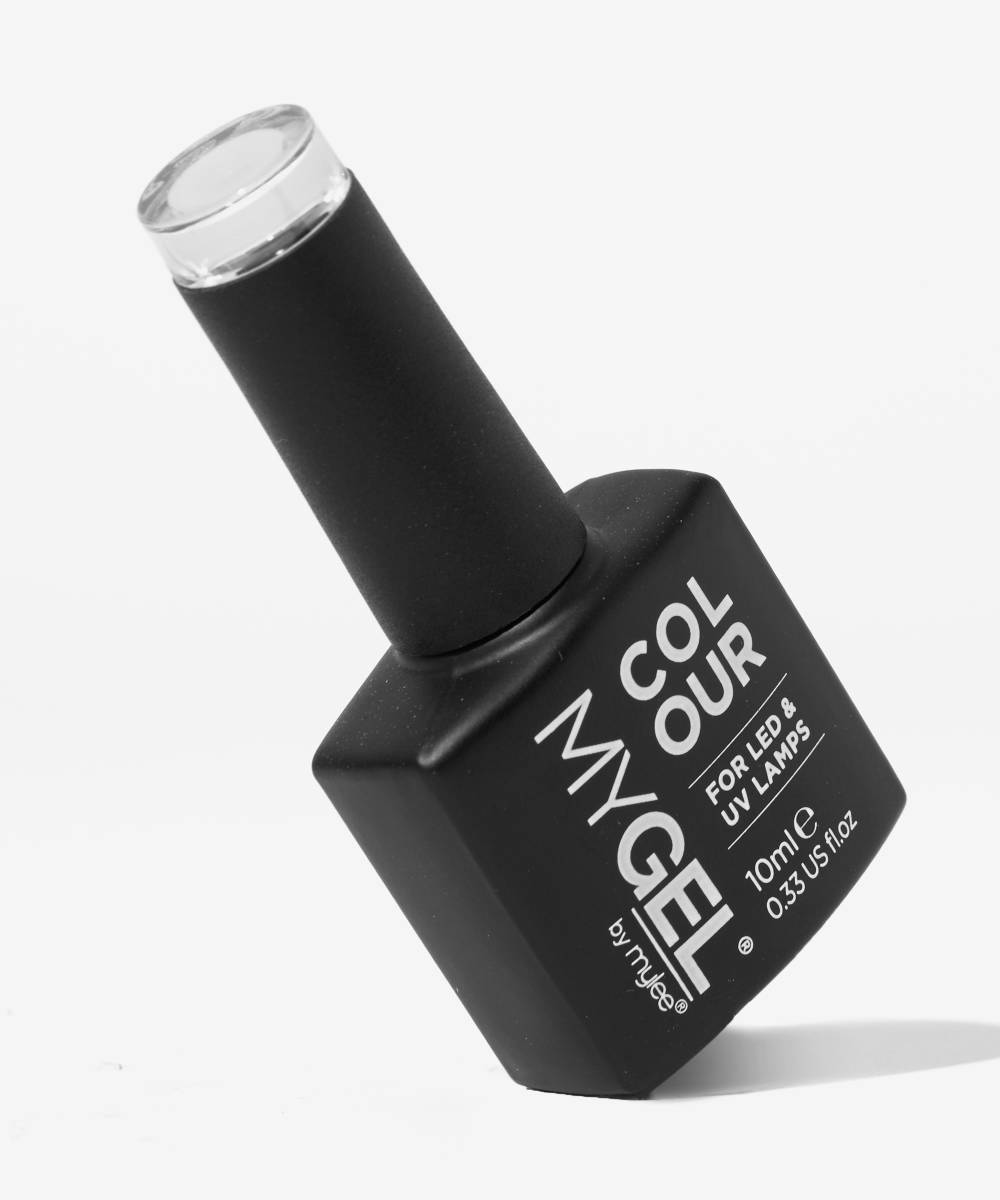
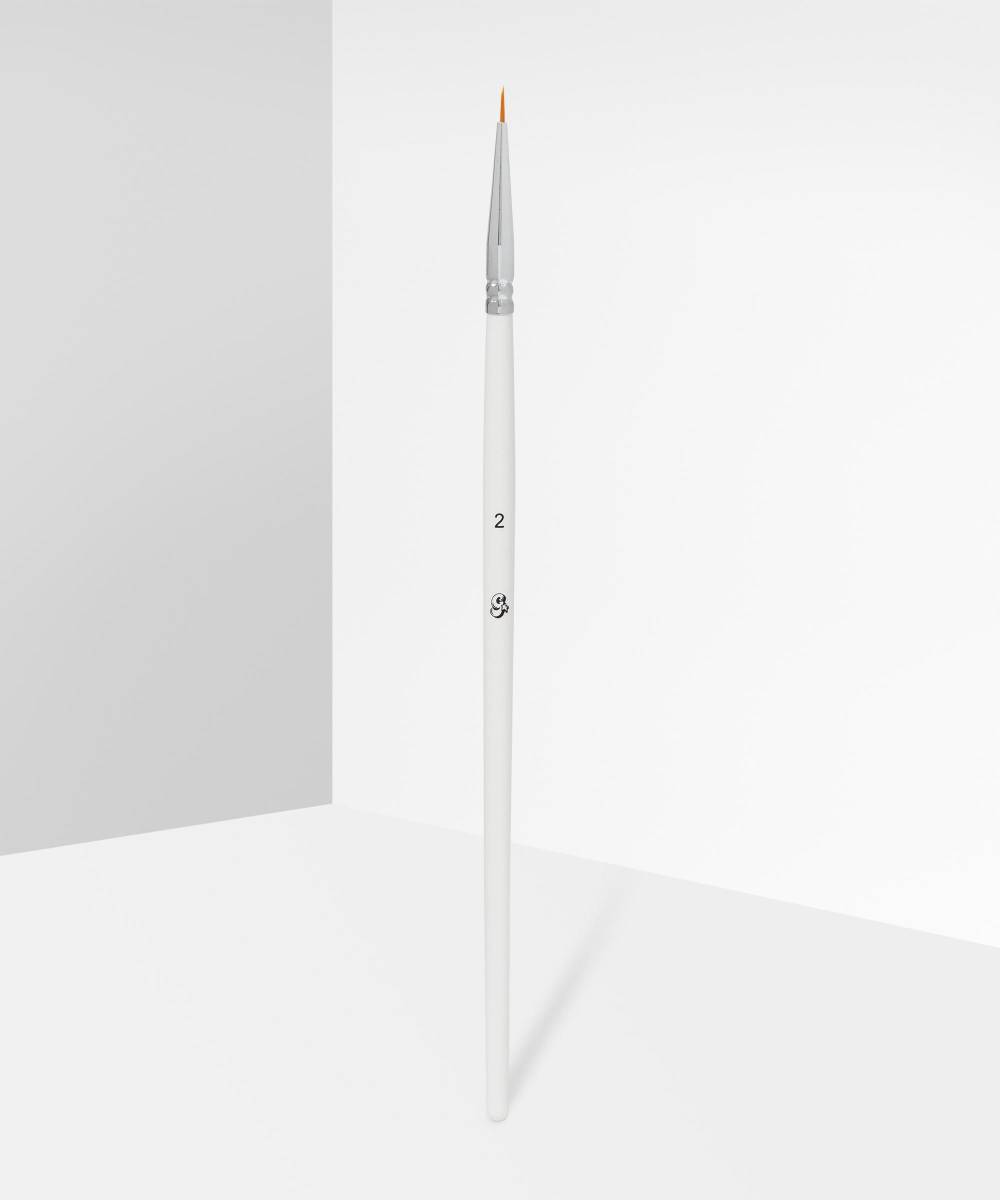
Once your red gel is cured, go in with your white gel polish and a small detailer brush and create tiny white lines on your candy canes. Then cure this layer for 60 seconds.
Step five:
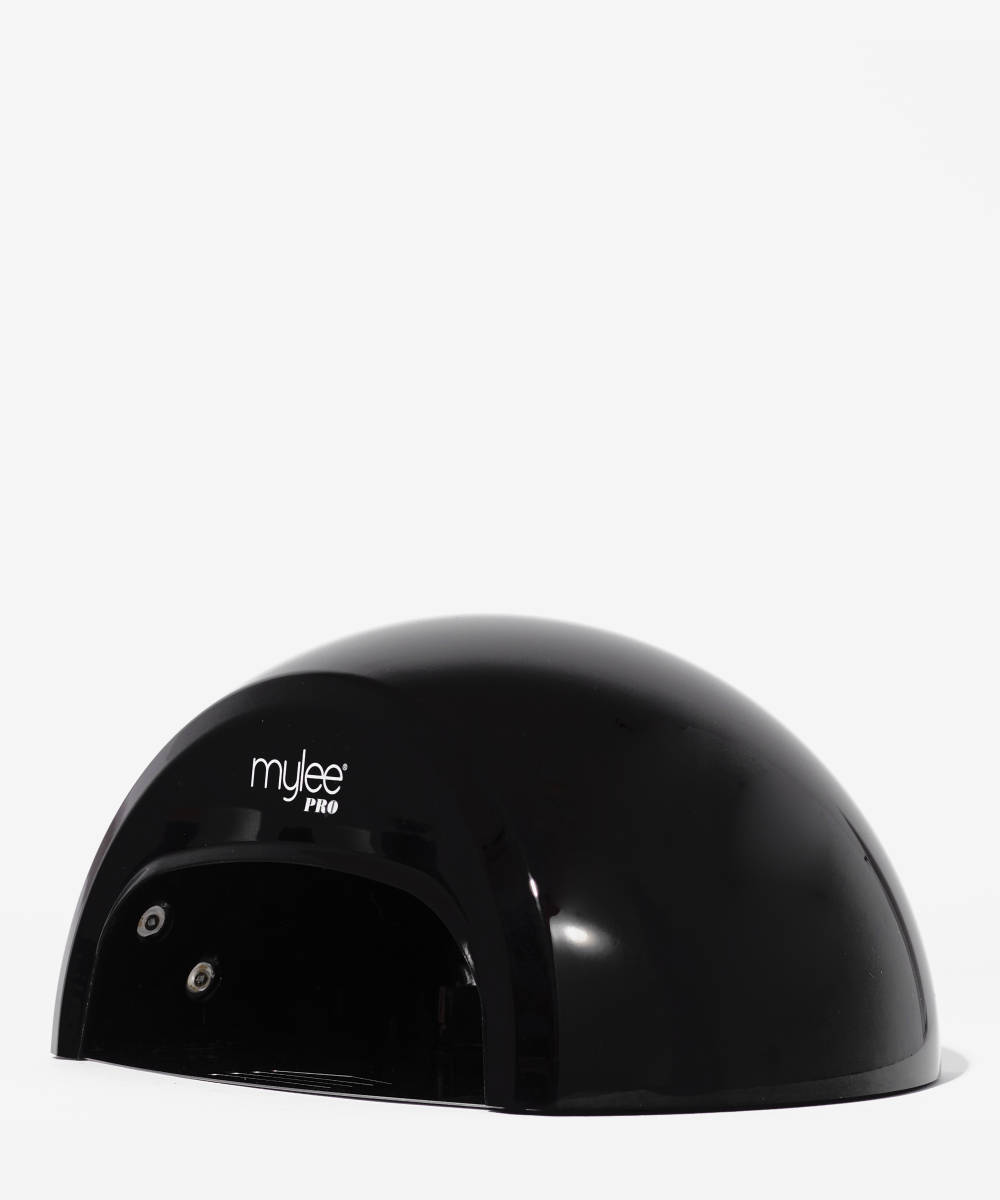
Finish the look by applying a top coat to the whole nail, to lock your design in and prevent chipping. Cure in your lamp for 60 seconds.
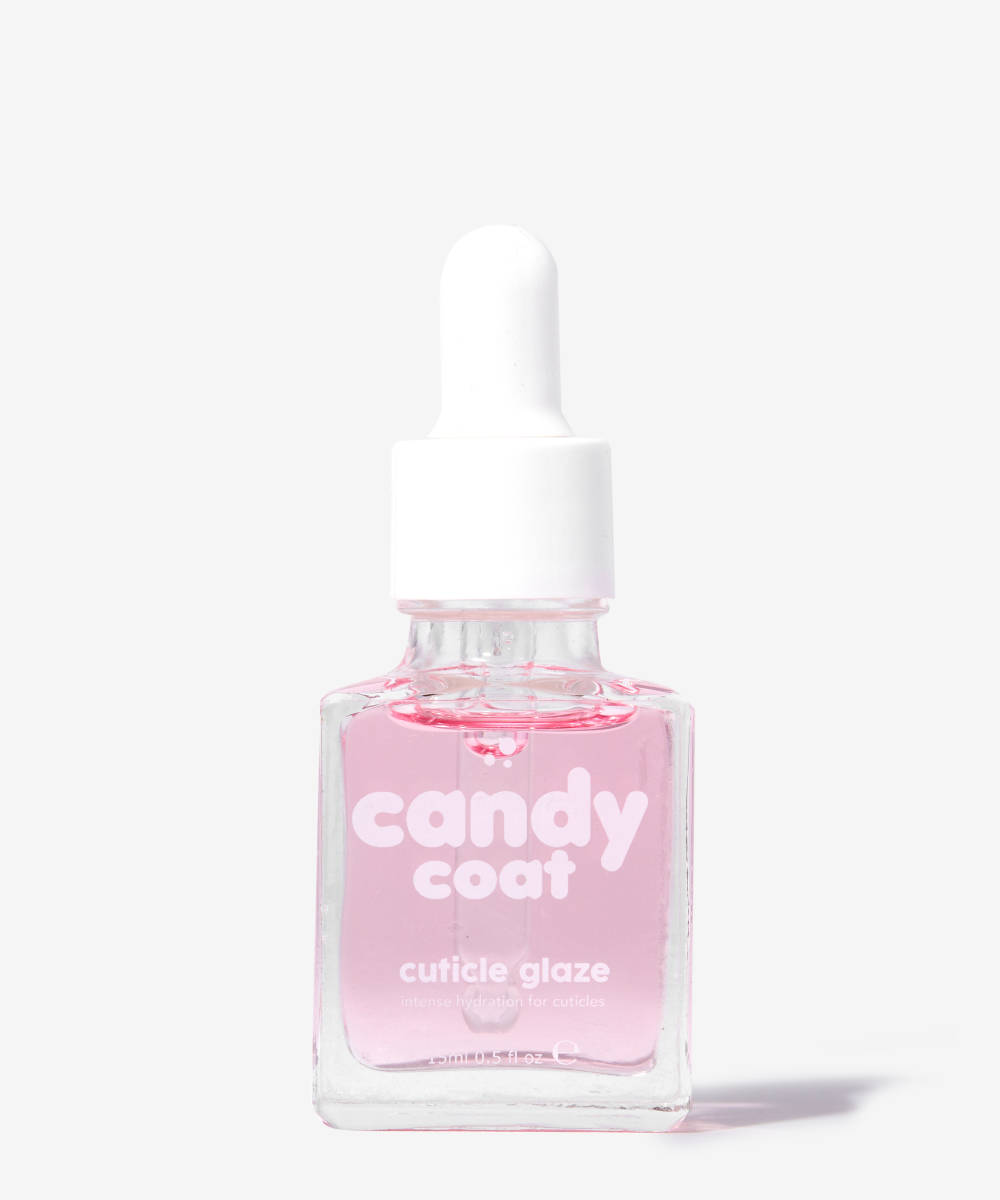
Once your top coat is cured, apply cuticle oil to the cuticles to keep your nails healthy and strong.
