Nothing says spring like a pop of colour, and while we know there’s nothing like a fresh, minimal mani, we’re officially voting for colour on our nails this spring.
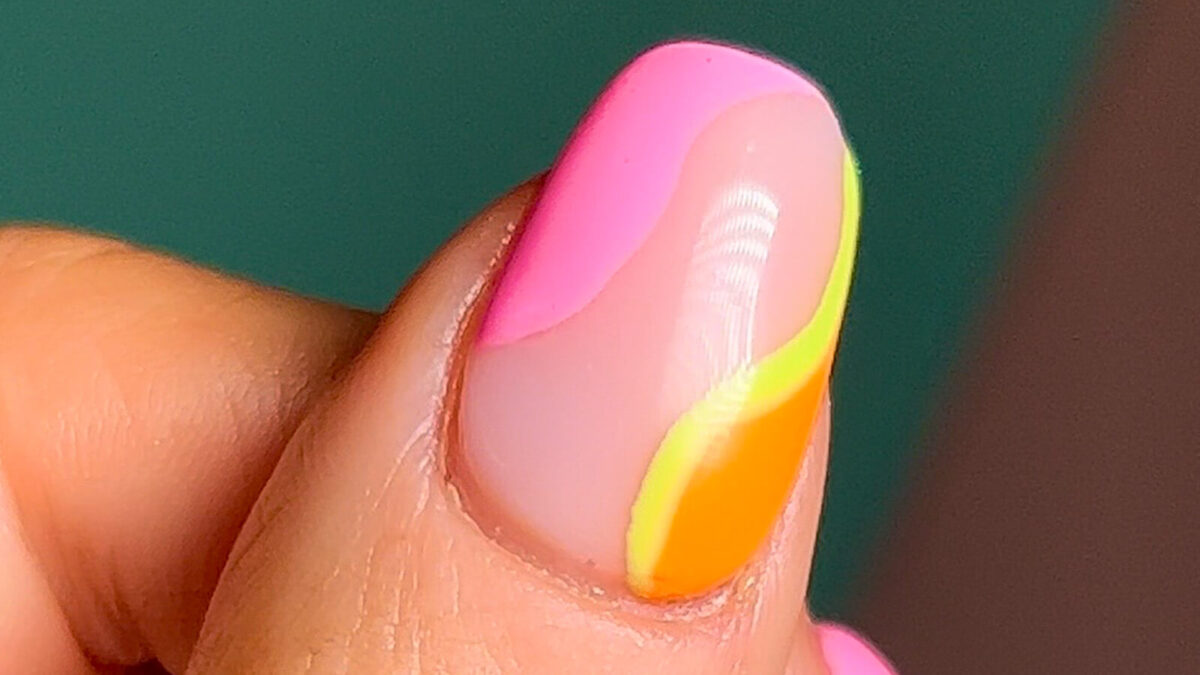
This look is all about lines and shapes in bright, bold colours, and we’re so here for it.
Thankfully, this trend is super easy to follow, and with just a few colourful polishes, can be easily achieved at home. Scroll to discover our take on the trend with a foolproof, step by step, nail art tutorial.
Step one: base
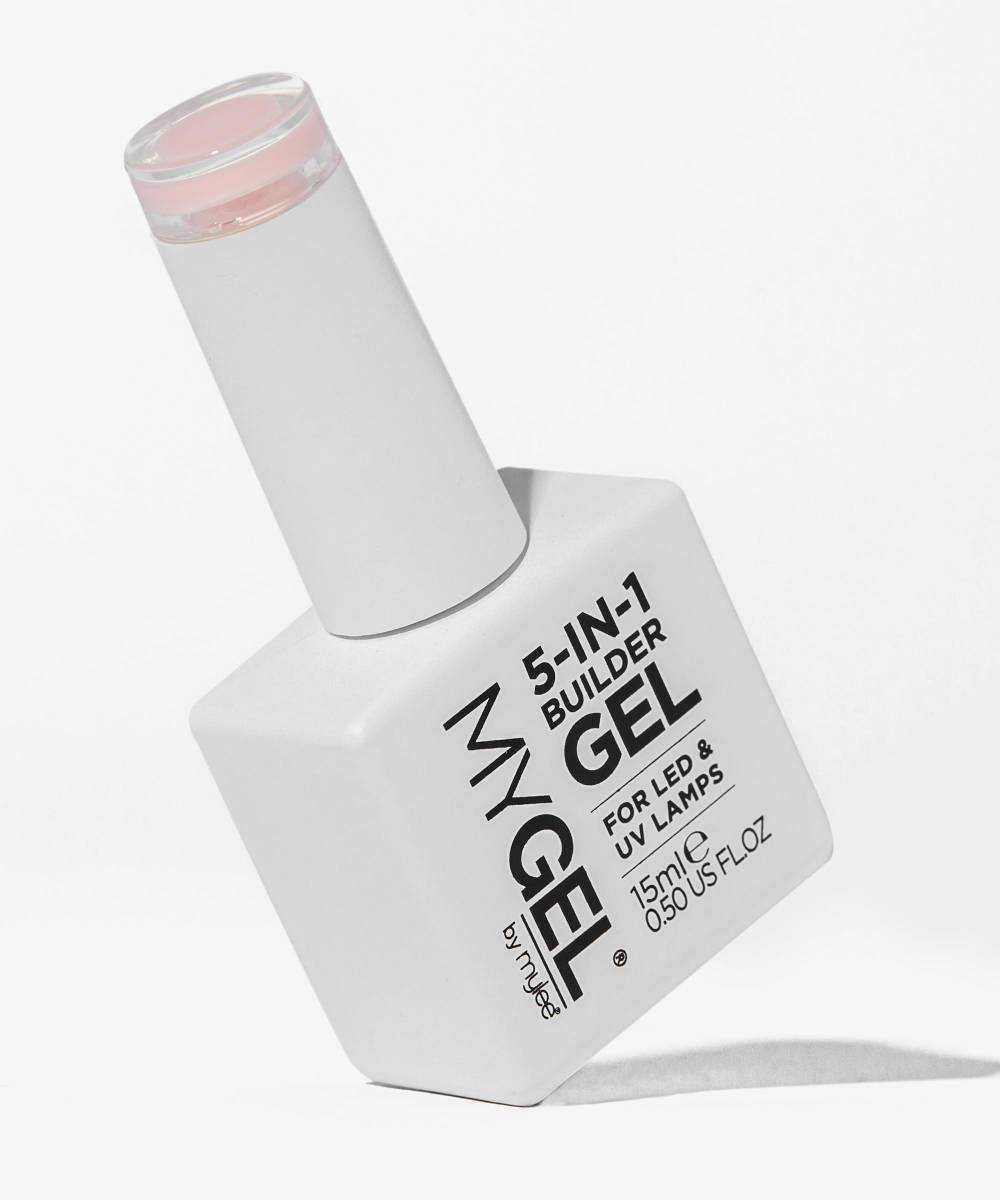
Start with a fresh application of your base coat or builder gel. If you want to learn how to use builder gel like we have here, this tutorial here is the one for you.
Step two: pink swirls
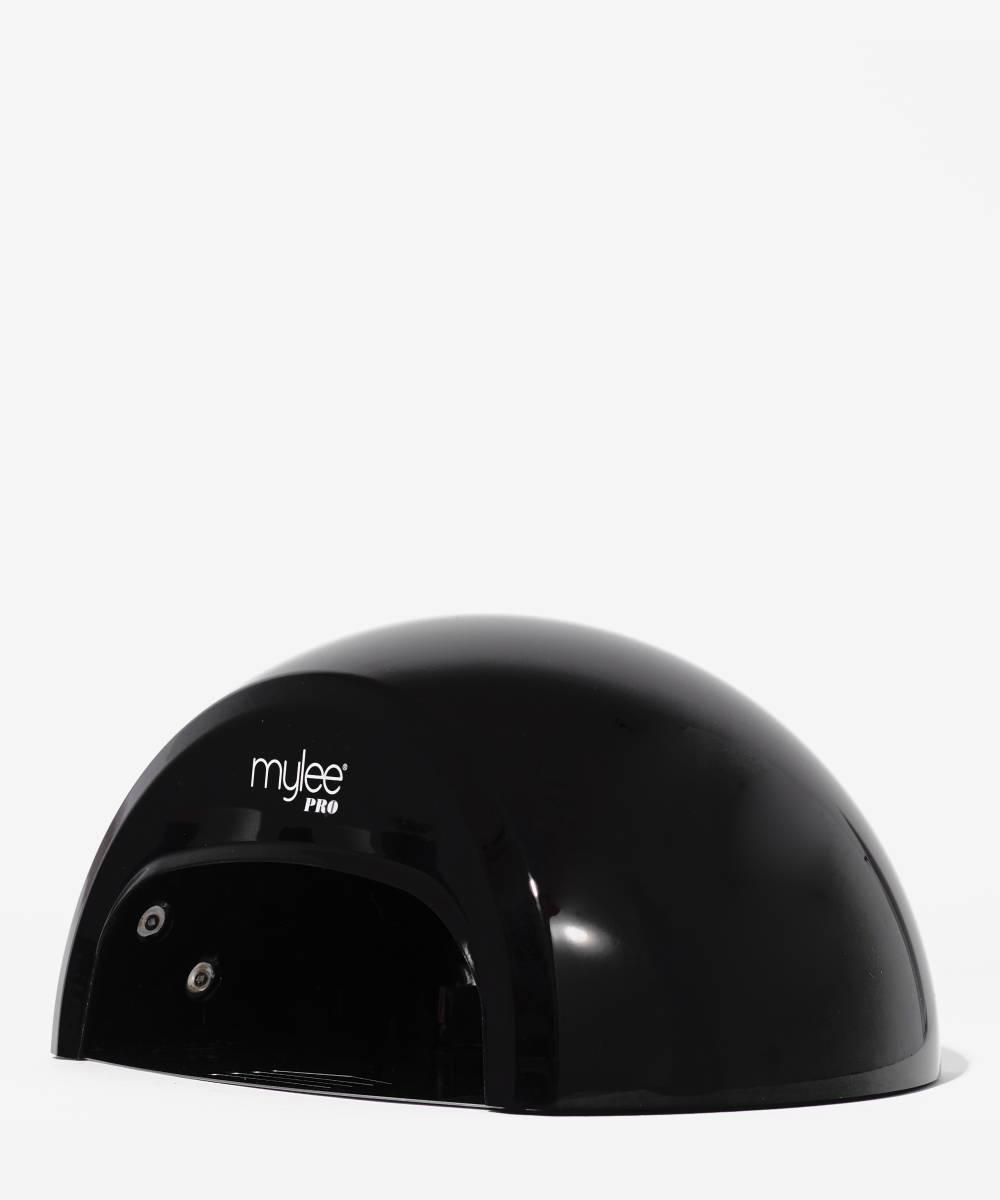
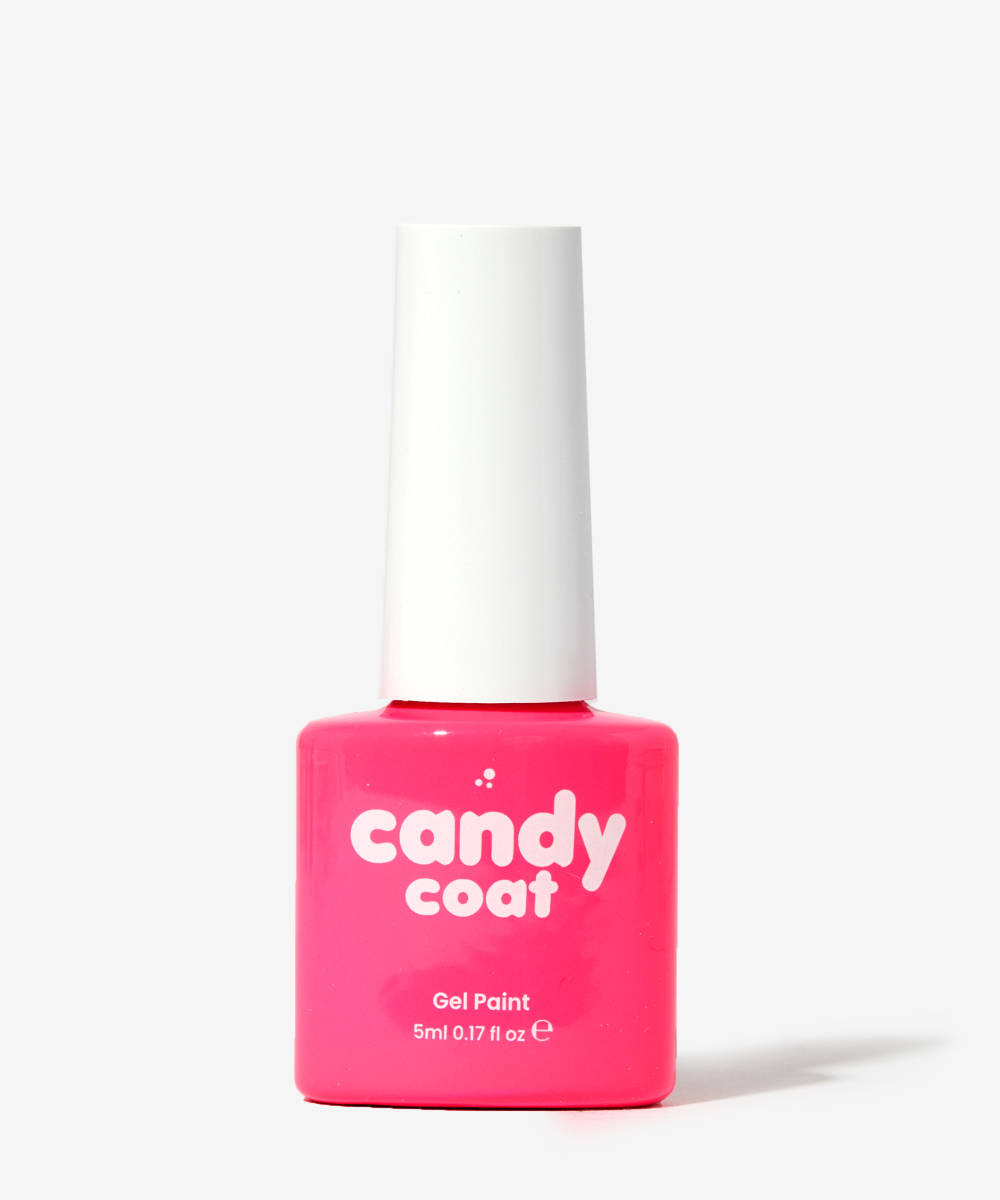
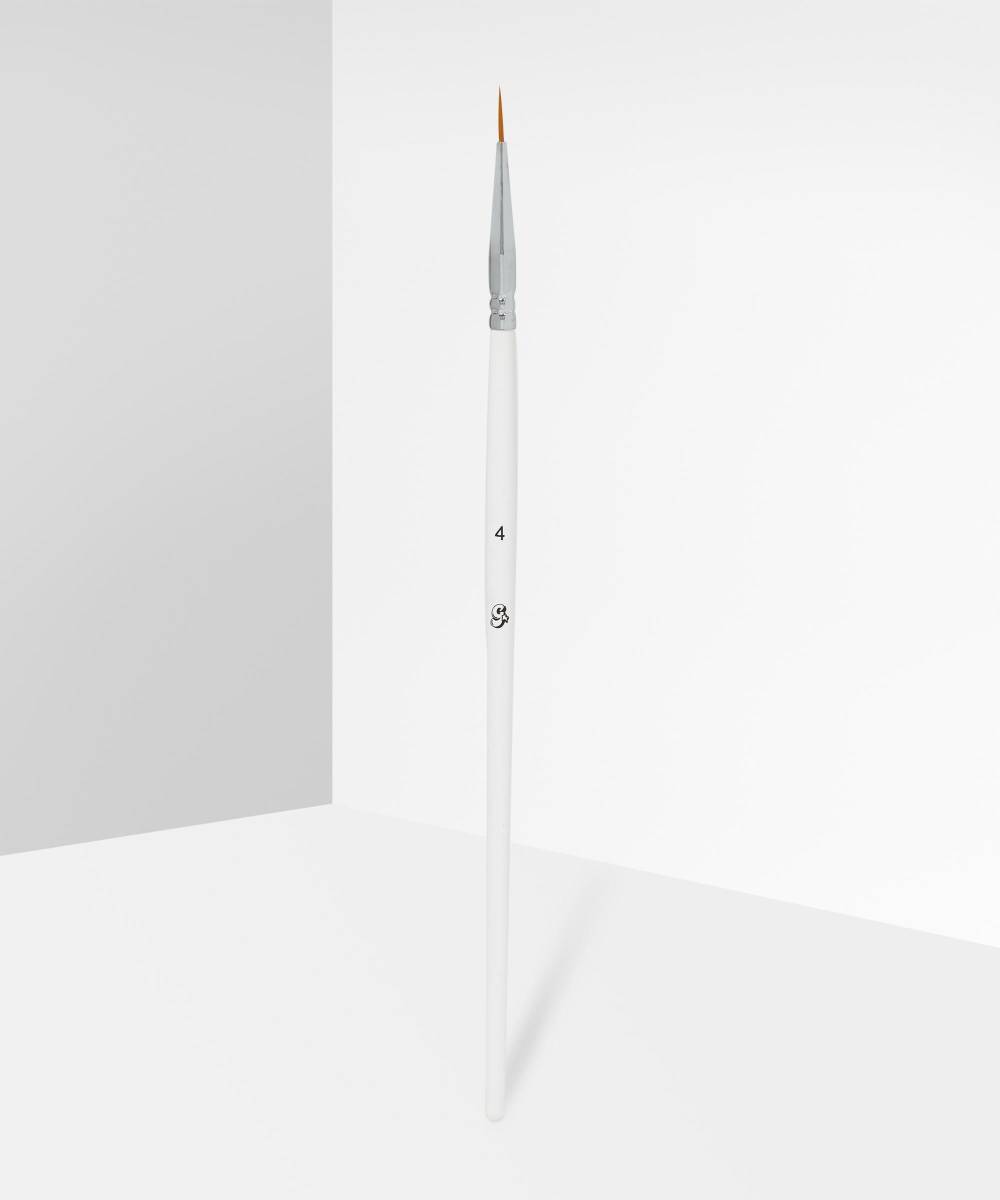
Using a fine liner brush, create a swirly line in the corner of your nail and then fill it in. We’re using a bright pink gel polish, but feel free to switch it up for the colour of your choice, just make sure it’s bright. When you’re happy with your shape, cure it for 60 seconds in your lamp.
Step three: Orange swirls
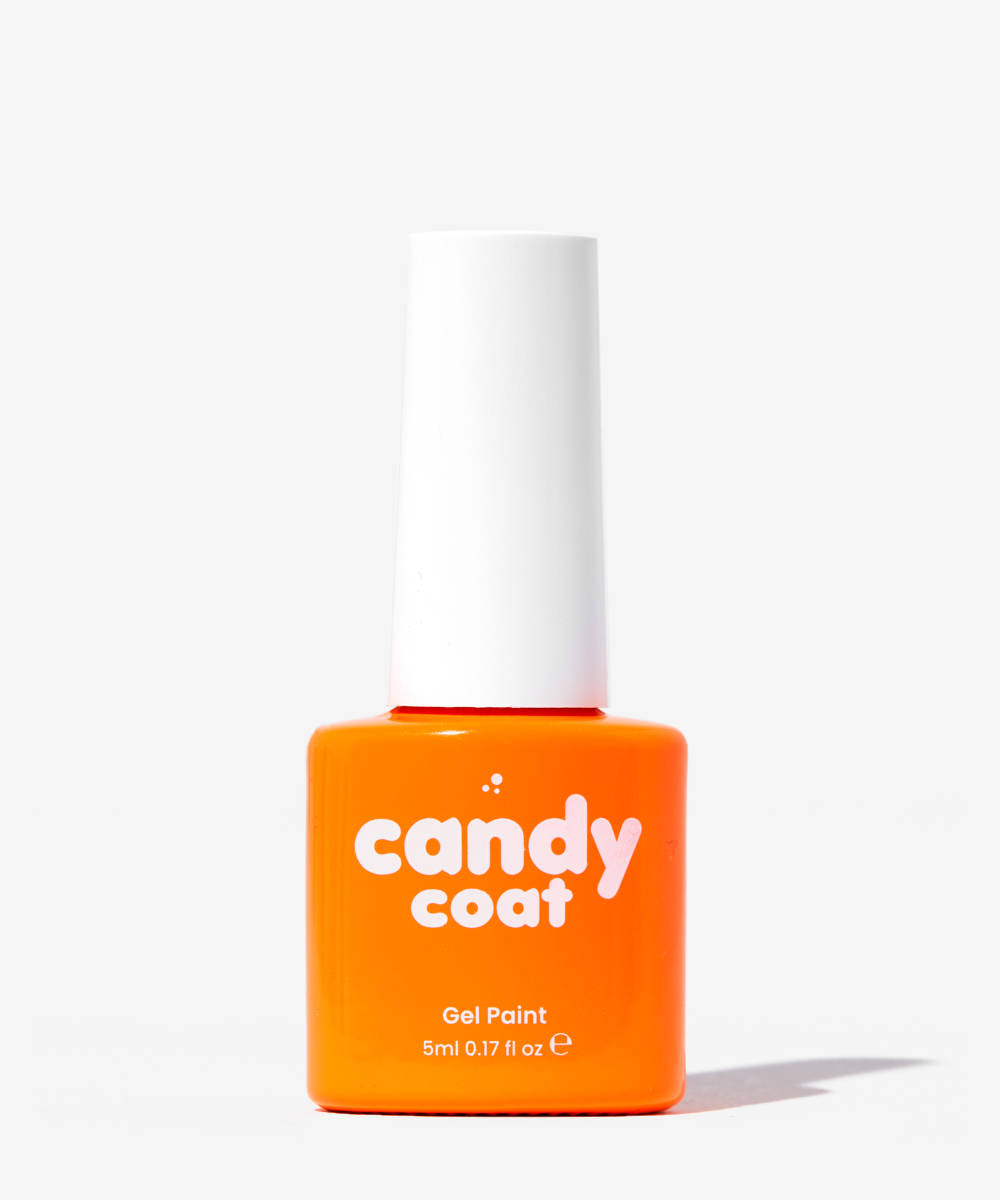
On the other side of your nail, repeat step two but with a bright orange polish. Create your abstract outline and fill it in using your fine liner brush, create a swirly line in the corner of your nail and then fill it in. Cure for 60 seconds.
Step four: yellow outline
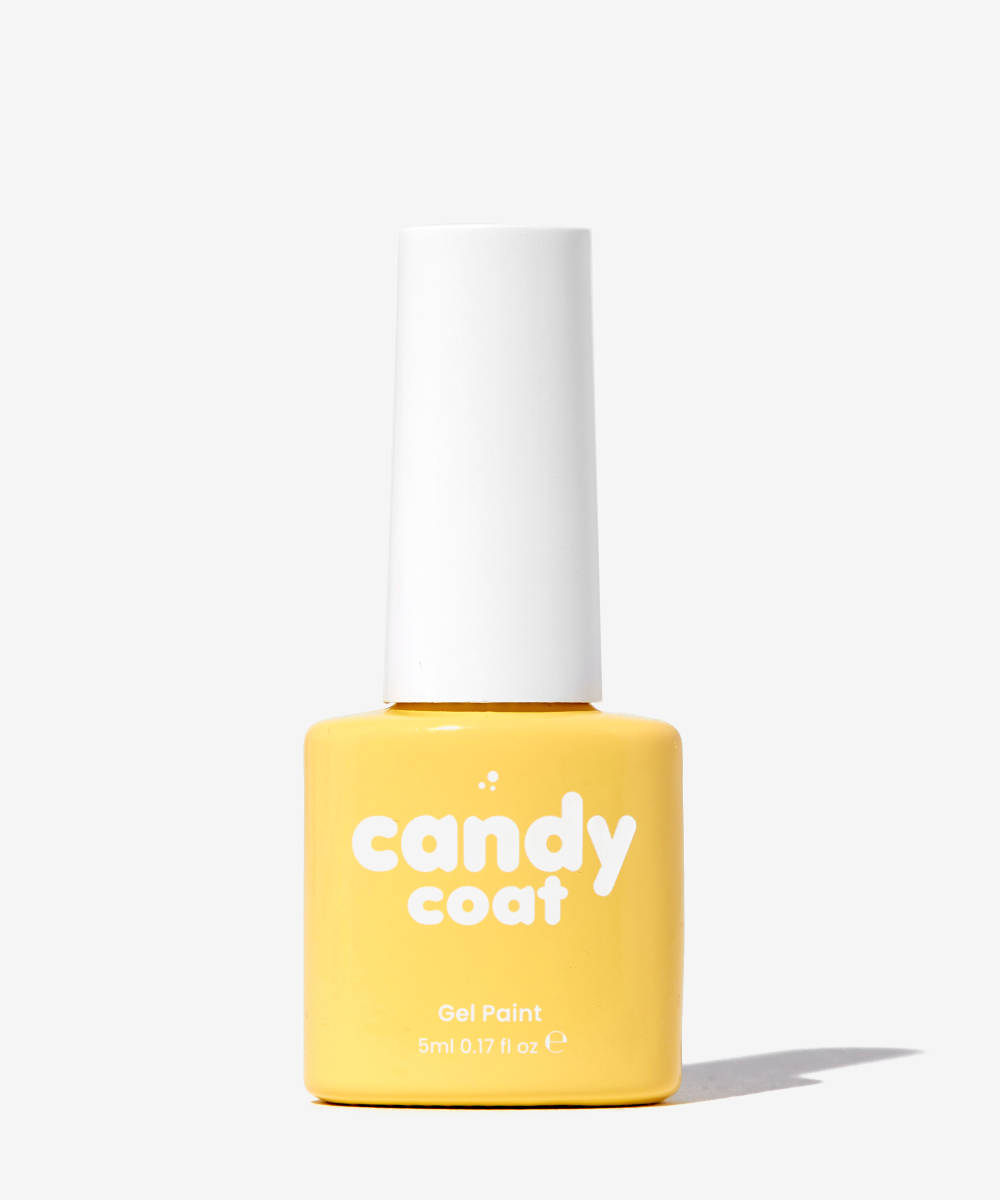
Once your pink and orange polishes are cured, take your fine liner brush and yellow gel polish and carefully outline your orange shape. Do not fill in this section, and then cure for 60 seconds.
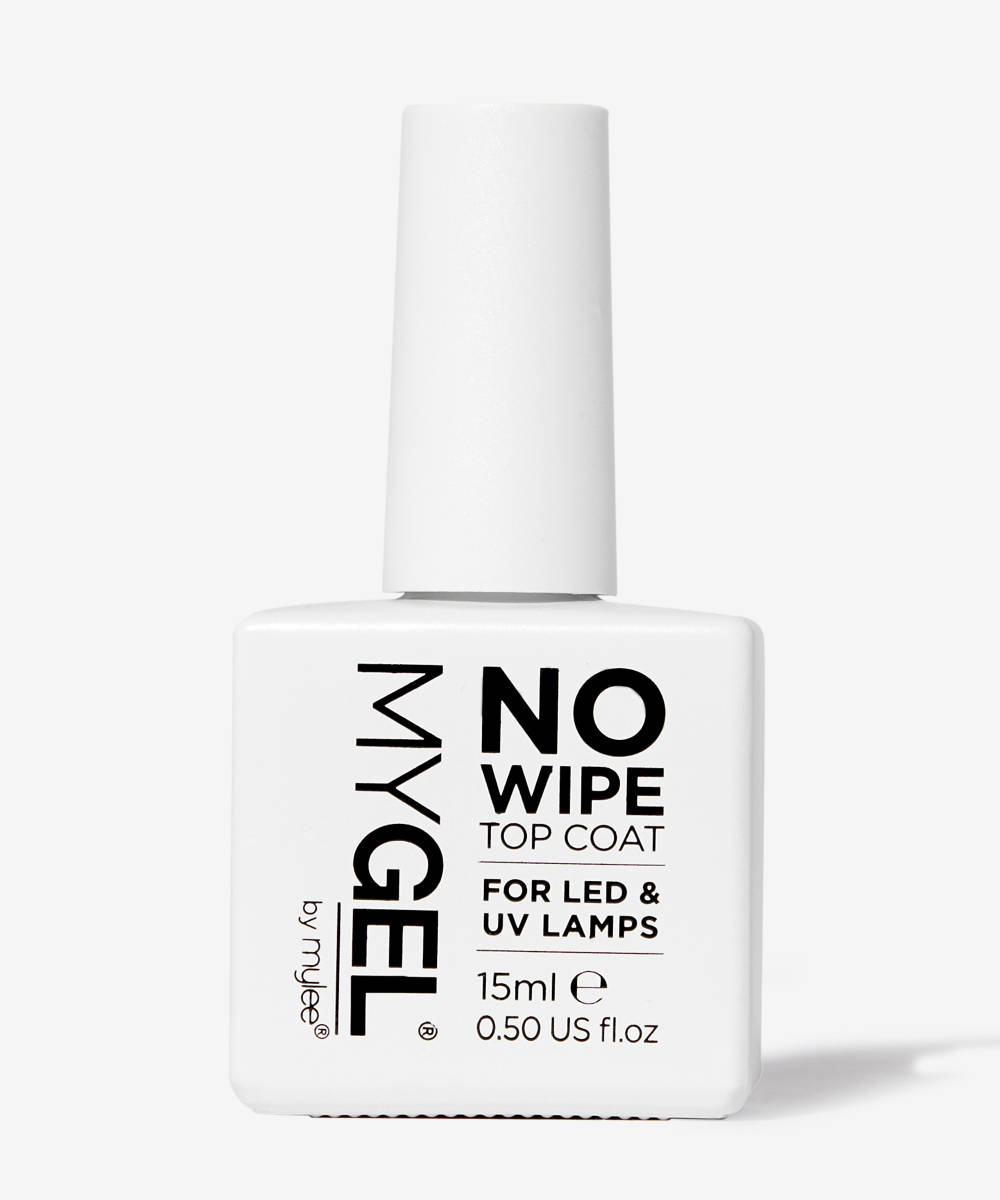
Step five: top coat
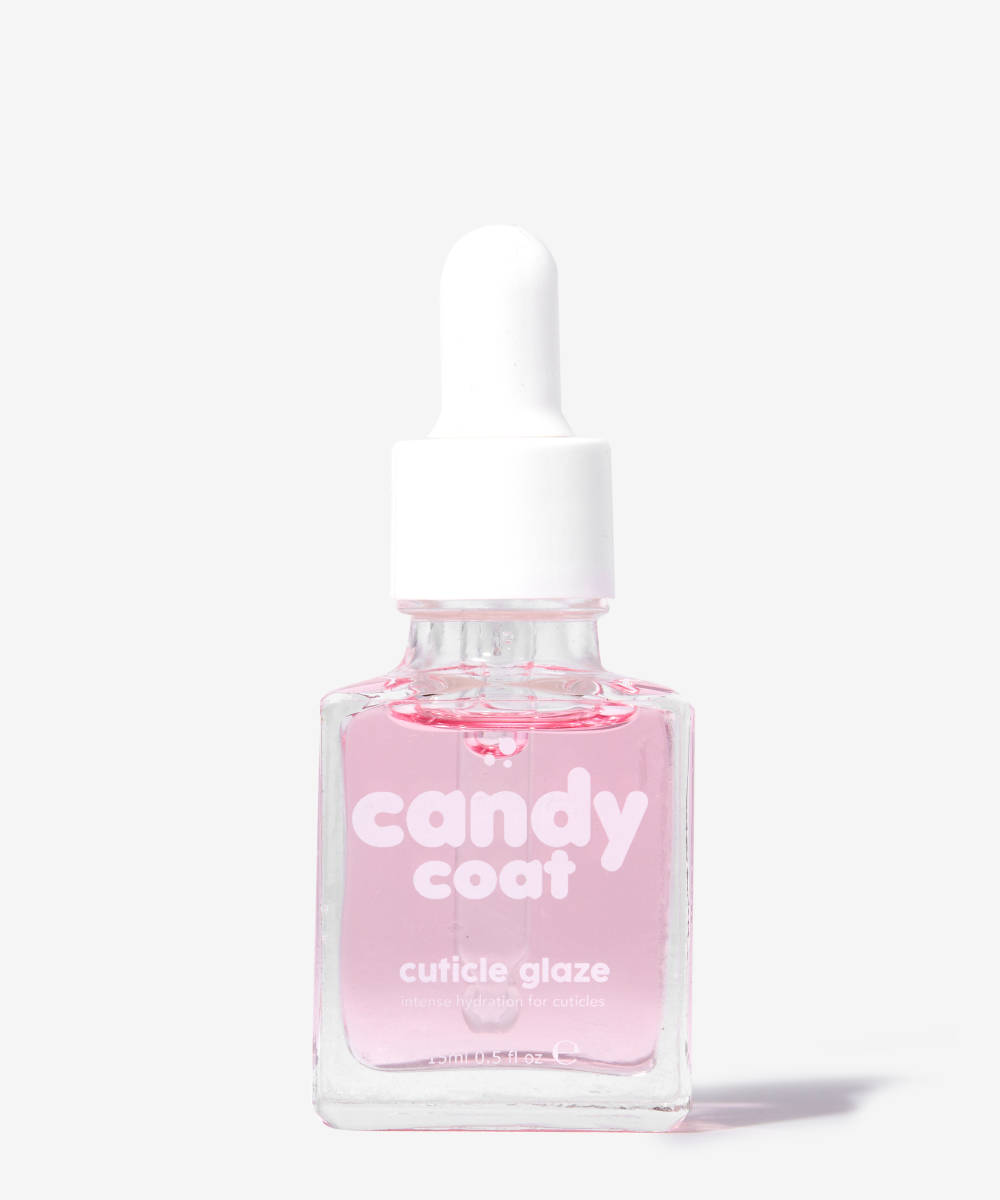
Step six: cuticle oil
Once your top coat is cured, apply cuticle oil to the cuticles to keep your nails healthy and strong.
